This evening, I finally got around to working on the first of the low raised beds in what had been our garlic beds this year.
The boxes are ready and waiting, and the beds had been left for any weeds to get larger, so they would be easier to pull.

The plan: dig out all the soil and buried layers of compostable material beneath, set up the box frame, then add the layers back, Hugelkultur style, with wood at the very bottom layer.

The first order of business was to loosen the soil a bit further than the new length the bed will be, and clear out all the weeds by the roots.
The first problem was in adding length. I was originally going to make it longer just at one end, only to find myself hitting large roots and rocks. So I did a bit at one end, then extended the other end, only to have the same problem!
Once the soil was as clear of weeds and roots as I could, it was time to remove the topsoil onto the waiting tarp.
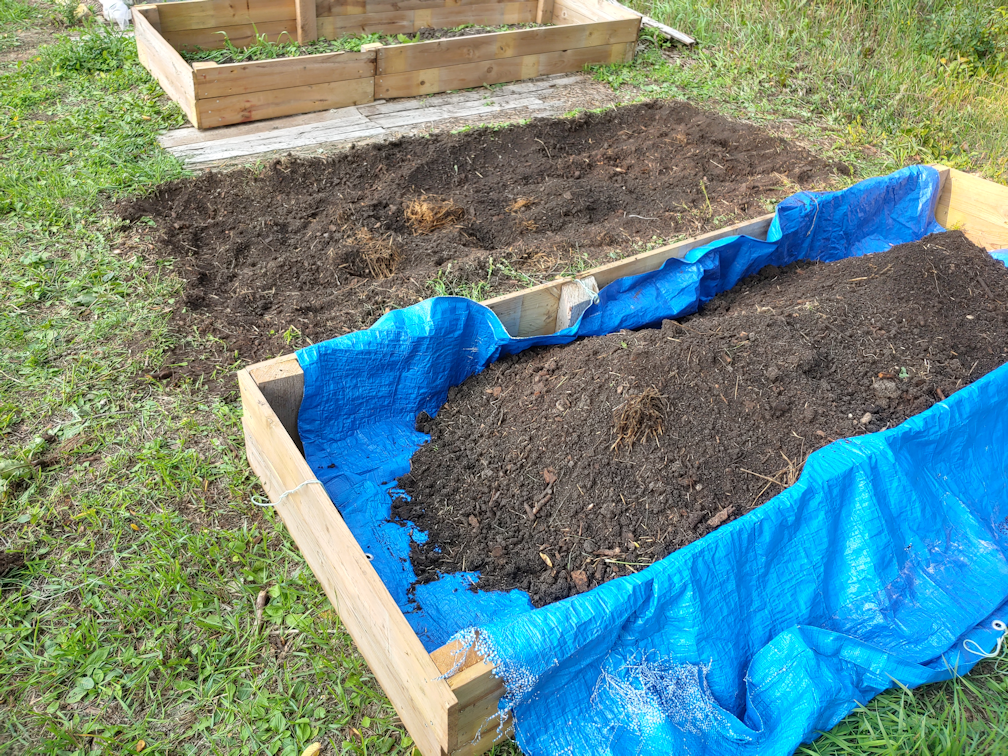
The original plan had been to remove the soil up to the buried straw and compost pile contents into one pile, then remove the straw and other matter onto another. With the extended length, there was already the problem of not being able to dig far because of the roots and rocks I was hitting.

As expected, the straw was barely decomposed. It takes a long time for straw to rot away. That made it harder to dig down further.
I decided to leave it and modify my plans. If it wasn’t practical to dig down further, I would just have to build up higher!

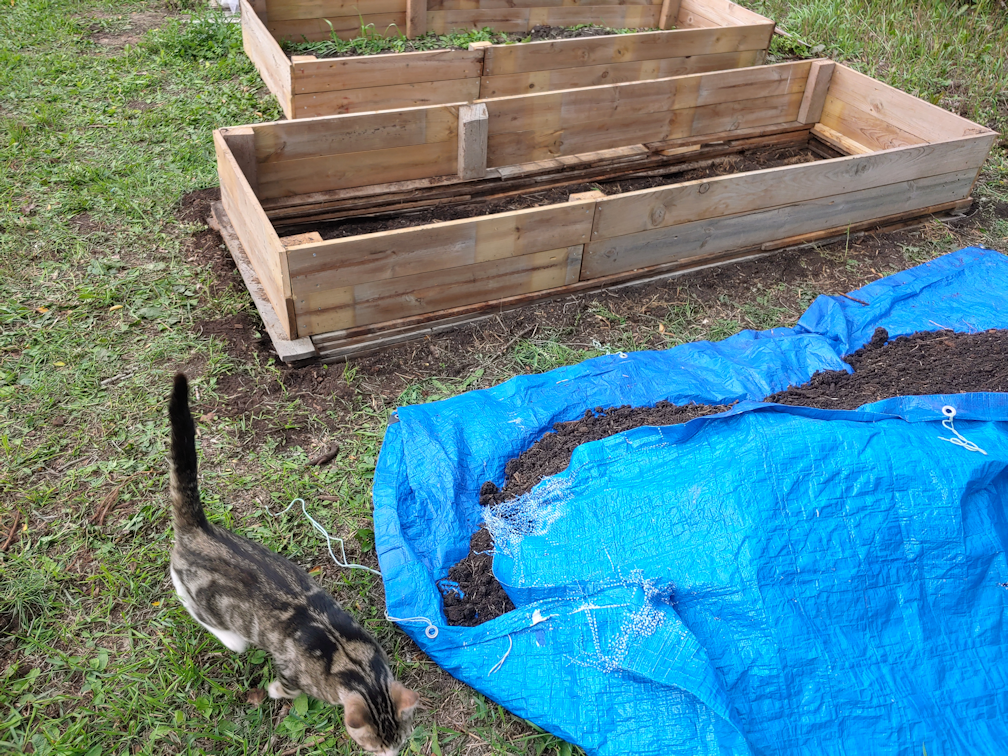
Using a garden hoe, I flattened and somewhat leveled the perimeter, pushing the soil into the middle.

The box was then laid over the bed and stomped on, to create guidelines.
Then, it was time to raid the junk pile of old boards and create a foundation.

A first layer was placed on the guide lines, leveling the soil out more in the process. Then it was just a matter of digging out more boards and adding more layers. The boards are in varying states of condition and length, and a few were cut to size to fill in gaps.

I stopped at 5 layers of boards, which put the foundation at about level with the ground.
Then the box was lined up on top of the foundation.
That was definitely a two person job. 😀

The next step was to use the hoe to move the soil from the middle to the sides, burying the foundation on the inside.
Now it was time to do our use-watcha-got, Hugelkultur layering.

I raided one of our branch piles and brought small branches and twigs to cover the bottom. If we were doing a high raised bed, I would have used larger branches and logs, but these will do for a small bed. The idea with the wood is that, as it decomposes, it acts like a sponge, absorbing moisture that later becomes available to the roots of the plants above, and reducing the need to water.

The next layer was shredded paper. We’ve been saving and shredding our compost safe fliers and other paper, just for this purpose.

Then a layer of grass clippings from our new little “haystack” got added.
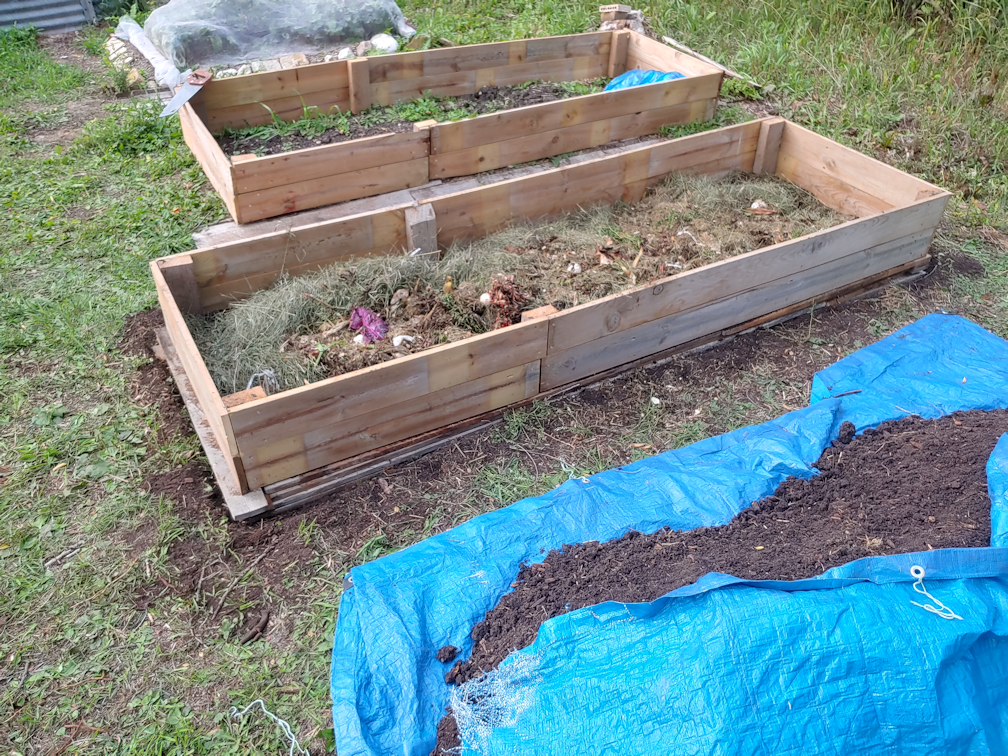
Then, the contents of our compost pile was added. Plenty of egg shells, coffee grounds, banana peels – all sorts of things that “garden hack” lists include. 😀

The last step for today was to hose the whole thing down, partly to keep things from blowing away. We have thunderstorms predicted for tonight. If we do get rain, it will help soak down the layers and get a kickstart in decomposition. If we don’t get rain, it will get saturated with the hose before the soil is returned.
Before the soil is added, however, I’ll have to find something I can pound into the ground on the outside of the long sides of the box, to prevent the boards from bowing out.
As lovely as the soil here is, it did test low in nitrogen, so before returning the soil to the bed, I will be mixing in some of the new garden soil, as well as more grass clippings, plus some of the pellets we’re using for cat litter now. It’s just compressed sawdust. As they get wet, they expand and break apart. This will add organic matter to the soil to keep it from compacting, plus the sawdust will absorb moisture and act as a sponge. The clipping and pellets will have the fall and winter to break down, and help increase the nitrogen levels.
If we had wood chips, they would have been included in the layers, and would be added as a layer of mulch at the very end. Alas, that will have to wait until we either get a wood chipper, or hire the tree guys to come out with their massive chipper for a few hours, and break down some branch piles for us. 🙂
Which, weather willing, I should be able to work on tomorrow. 🙂 Unless something else comes up. Which happens often! 😀
The Re-Farmer


Wow… lookit all you did! I barely got out of bed!
LikeLiked by 1 person
😄😁😄
LikeLike
They look so good!
LikeLiked by 1 person
Thank you!
LikeLiked by 1 person
Did you have to make them the same size as coffins? 😀
LikeLiked by 1 person
*L* They are actually longer than thinner than coffins. 😀
I suppose they will go will with that stone cross. 😉
LikeLiked by 1 person
Well, if you hear “bla… bla bla bla” coming from one of them, they’re either filming the next Hotel Transylvania sequel or you need to RUN.
😀
LikeLiked by 1 person
😀 😀 😀
LikeLiked by 1 person
Pingback: Second low raised bed: done! | The Re-Farmer