Today was dry enough that I could work on cutting up the dead tree that had finally fallen, thanks to recent high winds.
This time, I could use power tools! I used my baby chainsaw (aka: cordless pruner), with it’s 4″ blade, to trim off branches, then a reciprocating saw, with a 12″ blade to cut the measured lengths. Unfortunately, my reciprocating saw is giving up the ghost. It cuts, but it doesn’t stop. Sometimes, it’ll slow down when I release the trigger, but other times it would just keep right on going. I had to unplug it to turn it off!

At the last minute, I changed my mind on the longer lengths I would be cutting. These will be used to make high raised beds in the main garden area, and I had been thinking of building them at 10 feet long. As I was measuring, however, I decided to make them 9 feet long. The boxes we built for the beds where the garlic had been planted are 9′ x 3′. I figured if I did these at 9 feet long, any future cover frames we build will fit on both. I kept the short ends at 4 feet, though. With the width of the wood, the inside of the beds will be roughly 3 feet wide, so any covers would still be interchangeable.
So here we have two 4′ and two 9′ lengths. Enough to make one course of logs to frame a high raised bed.
By the time I cut these, the rest of the tree was light enough that I could drag it closer to cut a couple more pieces.
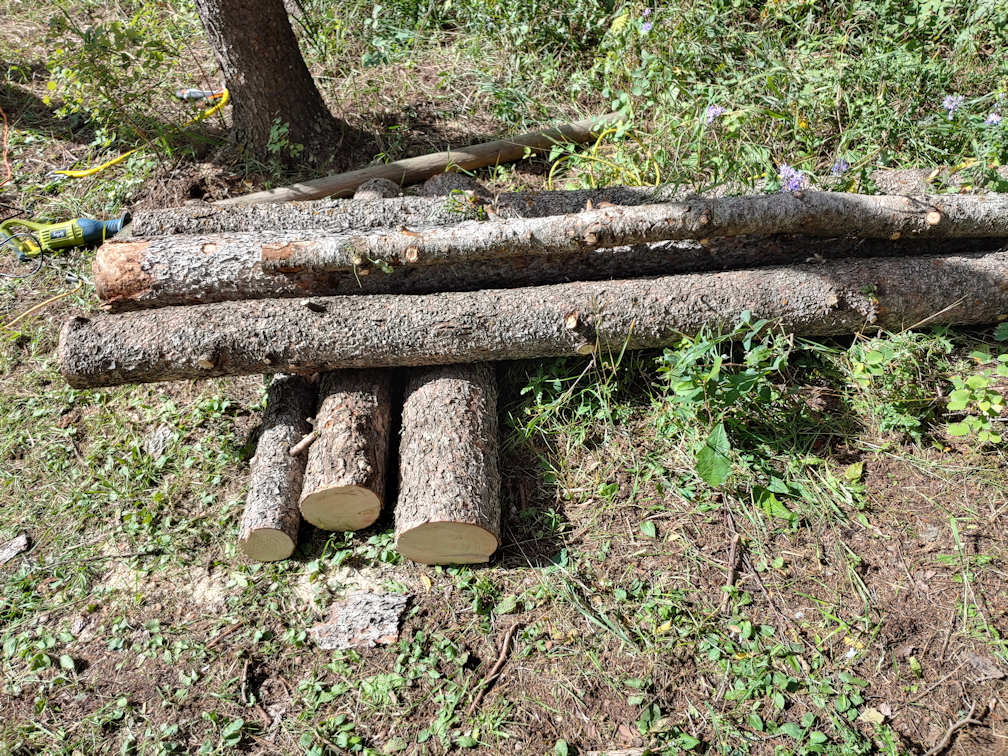
That gave me another 9′ and another 4′ piece. At the top of the long pieces is the remaining top of the tree, which is about 7 or 8 feet. I set that aside for potential future use. When I was trimming the branches off, I found another 6 or 7 feet of the top had broken off and was dangling from a nearby tree. With three 9′ lengths, three 4′ lengths, plus another, say, 7 feet of trunk, and 6 feet for the top that broke off, we’re looking at a tree trunk that was roughly 52 feet. Add in the roughly 3 feet of stump left behind, we’re looking at a dead tree that was about 55 feet tall when I cut it down.
The one that’s still stuck on another tree was a bit taller.
At this point, I had salvaged logs to do 1 1/2 courses to build a raised garden bed. I needed two more pieces.
I didn’t have to cut down another tree, though. I still had the trunk of the dead tree I’d cut down and used the stump to make a bench.

After I finished trimming the branches, the trunk was eventually rolled up against the patch on the right, where there is a currant bush, chokecherry tree, raspberries, some flowers and a crab apple tree that died this spring. So after dragging/carrying the first pieces over to where the garden bed will be built, I cut a couple more lengths from this tree trunk, then set the remaining top piece aside with the top of the other tree, for potential future use.

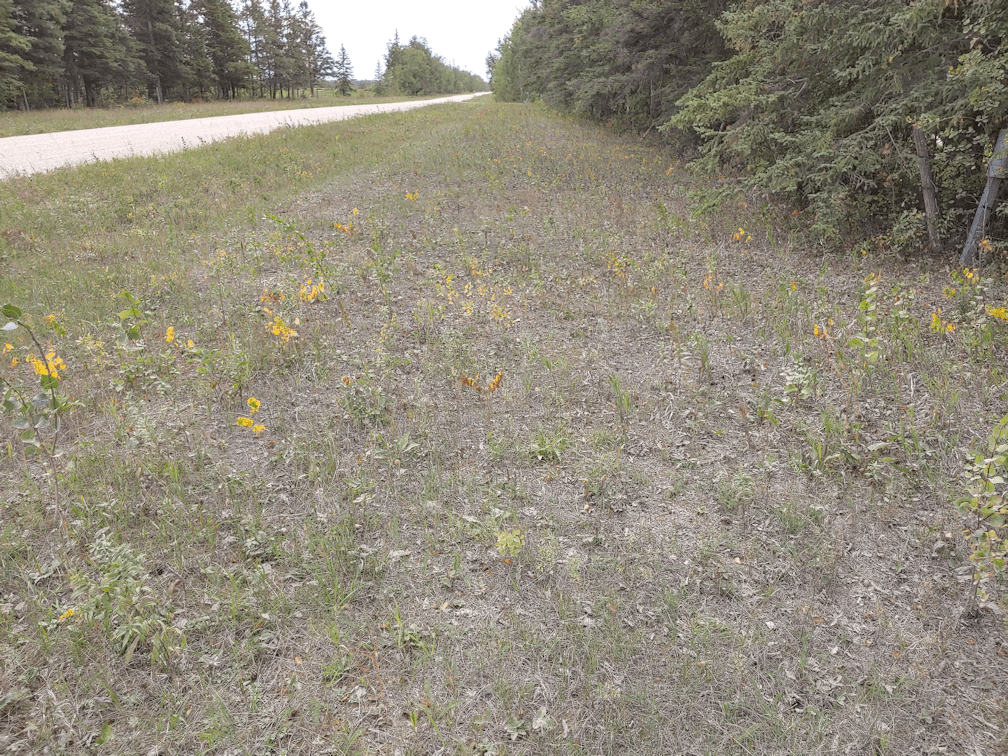
You can see that the new raised bed will be quite a bit shorter than the low raised beds we had this year. Those are about 13 feet long. We will be losing planting space, but we should also be able to plant more densely, once they are at a more accessible height. For now, I want to make these at least 3 logs high, then see how they work. I expect to finish them off at 4 logs high.
Which would translate to roughly 3 or 4 trees to harvest, per bed. In this area, there are six low raised beds that will be converted to high raised beds, so that means as many as 12 trees to replace all the low raised beds with high raised beds.
Considering that we have more than 20 dead trees that need to be cut down, having enough logs won’t be a problem, even if some of them turn out to be too rotten to use. Some of those trees are thicker and taller than the two I used today, so I’ll probably need even fewer. With the new beds being several feet shorter than the current beds, we could potentially have a double row of beds. That will depend on the space for paths. These are meant to be accessible raised beds, with room for a walker or wheelchair in between, so the paths need to be 4′ wide.
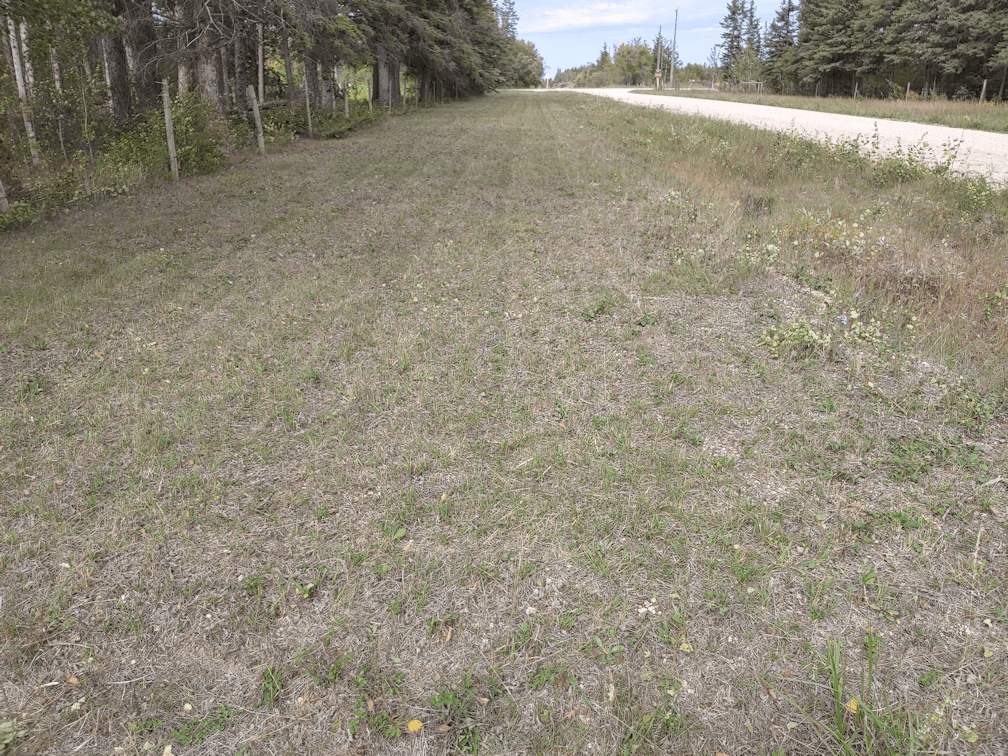
The one thing we do have is the luxury of space. While we are starting with raised beds in this area we are already gardening in, as time goes by we will be adding more beds in this area. Not a lot more, though, as there are too many tall trees on the south side casting shadows. The plan is to build more permanent raised beds in the outer yard, where they will get full sun.
But that is for after we’ve done a lot more logging of dead trees in the spruce grove!
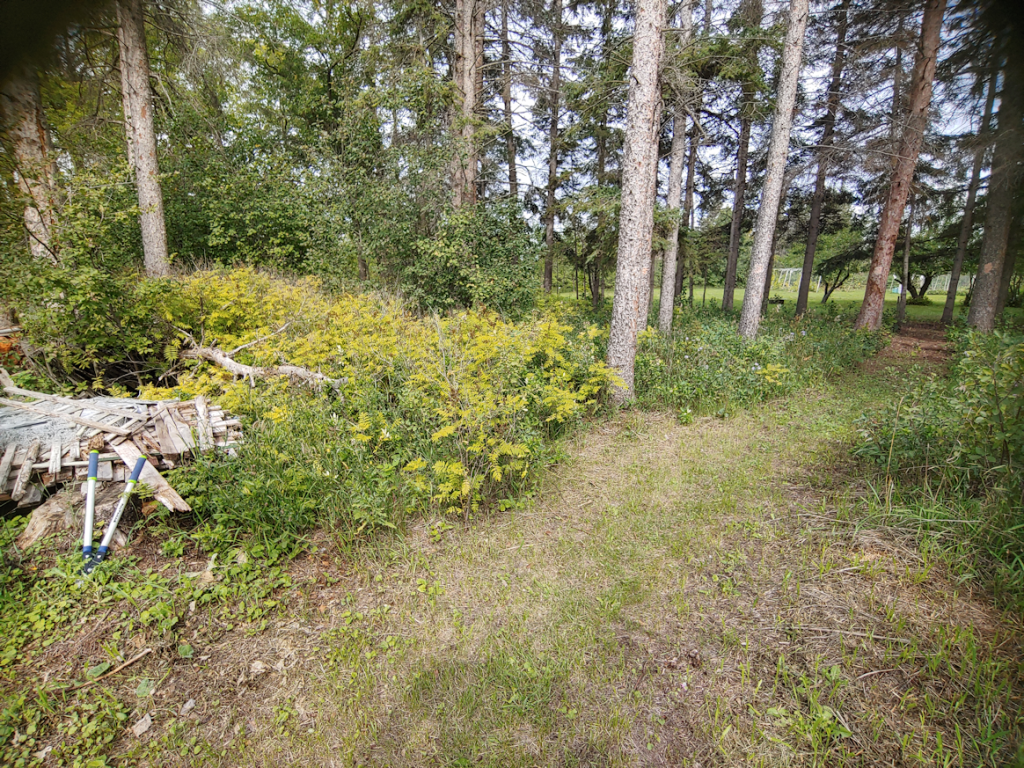
Once the last of the logs were dragged over, I took advantage of having the tools handy and finally took down the dead crab apple tree.

For this job, I was able to use the baby chain saw, and didn’t need anything else. I love that thing!
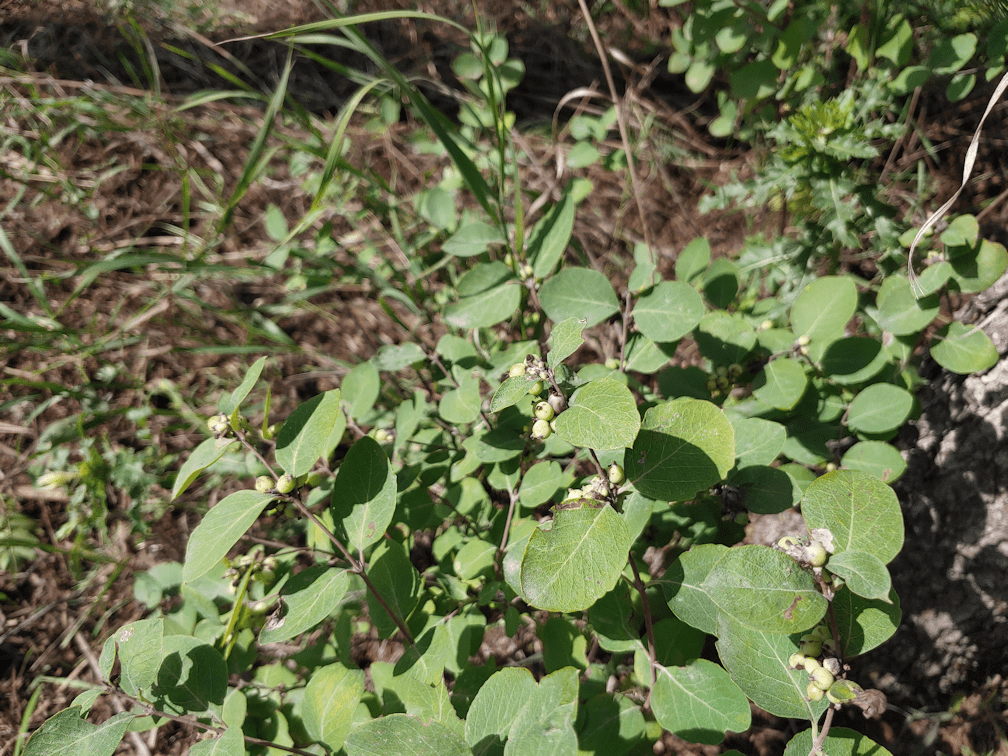
In the photo, you can somewhat see where the bark as split off the trunk at the bottom. This tree had started to get leaves in the spring, but then just died off, and seeing that damage sure explains why. The tree itself was showing signs of disease, even last year, so all this wood is for burning, not the chipping piles. I noticed that even the raspberry plants near it were also showing signs of disease, so what we will likely have to do is remove any plants growing around the tree and not plant anything at all here for a few years. That should be time enough for whatever disease has gotten into the soil to die off.

Once cutting and clearing away to the base, I could see that this tree was actually the sucker of a larger tree that had died, long ago! The inside of the old stump was so rotted out, I could brush it aside with my hands.
I kept cutting and breaking up bits and pieces for a while, but what I will ultimately do is bring a small metal ring I found and have been using as a portable fire ring, and light a fire on top of the remains of the tree. That will prevent any suckers from trying to start growing and, hopefully, sterilize the soil of whatever disease has gotten into it, at least a bit.
It was good to finally get this cleared up. There are a few other dead and dying crab apple trees that will need to be cleaned up, too. Over time, once enough time has passed, I hope to replace them with other fruit trees that are more disease resistant. This spot, however, will not get anything tall planted in it. There are already too many tall trees shading the area. An awful lot of garden space was lost to shade because my parents planted so many new trees on the south side of the garden, instead of the north! Most frustrating is that they also planted them too close together, so none of them thrived, and quite a few died. I removed a lot of these when I cleaned up the maple grove, our first summer here, but I think I will have to take out an entire row of crab apple trees I discovered in the process. They simply aren’t getting enough light to bloom and produce, even after I cleaned the area up. That’s not a priority right now, though.
But I digress!
I’m happy to have gotten as much done as I did today. Tomorrow, the girls and I have an outing with my mother planned, so we won’t be able to get more done then. I’ll have to use Sunday to take down another tree and hopefully get enough wood to start on the first permanent high raised bed before winter. With several days of rain predicted next week, we shall see how far we will be able to get on that!
The Re-Farmer