I had been thinking to start more seeds tomorrow, but I expect to be out and about and decided to just go ahead and do some today.
There are flowers and herbs that can be started in February in our climate, but I had only four in mind. After reading more on what the flowers – cosmos and hollyhock – needed to be started indoors, I decided to hold off on them. Instead, I went through two of my herb seeds that needed the longest start up time before our last frost date. Russian Tarragon and Summer Savory.
The seeds for both are very tiny and would have been ideal for the seed starting kits I got a couple of years ago. The cells are quite small and there is a USB powered full spectrum light disc for each dome.
I couldn’t find it.
It had all been stored in the original box in the sun room, but the sun room got completely emptied and cleaned out in the fall. I thought I’d put it in one of the storage shelves or one of the storage bins, but I couldn’t see it anywhere. I didn’t pull the bins out completely to look, as that would require far too many cat-blocking things to be moved out of the way, but they are semi-transparent, and I couldn’t see anything through the sides. It’s possible the box was buried in one but, for the size of it, it is highly unlikely it was in one of the bins and I wouldn’t see it.
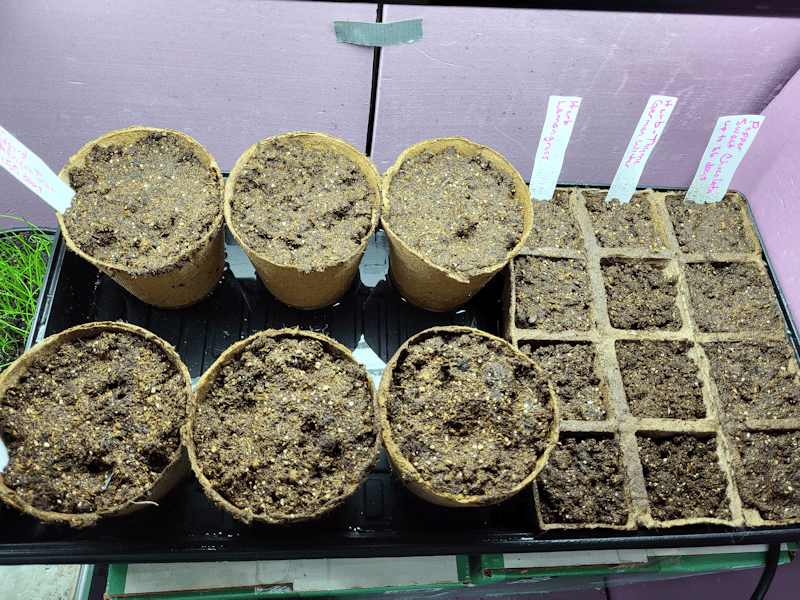
I also didn’t want to use my new 72 cell tray for just two items. In the end, I grabbed a biodegradable seed starting strip I had left from previous years. It had two rows of five cells that I separated.
The drain tray with the cardboard buffer between it and the heat mat had space available, so I removed the buffer. The strips got filled with seed starting mix pre-moistened with hot water – which cooled down fast, but was still warm by the time the seeds were sown. With their tiny size, I scattered tiny pinches of seeds over the surface, then topped them with vermiculate. I keep a smaller amount of vermiculate handy in a covered container I refill as needed. Over time, a vermiculite dust has started to accumulate, and I tried to use more of that, rather than all larger chunks.
I also made sure the drain tray had water in it for the peat cells to absorb. One of the issues with the biodegradable pots and seed strips is that, as they dry, they tend to suck the moisture out of the growing medium inside. I try to keep them moist through bottom watering to prevent that. It does mean they become pretty fragile and difficult to move around, but that’s something I can work around.
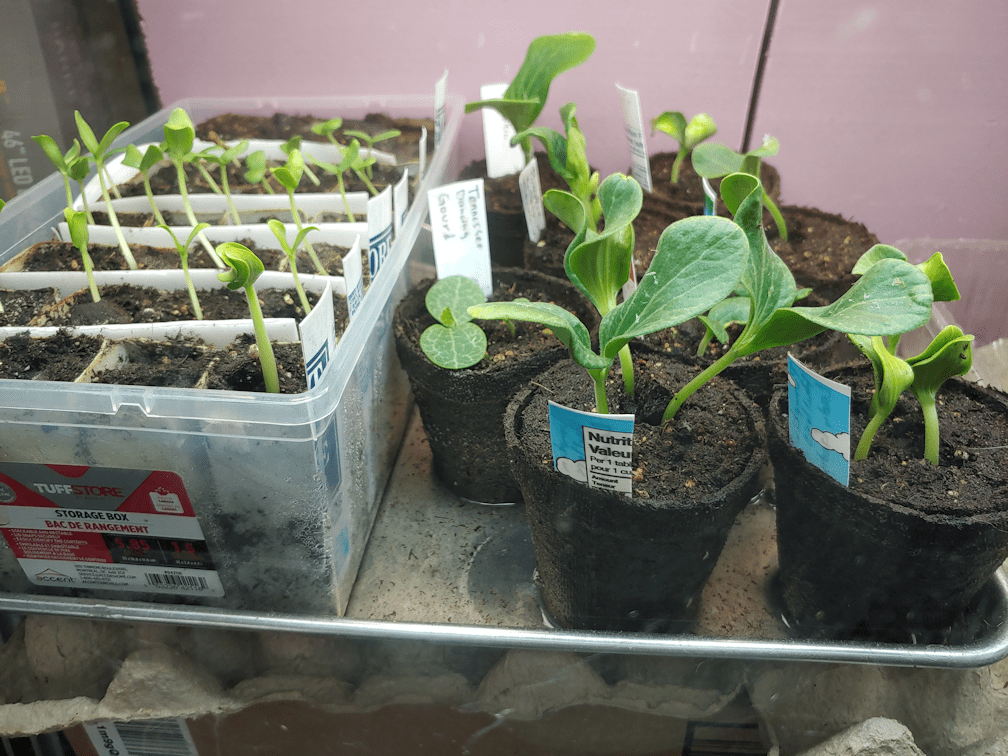
Without the cardboard buffer over the heat mat, I wanted to have some sort of buffer for the things that are already germinated – the celery and the one luffa, in this tray. Something that wouldn’t disintegrate in the drain tray’s water. You can see in the photo that I put a piece of rigid insulation under the celery, but I was not happy with that, as it prevents bottom watering. I ended up rearranging things so the celery was on the far side, with the one sprouted luffa beside it, and then put a carboard buffer under the heat mat only on that side. That helped to push the water in the drain tray more towards the biodegradable strips, which will help them retain moisture longer.
Over the next few weeks, there will be more herbs started, plus there are some that I intend to buy as transplants rather than try to start them from seed, myself. We’ll see if the thyme, sage and oregano from last year were mulched well enough to survive the winter. Little by little, the old kitchen garden will be mostly herbs with a few vegetables, rather than mostly vegetables with a few herbs. 😁
The hard part for me will be not starting too many of any one variety! It’s always good to sow extra and then thin the seedlings, but I have this terrible habit of repotting the “spares”, because they’re usually all really strong and healthy looking! 😄
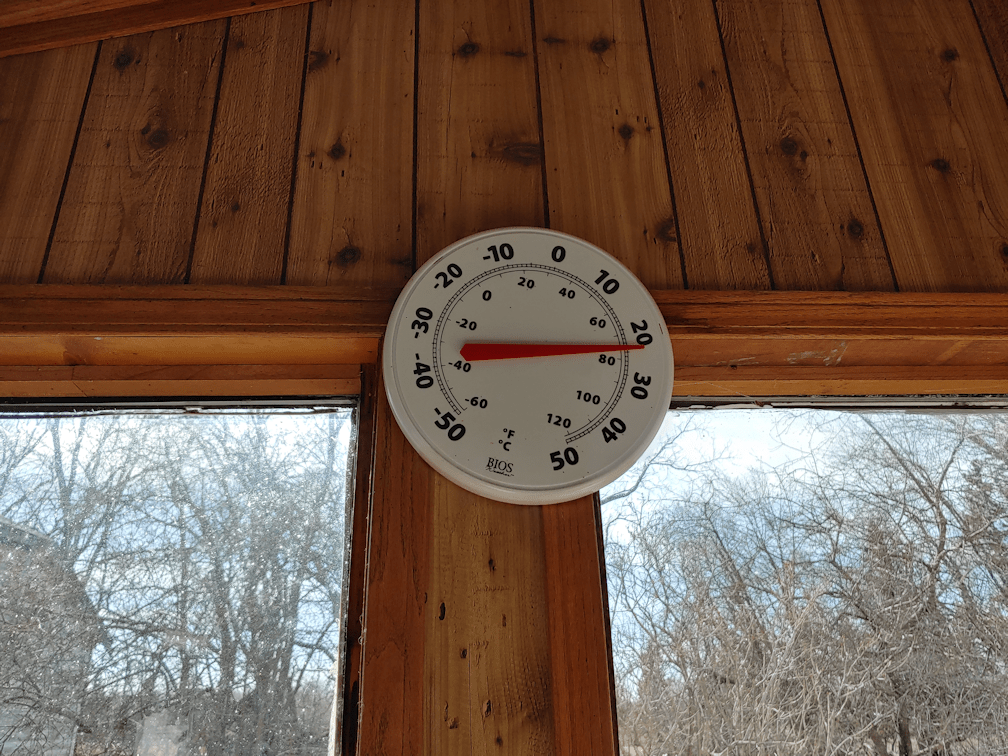
My biggest concern is having to use the basement for all this. It’s just too cold down there! Granted, the temperature is very steady, but the ambient temperature should be about 20-24C/68-75F, not 13-15C/55-59F. Even if we were using the living room, like we’ve done in the past, it’s only a couple of degrees warmer, but at least we could use the aquariums as greenhouses to keep a controlled area at a better temperature until things got large enough to handle being moved out.
Aside from not being able to safely move the tanks to the basement, we have got to figure out what to do with all the “stuff” that’s being stored in the “cat free zone”. We can barely move around in the living room anymore. Some things will be moved into the storage house, but they still have to be gone through, first, and the storage house is where my mother’s furniture went, so it’s got barely any room left – and I have very strict instructions, not to throw anything out!
*sigh*
One thing about gardening, starting seeds and planning it all out. It is a healthy distraction from the other stuff and keeps me from feeling overwhelmed!
The Re-Farmer