Today, we took advantage of the warmer weather and dug up our two potato beds.
The first one got done fairly early in the morning, before we headed to the city. Having already dug up a few of them earlier, I had some idea of what to expect, but I have zero experience with growing potatoes the “Ruth Stout” way.
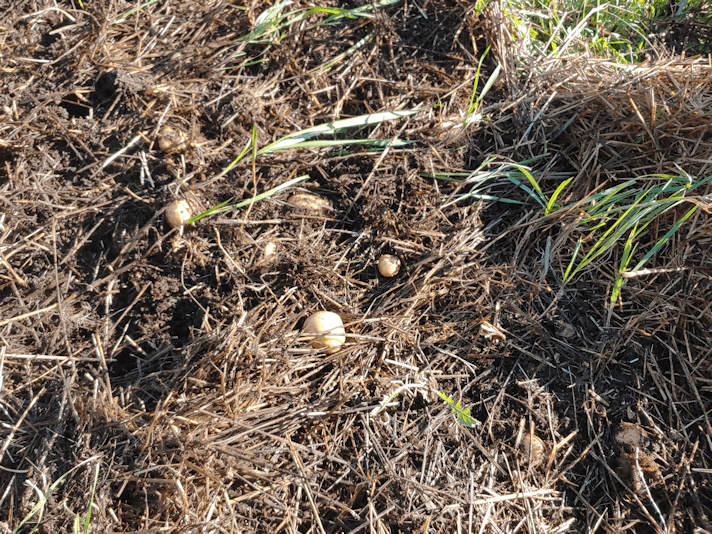
I first pulled up the potato plants, then carefully used my potato fork to lift off, then “rake” the mulch away. Here, you can see some of the potatoes I uncovered in the process.
I also uncovered several chilled little frogs! I carefully moved them to the mulch by the squash, where they could warm up in the sun.
I also uncovered slugs.
I did not rescue them. ;-)
Almost all the potatoes I found were just sitting on top of the soil! Some took a little more raking away of the mulch to find, but not much more.
What had been rock hard ground when we started, the mulched soil was so much easier to work – even with all the rocks.
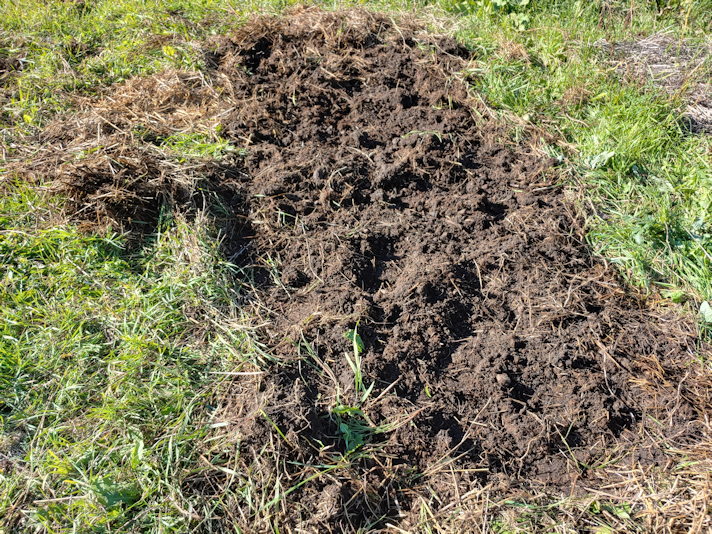
I took advantage of the situation and dug up the entire plot, so I could pull out as many weed roots as I could. The crab grass came out pretty easily. Then I hit a solid mass of roots near the surface, with a tap root of some kind that continued deep into the ground. I could not get it out with the fork! If I’d had the spade handy, I might have been able to cut through it, but since it seemed to be dead, I left it. It will be buried.
I did find a couple more potatoes in the process!
The end result looked like a 4×8 foot grave! :-D
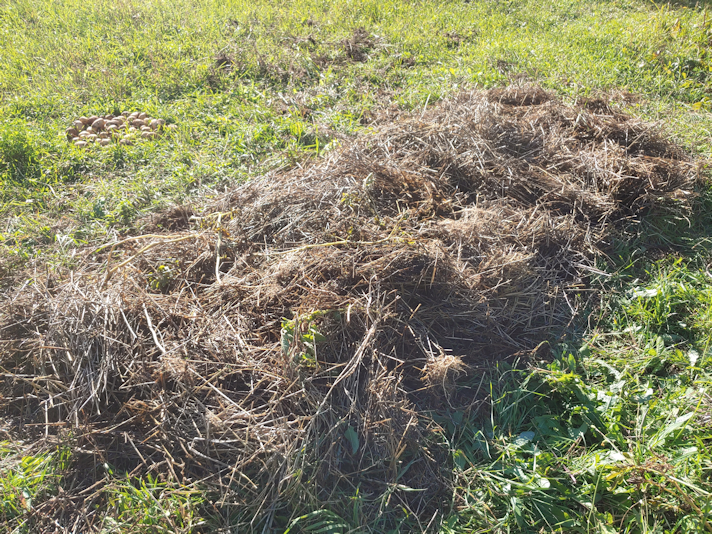
When I finished pulling up as many roots as I was able, the mulch all went back – along with the potato plants that had been pulled up.
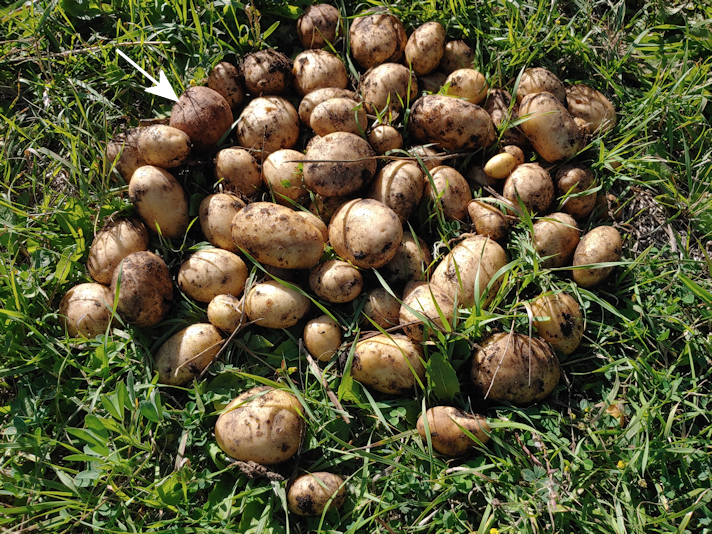
These are all the potatoes I got out of the one bed.
Also, note the one slightly darker potato with the arrow pointing to it. I’ll explain that, below!
When we got back from the city, I continued working on the second bed.

Once again, I was finding most of the potatoes on the surface of the soil as I pulled away the mulch.
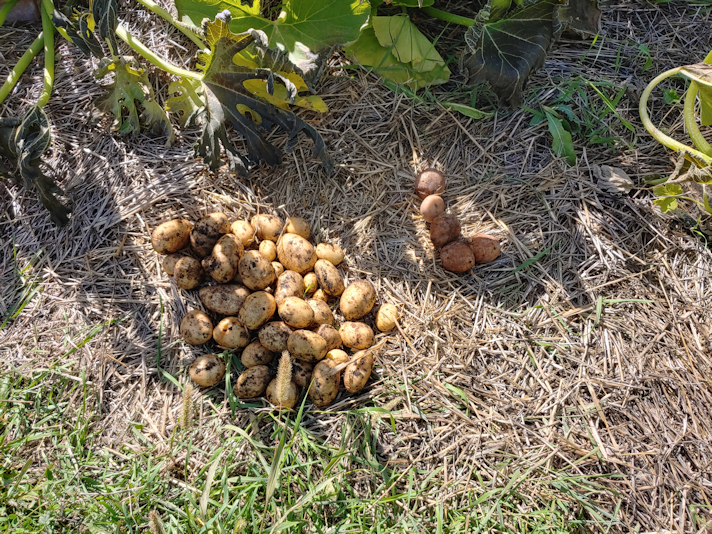
These are all the potatoes I found, before I did any digging at all. Unfortunately, quite a lot of them had holes eaten into them. :-( After digging, I found maybe 5 more.
Speaking of 5, do you see those 5 darker potatoes on the side?
Those are the original seed potatoes! The other bed had only one. While they had stems and roots that I broke off of them, they are just as hard as the day I planted them. I found the remains of some other seed potatoes, all mushy and used up like one would expect at the end of the growing season.
I got two 3 pound boxes of seed potatoes, which gave me 3 row of 6 potatoes in one bed, and 3 rows of 5 potatoes in the other, plus an extra. That’s 34 potatoes – and 6 in total never grew more potatoes!
As with the previous bed, I dug it all up, finding a few more potatoes, a whole lot more slugs, and pulling out weed roots.
Would slugs be the cause of those holes in the potatoes?

This bed had quite a few more rocks near the surface that I got rid of, too. My fork was hitting many more as I dug down, but I didn’t try to get them out, since we will continue to build these beds up. The mulch and old potato plants went back over the soil.
I then took all the harvested potatoes and laid them out on the dry straw mulch between squash beds, so they can cure (is that the right word for it?) in the sun. Except for the tiniest ones, which will be cooked and eaten right away. :-)
I then had the 6 original seed potatoes. What to do with those??
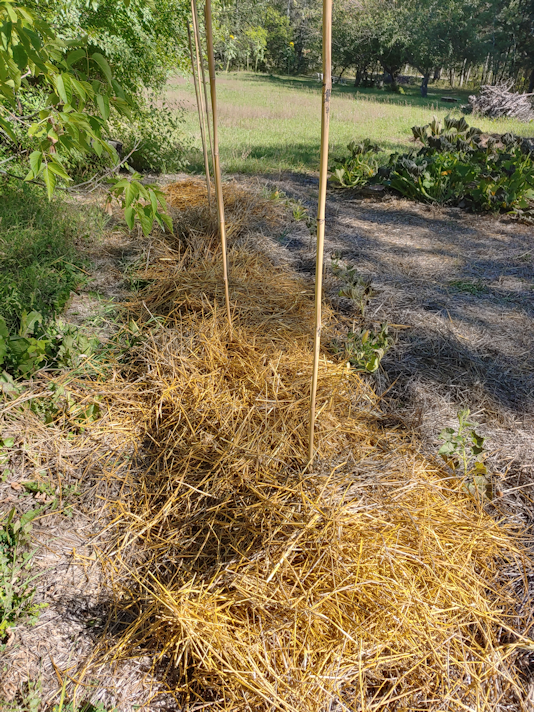
Yeah. I planted them, almost the same way they were planted in the original beds. The only difference is that I did loosen the soil a bit, first. Not to bury the potatoes – there are so many rocks along this end, I could barely do more than scrape away the mulch on top! No, it was so I could push in the bamboo poles to mark where they are. Even then, I don’t think the poles will be able to stay up for long. I could barely get them into the soil at all. No matter how I shifted and searched, I kept hitting rocks just inches below the surface.
What will most likely happen is that the potatoes will freeze over the winter, and nothing will come of them. Another possibility is that they will be protected by the mulch and, as soon as it gets warm enough next spring, they will start growing and we’ll have early potatoes started.
We’ll find out next year!
As for now, the potato beds are put to bed for the winter. I don’t know what we will plant in those spots next year. We do intend to do potatoes again, but in a different location. We don’t want to entice the Colorado potato beetle by planting in the same location again. We didn’t see a single one this year, but one of my neighbours a mile up the road mentioned that his potatoes had been decimated by them! My parents always planted lots and lots of potatoes, and I well remember going through the rows, picking off the beetles or their larvae, and hunting for the eggs to crush. Even with several of us doing that every day, some years my mother had to resort to using a poison powder of some kind, to get them under control.
I’d really rather not have to deal with them at all, if I can avoid it!
As for the squash, for now I have stopped harvesting any more of the sunburst squash, though there are a couple of zucchini that are almost large enough to pick. I prefer them when they are quite small, but with the sunburst squash, I want to give them as much of the remaining warm weather as I can for them to grow. As I write this, past 6pm, we are still at 21C/70F. We are supposed to stay fairly warm over the period covered by the long range forecast, with no more frosts expected overnight. That should give our produce a bit more time before we have to harvest what we can, then prep for the winter – and next year’s gardening! :-)
Our first year gardening since moving here has been quite interesting, and quite the learning experience. We will, for sure, continue using the Ruth Stout method until we are able to start making the accessible raised beds that are the ultimate goal. The extensive use of mulch is making a very noticeable, positive difference in the soil, even after just one year. My mother may be disappointing in our gardening, compared to what she had here, years ago, but I’m happy with our progress so far! :-)
The Re-Farmer