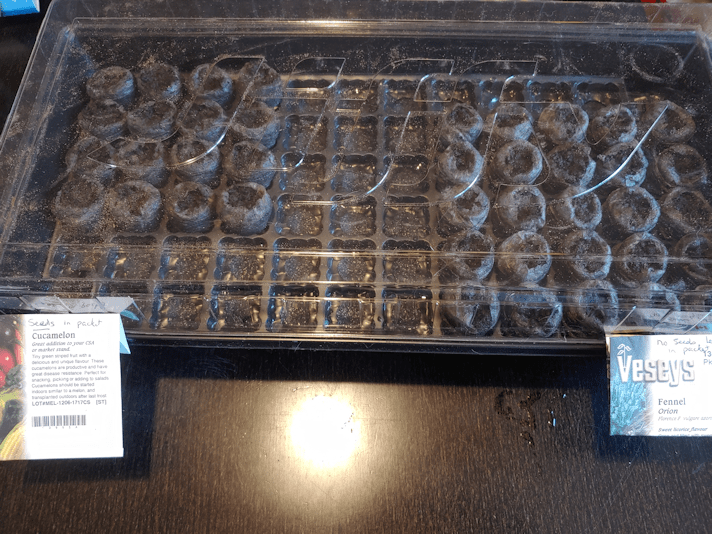
I got a little reminder today, of why I need to start using the sun room as a greenhouse.

The cats have already knocked the mini-greenhouse over once, and despite our best efforts at making sure the bottom of the plastic is pushed under the frame, the cats are determined to get in. Especially Susan! They’ve even clawed a hole in the plastic at one corner. As adorable as she was, taking a nap half in and half out, this is just not a good thing. :-(
The first order of business was to measure and cut the door down to size. We did remember to remove the hinges first, though. ;-)

I’m so excited. I got to use the chalk line we found in the basement to mark where I needed to cut! :-)
I also got to use the circular saw that was gifted to use last year. I’ve never actually used one before. With so many older brothers, I didn’t get to use a lot of the tools we had. Still, it’s pretty self explanatory.
I am, however, a lefty.
It wasn’t the straightest of cuts, but that’s okay!

When we put the hinges back on, we’ll make sure to line them up with the existing spaces on the door frame.
Speaking of which…
The door knobs on the replacement door turned out to be about half an inch off from the old door. So, while the girls scrubbed and cleaned the door, I removed the plate from the door frame, then measured off where it needed to be moved to. After a bit of hunting, I found a chisel and prepped the new location for the plate.

I won’t put the plate back on until the door is installed, in case I have to make any adjustments.
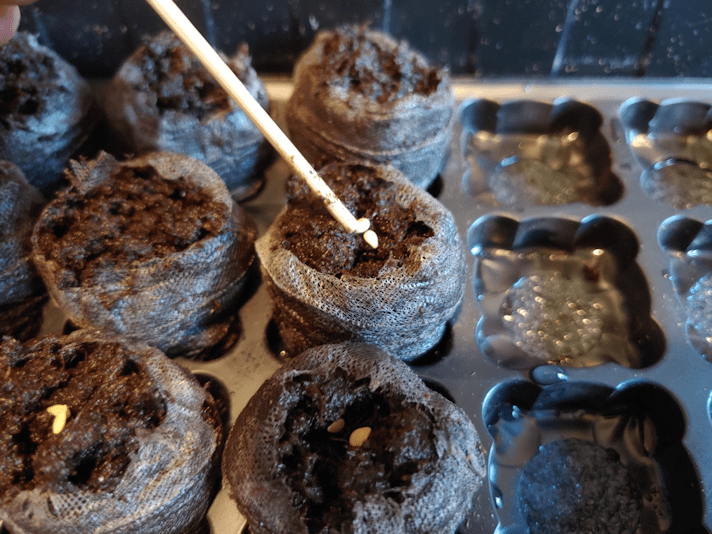
I also moved my seedling trays into the sun room.

The sun room has been reaching more than 20C (68F) during the day. It’s the night time temperature that concerns me a bit, which is why I also moved the mini-greenhouse in. The plastic cover will help keep heat in a bit, so the trays can be moved into there before it gets too chilly.

All clean! This is the outside of the door. It’s not in the best of shape, but it’s better than the old one, and will do just fine.
While it was drying, I decided to check out the future garden space where the old wood pile used to be. I figured I would use the potato fork and see how the soil is, where we covered it with black plastic.
The soil is amazing! The tines of the fork sank all the way into the soil. No ice in there at all, and it is so soft. It will be perfect for the beets and carrots we plan to plant there.
Except…

It’s also full of roots. You can see the dark pile to the side in the above photo; those are the cherry roots I’ve pulled up so far.

The area is just cris-crossed with cherry roots that we will need to dig out. I was also finding pieces of rotten pallet wood I’d missed last year, and some huge roots from the old spruce stumps nearby. We’ll need axes or saws to get those out.
Hopefully, the girls will be able to give me a hand and we’ll get this entire area free of roots tomorrow. Beets are supposed to be planted as soon as the soil can be worked, so as soon as we get it cleared, we can get those started. The ground is so soft that, when it comes time to plant, I’ll have to make sure to put boards between the rows to walk on, so I don’t sink. !!
That reminds me. I got a notice today that my soil tester and garden auger have been shipped and should arrive on Friday. The soil tester measures temperature, moisture and PH levels. The auger is a drill attachment, and we won’t need that until we’re ready to plant in the old garden area, probably in late May.
While I was working on this, my daughter came out with a respirator and a can of spray paint.

This is the same blue we used on the driveway gate. :-) It took an entire can to do two coats on this side.
Then, because it looked like it was going to rain, we made space in the sun room and brought the saw horses and door in to finish curing.
Tomorrow, we would normally head into the city for a big shop. Talking to the girls about it, we decided to wait a couple of days. Instead, I’ll go into town and pick up some more paint, so we can do the other side of the door.
Plus, takeout food. I am just dying for some takeout. :-D I have no idea where; the Chinese restaurant we normally go to is closed on Tuesdays, and the pizza place we order from doesn’t open until 4 pm.
There is, however, that fish and chips place that opened their summer time take-out window early, so they could stay open during the shut down. They’ve got the best pollock and fries I’ve ever tasted – and I don’t particularly like fish and chips in the first place! :-D
Oh, wow. I’m feeling hungry just thinking about it…
So tomorrow, we should be able to go the other side of the door, and get that garden area de-rooted.
The Re-Farmer