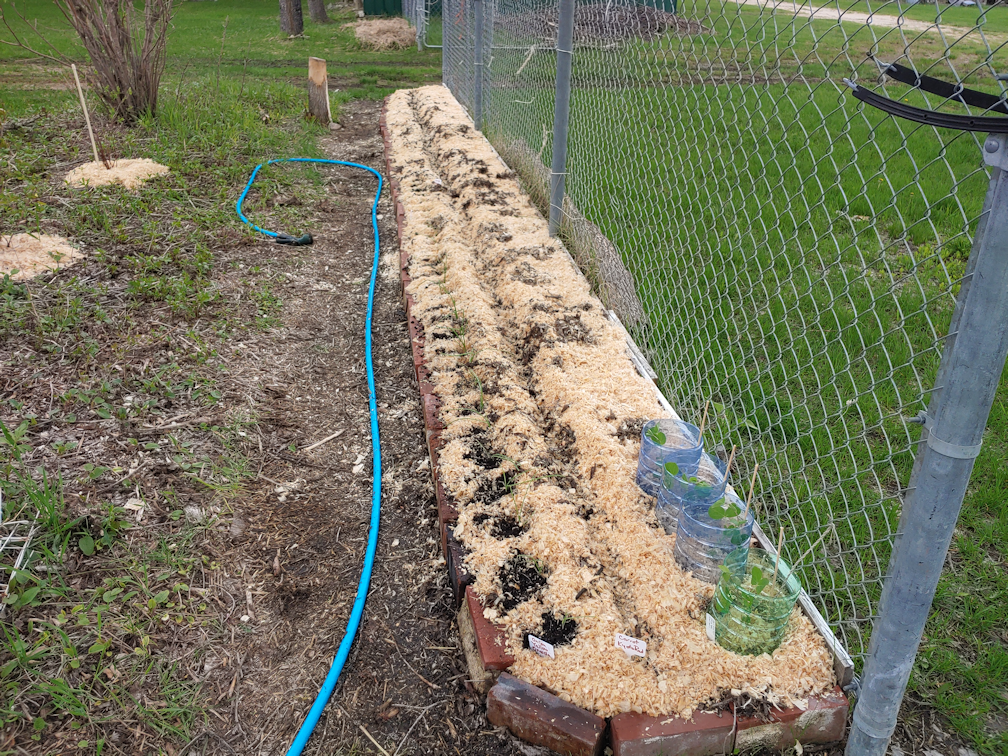
I was going to post progress pictures, but I need to conserve storage space on WordPress until I go back and resize more old photos. I might do a start-to-finish photo video, instead. Until then, here it is! The L shaped wattle weave bed in the old kitchen garden is DONE!!

The insides of the woven walls were first lined with grass clippings. It turned out to be a very windy day, which made that job more challenging then it should have been!
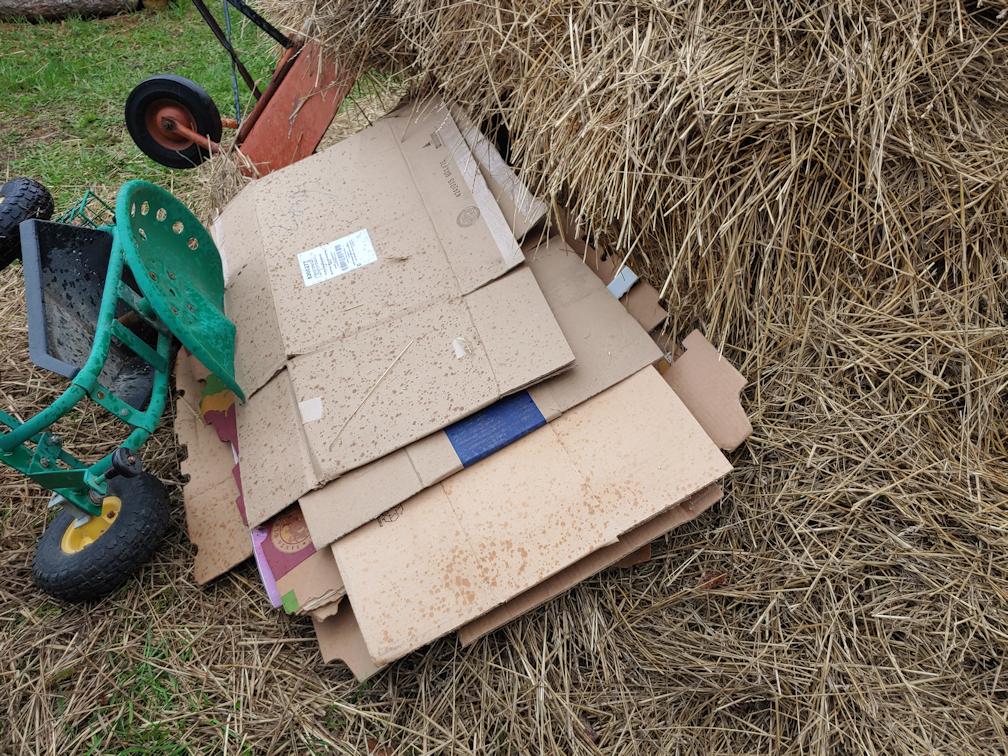
Next, I used a hoe to make a trench down the middle, pushing the soil up against the grass clippings. The cardboard from the sun room I’d set aside for the burn barrel came in handy, as it was suitable for lining the bottom of the trench. With the bed being so narrow, the size of the boxes didn’t matter as much, since I had to cut them to fit, anyhow. The cardboard then got a soaking.
Next came a layer of corn stalks reserved from the garden clean up, which got a soaking. I raided the compost pile of half rotted kitchen scraps to put on top of the corn stalks, followed by a soaking. Then I raked some leaves off the grass nearby and added that on top, which then got a soaking. At this point, I climbed in and walked back and forth over it, to crush the organic materials. Whatever we decide to plant here next year, I don’t want the roots to be finding big gaps in the soil and drying out.
Finally, I headed out and uncovered the pile of garden soil we bought a couple of years ago. The cover kept the pile from washing away, but didn’t keep the light out, so the pile was covered with a matt of weeds!
I also realized the “tarp” I’d found to cover the pile had channels in it. We’d noticed them when we first dug it out, but only recently did I find the carport support peaces my brother said was in the hay loft. Some time after that, I’d dug out a tarp I thought we might be able to use to cover the hole in a shed roof, but when I unrolled it, I saw it was part of the carport. I figured it was a roof sheet or something, since it isn’t that big. Now I realize that this piece was part of it, too. So I dragged it off and lay it out on the lawn, with weights to keep it from blowing away. We’ll hose it down and see what we can do with it. The first sheet I’d found had a row of tears in it. This one does not.
I’ll have to find something else to cover the garden soil pile with.
It took 4 1/2 wheelbarrow loads of sifted soil (to get as many weed roots out as I could!) to cover the whole thing. In the process, I had to stuff more grass clippings higher up the wattles, so the soil wouldn’t fall through the gaps.
No, this time I did NOT give it a soaking! I didn’t want to compact the soil.
By this time, several hours had passed, so I took a break for a lunch the girls prepared for me, then it was back to work. There was a little bit of grass clippings left, so that got scattered over the soil – at least what the wind didn’t blow away while I was trying to spread it evenly! I then raked up and added a mulch of leaves. That did get a soaking, to keep the wind from blowing it away. Finally, I grabbed the wagon and filled it with as much wood chips as it would hold without spilling as I pulled it back. It turned out to be just barely enough to cover the entire bed with a thin layer.
Once that was done, the entire bed got a very thorough soaking. I wanted all the layers to be good and damp. I might even soak it a couple more times, before our highs start dropping below freezing. We hit a high of 18C/64F today (though with that wind, it didn’t feel like it!), but tomorrow our high is expected to be only 6C/43F, and that’s the warmest day we’ve got left. We are expected to have less than a week with highs above freezing. Which isn’t too bad, for November.
Anyhow. The more the bed gets moistened before things start to freeze, the better it will be for spring. With all the layers, the bed got filled to the top of the shortest walls. My intention was to have it a bit lower, and that will happen as the layers settle and the organic matter decomposes. I expect it to drop at least a couple of inches over time.
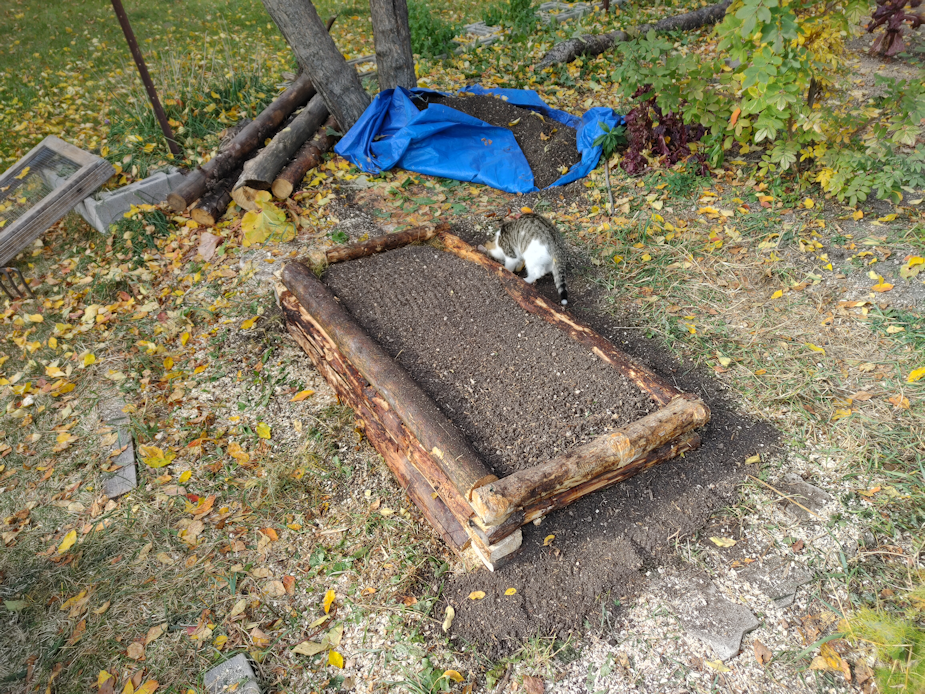
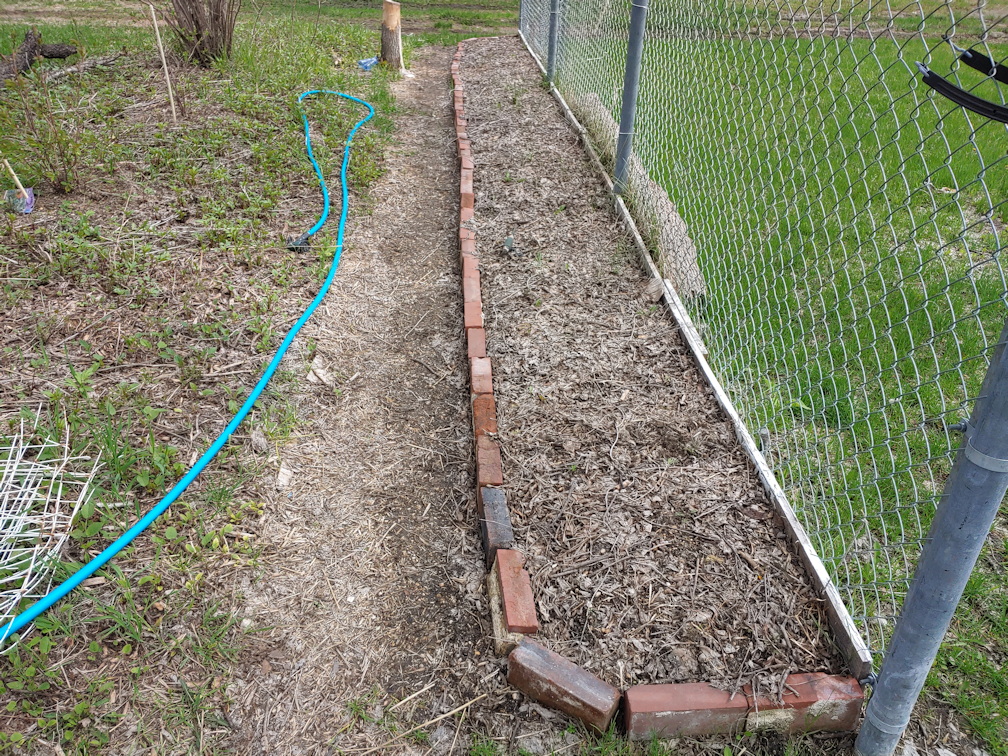
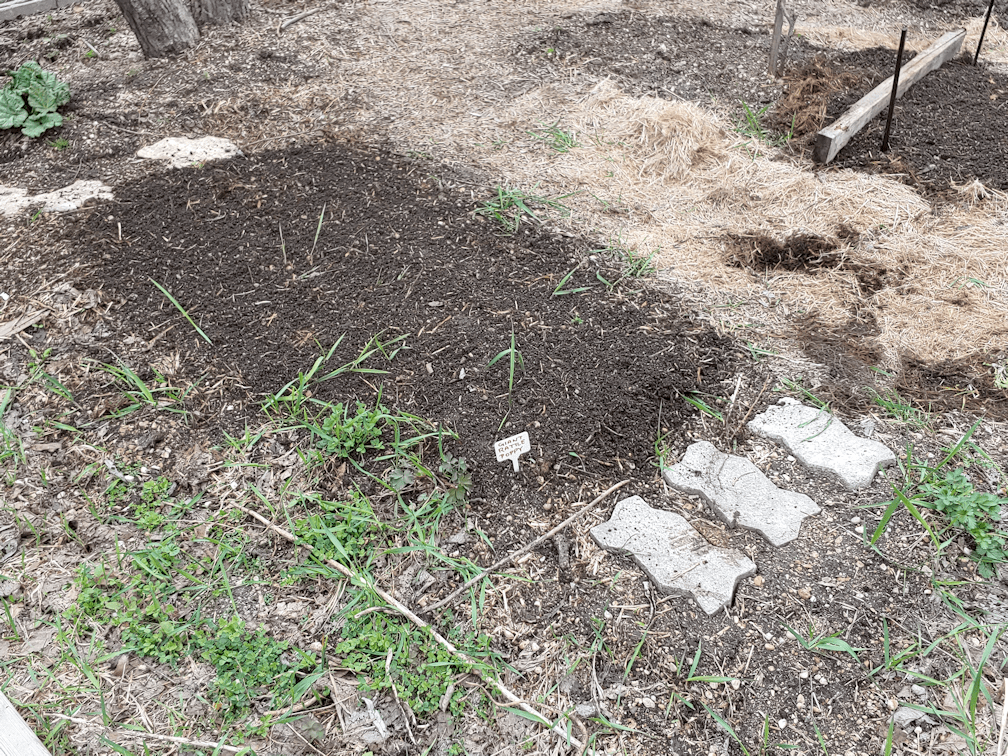
While working on this bed, I spent a lot of time going over and around the rectangular bed we’d planted beets in. Once the L shaped bed was done, I decided to work on that one, too. It is framed with logs, and I’d like to raise it a bit higher. This is how it looked, at the start.

The first year we had a bed in this space, it was a sort of triangle shape that was too wide at the end near the house. My daughter and I changed the shape of it, then grabbed some pieces of smaller dead spruces that had been cleaned up, to frame it on three sides and keep the soil in place. We planted carrots here last year, which the groundhogs decimated repeatedly. Amazingly, we still got a crop out of it. This year, we planted beets, which failed. Sort of. I’ll talk about that in a separate post!
There is a pink rosebush on the left, and this year – after pruning away more branches from the ornamental apple trees – it finally had substantial growth and huge numbers of flowers.
It’s amazing what a little sunlight will do!
This year, when we covered the rectangular bed, I had a board across the end by the rose bush to hold the mesh down, but otherwise, there’s nothing there. The ground slopes downwards from the house, so that end is lower than the end closer to the house.
That will be built up.

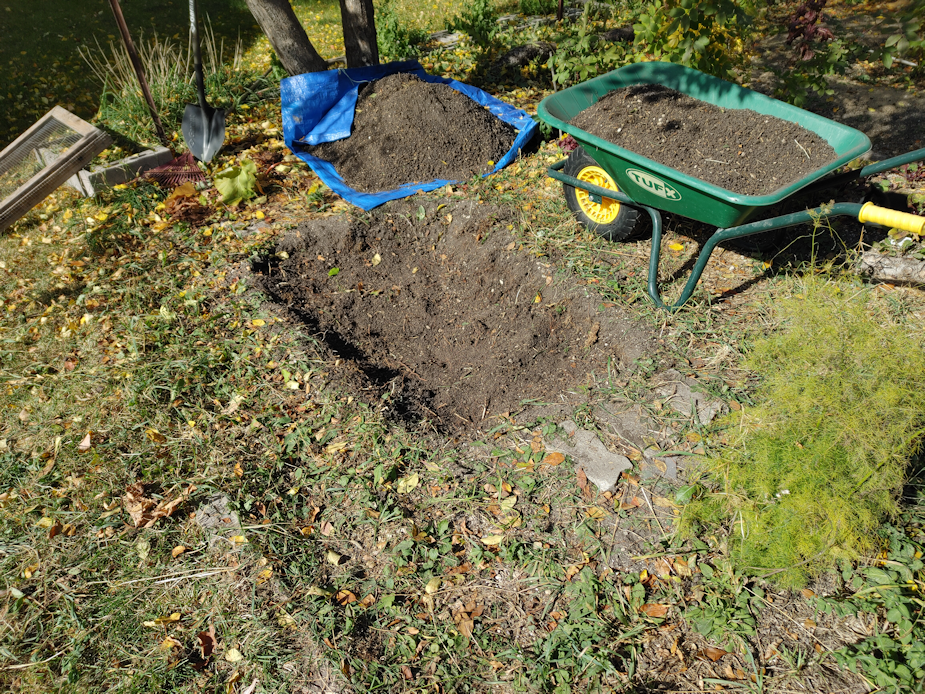
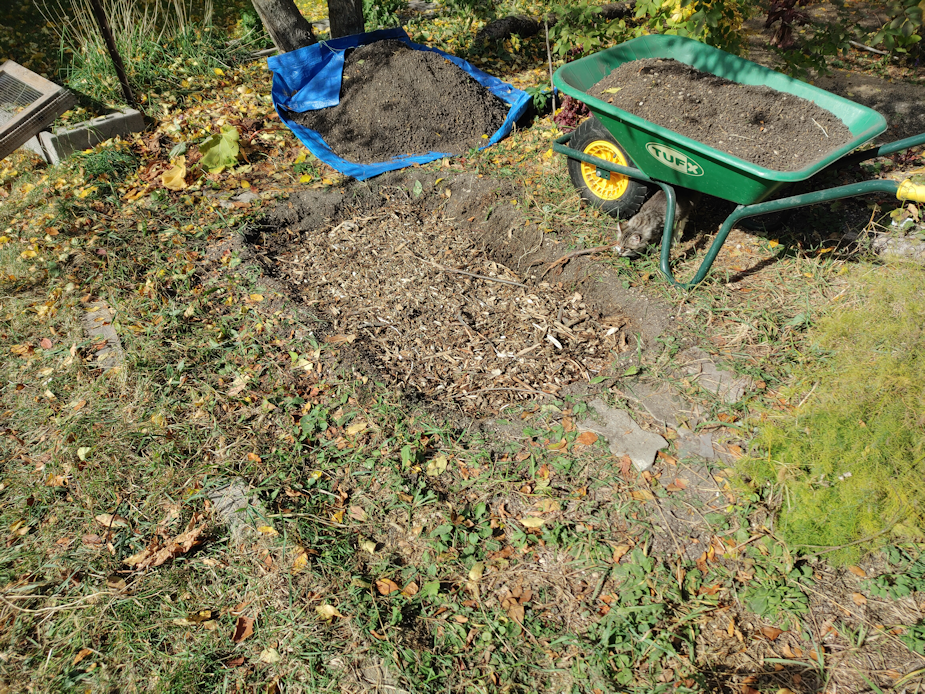
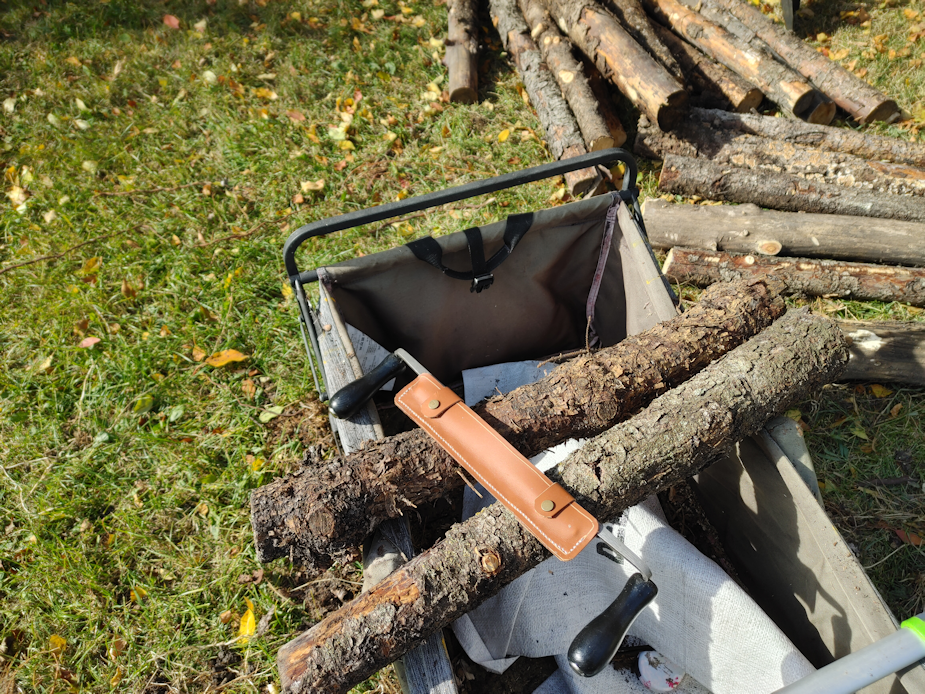
The first thing I did was dig a shallow trench across the bed near the rose bush. I still had some short logs I’d brought over for tiny log bed and border that didn’t get used (you can read about that here, here and here. Links will open in new tabs, so you don’t lose your place. 😊) I placed one of the shorter logs across, in the trench. Then I pounded in three stakes at each corner, to create upright supports. When I find logs long enough, they will be placed between the stakes. I want the long sides to go on top of the cross piece closer to the house, with a second cross piece to fit in between them, but have it the opposite way on the low side. One of the current side logs is a fair bit shorter than the other, but I think I find find something to fill the gap.
Though I plan to make the bed only one log higher, with the rose bush getting so big, the wall beside it is probably going to be three or four logs high to keep the branches out of the garden bed. I forgot to take a picture, but I’ve already added another log to that end. It’s slightly longer than the one in the photo, so that it is overlapping the longer side log. When I find a gap filling piece for the bottom, it will be tucked under that second log. The second log isn’t as thick as the bottom one, so I tied off the pair of uprights on either side of the ends, to secure them, and will do the same with each log that gets added. I made sure those pairs of upright supports where the tallest and strongest, since they’ll be holding the most logs.
And that was enough for today! I need to go hunting for long enough logs for those sides. If I can’t find any that are suitable, we might add more of those support stakes and use shorter logs instead. We have plenty of short ones that couldn’t be chipped, that were cut to roughly four foot lengths. The bed, however, is about nine feet long, so that might not work. We’ll see.
That done, I had time to work on emptying the rain barrel, which had enough water still in it to do the Korean Pine and Ash tree seedlings in the outer yard, as well as the haskaps and a currant bush in the south yards. So that’s now empty and ready for winter. Usually, I tuck it away in the old kitchen garden for the winter, but I think this time I’ll leave it where it is. It’ll get snow in it, which should be fine. I just don’t want to be chipping it out of the ice and snow again, to set it up to catch the snow melting off the roof in the spring.
While I was doing all this, I had the attention of so many yard cats! Even the ones that don’t like people, like to hang around while I work.
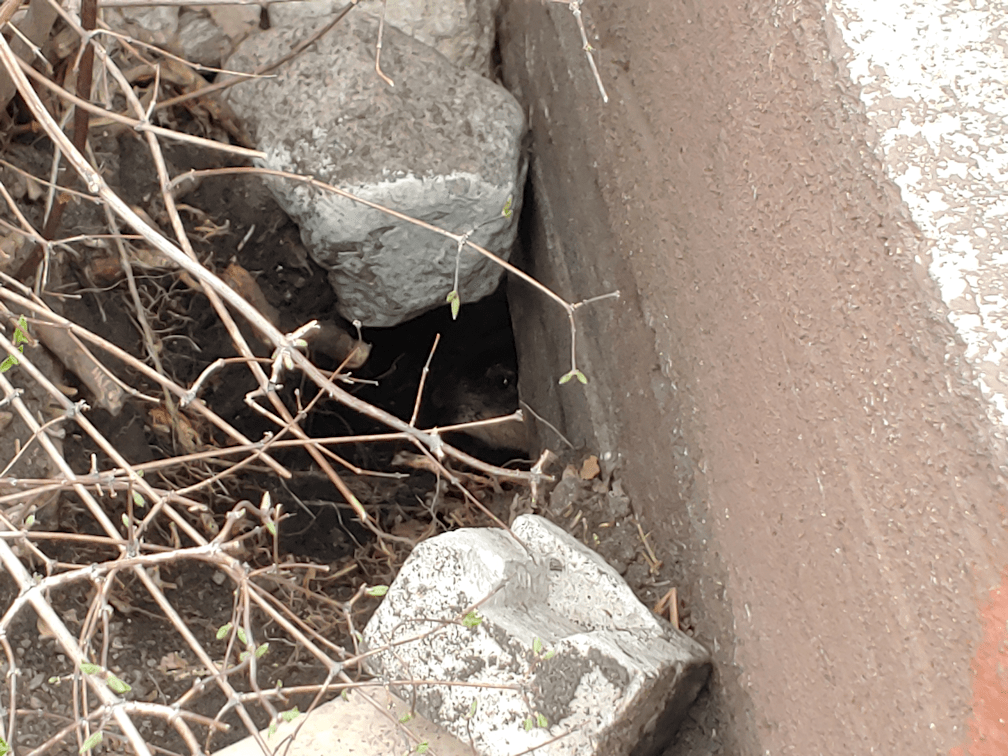
While I was putting things away for the night, I spotted this…

He was napping in the wheelbarrow at first, but I interrupted him while taking a picture. 😊
What a handsome boy! We have managed to pet him every now and then, but he isn’t a fan of attention.
I did get to give the bitty baby a cuddle, though! He came out to explore, and after several attempts, I was able to cat him. He put up quite a fight until I got him into snuggle position and started scritching his ears and he finally calmed down. I hung on to him for quite a while before putting him down, and he didn’t run away. Hopefully, he will become more accepting of cuddles as time goes by. We’ve had others that became less accepting of cuddles and attention over time. Ah, well. We do what we can!
The Re-Farmer