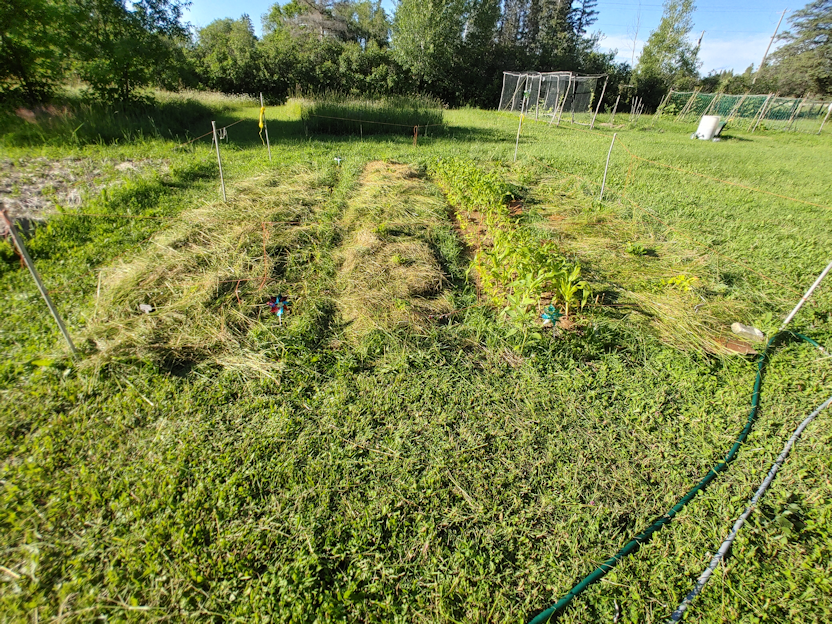
Just a little big of progress in the garden.
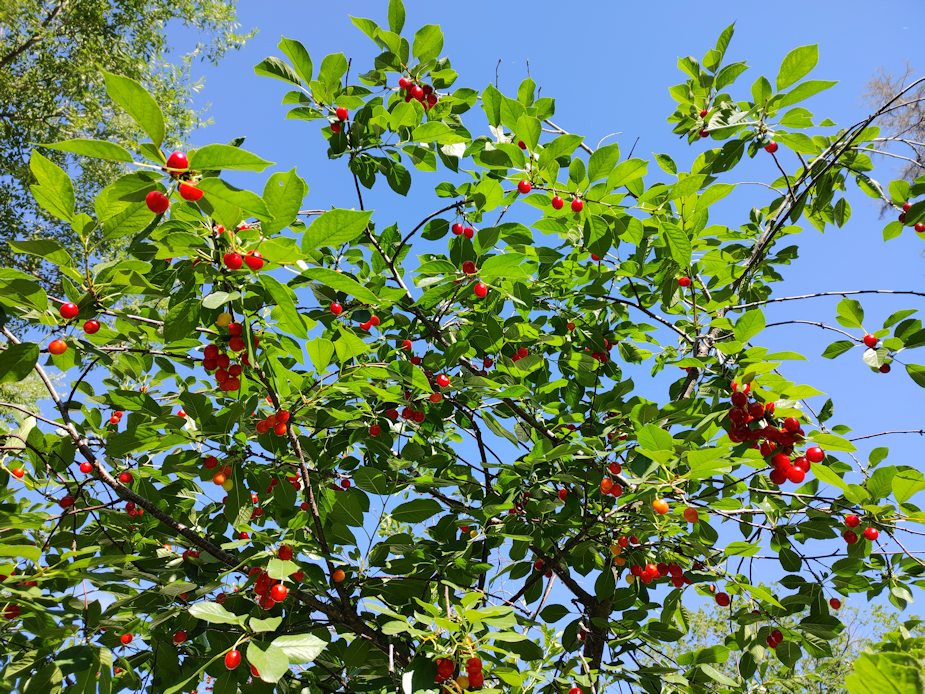
The sour cherry tree by the house has lots of ripe berries, ready to be picked. I’ll have to get the girls to do it, though. A ladder will be needed to reach the ripest ones at the top. This is the most cherries we’ve had since moving here.

We got a pretty decent amount of yellow bush beans this morning. Not enough to make it worth blanching and freezing, never mind canning, but enough for a couple of meals this time.
The purple pole beans are getting more pods, though they are still very thin. I saw the first of the green pole bean pods this morning – tiny wisps of pods! Still no sign of pods, or even flowers, on the red pole beans, while the shelling beans still have lots of flowers, but no pods that I can see.

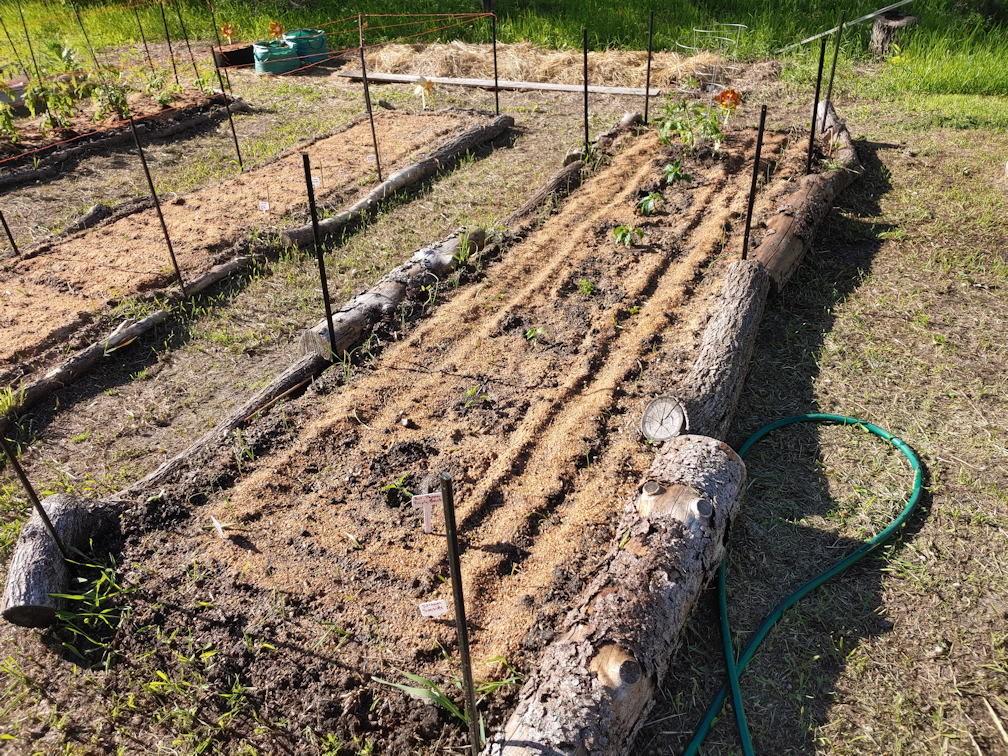
We should be able to harvest the garlic from this bed pretty soon.

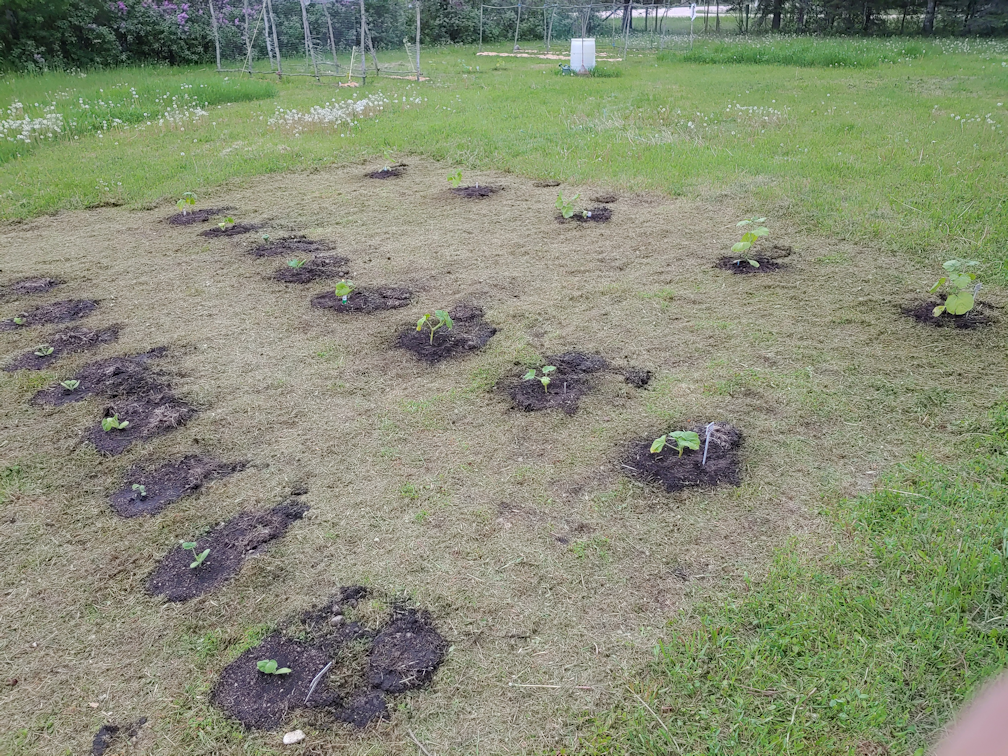
One of the Baby Pam pumpkins is starting to turn colour. This variety doesn’t get much bigger than this. From the looks of it, these are going to be the only winter squash we get out of this patch, other than maybe one kakai hulless seed pumpkin. Even the Teddy squash, which are a very small variety with only 55 days needed to maturity, will likely not get a chance to produce anything. The green zucchini still isn’t producing; they did have female flowers, but no male flowers bloomed at the same time to pollinate them. We do have some golden zucchini developing, though, and some Magda squash I should be able to pick in a few days. Maybe even a yellow pattypan squash or two.
The paste tomatoes, at least, are coming along nicely, with more of them starting to blush.

I was able to harvest more green onions from the high raised bed. Most of these will be dehydrated, and there are lots more I can harvest.
The handful of pea pods are almost all from the second planting. The first planting is, amazingly, still blooming!
Most of the onions seem to be growing well. Some of the red onions have very different shapes, and they are starting to be noticeable. I’m thinking of picking one or two for fresh eating, just to see how they taste.
The one surviving type of turnips are finally starting to have visible “shoulders”. We might actually be able to pick some, soon.
I don’t know what to make of the potatoes. They’re done blooming and we should be able to harvest young potatoes now, but I want to leave them as long as I can. The plants themselves are nowhere near as large as potato plants normally get. There was so much water in that area, I’m sure it stunted the growth of the ones that survived. I still might dig one plant up, of each variety, just to see what there is to see. Will the lack of foliage translate into a lack of potatoes, too? I was really hoping to have a good amount of potatoes to store for the winter. It certainly wouldn’t be enough to last the entire winter for the 4 of us, but it will help us decide if these are varieties we will get again or not.
Every time I’m in the garden, I’m thinking of next year’s garden. One thing is for sure. It is nowhere near big enough to meet our goal of providing sufficient amounts of food to last us until there is fresh produce again. We planted so much, with the expectation of losses, but this year the losses are just too great. Which has really surprised me. I did not expect to get less productivity this year, compared to last year’s drought. Mind you, during the drought, we were watering the garden beds every day, twice a day. This year… well, adding water is easy. Keeping water out is not. Still, even if everything had gone well, we would still probably need double the garden size to meet our long term goal. Short term is to have enough to supply our needs for at least 3 months – the hardest winter months, when we might find ourselves snowed in or the vehicles frozen.
Every year we garden, we figure things out a bit more, from what weather extremes we need to work around, to how much of anything we need to grow, to what we like enough to grow year after year. More me, half the enjoyment of gardening is analysing the results and using that information to make decisions for the next year!
That’s one good thing about having hard gardening years. You do learn more from it, than from years were everything goes smoothly.
The Re-Farmer