The outside cats are most confused!
There are no food bowls in the sun room right now. I checked the critter cam a few times during the night, and would sometimes see a cat wandering around where their platform and cat beds used to be, seeming lost! This morning, there was a whole crowd of them, milling about, waiting for their breakfast. They were all over the baby jail, inside and out, but there are no beds or blankets inside it right now, either.
As I fed them, I counted only 17, though.
With yesterday’s high winds, while checking around the yard, I was surprised to find just a couple of fallen branches, and just one broken tree.
The trunk of a poplar snapped off and will need to be cleared out. There’s also a live spruce tree nearby that has been slowly falling over, but it’s been doing that for years now. I’ve been keeping an eye on it. The only reason it’s not on the ground already it because it’s leaning against another tree. The dead trees around it, however, are all still standing straight!
It looks like we won’t be getting any haskaps again this year. The one “Mr.” haskap is leafing wonderfully, and even showing flower buds. The “Mrs.” haskap that was purchased and planted the same year is barely showing leaf buds. The smaller “Mrs.” haskap that was planted the following year is actually further ahead, but is really small compared to the other two. There’s just 1 year’s difference between them, so it should be much closer in size.
We’ll see how they do this year. I keep saying we need to transplant them to a better location, but every time I talk about it with the girls, they are concerned that moving them would damage them too much. Considering how poorly they are doing now, I don’t see what difference that makes. For the length of time we’ve had them, we should be getting plenty of berries every year by now, but there’s just no possibility of proper cross pollination to happen.
Of course, I checked the bed with the peas, carrots and spinach planted. I think I might, maybe, possibly be seeing a carrot sprout or two, and there are no peas coming up yet, but we’re finally seeing spinach!
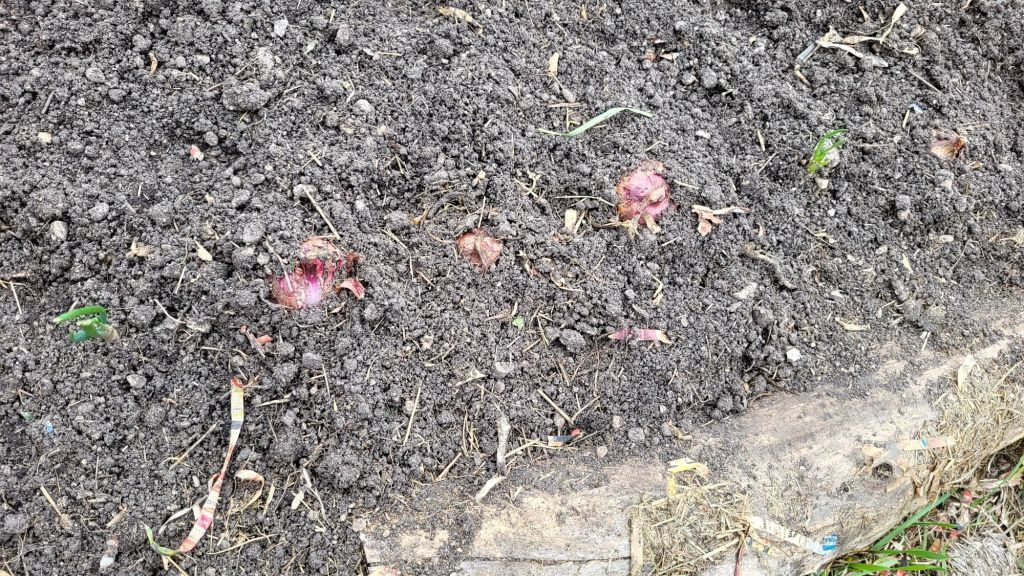
The garlic, meanwhile, is seeing an absolute growth spurt, in all the beds they are planted in!
Syndol was following me around this morning, and he is frustrating me to no end! He kept going into the garden beds as I was checking them. I’ll have to put something around the bed with the spinach to keep him out! We can’t put a cover back on it, because of the T posts set up inside, which will have netting set up for the peas to climb, later on. The tiny raised bed that has its own cover is closed at the ends, so cats can’t get inside. Instead, Syndol climbs on top and uses it like a hammock! He’s the only cat I’ve seen that does that, but I’m sure there are others. I have to put another support hoop in the middle, plus a cross piece at the top, because there’s no way we’ll be able to keep the cats from climbing it.
But not today.
Today, the focus is back on the sun room. First, the windows in the plant corner need to be cleaned, then the second light hung back up over where the makeshift table will be set up. After that, we can set up the plant table over the baby jail, and bring the cat beds and blankets back.
Washing those was quite the thing! We split them all into two loads, and both loads had to be washed twice. Actually, I think my daughter washed the second load a third time, during the night. The amount of debris that had to be cleaned out of the washing machine’s tub was rather shocking, too. Some of the bedding needed a lot of mashing and bashing, as the layers inside got all messed up and bunched up. There’s one large cat bed that was donated to use that I’ve just not been able to get flat and even again. I’m serious considering opening up a seam so I can reach inside and break up the filling. The cats hardly even use it, because gets so lumpy after being washed.
So that’s my main goal today. Getting the plant side of the sun room done. Then the tools and storage side can be worked on.
That side, I’m afraid, it probably going to have a lot more messes hidden among the stuff they’ve knocked about. Now that everything’s thawed out, there’s an unfortunate smell, and it has to be coming from somewhere on that side.
At least it’s got a concrete floor that makes it much easier to clean!
The Re-Farmer