Spoiler alert.
It’s not finished, and won’t be for a while!
The first thing I did was harvest our unexpected maple coppice by the pump shack. It’s been a few years since I cut the suckers back from the old tree stump, so they were getting pretty big – big enough to start getting into the power line for the pump shack.
Time to take them down.
I cleared out all of it, including the smaller suckers. It’ll grow back, as maples tend to do, and the first ones should grow pretty straight, without having others to grow around.
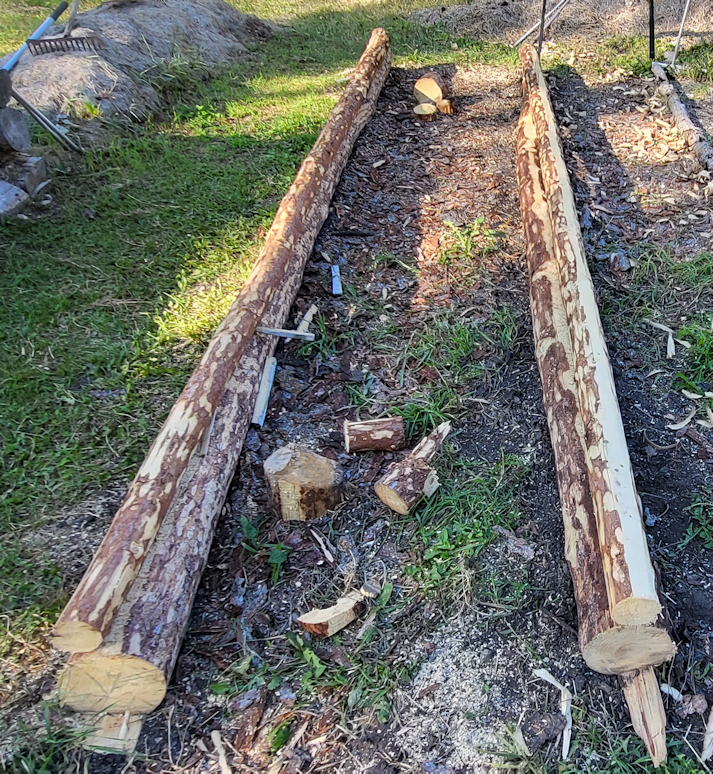
The two stacks in the last picture of the slideshow above are the largest, longest and straightest ones. All the rest went onto the branch pile for future disposal.
The ones I was keeping got dragged into the inner yard, where I could work on them in the shade. I’ve been setting aside things in two piles there. One of longer, straighter poles and branches that can go into the chipper chute. The other is leaves, branches, etc. up to 1/2 inch, which can go into the shredder chute. Once I’ve got quite a bit built up, I’ll be bringing the wood chipper over to clean them all up.
The first thing to do was cut away all the little side branches and twigs.
The resulting pile looked so much smaller!
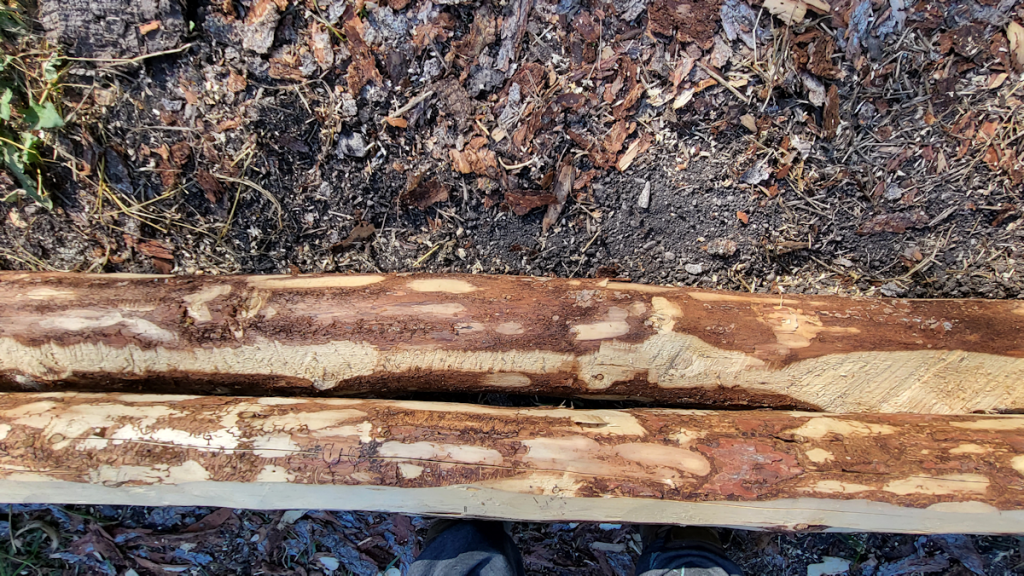
Since these are going to be in contact with the ground, my next job was to debark them.
Which took such a very long time.
It had to be done, though. Otherwise, the maples could start growing again. Willow and poplar – the other two materials we have for this – do the same thing. In the current wattle weave bed, I used stripped wood on the bottom layers, while the rest still had their bark. Amazingly, even without contact with soil, I spotted some fresh leaves growing!
I have to admit to feeling conflicted on this job. The job itself went well; stripping the bark on freshy cut wood went quite well and was almost meditative. I still felt like I was wasting time, when I could have been working on the bed so much faster, if I just left the bark on! I’m glad I took the time to do it, but gosh, it took forever.
I started stripping bark from the largest ones, leaving the shortest pieces with their bark on. By the time I was getting to the last few, the thinner ones were starting to dry up enough that I had to use my utility knife to strip the bark off, more and more.
I’ve got quite the pile of leaves, twigs and bark started for the shredder chute!
The largest of these were going to be the vertical supports. I measure the bed and worked out that I needed 12 for the long sides. I debated whether to just have one more for the ends but decided to have three smaller verticals at the ends, slightly offset from the long side’s posts. I decided to make the verticals a bit taller than the other bed, too, and cut them to 2’6″.
The posts then needed to have points made. For that, I went into the side of the garage where we store the lawn equipment. My late brother had set up a workshop in there, and there’s still an old vice on the counter. I was able to use that – wrapping the posts with an old cloth grocery bag to protect the wood from the vice – and the draw knife. That green wood cut so nicely!!
Ideally, I would then have treated the wood with oil, or charred the points, but I didn’t have oil for that sort of thing, and we’re under fire bans. So they went in as they were.
I’ve decided to add some wattle weave on the retaining wall blocks as well. With the spaced in the old chimney blocks, it was easy to evenly space out where the verticals would go, then hammer them into the soil. I then had to re-level the edge of the bed, since critters have been playing in the lose soil. I used one of the posts to measure roughly 2 feet from the retaining wall to set the corner posts, then set a line between them. I then used the line and the posts in the retaining wall blocks to set the remaining posts, before hamming all of them into the soil.
Then I dragged over the remaining maple pieces to start weaving.
The longest ones were used up in no time. Two were needed for each level.
The verticals are roughly 2 feet apart, like the other bed. In videos, etc. that I’ve seen about it, they tend to recommend 1 foot apart. When they’re that close together, it’s harder to bend the horizontals around the posts, and they are more likely to crack. However, with them being about 2 feet apart, the narrower ends get pretty loose before they stop. I’d do one from each end per level, which meant running out of length in the middle, making for loose ends and a bit of a mess. Some of that will be hidden once the soil it returned. Adding extra length per level would be more secure and less messy in the overlaps if the posts were just 1 foot apart, though. Which doesn’t help much if the wood ends up snapping, trying to bend them around the verticals that close together. Even using flexible green wood. In fact, I still ended up snaping one, trying to secure it, so the end wouldn’t be sticking out.
I’m glad I decided to do the ends as separate little walls. I was able to use those to help secure the ends of the long side pieces.
I ran out of the longs ones quickly, and the shorter ones were too short to be able to secure them between the verticals. They’d weave between 3 posts and just sit there, loosely.
Which is when I decided it was time to harvest some willow.
Once again, this was needed to get branches away from the power line to the house. I took only the largest ones for now; the smaller ones will need to be done, but I don’t have a use for them just yet.
After stripping off the leaves and shoots, there was a very small looking pile left behind! However, several of them were more than 12 feet long. I was able to weave those in from end to end, and just trim the tiny bit of excess with loppers.
But first, they got debarked.
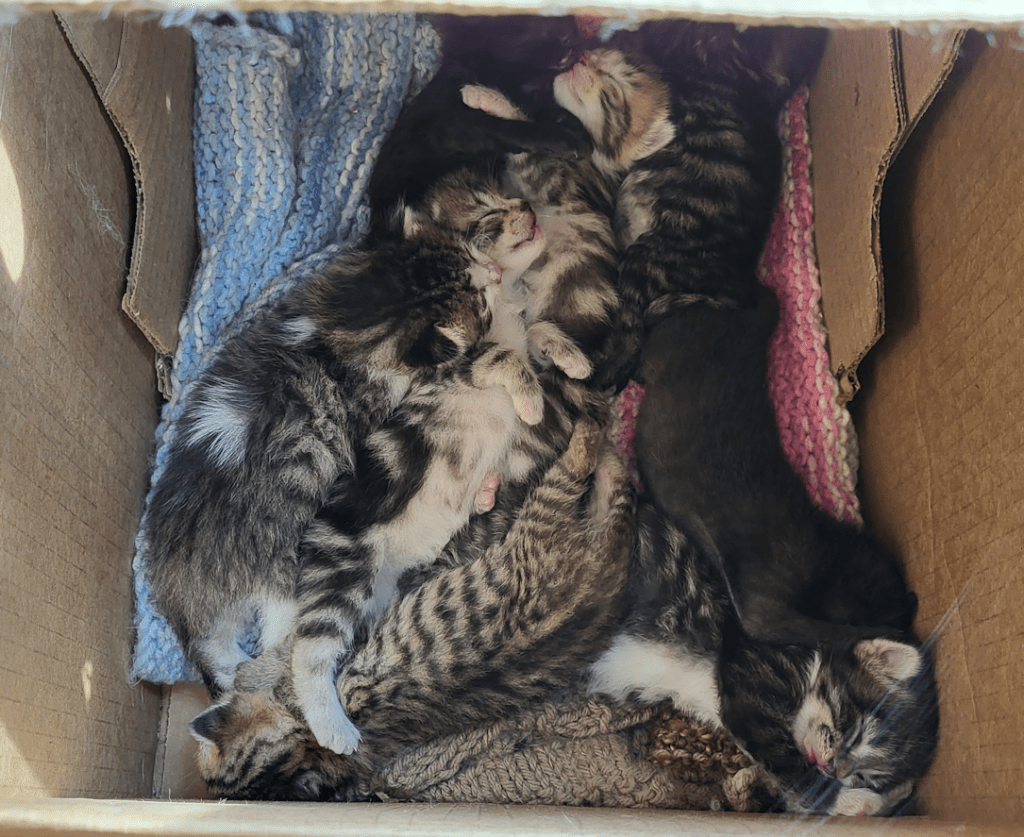
The kittens LOVED playing with the ends while they were being debarked, and had a blast in the pile of leaves and bark.
Once I got as much as I could, woven in – leaving quite a few shorter pieces behind – it was time to call it a day.
I’m going to need a LOT more material to finish this.
The problem is finding lengths that are long, thin, flexible and straight.
The “straight” part is the hardest to find. Typically, the branches and suckers grow straight for maybe three feet, then branch off. Or there’s been some sort of damage that cause them to grow a new “top”.
For the retaining wall side, I could probably get away with adding more vertical posts, then use up all the skinnier, shorter pieces to weave onto there.
Tomorrow, if I’m up to it, I’m going to go into the edges of the spruce grove to start hunting down some of the poplar that has regrown. Hopefully, I’ll find some nice, long, straight pieces.
We have so many willow, maple and poplar suckers that I’d hoped to harvest for this, but the majority of it isn’t actually useable. I need to really hunt for what will work.
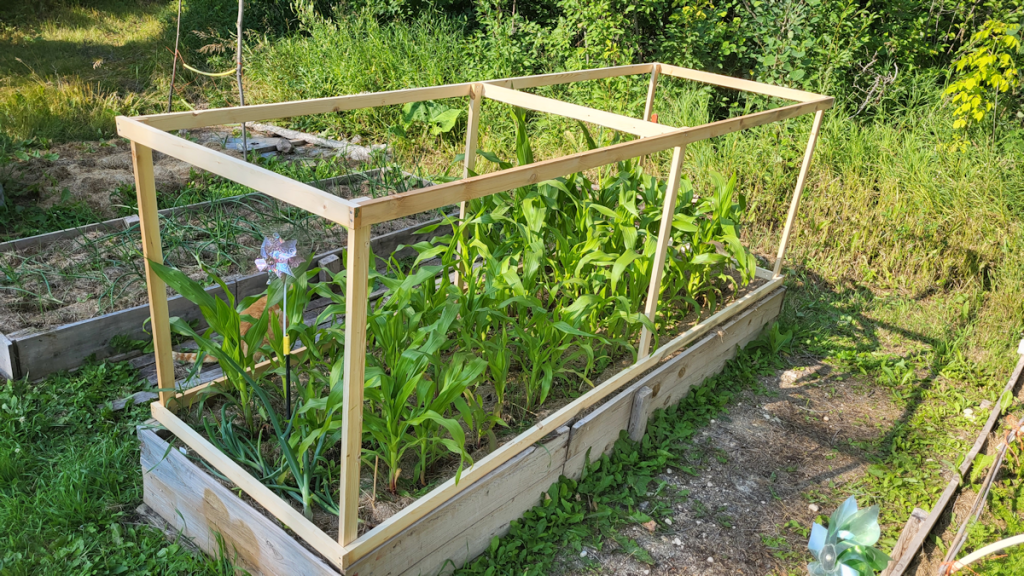
Which means this bed is going to take quite a while to finish. Which is fine. It’s not being used this year, and will be ready for next year. I also plan to leave the vertical supports tall, so that things like hoops or whatever can be added, if the bed every needs to be covered, to protect anything that gets planted there.
I am so tired and sore now, though, I might have to take tomorrow “off” and give my body a change to recover.
For now, I’m ready to take some pain killers and go to bed!
The Re-Farmer