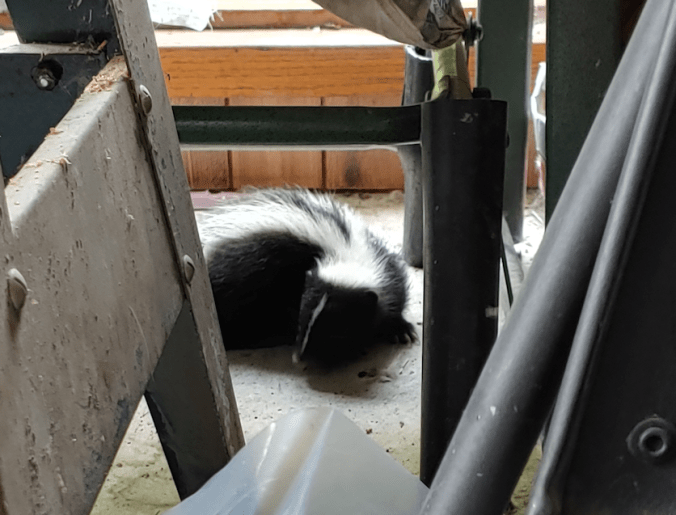
Last night, while heading out to do my evening rounds, I had a little surprise – a stinky friend coming out of the sun room!
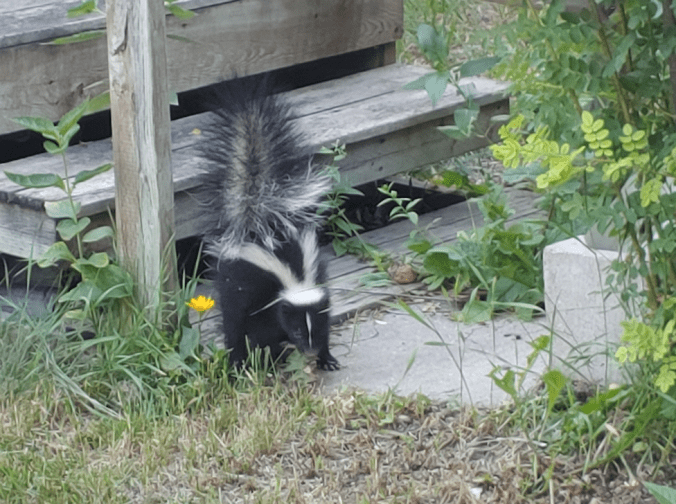
I wanted to use water from the rain barrel, but Stinky had other ideas! :-D
He is not, however, the furry friend I was alluding to in the title.
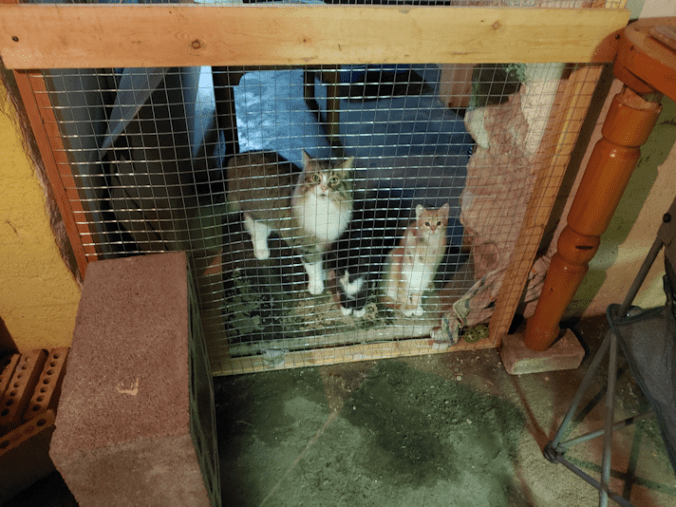
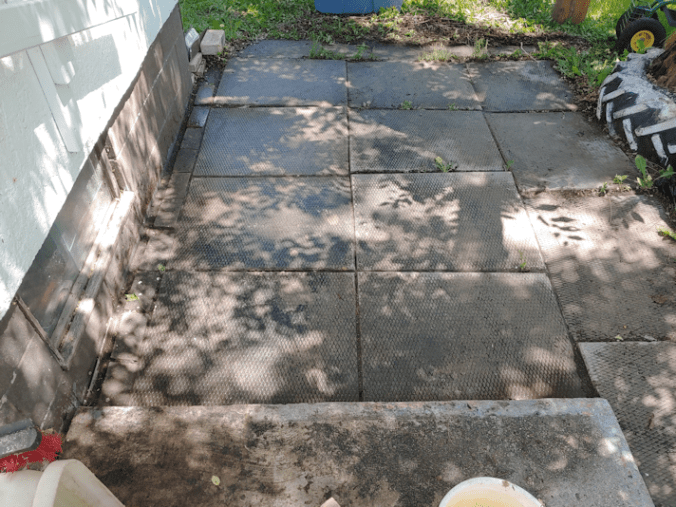
While mowing the outer yard today, I saw a little dark shape, running across from the deep grass to the pile of junk that needs to be hauled to the dump.
Then a mostly while shape followed.
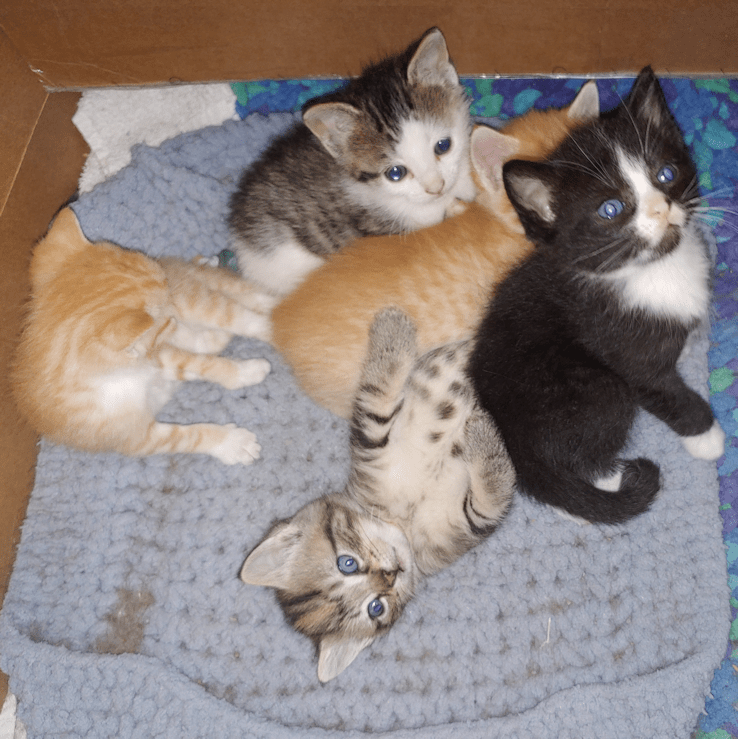
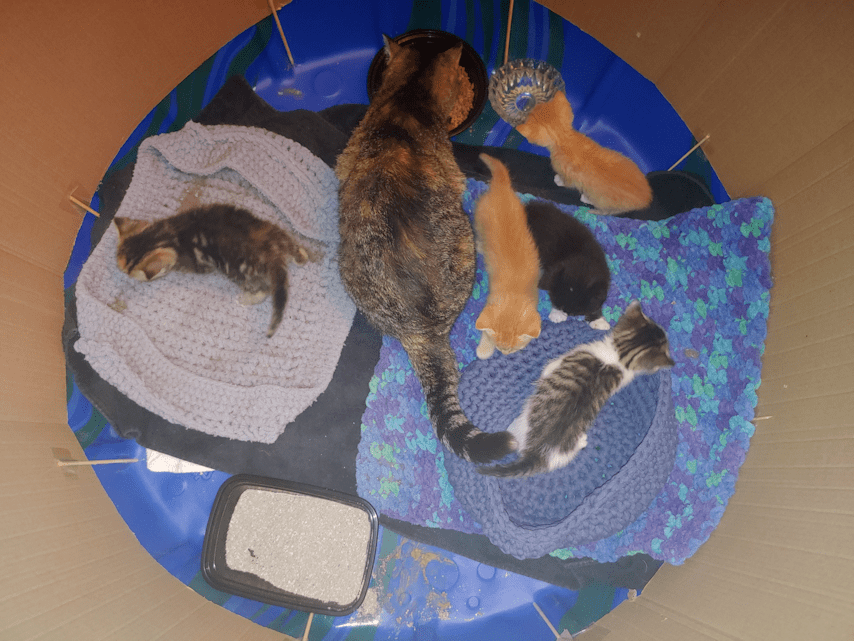
Two little kittens! About the same size as the inside kittens.
I am guessing they are Junk Pile cat’s babies, but they might be Rosencrantz’s, too. I saw no mom around.
This means we might start seeing kittens show up at the food bowls soon!
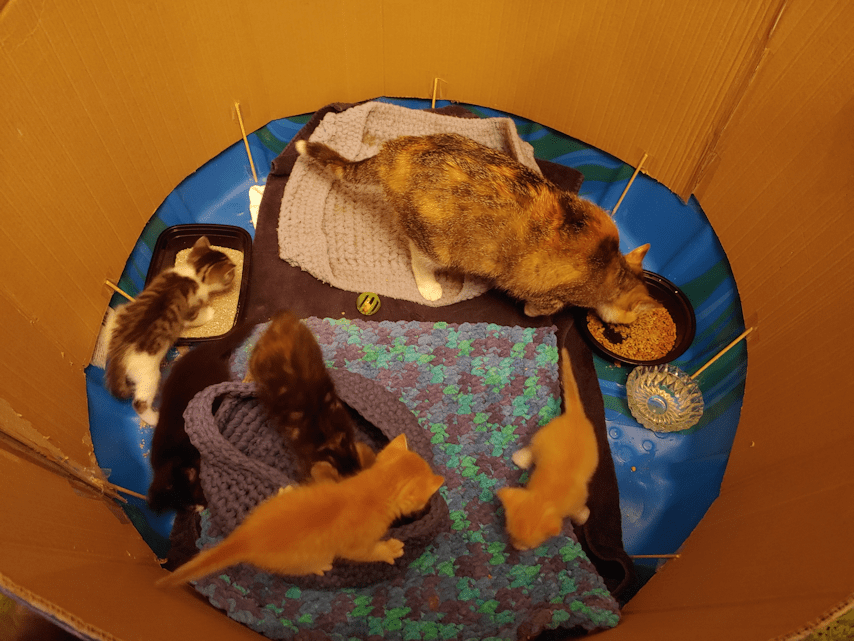
Which reminds me. I noticed, a couple of days ago, that Butterscotch is no longer pregnant. After what happened with her last litter, it’s hard to guess how many will survive. :-(
Also, this evening, I won lawn mower chicken! I was doing the very last patches of grass for the night, when the mower started to stutter. I just managed to back it up over the last bit of grass when it coughed and died, completely out of fuel! :-D
While I was finishing up with the lawn (though I still have the area in front of the storage shed to do – tomorrow!), the girls tended to the gardens, including thinning out the carrots. We now have lots of little, bitty carrots to snack on. They are all new varieties for us and, so far, they all are quite tasty! :-)
This morning, before I headed into town, I had a conversation with one of my daughters. Later, when I was at the hardware store, that conversation had me looking extra hard at the display of 20 x 20 inch box fans. We need at least a couple, including one for the old basement to replace the one that disappeared.
I finally broke down and bought one.
Plus a package of 20 x 20 furnace filters.

We now have a poor-man’s air filter! :-D A furnace filter is attached to the back of the fan with a few little strips of duct tape. For now, it’s sitting on my husband’s leather working desk as we test out how it works, before deciding on a final spot to put it. This one will stay in the living room, though. Depending on how things go, I hope to pick up another when we’re in the city, for the basement window. For now, I want to see how well it does in keeping the levels of cat hair down! :-D
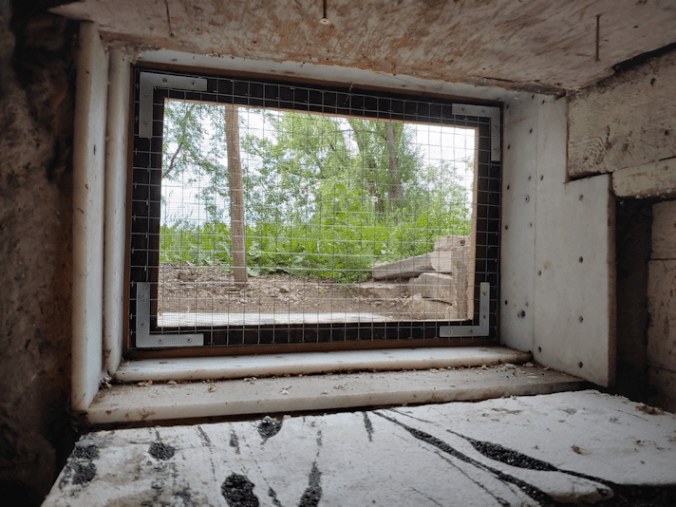
I also had to pick up a round file while in town. I still haven’t been able to put on the second latch on the screen window. I did find a round file in one of the miscellaneous drawers in the basement, but it’s the wrong type, and was doing absolutely nothing as I tried to enlarge the opening for the new latch post. Hopefully, this new one will do the trick.
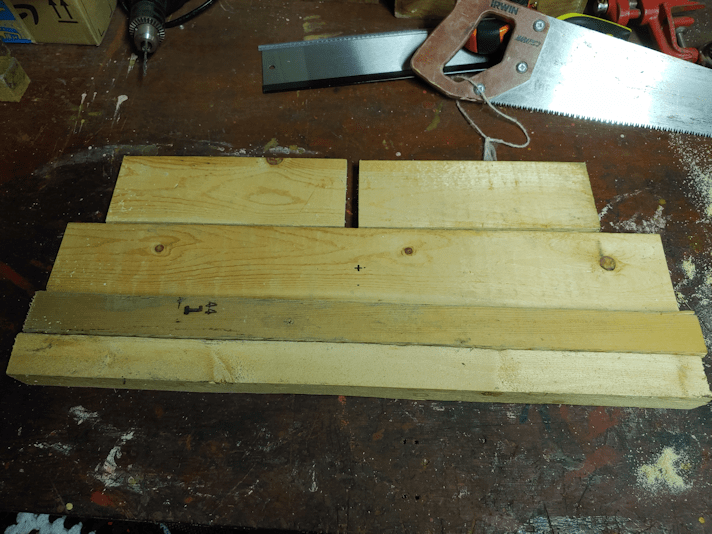
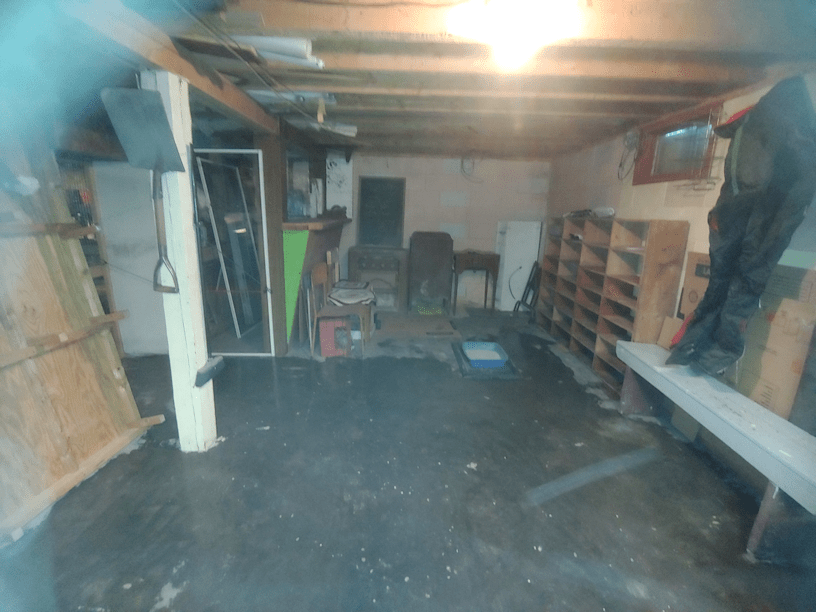
The cats and kittens have, of course, been exploring the counters and shelves in the basement, and I’ve been finding a few things knocked to the floor. Yesterday, I found a piece of wood with a rose design carved in relief into it, lying on the floor. Today, I found another piece of wood on the floor; this one had floral designs on one side, and my late brother’s name carved on the other. I don’t recall seeing those when we cleaned up the basement before bringing Beep Beep and Butterscotch indoors. I’d forgotten my brother had tried his hand at wood carving, too, and you can see quite a skill improvement between the two pieces.
While looking for a round file, I also found a small carving tool. I recognize it as part of a set we had, when I was quite young. There were at least a dozen different types of blades in the set. In fact, I’m pretty sure the wood box it came in is what’s now under my computer monitor, raising it up to a more comfortable viewing height. That box now holds my late father’s hair cutting supplies. I don’t know what happened to the rest of the wood carving tools. Considering how long ago we had them, I’m surprised to have found the one that I did!
I set it aside for sharpening. It has a flat tip, like a very fine chisel, that I think I will find useful.
Funny how, after being here for more than 2 years, we’re still finding things like this! :-D
The Re-Farmer