Our 2022 Garden: latest seedling status

This morning, while tending our seedlings, I spotted a newcomer!

That is a Crespo squash seedling!

This tray, on the heat pad, needs to be watered about twice as often as the tray next to it.

Where the Cup of Moldova tomatoes are doing quite well! The big aquarium greenhouse has been working out the best among our three set ups.

The Sophie’s Choice tomatoes got moved from the small aquarium greenhouse to the mini-greenhouse, in hopes that they will start doing better. I’m not sure why things are not doing as well in that little greenhouse. I suspect it has to do with lack of air circulation. The mini-fan we had on the aquarium greenhouses, moving it back and forth between the two, is now set up in the mini-greenhouse. We can’t open up the cover because of the cats, so the fan is needed more in there, than with the aquariums. I hope we can figure it out, though, because that’s little tank is currently wasted space that could be growing things! We do have a pedestal fan, but it’s not tall enough to provide air circulation in through the screen covers on the tanks. We’ve looked at different ways to set it up, but so far, we haven’t been able to come up with anything suitably cat proof.

It’s become such an issue, that we’re coming up with plans to build a “door” between the living and dining rooms, so that we can turn the living room into a safe zone for plants – all our plants – and not have to have all these barricades and shields around them. My older daughter has diagrammed a plan for a removeable frame to fit into the opening between the two sets of shelves between the living room and dining room, which would support a “door”. It would be made using hardware cloth, for maximum light and air to pass through. One of the shelves has an opening through it that we’ll have to frame a screen on, as well. We’ve really got to come up with something, because all the stuff we’re doing to try and protect the plants from the cats isn’t all that good for the plants! Especially since we are starting so many seeds indoors and, next year, will likely be starting even more. That will be a summer project, if we can get the materials we need to build it.

Last night was the first night we had the outside doors to the sunroom closed, so no cats – or skunks – could come in. It had reached temperatures of 20C/68F in there yesterday, yet this morning, it was just barely above 0C/32F, which means it was even colder, overnight. There is no way we can move any of our seedlings into there, without having to bring them back into the house overnight, which we won’t be able to do. Our overnight temperatures are going to be warming up, though, so we’ll have to keep monitoring the room. I might set the ceramic heater bulb up overnight, just to see what a difference it makes.

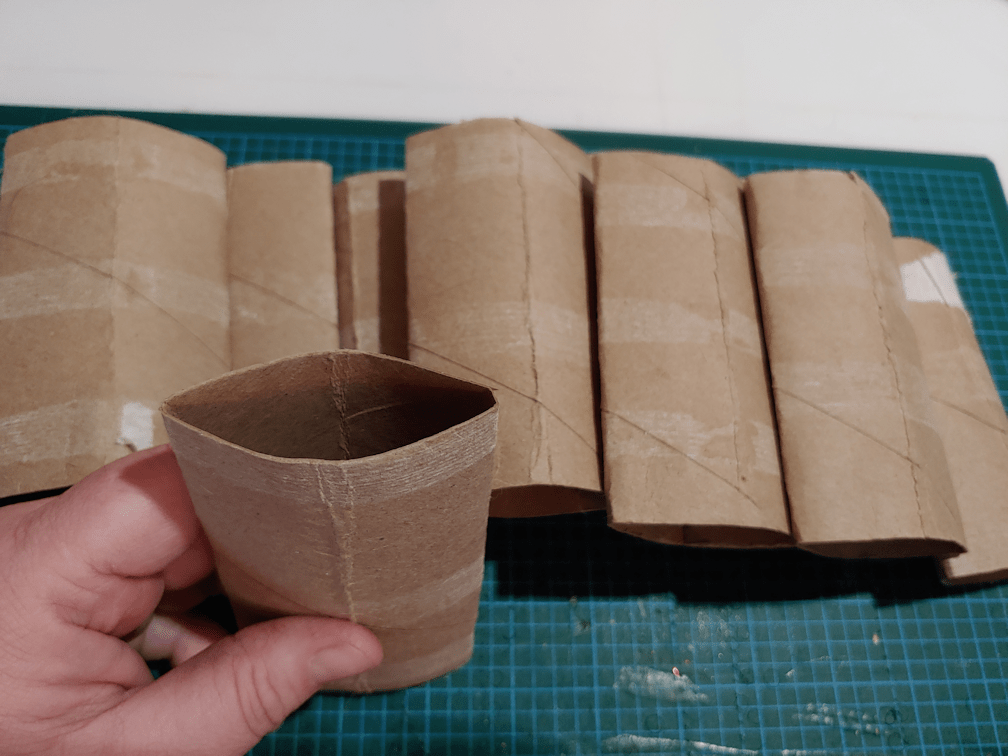
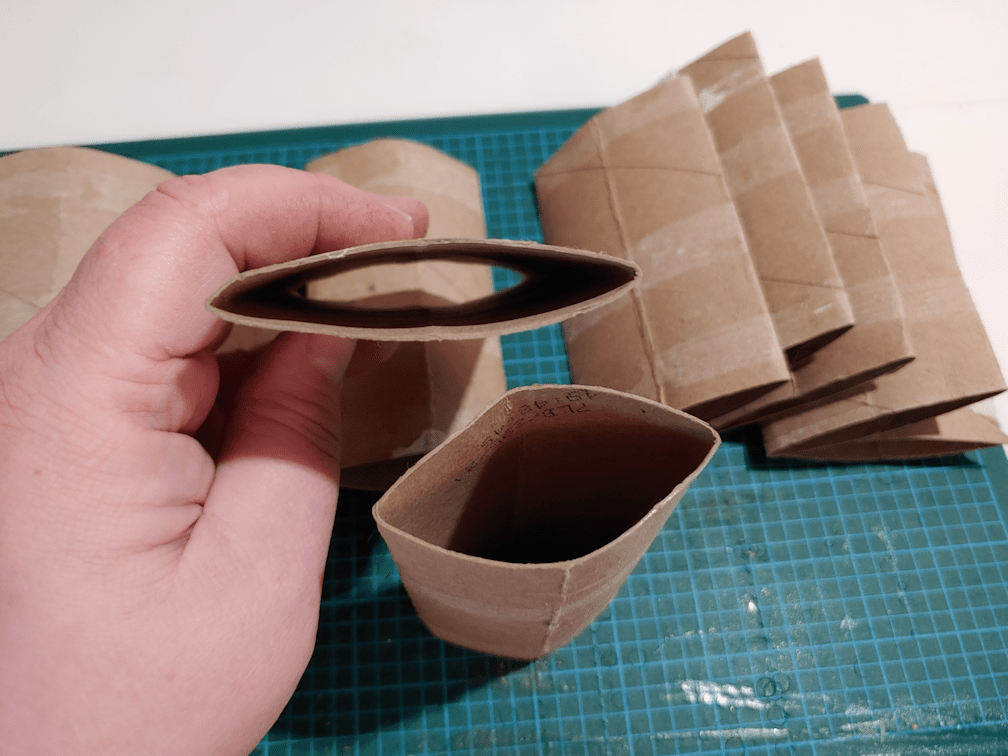
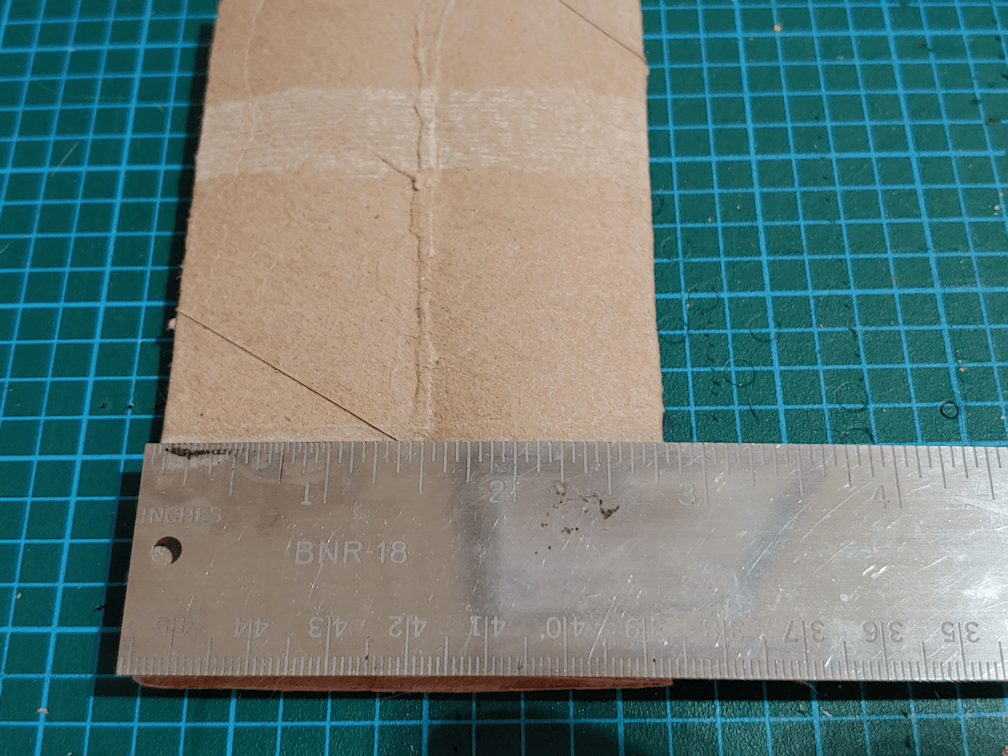
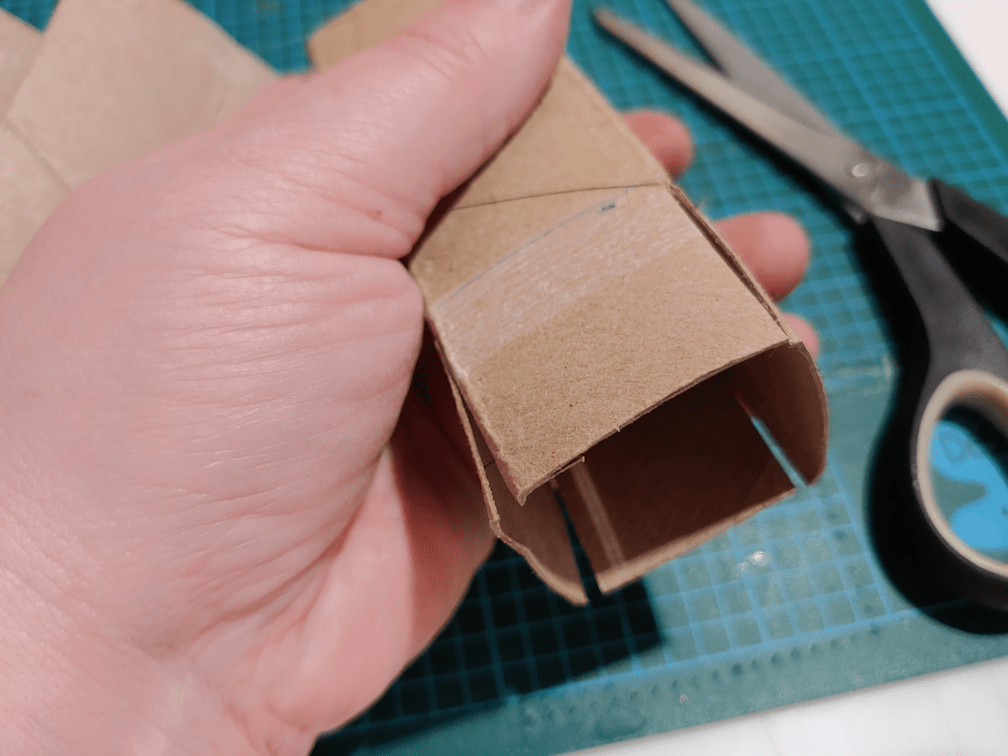
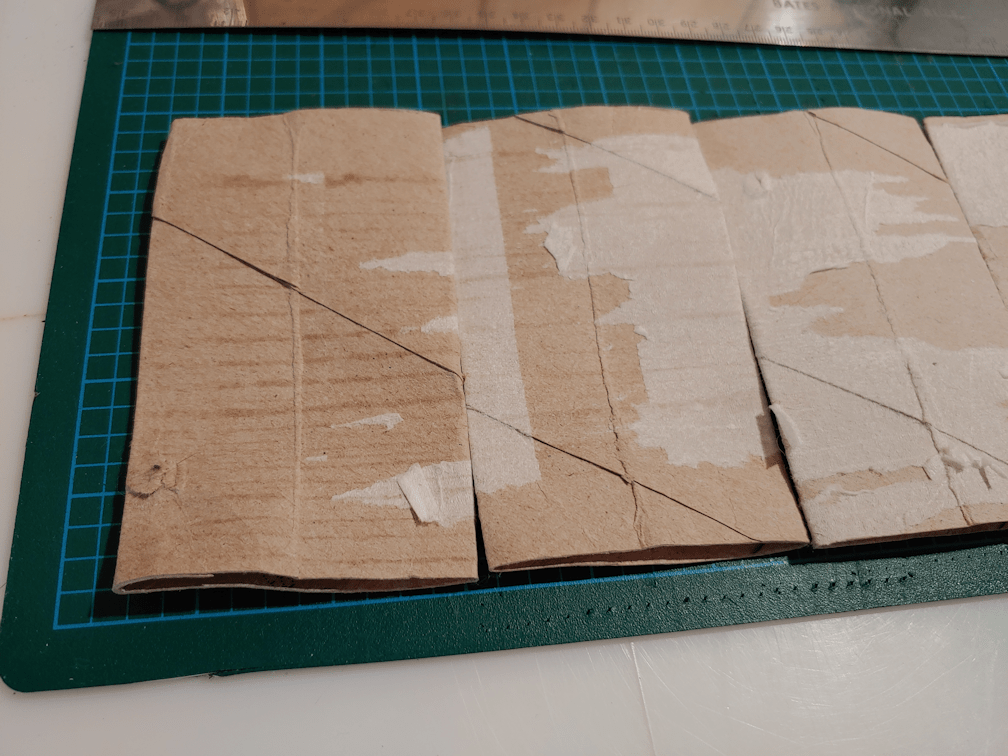
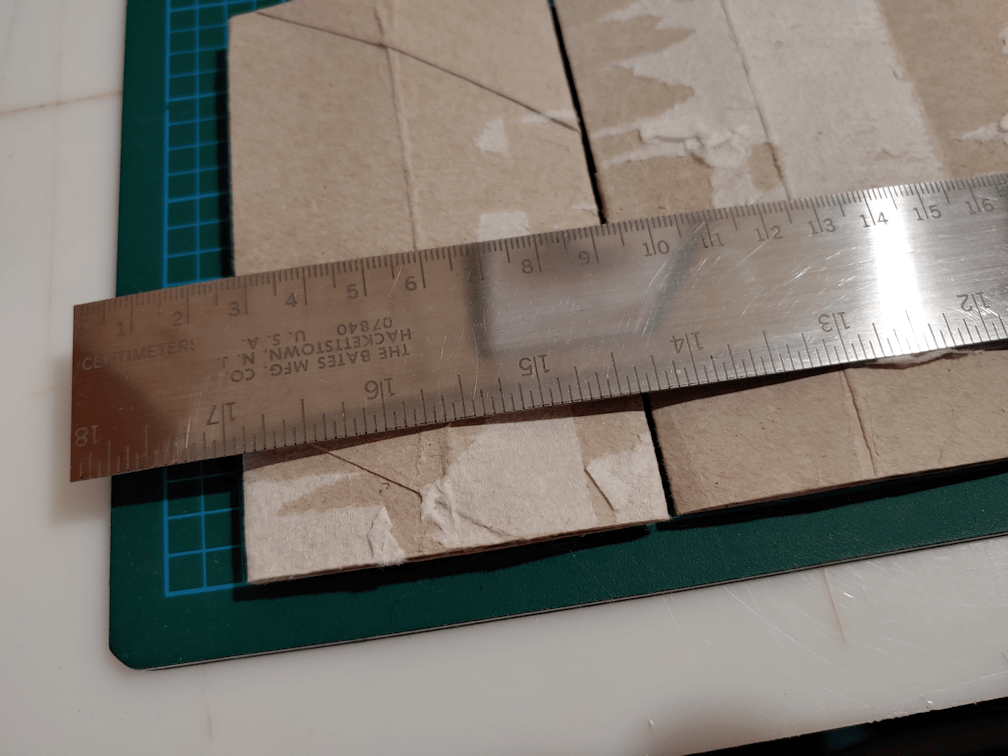
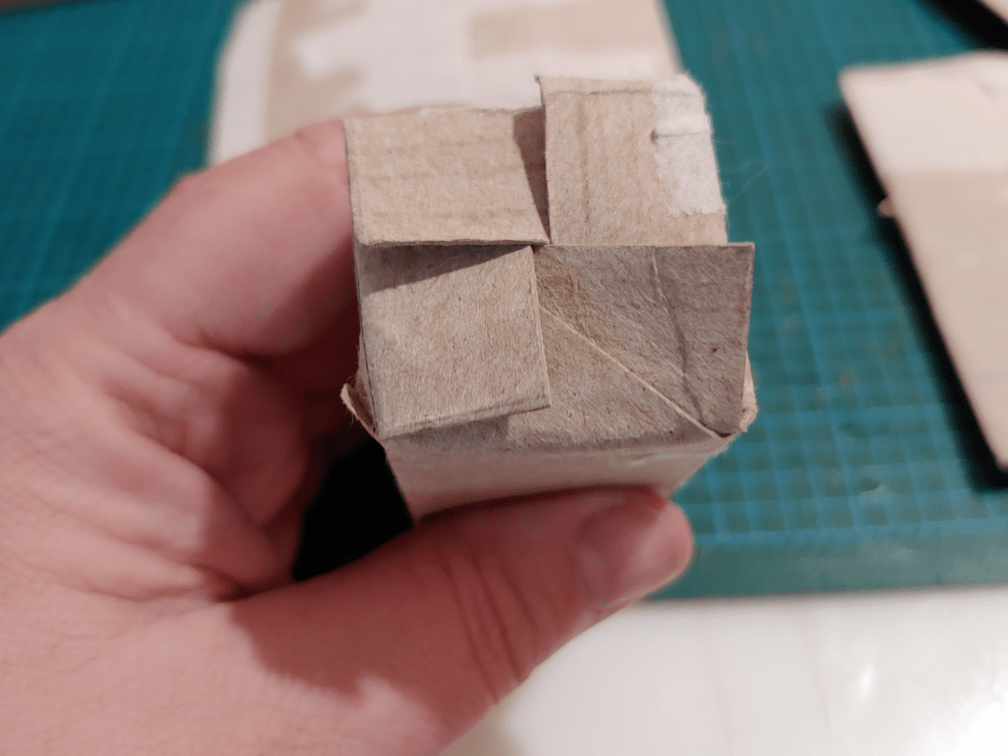
Some things will be started right in the sun room, but not for a while, yet. We’re still preparing, though, including getting the toilet paper tube “pots” set up in a bin.

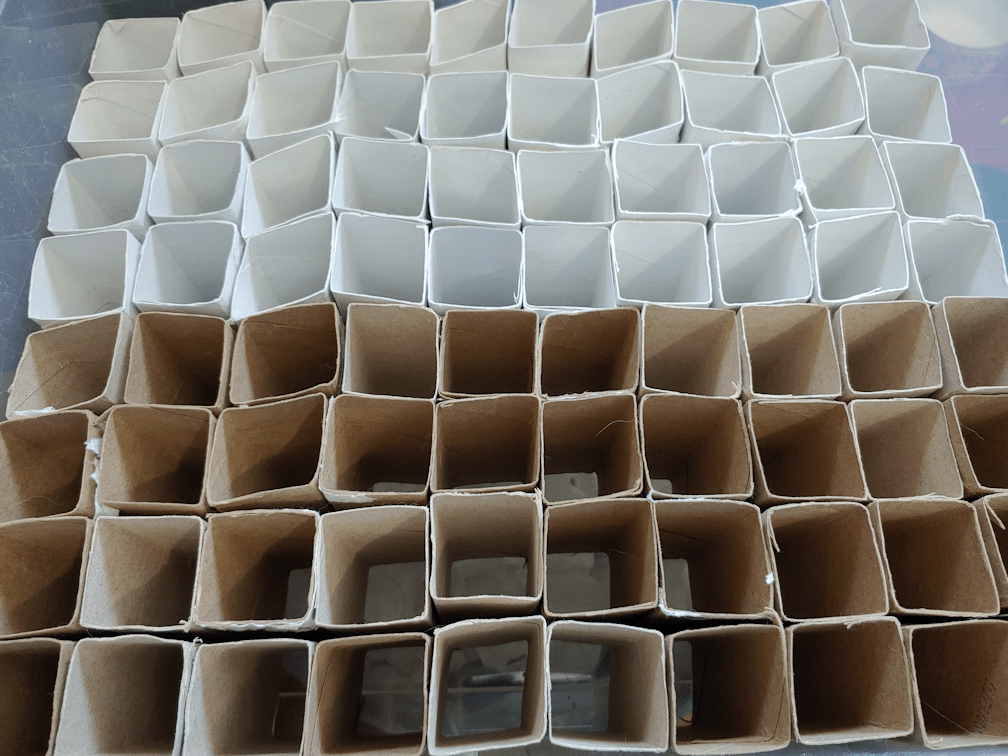
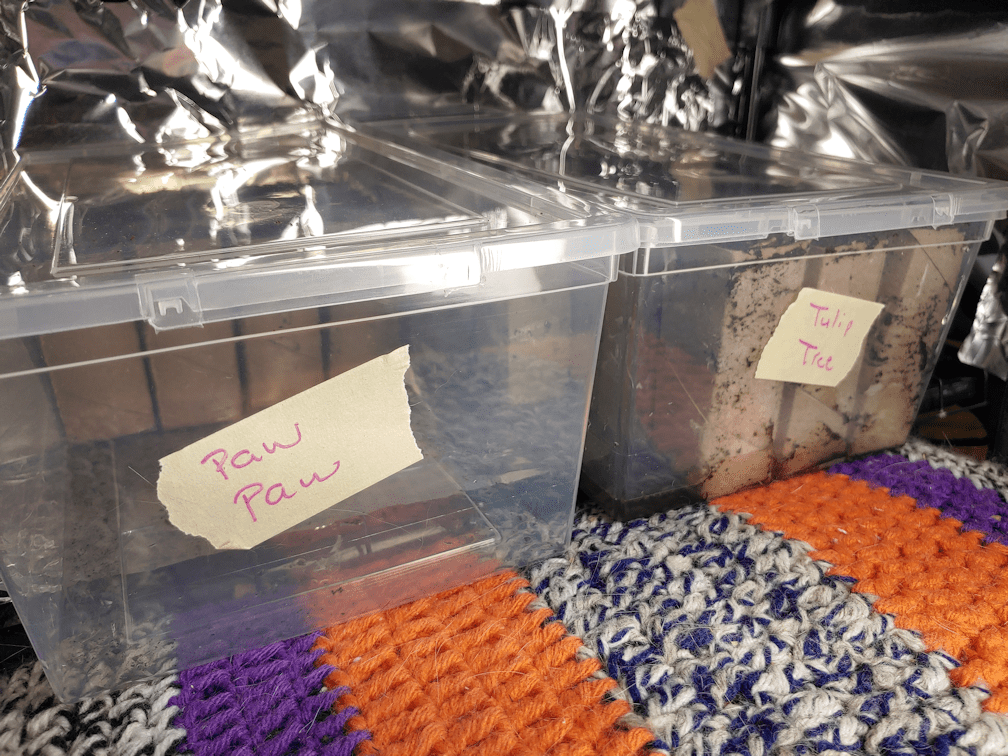
This will be for the black Kulli corn. I’m not going to bother folding bottoms onto the tubes, so as to give the roots more depth. We have a total of 100 Kulli seeds (unless there are extras in the packets, which sometimes happens), and I thought I’d be able to put 100 tubes in this bin. If it had been square, it would have worked but, alas, it is a rectangle. Instead of the 10 rows of 10 I thought would fit, we could only fit 8 rows of 10. We do have more of the smaller bins we used to start the tulip tree and paw paw seeds in (still no signs of anything in those, but I’m not expecting it, yet). They can fit 4 rows of 8, so we’ll be able to work it out. The corn won’t be started until early May, though. The sun room’s overnight temperatures should be just fine by then.

I picked up more bins in this size; there was only 2 left in the store I found them in, so I now have 3 “spares”. I also got more of the smaller bins, and we now have 4 available to use for new starts. With their transparent lids, they can be used as little greenhouses, and they will make things much easier to move around when it’s time to harden off the seedlings. The toilet tube pots fit really well in these, so we’re going to continue collecting the tubes to use to start seeds in the bins.

Little by little, it’ll get done.

The Re-Farmer

Tree seeds and using the toilet tube pots

When finishing the toilet tube seed pots we made yesterday, we had to put the lids on the bins, to keep the cats out, so it took quite a while for them to dry.

They still weren’t totally dry, but I figured it was good enough! After all, we’re just going to be bottom watering these, anyhow, so they’re going to get soaked, soon.

I started with the tubes intended for the paw paw seeds. After filling them 3/4s of the way with pre-moistened seed starting soil, I started carefully finding the paw paw seeds in their baggies, while my daughter continued to fill the tubes intended for the tulip tree seeds.

After placing a seed into a pot, soil from the baggie was used to top up the pots. In the above photo, the two on the left have seeds in them.

None of the paw paw seeds showed signs of roots, though they did look more… filled out, shall we say. More rounded. Which is to be expected, considering they’ve been in damp soil all this time.

Once filled, they tucked into the bin a bit more tightly than while empty, which is what I want. It’ll keep them from falling over, and keep the toilet rolls from unraveling when they get wet.

After putting the filled pots back in the bin, they got watered, and any that showed the soil settling quite a bit, got topped up with more soil. Then water was added to the bottom of the bin.

The tulip tree seeds also did not show any signs of roots. In fact, they still looked almost exactly like they did when we first got them, except a bit darker from being in damp soil.

They got watered from above, topped up with more soil as needed, then water added to the bottom of the bin, as well.

They then got lidded and labelled, ready to go into the mini-greenhouse.

The lids will be left on, loosely, to help keep the moisture levels even.

A bit of re-arranging of the other seedlings and trays, and I was able to put these on the two bottom shelves where, even if the cats manage to get in, they will be safe.

Now there’s another reason to use these bins for seed starting. Cat protection!

The instructions they came with said that these take a very long time to germinate, and that the roots will be growing long before the leaves start to show. So we will just keep these moist and otherwise leave them alone. Not having them in the baggies anymore means we won’t get to see those roots, but I think it will be better for them to be in these little pots instead of the baggies. Less chance of the roots getting damaged, I think. It will also be much easier to move them around in these bins, than in the tray that was holding the baggies. Those black trays may fit the shelves in the mini-greenhouse just right, but they are awfully wimpy things, and hard to move around. A couple of them have already started to crack on their edges, from bending in the middle when picked up.

So this is now done. The tree seeds are in little pots and, perhaps in a month or two, we might see sprouts emerge. I have no idea what to expect from these, and am just hoping for the best!

The Re-Farmer

Making seed pots from toilet paper tubes, two ways

While I have purchased pots that can be planted directly into the soil when it’s time to transplant seedlings, the sheer number of such pots we will need makes buying enough for all of them bad for the budget. In particular, I want to start the kulli corn in biodegradable pots, for as little root disturbance as possible.

After last year’s attempt to use toilet paper tubes failed dramatically, largely due to using peat as a growing medium (it simply would not absorb moisture all the way through!), we’re going to try things a bit different this time.

There are a lot of web pages and videos on how to make pots from toilet paper tubes. This one is the best one I’ve seen so far. There’s the added bonus of it showing the pots made into squares, which was what I was thinking of doing already.

It’s pretty basic, really.

We knew we’d need a lot of tubes, so we’ve been saving them for many months. Last year, I had a fairly large box that we would drop the tubes in, and when we ran out of room I’d transfer them to a storage bin, to make more space.

Which was really silly, now that I think about it. It only matters if you want to keep the tubes round, and there is no need for that at all.

This little box has two layers of tubes in it. After flattening a tube, I’d drag it across the edge of the bathroom counter, to crease the fold even more.

It’s amazing how many tubes can be fit into such a small box this way!

Today, I snagged some of them to make pots for the tree seeds. I don’t know if there are any roots starting to show in the little baggies of soil. I am thinking it would be much less disruptive on the roots to “transplant” them now – when there may not even be any roots yet – into little pots, compared to trying to move them out of the baggies when the roots are actually visible.

So I grabbed a dozen tubes for the paw paw seeds, first. The different brands all have different tubes. The ones I grabbed were the tallest, with the thickest carboard.

This first batch was done like in the video.

The first thing that needed to be done was give them all a second crease for the square, keeping the sides even by lining up the first creases with each other. The carboard was way too thick to fold them like he does in the video.

Then, just because I prefer sharp creases, I ran the tubes over the edge of the desk I was working on. You can tell the difference it made in the photo above. The tube I am holding is not being squeezed in any way. For the other one, I’d laid the tube flat on the desk and pulled my metal ruler over it to sharpen the crease. Which it did, but not as much as using the edge of the desk.

The creases were about 1 1/2 inches apart, so that is the distance than needed to be marked from the edge.

Since I had the cutting mat and a metal ruler, I only needed to mark one tube out of six. After lining them up along the bottom edge of the cutting mat, I could line the end of the ruler up to the side edge and the long edge with the mark on the first tube, across all the tubes.

Using the ruler to hold the tubes in place, I could mark them all at once, then repeat for the next batch. This way, it only took two lines to mark all 12 tubes.

The next step was to cut slits at the creases, up to the marked line, to create flaps.

Then the flaps were all folded inwards to create a bottom.

Once they were all folded under, I set up the storage container I got for them, and some water.

All the bottoms got dipped in water, then tucked into the storage box.

With these tubes, four of them fit snugly across a short side, so they’re not going to flop around. This was an important consideration when I went looking for bins to use for this. When we used the toilet paper tubes last year, the tubes came apart completely once they got wet, even as the peat in the middles remained bone dry. I wanted straight sided bins that were fairly small, to hold them all tightly. If the tubes were still round, they would have taken up more space, but there would be gaps between them, and I didn’t want those gaps, either.

These now will be left to dry, and we’ll fill them tomorrow.

For the next batch, more tubes were needed. We have 26 tulip tree seeds to transfer.

After grabbing a bunch of tubes, I found a couple of shorter ones. There is a surprising amount of variance between brands! I switched out the shorter ones for taller ones.

Height is why I wanted to change how the bottoms were done for this batch. With how the first ones were done, each flap completely covers the bottom, making a 4 layer thick base. There’s no need for that.

So for these ones, instead of cutting flaps that were half the width of each side, I went for a quarter of the width.

That worked out to be 3/4s of an inch. Each square in the grid on the cutting mat is 1/4 inch, so the tubes were all lined up to the base line of the grid…

…then the ruler was lined up with the 3/4 inch line, on each side of the row of tubes.

Which was a bit of a pain, when it came to using the ruler to hold the tubes in place while marking the line, since there was a space under the ruler.

It was much easier to do it from the middle instead of the ends. :-D

Then the tubes all got slits cut along the creases, up to the line.

When folded in, this allowed for them to overlap and be locked into position.

These tubes were slightly shorter than the ones used in the previous batch, but by doing it this way, the pots ended up taller, as you can see in the comparison above.

Since the flaps could hold themselves in place, I could have skipped the water part if I wanted to, but I chose not to. They got dipped.

This brand’s tubes were not only a different length, but also a slightly different width. Just enough that they did not fit snugly across the short side. However, 8 tubes did fit snugly along the long side.

Tomorrow, these two sets of pots will be filled and planted with tree seeds. The tree seedlings will remain in pots for 2 years before being transplanted to their permanent locations outdoors. Starting them in these will allow us to “pot up” the seedlings into large pots as they get bigger, without disturbing the long tap roots they are expected to develop.

After these are done, we’ll start prepping tubes for the kulli corn. As with the tree seeds, it will be one seed per tube, so we will need 100 of these. I was able to find slightly larger versions of these bins, and one should be able to fit all 100 of these pots. The bins also have lids of the same transparency as the bins, which will allow us to use them as cat-proof greenhouses, if necessary.

I think I might have to pick up more of them. They’ll make moving seedlings outside to harden off much easier, too! They also happen to be pretty inexpensive, too. After much searching when doing shopping trips in the city, I found them at a local Red Apple store, which was just an added bonus. I’d actually found some at the local dollar store I was going to settle for, but the sides weren’t quite as straight, and the lids were opaque. I’m glad I decided at the last minute, to try another store.

The dollar store bins will instead be used to hold the little odd balls of yarn and small crochet projects on the go by my desktop, that the cats keep managing to steal away, so matter how diligently I bag them up!

The Re-Farmer