I was going to say “a morning in the garden” in the title, but no. It’s almost 4pm, and I just got inside!
As I write this, we are at our predicted high of 27C/81F, with the humidex putting us at 29C/84F, and I must say, I’m really feeling that 29C/84F!
We’ve had rain and even thunderstorms. It took a while, but the rain barrel by the old kitchen garden finally got refilled. We’re supposed to get more thunderstorms passing through over the next week, but the amount of rain predicted is under 5mm. That’s only 0.19inches. Barely enough to get things wet.
With the next week or so expected to reach temperatures like today, I wanted to make sure to give the garden a deep watering. In fact, I’ll probably be doing that every morning, if I am able to. The things that need the time to finish ripening also are things that need a lot of water to do so.
Before the watering, though, I wanted to see what needed to be harvested. I even remembered to bring something to carry it, instead of using the bottom of my shirt. 😄
I ended up needing a second container!
This is the first harvest.
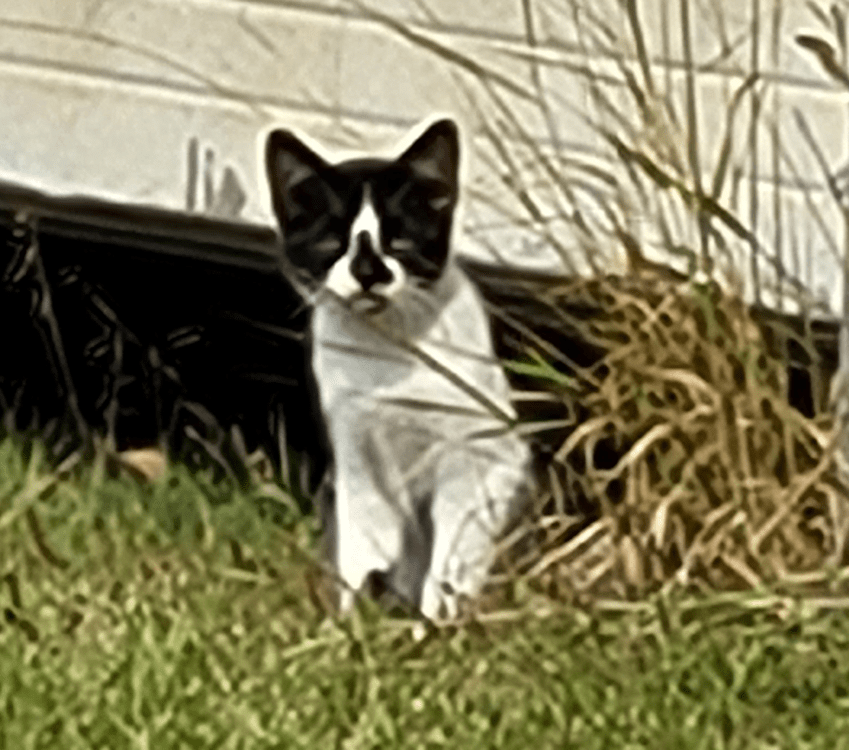
I even spread it out on the bench, so it could all be seen. Much to the entertainment of Syndol, whose paw you can see on the left of the photo. Gouda was following me around and really wanting attention, and kept trying to bite my hands while I was laying things out, because I wasn’t petting him!
So… what we have this morning.
On the left are both Dragonfly and Purple Beauty peppers. There are a few Seychelle beans. Nothing much, but they can be added to the beans that got picked yesterday. The tomatoes are the chocolate cherry tomatoes growing against the chain link fence, and the Magda squash is from the pot in front of the house.
I was able to pick some green G Star patty pans, and they have more developing. We have a first in here, too! I picked one of the two white scallop patty pans we have growing, leaving the second one to get bigger. There are lots of flower buds, but I can’t see any other patty pans developing on those plants.
With the melons, I found the first one on the ground, its stem wound looking at me. 😄 That one had actually been growing fairly high up on the trellis, so it had fallen maybe 3 feet to get where I found it. No damage, though. Then I found two more that were ready to pick! We might almost have enough melon to start freezing some!
After gathering these, I found a small bin to use for the tomatoes in the old kitchen garden.
We have a few San Marzano tomatoes, a pretty good haul of the Black Cherry tomatoes, which look almost identical to the Chocolate Cherry tomatoes. I don’t know why, but they just aren’t getting dark like the variety is supposed to. The rest are the Forme de Couer tomatoes – including a branch that broke while I was tending another vine!
Those done, I set up the soaker hose in the bed the Forme de Couer tomatoes are in, then used the rain barrel to water the old kitchen garden, the potted summer squash, and the other beds on the south side of the house.
While watering the Cholate Cherries at the chain link fence, I found a few I missed, earlier!
The mystery tomato plants I found among the potatoes by the chain link fence, plus the one in the wattle weave bed that showed up among the garlic, are both developing tomatoes now.
The lettuce with the name I never remember to spell will be going to seed soon, and I want to make sure to collect some of those.
The kohl rabi have been attached by flea beetles. This is a surprise, as I didn’t think this was the season for flea beetles! I guess the canola fields are being harvested, and the beetles are finding other things to chomp on. I still see no sign of bulbs forming on the kohl rabi stems.
I had to resist collecting more eggplants. They look so good! I want to get them more time to grow bigger, though.
The Crespo squash got extra water, and I even did the compost ring tomatoes. 😄
We will need to do something about the Crespo squash!
In the first photo above, you can see that the squash that started developing inside the A frame bean trellis is getting pretty big….
… and heavy!
If you look at the second picture in the slideshow, you can see how the bamboo stake across the top is bending quite a lot! It is there to hole the metal posts in position, and keep the netting from sagging. It’s not there to hold weight! We will need to made a large enough squash hammock to put under the squash and attach it to the metal stakes in the A frame. If we can fix the hammock to four points, that will hopefully distribute the weight enough.
By the time the south yard beds were done, a couple of hours had passed, so I headed inside for breakfast, leaving the soaker hose running in the Forme de Couer tomato bed.
When I got back outside and checked the soaker hose, it really didn’t seem to be letting out much water. In fact, I saw more condensation on the garden hose than seepage from the soaker hose! I dug down into the soil under the hose, and it was still pretty dry. So I switched the garden hose back to its regular nozzle and just watered the bed with the hose.
The inside of the catio needed to be painted so, before I went to water the main garden area, I got a bucket and a brush and scrubbed the floating catio shelves as best I could, first, so it would have time to dry.
Then it was off to the main garden.
By this time, it was 26C/79F, according to my phone, and the garden was definitely feeling the stress from both the heat and the lack of rain. According to the current forecast, we are no longer expecting thunderstorms, and the chances of getting any rain at all are below 10%, so I made sure to give them plenty of water. Basically, I have a pattern of watering slowing along one side of the bed, going around to the other side and watering it again, then repeating the process in the next bed. That way, each bed gets done twice, and any spots that get missed due to foliage or whatever gets done on the second pass.
I found a surprise in the Summer of Melons mix bed!
That’s a tomato plant!
I have no idea where it came from. The soil used to top this bed was from the pile of garden soil we bought a few years back. I don’t remember repurposing soil from a bed we’d grown tomatoes in.
Well, we’ll see how it does.
I also found new onions growing among the ones from previous years we found and transplanted, to go to seed. The seed pods on those are still quite green, so they didn’t come from there – at least not that I can tell!
As for the onions in the actual union bed, I think I’m just going to have to harvest those. The shallots, too. All but one are completely flattened, so they’re not going to get any bigger. If they stay in the ground too long, they’ll start getting mushy.
Note for future reference: must find some way to keep the cats out of the garden beds!
Which reminds me…
The last thing that got watered was the strawberry bed. It is surrounded by a net, which allowed the strawberries to recover quite nicely from being deer eaten.
Well, a deer managed to get at one corner again! It actually made a hole in the net!
They must really like the taste of strawberry plants!
I think we might have to isolate strawberries in the old kitchen garden. The deer have not gone in to eat the tiny variety of strawberries in there, and that garden would be easier to fence off from deer completely, if that were needed.
Oh, speaking of critters eating things…
While watering the winter squash interplanted with corn, I found this.
It looks like the raccoons got at the Yukon Chief corn cobs I was leaving for seed!
They didn’t get all of them, though. I won’t be pulling the corn stalks under after the squash is done for the season. Hopefully, the raccoons have decided they don’t like dry corn and will leave the rest alone! I’m actually seeing a few tiny cobs with fresh silks on them, but the tassels are all dried, so there’s no pollen for kernels to form.
So the watering is finally done for the day, and I’m taking a break. I’d like to get a bit more work done on the cat isolation shelter today, but it’s starting to get late. It might have to wait until tomorrow.
Today is Sunday, though. It’s supposed to be a day of rest from unnecessary work, anyhow!
The Re-Farmer