What a long, long day!
I knew making the tomato paste would take a long time, but my goodness, it did drag on!
The girls and I had a sort of assembly line set up. At one end of the kitchen counter we had the electric kettle going, then space for the container used to bring batches of frozen tomatoes. Then there was the giant bowl we used to blanch them, a bowl with a colander for the skins, a cutting board and compost bag for final prep, a kettle on the stove to boil more water, and finally my giant stock pot.
I even remembered to check what size that thing is.

This thing was an excellent investment. We originally got it for when we were making tourtierre regularly, and would be browning more than 30 pounds of ground meat at a time – then adding the rest of the filling ingredients. That was once a year, though. We’ve used it more often just this summer than we have since we bought it!

We did the tomatoes in fairly small batches. The electric kettle and the stove top kettle took very different lengths of time to boil, which worked out.

One kettle was enough to cover one batch of tomatoes. After they had time to blanch, they’d be transferred to a colander over a bowl, where I would remove the skins, then cut them up (and remove the rest of the stem ends, if needed), and pop them into the stock pot. A daughter would get another batch of tomatoes from the freezer, and by the time we were ready to blanch those, the second kettle would be boiling and ready to go.
It took many batches. I figure there were maybe a couple hundred tomatoes, in a variety of sizes.

The cooking was started as soon as the first batch went in, which cut the time down quite a bit, I’m sure. By the time all the tomatoes were blanched and added, the stock pot was about half full – roughly 11 quarts or about 10L.
It took about 2 hours of cooking before I felt it was ready for straining through a sieve.

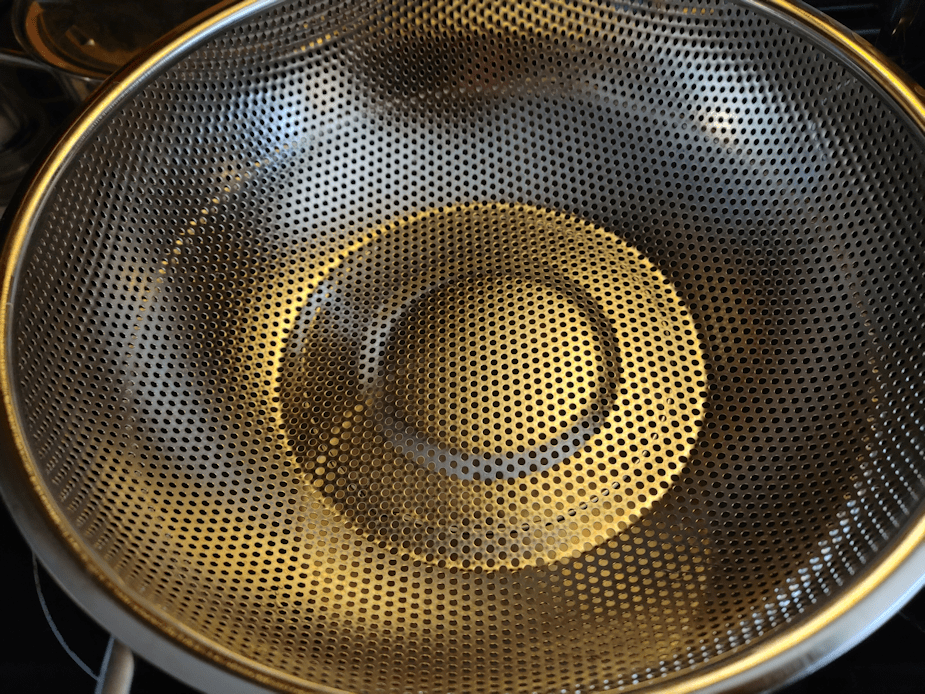
Our giant sieve has a very fine mesh. Great for straining out the seeds and any bits of skin that got left. Some of the tomatoes turned out to still be a bit green, so there were pieces that never got soft enough to be pushed through the mesh.
If we end up doing this regularly, it’ll be worth the investment to get a food mill.
The tomato sauce was strained a bit at a time, while the cooking continued. By the time I got to the bottom of the pot, it was getting pretty thick, and there was a lot less pulp left behind in the strainer.

This is all the seeds, cores, green bits and fibrous pulp that was strained out.

The strained puree was very thin. Can you imagine if we were not using a paste tomato for this! It would have been more like tomato juice, than tomato puree!
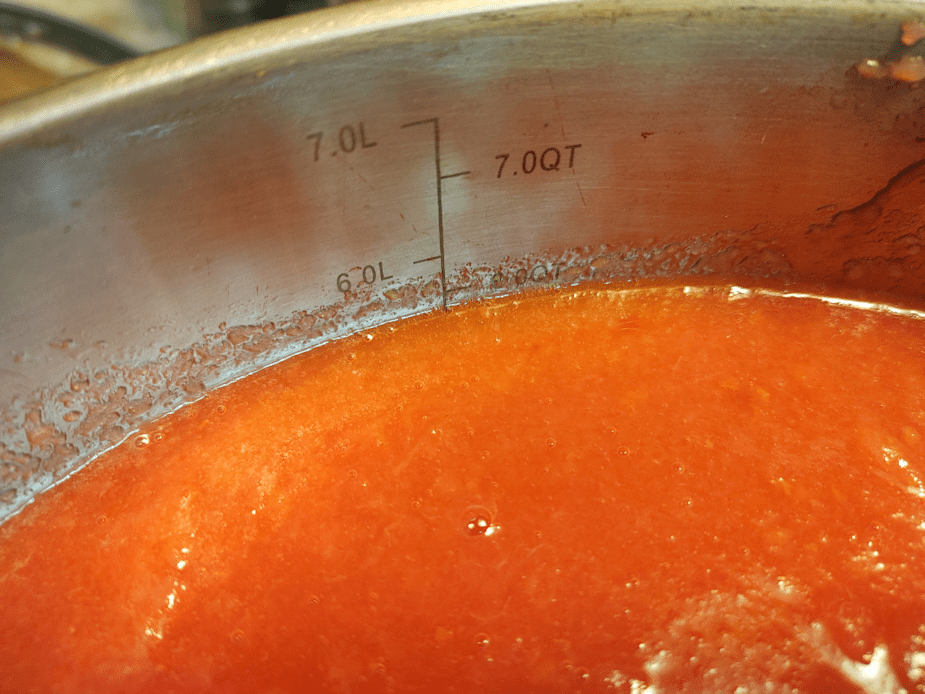
The stock pot I strained into has a very handy feature.

Measurements on the inside!
We went from roughly 11 quarts of blanched tomatoes, to just under 5 quarts of strained tomato puree. This was what I used to calculate how much lemon juice to use, later on. I had wanted to use citric acid, but couldn’t find any. Lemon juice will work, but does affect the flavour, too. If I were just canning the puree at this point, I could have added the lemon juice (and salt, if I wanted) directly to the jars, but that can’t work with tomato paste.
At this point, I took a break for a while.
For the rest of the cooking time, we set up the hot plate at the dining room table, to free up the kitchen, because I knew it would take hours to reduce this to a paste.
I could have cooked down the puree on its own, with just the lemon juice to increase the acidity. After looking at many different instructions for making and canning tomato paste, I decided to include a couple of large, crushed garlic cloves, a big bay leaf, and some canning salt.
The hot plate worked out really well. Once the puree was up to temperature, however, it stayed very hot and quick to splatter all over, even with the hot plate set quite low.
Another benefit to having a pot with measurements on the inside. I could see progress, even when it didn’t feel like any was being made!
As it reduced in volume, I also had to keep reducing the temperature. I only needed to stir it enough to keep it from bubbling and spattering. The more it reduced, the more often it needed to be stirred, and the lower the temperature needed to be turned. At first, I could just sit on a chair to stir every once in a while. After several hours, I was having to stand at the table, holding the pot to keep it from being knocked about as I stirred vigorously. Once it started getting quite thick, I removed the bay leaf. The garlic cloves were completely disintegrated by then.
I must say, towards the end, it was SO tempting to stop earlier because… it’s thick enough now, right? Right?
Not quite.
In the end, it took somewhere around 6 or 7 hours to get the puree into a good, thick paste.

When the spoon could scrape along the bottom, and the paste wouldn’t fill the gap right away, it was finally ready.
At this point, one of my daughters had taken over the stirring while I got the giant stock pot, which they had washed out for me while I stirred for hours, and sterilized the jars.
But how many jars would I need?

The measurement in the pot starts at 2 quarts and, at this point, the paste was well below that. I estimated around 1 quart, perhaps.
Because the paste is so thick, it has to be canned in small jars. The instructions I’d been reading were from the US and talked about “half pint” jars. I didn’t stop to convert that and was thinking the jars I had were probably half pints. Usually I get 750ml or 500ml wide mouth jars. Though the measurements don’t match, what sells as quart jars in the US are 1L jars here. A pint is 500ml so a half pint would be 250ml – or about 1 cup.
The jars I have are 125ml. So, a quarter pint, not a half pint! 😁
Which meant that if there was about a quart of paste in the pot, I would need 8 jars. I had two cases of twelve, so I sterilized one case. With the jars being to tiny, I could use both canning racks and stack them.
It still takes long time for the water to boil! I almost forgot to add vinegar to the water, to prevent the jars from clouding on the outside from our very hard well water.

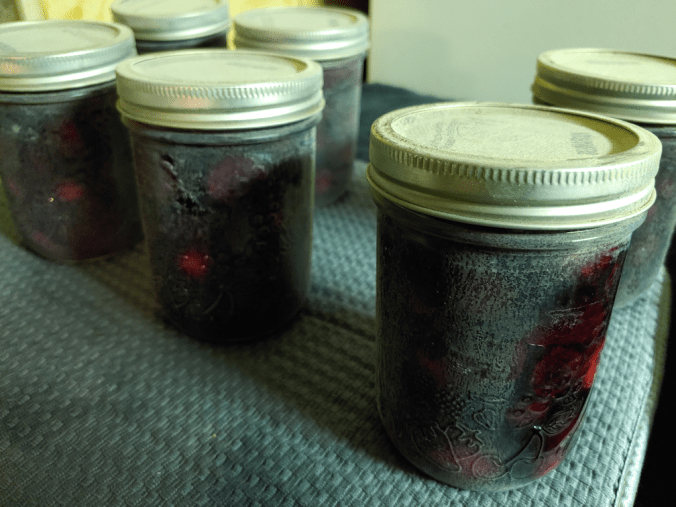
Much to my surprise, I was able to fill every jar! Granted, for the last one, I was scraping the sides quite a bit, but I still got my half inch head space!
By the time I finished canning the tomato paste, it was well past 1am. I gotta say, I was quite happy to be able to finally leave them to cool for the night!

When I checked them this morning, I found 2 jars had not sealed properly. Which I’m just fine with! They went straight into the fridge to use right away.
I just love those adorable little jars.
We’ve been out of tomato paste for a while. I typically buy cases of them at Costco. The problem is that we usually only use a small amount at a time. Just adding a spoonful into a dish for extra flavour, for example, leaving us with aluminum cans partly filled with paste, that can’t be resealed well. Then we’d be rushing to use the rest up before it went bad. It will be much handier to have it in sealable jars!
I’ve already had some today, adding a spoonful to some leftover pasta I had for lunch, adding a bit of cream to make a bit of a sauce. As my daughter had mentioned when taste testing the fresh tomatoes for me, the Cup of Moldova tomatoes are very mild in flavour, so the resulting paste is not as strongly flavoured as the tinned paste we would buy. Which I don’t mind at all.
The question will be, is all the time end effort that goes into making and canning the paste worthwhile? There are lots of other ways to can tomatoes that take a lot less time. It’s the time that’s the kicker. I have seen some instructions that use the oven to make the paste – basically, dehydrating the puree – but while that might require less supervision, it means not being able to use the oven for anything else for a very long time.
That’s something we’ll have to talk about and decide after we’ve used this batch up, I think.
The Re-Farmer