Today was such a beautiful day!
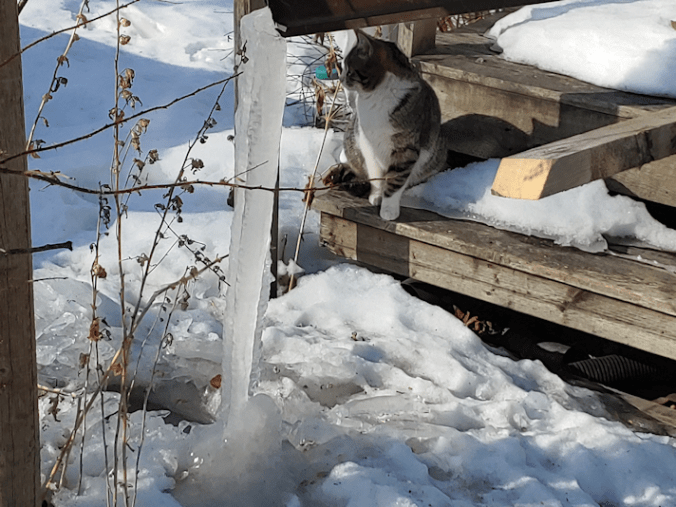
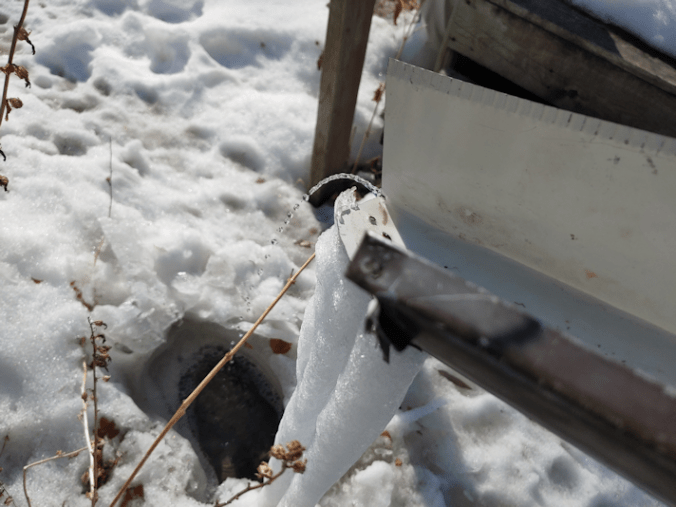
While doing my rounds this morning, I spotted Junk Pile cat at the bottom of this icicle hanging from the rain barrel diverter, drinking from the little well created at the bottom. Even though we were still a few degrees below freezing, there was a trickle of ice melt, making it’s way down and creating a pool.
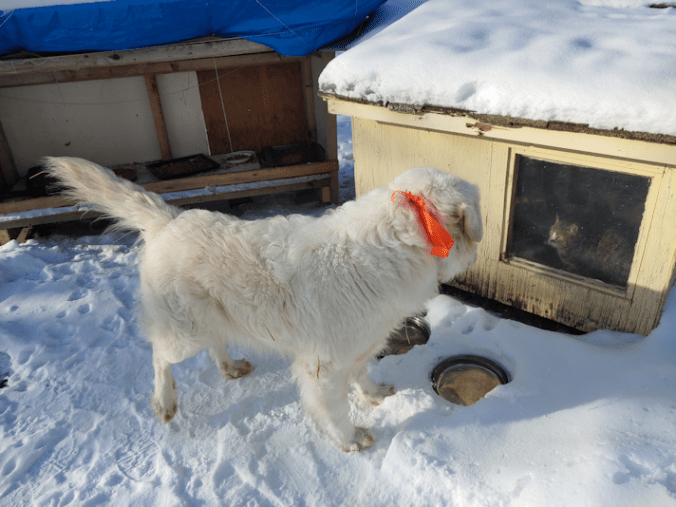
By the end of the afternoon, it was so beautifully warm! We easily went several degrees above the 0C/32F forecasted. Things were enthusiastically melting, and the outside cats are loving it!
We did city trips to stock up, two days in a row. As productive as those trips are, they leave us feeling completely drained. Today, I actually felt productive, with just a couple of short trips.
I had intended to go to the post office yesterday, and pick up deer feed and bird seed while I was at it. I ended up skipping it, because I just didn’t have the spoons left. Which turned out to be a good thing, since I completely lost track of what day it was. I thought it was Tuesday, but it was Wednesday, which meant the store – and the post office inside – had closed at noon. So today, I combined errands, starting off by heading into town to refill our 18.9L/5 gallon jugs of drinking water (we have 3, and refill when 2 are empty). For this, we go to our usual grocery store. Since that happens to be across the street from our garage, I swung by to talk to the mechanic. The van has been running well, so I asked about maybe just resetting the error codes. He suggested I call him on Monday (he was working on a vehicle at the time) and he’ll schedule me to bring the van in. Since it’s likely the crud he couldn’t reach to clean, come loose and getting stuck in the new EGR valve, he’ll take it off and give it a clean.
That arranged, I headed to the grocery store with the water jugs and, since I was there anyhow, I went through the fresh produce and meats sections, so see how things looked, and what was on sale. I’m sure we got a sale flier in the mail, but we don’t drive to the post office every day, so I tend not to see them before I actually go to the store. I was very happy to see asparagus bunches for only $2 each – they’re usually about three times that price – and grabbed some.
Well, that was just the start. Then I noticed other really good sale prices. It turned out they had some massive sales on a meat in particular. Some were half price, or even better. And no, this wasn’t old meat, but the fresh cuts they process themselves.
I ended up going through all the aisles and stocked up!
A lot of things that go on sale tends to be stuff we pretty much never buy, but this time I was able to pick up a whole lot of things we actually do buy, some regularly, and others only rarely or as a treat. I didn’t go nuts or anything, but with the city shopping we already did, our freezer, fridge and cupboards are now the most well stocked they have ever been!
I came to refill water jugs and left with a cart full! :-D
Having a hard time finding where to put all the food is a good problem to have!
I finished in town too quickly, though. The post office closes for an hour and a half around lunch time, so I just had to play a bit of Pokemon Go before heading back. :-D
The store the post office is in is not only where I pick up our bird seed and deer feed (they also carry the best hams), but it’s also a liquor store. Our older daughter has a birthday this month, and her gift came in. (not an affiliate link) So I picked up a case of Jamaican lager for her to use her gift with! We don’t really celebrated our birthdays on the days themselves, so she got her gifts right away. :-D
So now we are stocked up in food, deer feed, bird seed and beer. :-D
Today is also a day the dump is open for a few hours in the evening, and with our van up and running, we were finally able to load up all the garbage and recycling. We tried to keep up with it, using my mother’s little car, but not a lot fits in it, and we just weren’t able to make multiple trips per week. Or even one trip per week. More like one trip every two or three weeks. :-/
Using the van, one trip, and we were all caught up! We ended up going to the new pit, rather than the household bins I normally use. Normally, we would drive into the pit, but with the ice and snow, they seem to have closed that access off. What they have instead is a sort of parking area, where you can back your vehicle up to the pit (there are concrete blocks to make sure no one drives over the edge!) and the garbage is just tossed down the hole.
Oddly, people have somehow still managed to stack up a huge pile of garbage at the edge. It took no effort at all to make sure the bags rolled down into the pit itself, but nope. In the middle of the dumping area, people left their garbage piled high, right up to the concrete blocks.
So very strange.
It felt so good to finally get that job done!!!
Oh, and I had a nice little surprise this morning. My tax return came in. We won’t have to wait until April or May to get that garden soil! I called the company to arrange it and left a message. If all goes well, we’ll have the soil before the end of this month. I should be able to pick up a chain saw this month, too! I can hardly wait! Garden soil first, though. :-)
Just a couple of relatively minor things, but yeah… it made the day feel so much more productive!!
The Re-Farmer