Sourdough Oatmeal Chocolate Chip Cookies

We broke out the sourdough starter again today; this time for something sweet!

The following recipe is modified from The Sourdough Cookbook; Soft Oatmeal Cookies.  There are some really awesome recipes in this book!


1 cup butter
1 cup granulated sugar
1/2 cup packed brown sugar
1 egg
1 tsp vanilla extract
1/4 cup water
1 cup sourdough starter
1 1/2 cups all purpose flour
1/2 tsp baking soda
1 tsp salt
2 1/2 cups rolled oats
1 cup chocolate chips

Grease a baking sheet (or two), set aside, and preheat oven to 400F.

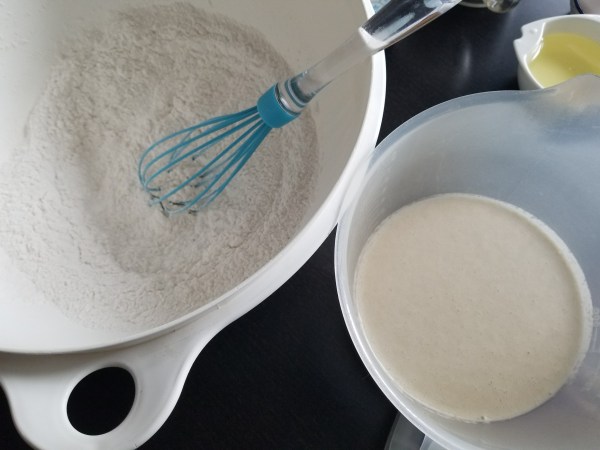
In a large bowl, cream the butter and sugars together.

Beat in egg and vanilla until fluffy.

Stir in water and sourdough starter.

In a medium bowl, mix flour, baking soda and salt.  Stir into the sourdough mix.

Stir in rolled oats.

Stir in chocolate chips.

Drop by spoonfuls until prepared baking sheet(s).  Bake for 10-12 minutes, or until golden brown.

Remove from baking sheet and cool on rack.  Clean and grease baking sheet between batches.


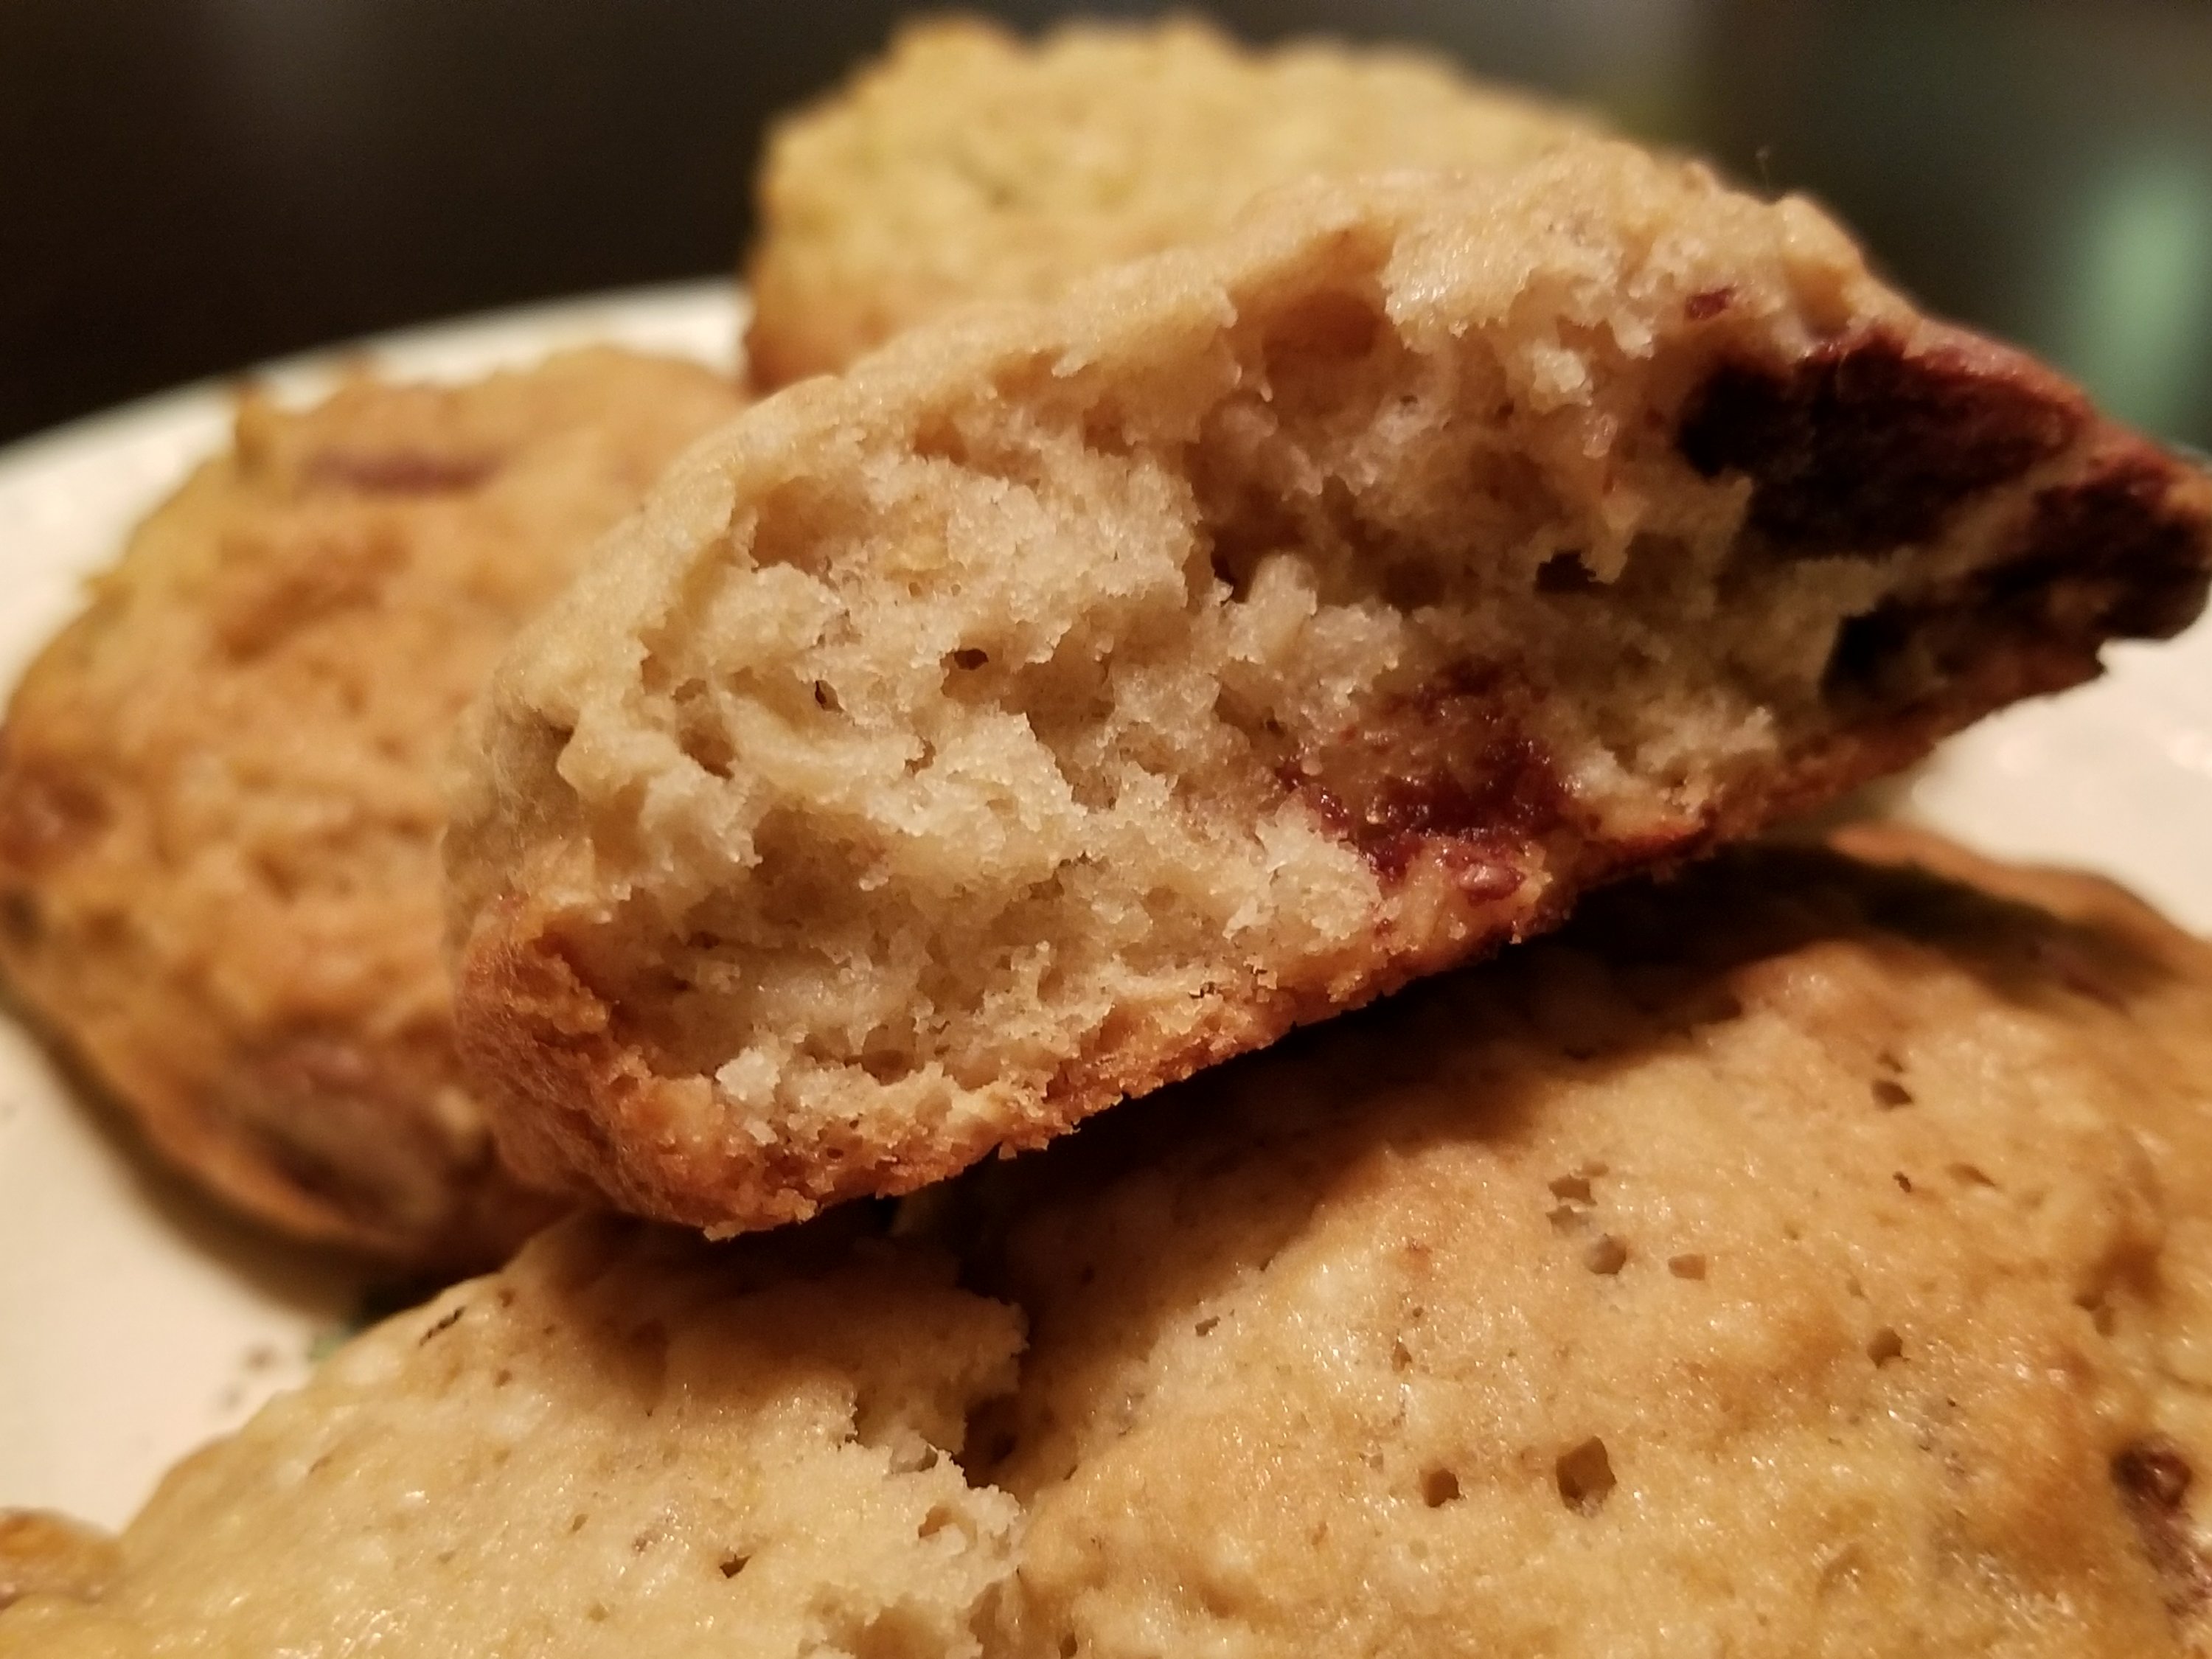
It is interesting to make sourdough sweets.  I find you can’t really identify that distinctive sour taste that you would find in making a bread or pancake.  Yet, there is a definite “something” that accents the flavour.

These cookies turned out nice and fluffy on the inside, with a light crispiness to the outside.  Great with peppermint tea!

The Re-farmer


Alaskan Sourdough: A story

While I was writing my last post about using our new sourdough starter for the first time, I was really excited to find a particular sourdough cookbook available.

This is the cookbook that started me on making sourdough. I had found it in the library in Victoria, BC. I took many notes from it, and I’m glad I did, because I never saw it again. Until tonight!

I’ve ordered myself a copy and can’t wait until it comes in.  I collect cookbooks, with a preference for older ones and historical cookery, and I love cookbooks that you can read for the information and stories that are included.  This is one of those.  It’s just chock full of interesting things.

This will not be a review of the book, however.  I’m just going to flat out recommend getting it, if you have an interest in sourdough cooking.

What I’m going to do, instead, it tell you the tragic tale of our first sourdough starter.

I still miss that starter.

Continue reading

Sourdough Pancakes

This morning was our first use of the sourdough starter, to make some basic pancakes.

They were awesome.

I topped mine with just a bit of butter and a sprinkling of brown sugar.

20180102_115213739858653.jpg

The sourdough flavour was mild, but definitely there.  They were also light and fluffy.

Before I go on to the recipe, here are a few tips.

It’s very helpful to pre-measure all your ingredients first.  It’s also a good idea to use a bigger mixing bowl that you might normally use.  Once the wet and dry ingredients combine, there is a chemical reaction between the baking soda and the sourdough, causing it to bubble up and expand a fair bit, very quickly.  I’ve made a flapjack hotcakes recipe using an Alaskan Sourdough where the batter would quickly triple in size!  You’ll want to be able to start cooking them right away, to keep them all light and full of air.  I started preheating my pan after pre-measuring the ingredients, and just before I starting combining them.

Again, you’ll want to avoid using metal bowls or utensils.  Metal will affect the flavour of your sourdough, so stick with wood, plastic, glass or ceramic.

20180102_1109481444070986.jpg

It now has a name!  Meet Sir Sour Alot!


This is what the sourdough starter looked like this morning, before I stirred it.  With my doubled recipe, I used 2 cups of starter, which left behind maybe 1/8th of a cup.  More than adequate.  I fed the remains with equal parts flour and warm water, plus a bit of sugar, right away.  I will feed it again tonight, so there will be a decent quantity for anything we’d like to use it for tomorrow.

Here is the recipe I used this morning, except that I made a double batch.

Quick Sourdough Pancakes
(from The Sourdough Cookbook)

20180102_111510828317172.jpg1 1/4 cups all-purpose flour
2 tsp baking powder
1/4 tsp baking soda
1/2 tsp salt
1 Tbsp sugar
1 egg (beaten)
1 cup sourdough starter
1 cup milk
3 Tbsp vegetable oil

20180102_1118001516703109.jpgIn a large bowl, stir together the dry ingredients and set aside.

In a medium bowl, stir together the wet ingredients.

Add wet ingredients to the dry ingredients and mix until just moistened.

Cook on pre-heated griddle or frying pan for about 1-2 minutes each side, or until golden brown.

20180102_114909672118921.jpg
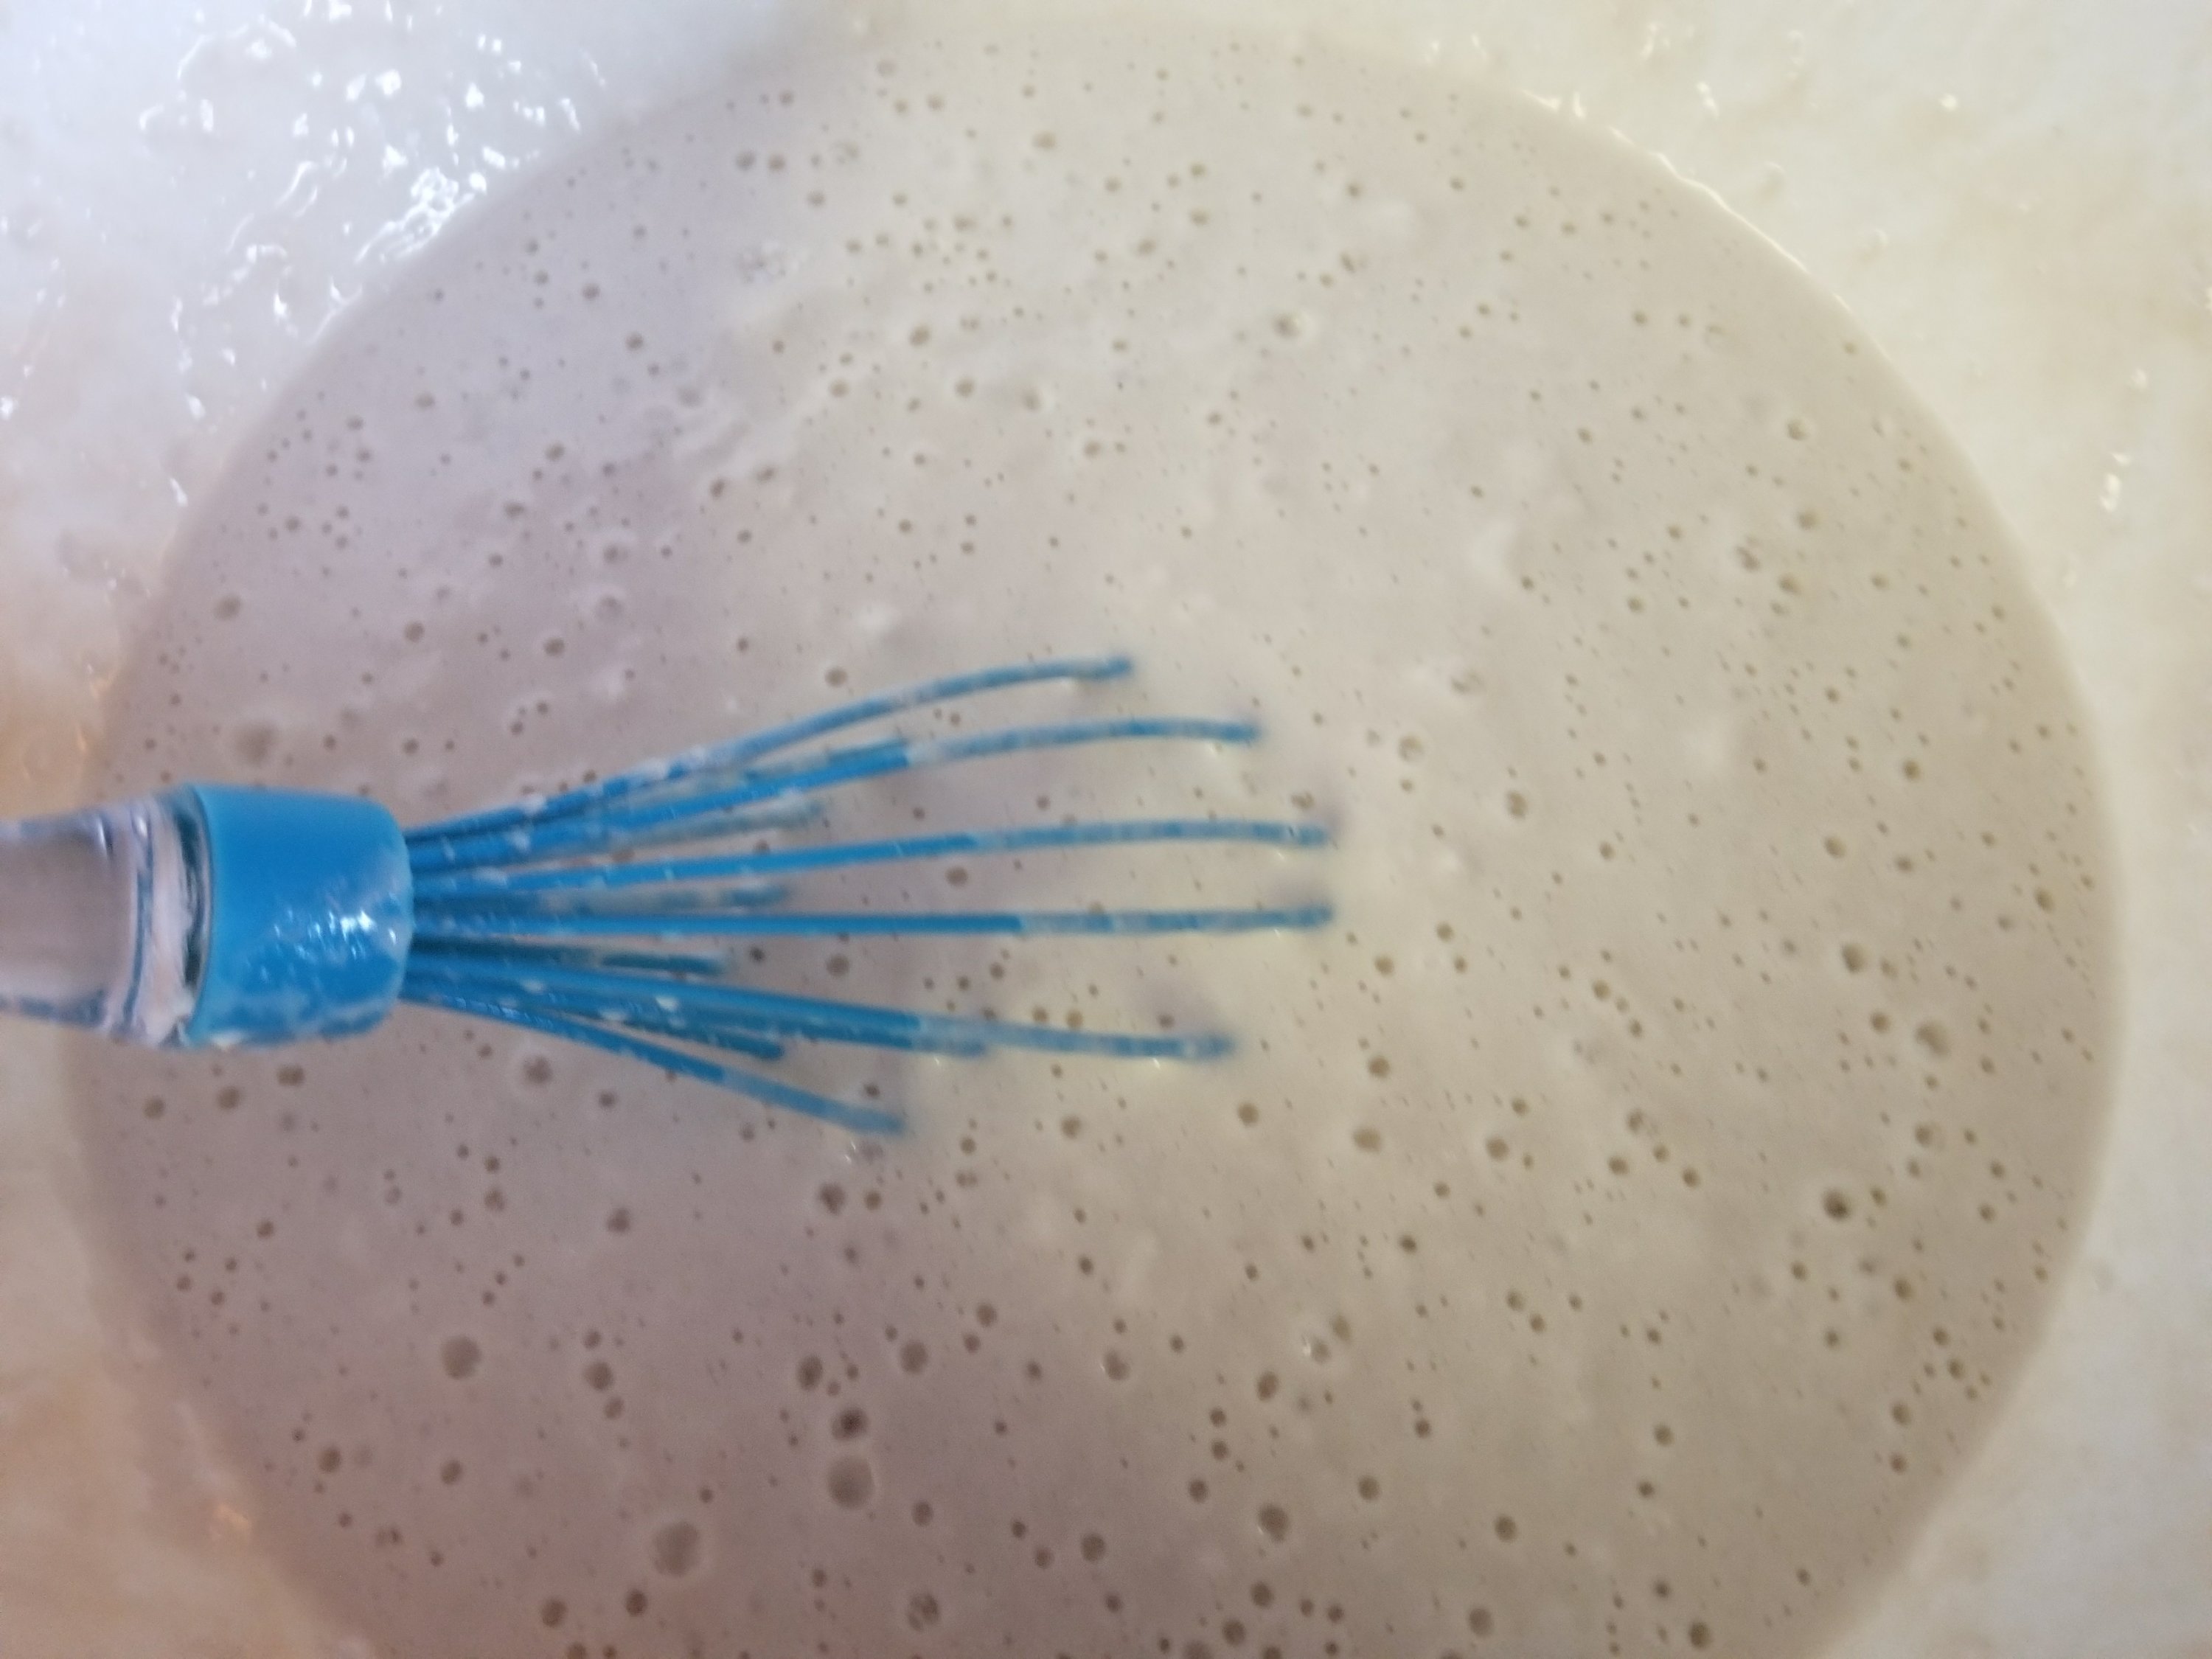
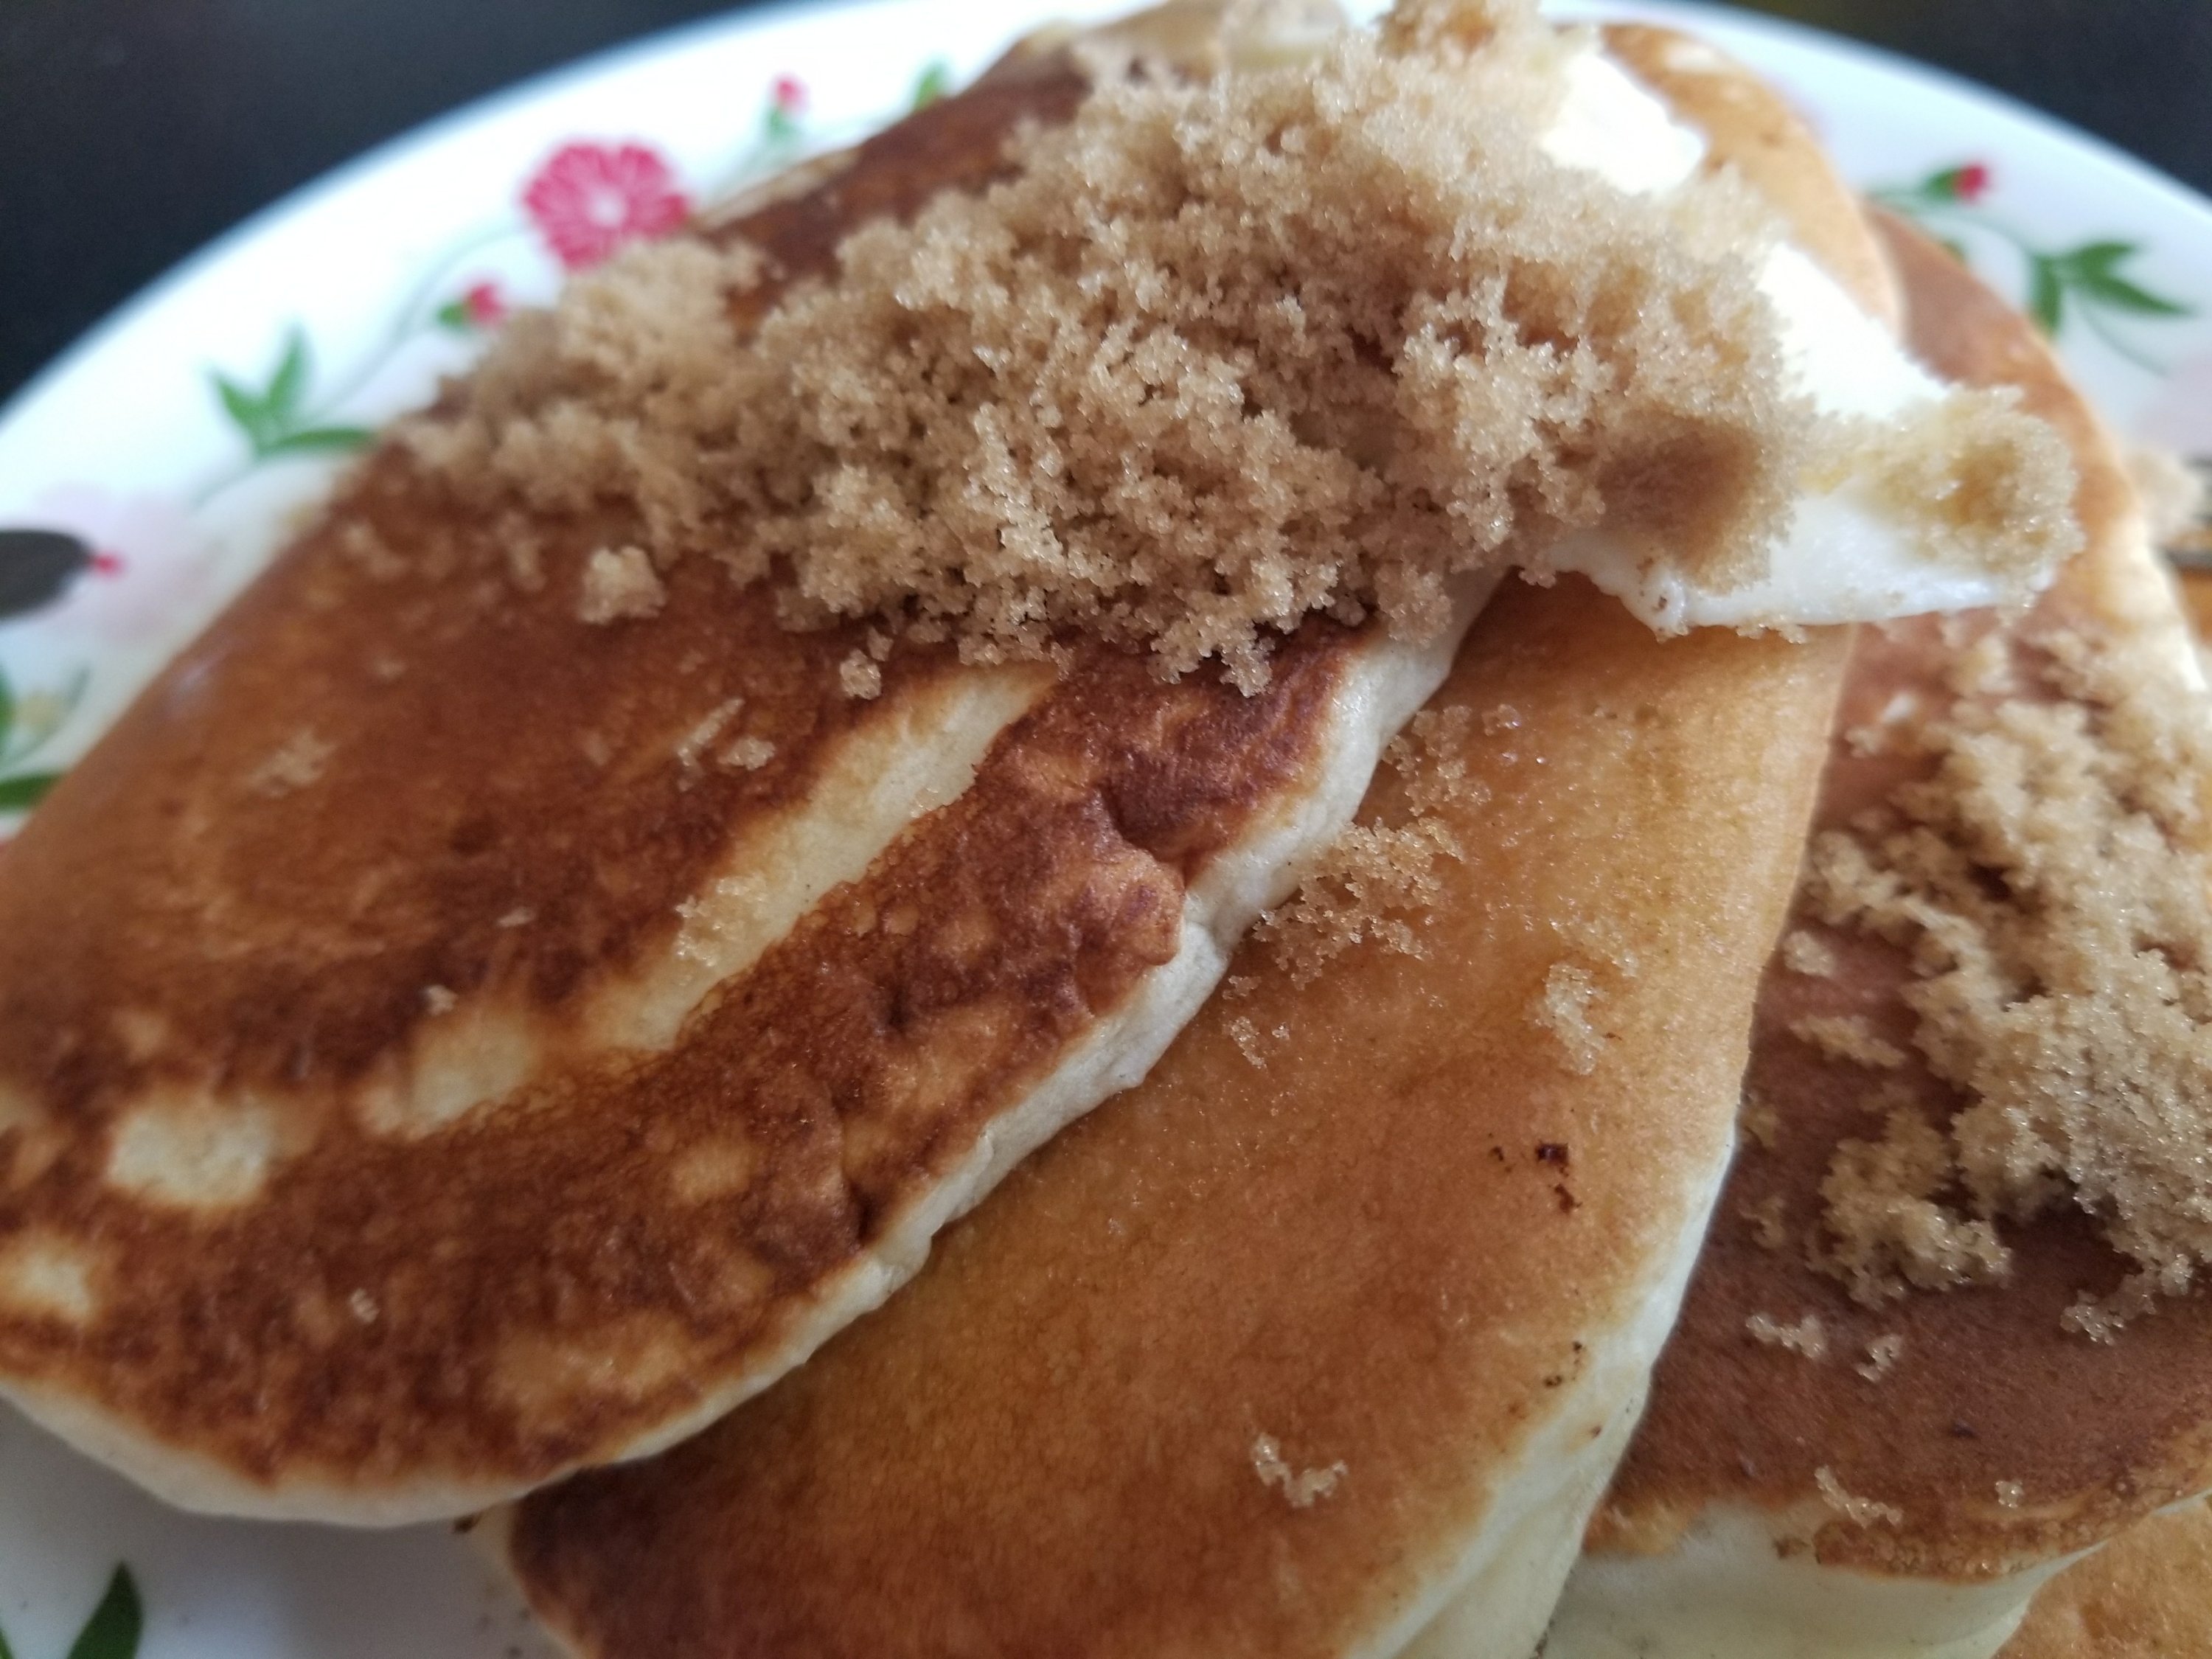
I like to finish off cooking with one giant pancake.  Just because.

These can be modified by adding chopped pecans, frozen berries, diced bananas or even crumbled bacon.  Just fold 3/4-1 cup into the batter after it’s mixed.

If you give these a try, do feel free to leave a comment and let me know how you like it!

The Re-Farmer


Sourdough Starter: day 3

Here is the progress on our new sourdough starter.

It was fed after 24 hours, and again after 48 hours.  With the size of my container, I fed it only a half cup each of flour and warm water, with a sprinkling of sugar.

This is what it looked like before I stirred and fed it tonight.

20180101_1911281280191620.jpg
You can see that it has separated a bit, and there is quite a bit of liquid. This is normal.  I stirred the liquid in, then added just flour and sugar. There was no need for more water.

This is what it looked like, about an hour later.


I am relieved to see the sponge bubbling up as as well as it is.  The ambient temperature is on the low side, but it seems to be handling it quite well.  What has been funny is to see my family opening the lid every now and then, just to smell it!  Nice to know I’m not the only one.

If I felt the need, I could place the whole thing in the oven with the light on. The heat from the light bulb would be enough to create a nice, cozy temperature for the yeast to grow in. I would make sure something was under the container, just in case it overflowed.

I went digging through some boxes to find cookbooks with sourdough recipes in them. I collect cookbooks, so that took a while.

We aren’t ready to start making bread quite yet, but we can do pancakes.

:-)

The Re-farmer

Getting Started on Starter 

There is a fair bit of variety of sourdough starter recipes.  The first one we made used potato water – an unpeeled potato boiled until soft, then mashed into its own cooking water – as the liquid.

In essence, though, getting a new starter going is just flour and water, left to sit.  Anything else is just bonus.

Of course, there are a few basic requirements that need to be followed.

So if you are not fortunate enough to be able to get some established sourdough starter from someone, here is what you need to start your own. Continue reading

Lemon Salt

This is one of those easy to make things that I like to keep on hand to add an extra zing to my cooking.  It’s great in marinades, with poultry and especially with fish.

It’s just two ingredients.

Course salt
Lemon zest

The salt can be Kosher salt, sea salt, or just ordinary course salt from the baking aisle.

20171223_125742 (2)

Lemon Salt

You could buy lemon zest, but it’s just as easy to make that, as well.  The next time you have a lemon, give it a try.  Wash the lemon thoroughly, then dry it before removing the zest.  If you have a zester, use that.  The zest in the photo was done using a zester.  Or, you can use a fine grater.  You can also use a paring knife, but I find it’s not worth the effort trying to get just the zest and not the bitter white pith.

Allow the zest to drop onto a paper towel as you zest your lemon, then spread it out as thinly as possible.  Set aside in a warm, dry place.  Move the zest around every now and then as it dries, so it dries evenly.  Once dry, store it in a jar with an air tight seal.

For the lemon salt, just add the salt and some zest (how much depends on how strong of a lemon flavour you want) into a glass jar with an air tight seal.  Close the jar and shake well.  Set aside out of direct sunlight and let it sit at least a few days before using.

Enjoy!