I am so, so tired!
I’m glad I set up shop in the shade of the garage to work on this, because even in there, it got so very hot!
I got progress done on the isolation shelter, but also discovered some things I neglected to take into account. I am definitely getting tires, though, as I made some pretty silly goofs today, too. Nothing that couldn’t be worked around, but still… Yikes!
I won’t be able to do much on it over the next few days, though. I will be heading out over the next three days, and while I might have time to do something before I have to leave, I don’t want to be getting covered in paint or sawdust or getting all sweaty before I need to go out in public!
Anyhow.
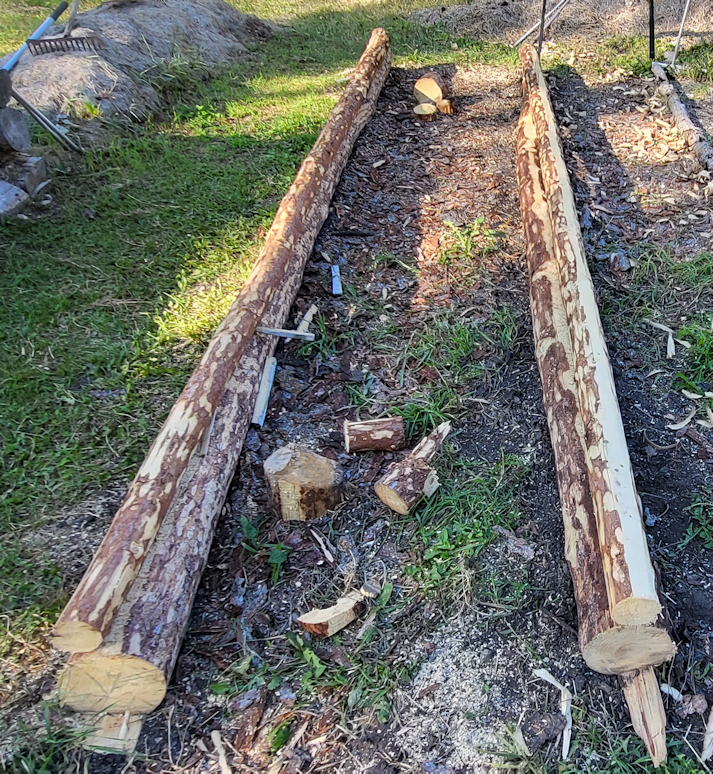
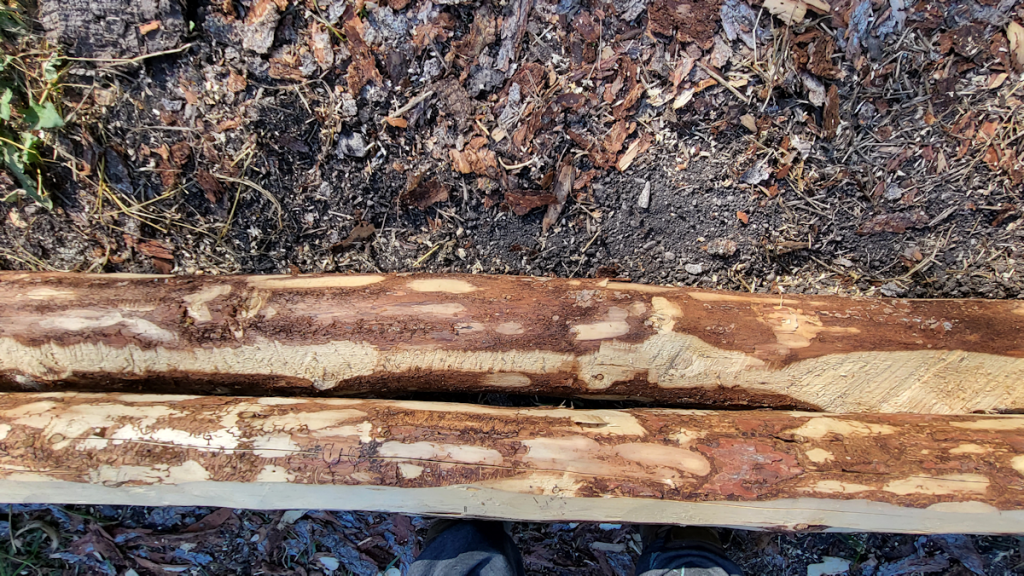
The first thing I needed to work on today was adding the verticals. They are not needed, structurally, but they will be needed to attach things to, whether it’s a door or access panel, or to support the welded wire, etc.
I’m not going to go into too much detail right now, but gosh, some of them were a pain to put in! I had painted the cut ends, and on a couple of them, I had to sand the paint off to get them to fit. In others. I actually had to use the miter saw to shave off some of the wood.
I did want them to be very snug, and most of them were. I used a piece of scrap wood and a hammer on some of them, to tap them into place without damaging them.
Then I had to cut out a chunk from the floor board that was to go against the back wall.
I don’t really have the tools to do that properly, but I managed.
That was my first goof.
I measured out the hole to fit around the vertical, forgetting that the board was not intended to fit flush with the back, but flush against the next board. So I ended up cutting a deeper opening than needed.
Ah, well. It’ll still work.
After setting the long floor boards across the back half of the shelter, I realized something else I didn’t take into account. I’d added an extra, narrower, board that straddled the center line, with the vertical 2×4 placed in the middle, the 1×4 boards fit exactly in between the new vertical and the outside frame.
The long, narrow board could no longer fit.
A 1×4 could fit, but there was nothing to support it at the vertical.
After debating it for a while, I ended up attaching one of the triangle blocks I’d made out of regular 2x4s (not the true to size 2x4s) and attached it to the horizontal bar, to support a floor board, and I just had to cut one of the pre-painted boards a bit shorter. That worked out fine.
But I was then left with a gap.
If I cut a new floor board to fit the space between the two “floor joists”, I’d have to just barely trim off a bit at one end, to fit around the corner post. That would leave a gap between the frame and the front horizontal piece. Or the wide board was cut to fit between the frame could still be added, with a corner cut out to fit around the front vertical piece, but that would leave a gap between it and the next floor board.
At that point, I decided to leave it and work on other things while I decided what to do next.
Which was to make a shelf.
I had a short length of true-to-size 2×4 that I could cut in half with opposing 45° angles to make shelf brackets.
I had piece of 1×8 board that I’d brought from the barn some time ago, with plans to make a shelf against the garage wall. It was pretty damaged and needed to be scrubbed down with water. I was able to cut a 4′ length, and the most damaged part will be the underside.
At that point, I decided to leave a large gap in the floor at the front, but to add a small shelf under it that a cat could use to access the second level like a step. So I cut a piece to fit, and will use a couple of 2×4 triangle blocks to support it.
Then, since I had to wait for the board I scrubbed to dry in the sun, I started working on the “nesting box”.
I measured the space under the shelf that will go across the back, as I wanted to make the box to fit under the shelf. It was 11 inches, so I decided to make the box 10.5 inches tall.
I took some of the 12.5″ long pallet wood pieces I cut yesterday, picking out the least damaged ones, and cut them to 10.5 inches. The longer pallet wood pieces are 13.5 inches, so that would be the length of the board.
After some consideration, I decided to make the box 3 of these boards deep. I had some scrap 1x2s and I cut a bunch to match the width of 3 boards to be used as cross pieces. I was going to make 3 short sides and two long top and bottoms, so I cut 8 cross pieces. The idea is that the cross pieces would be on the outside, and rigid insulation would be cut to fit in between them.
I started by using cross pieces to join the shorter boards using glue and nails. All those finishing nails I’d sorted out of the pile the cats spilled on the garage floor came in handy, but I had to watch not to grab any that were too long – after accidentally nailing it to the table with my very first nail!
After the two side pieces were done, I was going to do the same thing with the 13.5″ pieces, but realized I could just attach them across the top and bottom of the short pieces, using the same cross pieces.
Which worked perfectly fine…
Except…
Yeah, I goofed.
With the longer pieces attached this way, the whole thing is now higher than will fit under the shelf.
No matter. It can still be used. It just won’t fit under the shelf across the back.
I also decided it will be a “summer” nesting box, and not have insulation added. I’ll make another one – this time, one that will actually fit under the shelf – another day.
By then, the shelf board was dry, so I painted the new pieces, as well as the shelf supports that were already attached, then went around finding spots to touch up. After the painting was done and put away, I added a back to the “nesting” box.
I still wasn’t sure how to do the front. This is supposed to be a closed up, cozy space for a nervous cat do feel secure in – but also fully accessible. After showing the photos to my husband, he suggested leather. He has some really thick leather that he isn’t able to use for the projects he had in mind that I can use. A piece cut large enough to cover the front, then cut into strips or flaps that a cat can easily push through, would work just fine!
The inside of the boxes will also get something soft put inside. We’ll just have to make sure whatever we put into the insulated box is breathable, since the insulation will hold in moisture as well as warmth.
Once the shelves and boxes are built, I need to work on the door and access panels. I took measurements of what will be the main door/ramp in the front, but I have absolutely nothing suitable to make it with. There was one thing I thought I could salvage, but it’s full of nails that won’t come out, and it’s not worth it to cut them, either. Of all the things I have that are large enough, they are too thick and heavy. I might have to get creative with the lath that I picked up, but that is really thin. For a door that will double as a ramp, it would break too easily, I think.
I’ll figure something out. I’ll have a few days to think about it. Since I’m going to meet with the Cat Lady in the nearer city tomorrow, I might do some window shopping and look for inspiration.
So that is my progress on the isolation shelter for today. I still have to track down some half inch welded wire for the open sides, and figure out what to use for access panels on the second level. What I’d really like to do for the upper level is enclose it more. The question is, how to do that, and still be able to see inside. None of the salvaged windows I’ve looked at will work. Ideally, I’d just use some Lexan or Optix (both handle UV light better than Plexiglass), but even Optix is pricey.
Ah, well. We’ll figure something out.
As long as it gets done before we start trapping cats for spays and neuters!
The Re-Farmer