After yesterday’s lumberjacking, we were pretty sore this morning, but not as bad as I expected. Still, my daughters were sweet enough to feed the outside cats in the morning, so I could sleep in a bit before doing my morning rounds.
My daughters had some shopping to do in town, so my younger daughter and I left after my morning rounds were done. One of her stops was the pharmacy, forgetting that today is a statutory holiday in Canada, and the pharmacy was closed.
I did notice that a BBQ food truck was out so after our last errand, I checked it out. I had enough cash on hand to get some take out to bring home as a treat. I miss food trucks! 😄 There’s actually quite a few in the region, but where we are just doesn’t have the population base to support one.
One thing I noticed while I was waiting for the food was a sign on the nearby hardware store. Along with cycling through their hours, specials, etc., they show the local temperature. According to my apps, the hottest I was seeing was 26C/79F with a “real feel” of 29C/84F at home. The sign, however, was showing a temperature of 32C/88F! Judging by how I was feeling while standing in the shade, I’d say the sign was right.
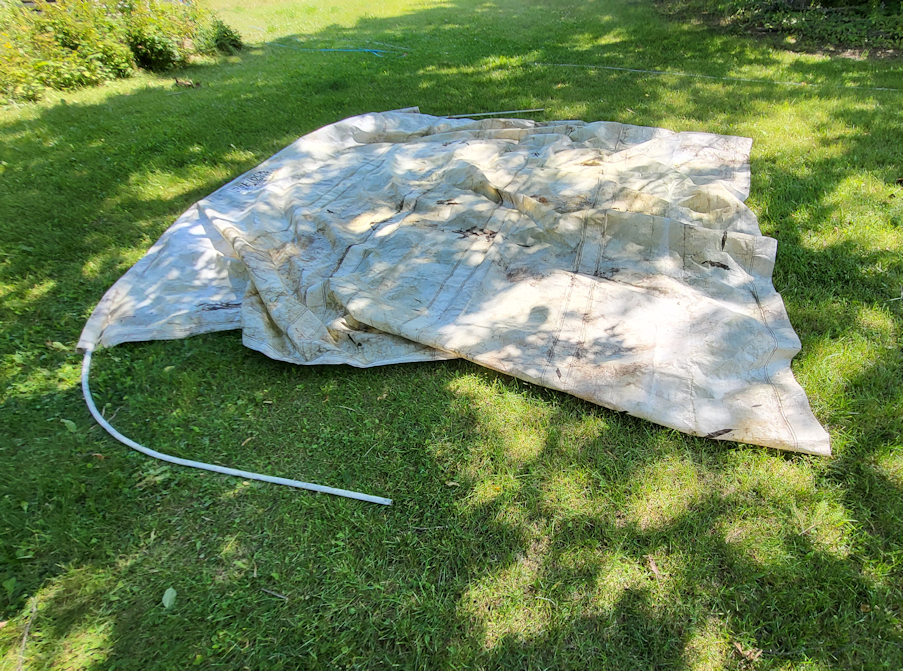
We really ought to get ourselves a weather station. I did find the parts of one while we were cleaning up the house, but the outdoor reader was (still is, actually) mounted to one of the steel clothes line poles, so the readings would be quite off!
Speaking of the weather, we started to get alerts for severe thunderstorms this afternoon. Looking at the weather radar, I could see spots of storms, scattered like confetti, sweeping across the prairies.
So far, none have hit us. The most we got was a smattering of rain. I was outside at the time, working under a tree, and never noticed until I saw parts of the sidewalk were wet!
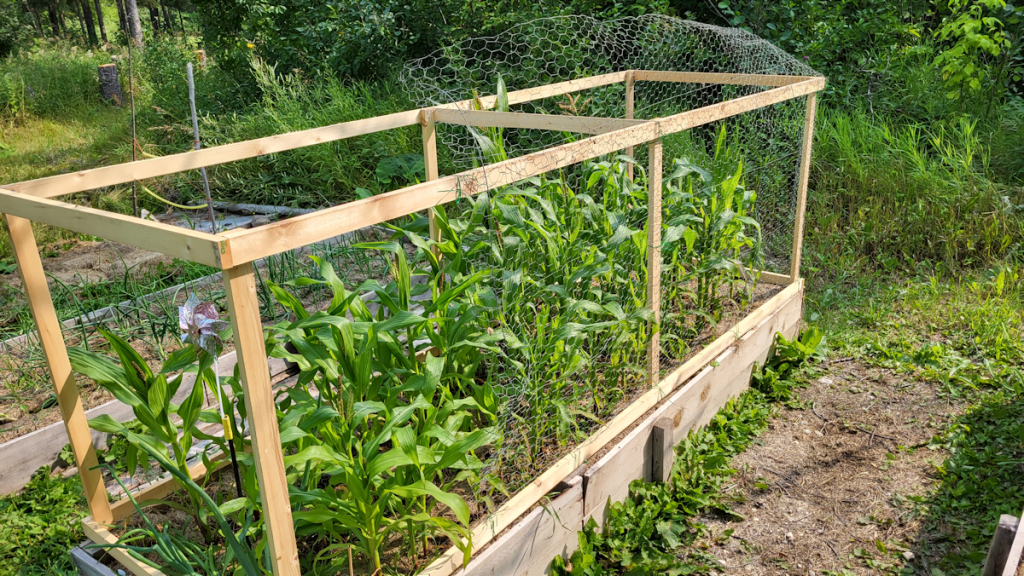
This is what I was working on.

The last frame for a raised bed cover now has wire on it.
Of course, it was more of a pain than expected.
The wire I used was 2″ hardware cloth salvaged from the old squash tunnel. The roll is 4′ wide, so I could just use the length, rather than cutting strips, like I had to with the fence wire and the plastic hardware cloth. I was going to cut it to 9′ until I realized I had close to double that, so I folded it almost in half.
Putting the first side on was fairly easy. I used the steel strips again, as they are a lot more secure. In the past, for wire like this, we used staples, and there’s no way staples would hold this in place while being manhandled on and off raised beds.. The only real hard part of attaching the first side was having The Phantom suddenly decide she absolutely had to have attention! She’s been making strange lately, and I thought she was getting more feral, but not today!
Also, as she rolled around, I could see a single active nip. I had been wondering, as she never looked pregnant, if perhaps she were infertile, but she does have a single kitten somewhere.
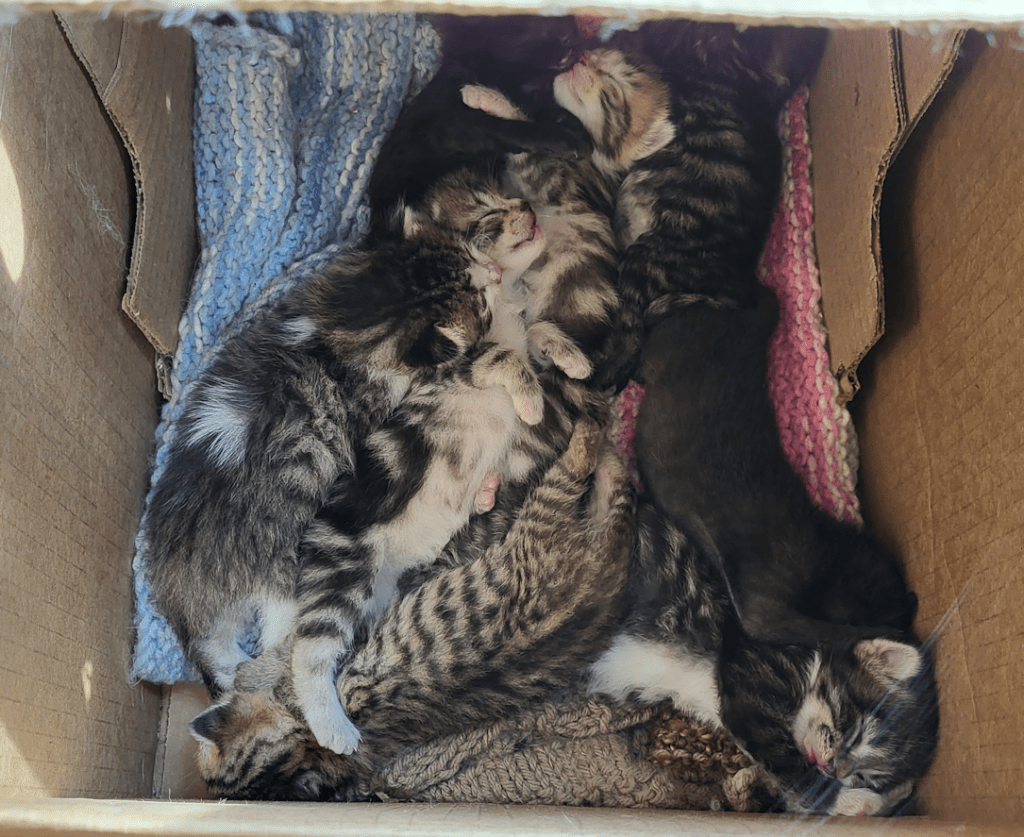
Speaking of kittens, they were all over the place, and more of them are showing red and/or sticky eyes. None as bad as the two we regularly bring inside to wash their eyes, thankfully, but my goodness, it’s bad this year!
Anyhow… where was I? Oh, yes… the wire.
Once the first side was attached, getting the second side done was a real pain. The two layers of wire mesh kept getting stuck on each other and misaligning. After fighting with is for about half an hour, at least, I finally got some jute twine and wrapped the length of it near one edge, from the fold to where one end was a few inches shorter than the other, then secured the short end as well. Only then could I finally attach the other side to the frame.
Unfortunately, I started to run low on the short screws I was using the attach the steel strips. I had just enough to secure the length, but only on the bottom edges. What it needs is more of them to secure the wire to the top edges, to keep it from pulling away.
So… more of that size of screw is on my shopping list. I did try to secure it a bit better using the staple gun, but didn’t finish. Even with the steel straps, they will easily pop out.
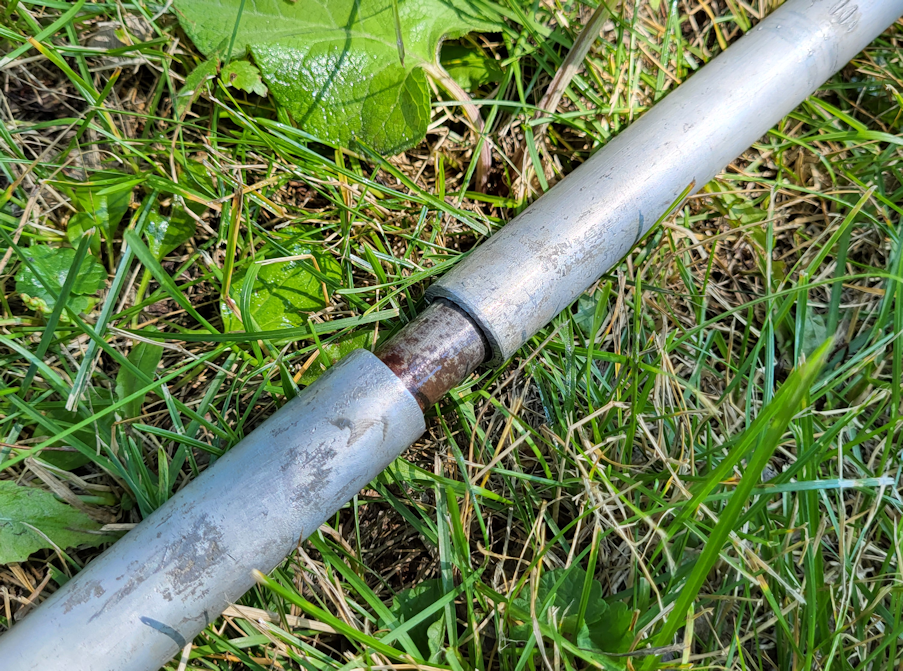
Aside from securing the wire to the frame some more, I am thinking it will probably need more support. The wire can hold itself up, but it bends very easily. It would take next to nothing to crush the arch. If a cat decided to jump on it or something, it would collapse completely. I think I have a couple more lengths of the PEX pipe, but I would want at least 4 preferably 5, to support the wire.
So the cover is done to the point that it can be used, but needs a bit more to make it stronger.
For this one, I’m glad I decided to fold the hardware cloth in half rather than cut it too length. If it were 1″ squares or less, it would be stronger, but with 2″ squares, it’s relatively flimsy. It will be okay when we use other strips of the 2″ hardware cloth on the box frame to protect the bed with the popcorn in it, but not so much as a self supporting arch.
So, here are our experimental results.


The first one we built was the box cover, designed specifically to go over taller things like the Tom Thumb popcorn. It is intended to support wire, shade cloth, etc., as needed. It is probably the most structurally sound of the frames we made. It is unlikely we will need to build more like this, simply because things we grow that are taller are more likely to need other types of support or protection.
I can see two problems with this design. 1) Once the sides are wrapped in wire, there is basically no way to tend the bed without removing the entire cover, and 2) for anything needing a cover this tall, removing it would require 2 people, to avoid damage. If, however, it were wrapped in fabric mesh or netting, it could be done in such a way that the netting could be lifted for access. Fabric won’t keep the racoons out, though.
Conclusion: I’m happy with it. This frame is worth making again, if we ever need to protect tall plants, but there would be little need for more, based on our current garden needs.
The second one used fence wire we found in a shed. The fence wire turned out to have varying sizes of openings, from 6″ square to 6″ x 3″ The roll was just over 3′ wide, so we had to cut 3 strips to fit into the frame, with overlaps. I went with 5′ long strips to create a high arch, which worked out well for the bush beans.
The first problem we found was with how the vertical and horizontal wires were joined. Each intersection has a wire wrap, adding significant thickness to those spots. We were using U nails to attach them, hammering them diagonally over the joins to secure them. Between the nails themselves and the thickness, this was far more difficult than it should have been.
The wire itself was stiff enough that a couple of screws snapped in the frame’s corners, which resulted in them starting to rotate. Thankfully, we had a couple of scrap 9′ lengths that cut wonky, and were able to add those to the inside of the frame, sandwiching the fence wire in between. That also strengthened and secured the corners.
We currently have the frame over our bush beans, with netting on top, to protect the beans from critters. The wire wraps at each intersection is a problem, as the net catches on them, but aside from that, it’s ideal. The net strip is wide enough that I’ve even been able to secure the edges with ground staples into the soil under the frame, too.
Conclusion: I’m really happy with this one. I’m able to lift the netting and harvest through the fence wire without having to move the frame. If I can find 6″, or even 4″, square welded wire fencing, instead of the wrapped wire, that’s what I would use to make the majority of future covers. It’s strong enough to support itself. I could probably use 6′ lengths for an even higher arch, and it could still support itself, plus any shade cloth, insect netting, greenhouse plastic, etc. Though we would not use U nails again, and go with the steel strapping, I would still be good with that double thickness of wood on the long sides, which makes the whole thing much more structurally stable, while also securing the wire. In the future, I can see most of any new covers we make to be like this one, with a few modifications.
The third one is the one with the “rigid plastic” hardware cloth. Which turned out to not be very rigid at all. This is when I remembered I had the steel strapping and used that to secure the mesh. After the first hoops I tried to use, snapped screws in all the corners, I had to add extra pieces of wood inside the short ends. Switching to PEX pipe hoops worked much better, and the steel strapping worked well to secure the hoops, too.
The plastic hardware cloth rolls came in 3′ widths, so it took three lengths to cover the frame, which then had to be lashed together. I went with 4′ lengths this time, for a lower arch compared to the fence wire cover. Once the hoops were snugged in place and trimmed to size, I used garden twist ties to secure them to the mesh and prevent them from being pushed sideways.
With the outward pressure of the hoops, this frame had a couple of screw eyes added to the middle of each long side and cord strung across, to keep the sides from bowing outwards.
Conclusion: This frame is definitely the most aesthetically pleasing of them all. It’s easy to move around with 1 person, and the lower arch is good for shorter crops. I would not, however, use this plastic hardware cloth again. It creates too much shade. Which is great if I have it over a bed of lettuce, but obviously, it wouldn’t be good to use over something that needs full sun. I also would rather have the flexibility of using whatever cover I need for a particular bed. I want these frames to be interchangeable as possible, whether a bed needs shade cloth, greenhouse plastic, or frost protection. If I need to use hoops for support again, the PEX pipe is definitely the way to go.
Last of all is the frame done today, so I’ll just go straight to the conclusion:
Conclusion: As this one didn’t need any extra wood added to the sides or ends, it is the least structurally secure, but that’s an easy fix. I would not use this 2″ hardware cloth again, though, for the same reason I wouldn’t use chicken wire. It’s just not strong enough, and bends too easily, even doubled up.. It will also need support hoops added at some point. It’ll be used, but that’s about it.
As we build more high raised beds, we will also build more covers Experimenting with the different materials has shown me a lot of what works best for our needs – and what to avoid! Armed with this information, I’ll know what to keep an eye out for and pick up as the budget allows, to have on hand for when we have more beds to protect!
The Re-Farmer