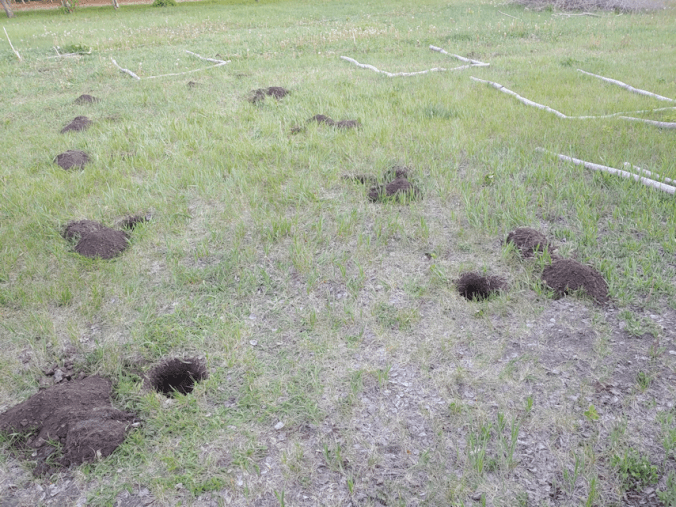
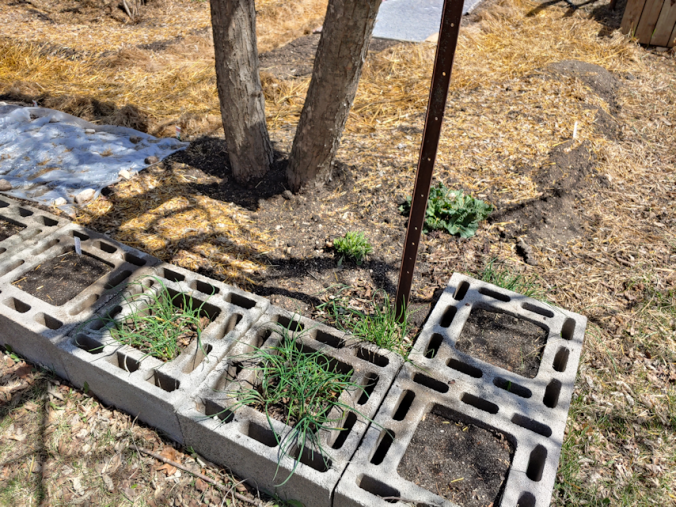
We managed to get outside for a bit more progress on the garden. One of the things I did was go through where we planted sunflowers last year, and dig out any remaining stumps. I am really impressed with how much softer the soil is. Well. When I managed to not hit any rocks, at least. ;-) I think using this area for the summer squash will work out. We just have to fight back the grass and weeds. :-/
Not yet, though. The new corn block will be the priority for transplanting.

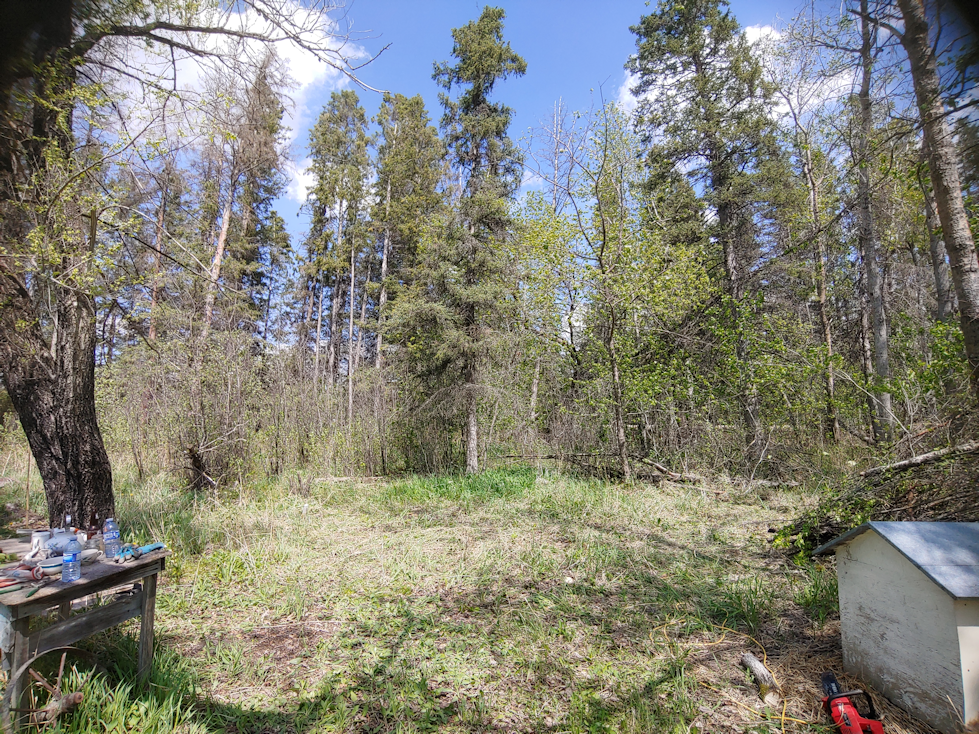
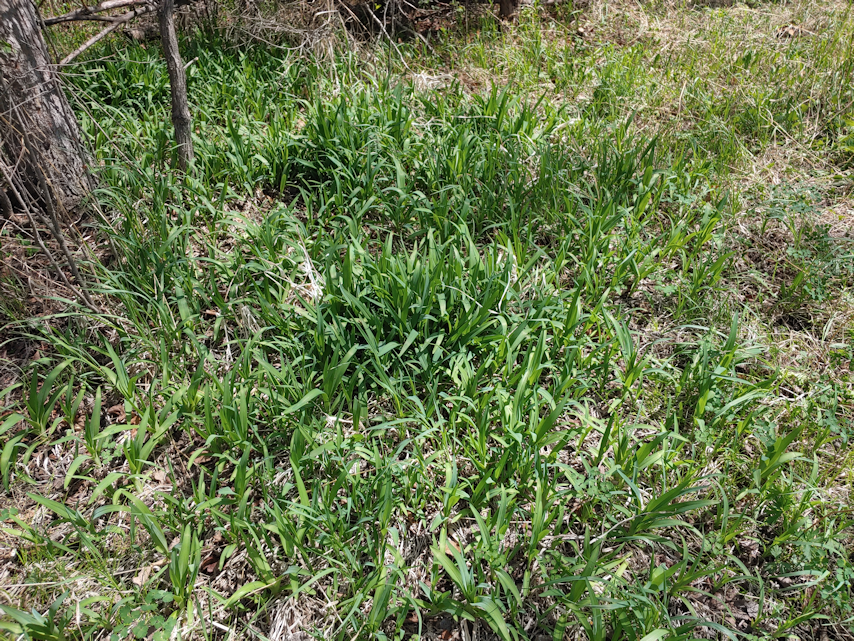
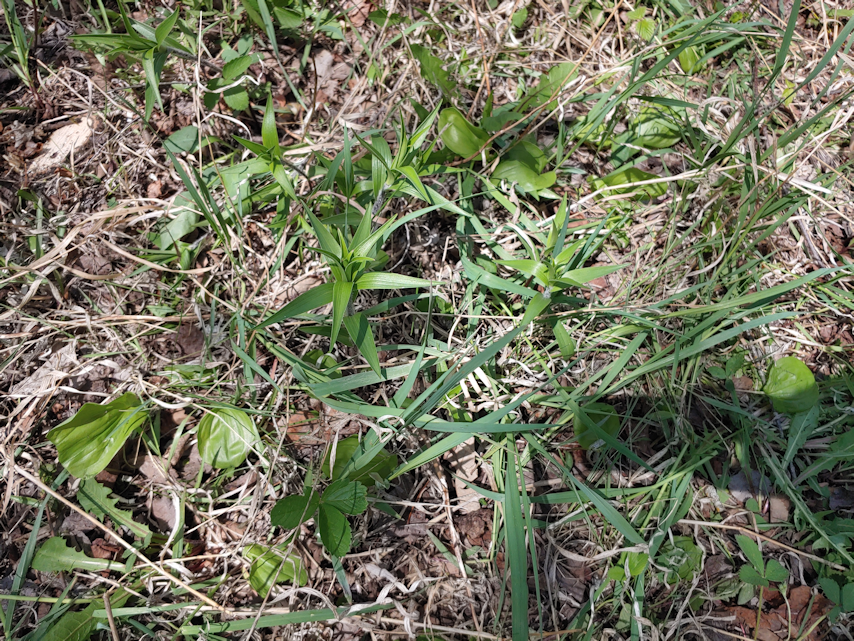
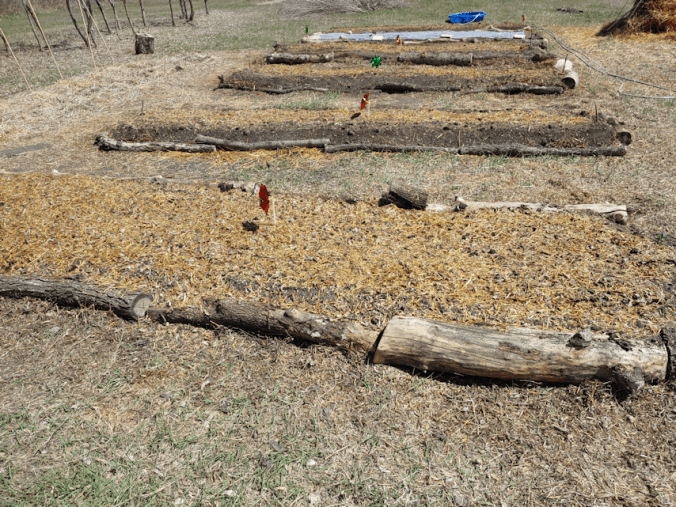
This area has been covered with black tarp for at least 2 months. Almost, but not quite, enough to kill off the grass and weeds.
This area is remarkably rough, though. I had the hardest time mowing on this side, without hitting rocks or lumps of dirt. Partly because of this, I will be going things differently. I will actually be turning the soil here. Nothing extreme. Mostly just loosening it with a garden fork, while pulling out the larger roots and rocks. Once it’s loosened up, I plan to go over it with a thatching rake (we only have 1 thatching rate, and a bunch of fan rakes, so that’s the tool I’ll use! :-D ). That should pull up more roots, but mostly I want to level it off enough that I’m not tripping over dirt clumps every time I walk through!
I had gotten a start on loosening the soil at one end, when one of my daughters was able to join me. Together, we got to work on the squash tunnel.
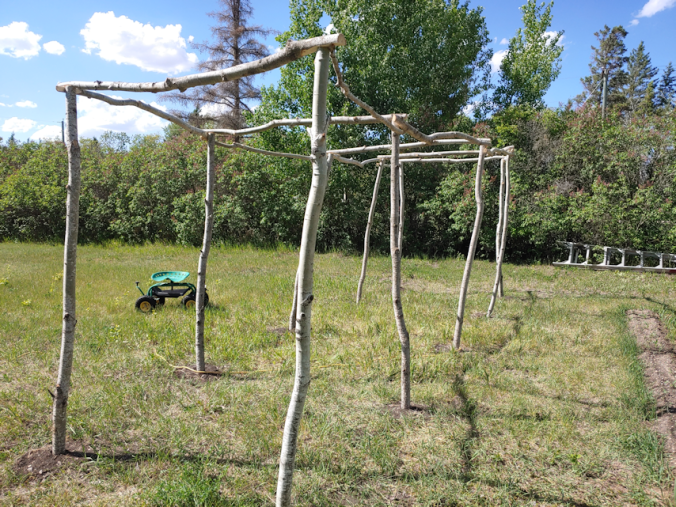
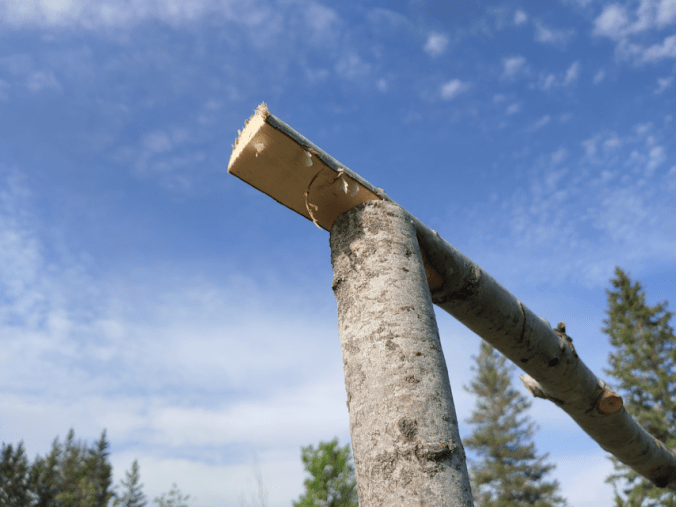
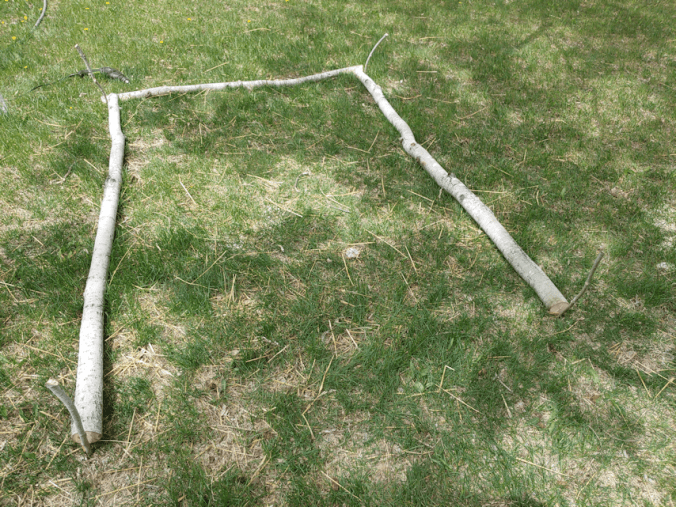
We were able to get all the side cross pieces in place at the tops. A job that was much more difficult than it looks!
I may have mentioned this before, but… we’re a bit on the short side.
Oy, did that make a difference!
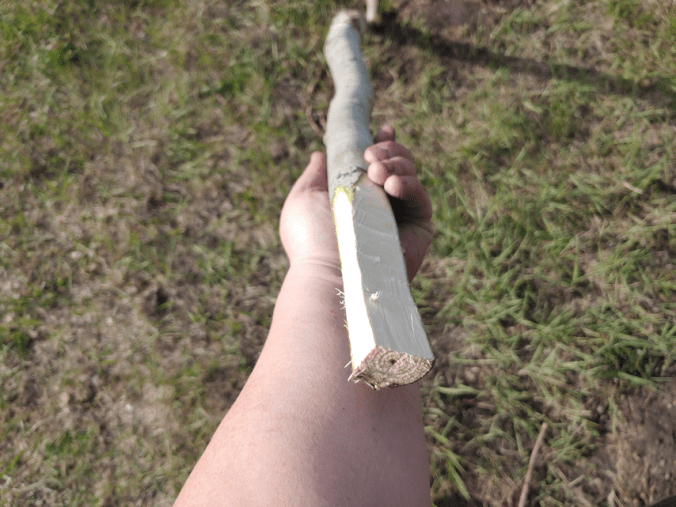
My daughter held the cross pieces in place while I climbed the ladder to drill the pilot holes, then put in the screws. It was very awkward and painful for her – especially with her gimpy shoulder! – to try and hold the pieces steady until I had the screws in far enough that she could relax. Some of the uprights had shifted, too, so not only was she holding a cross piece in place, above her head, but sometimes holding an upright in place as well. The fact that everything was different sizes and shapes didn’t help, either. Doing this in 27C/81F heat, and winds high enough to blow over the step ladder, certainly didn’t make things any easier.
Also, we really need a power screwdriver. Driving in 3 inch screws manually, while someone else was struggling to hold the pieces together, was another thing that made the job more difficult than expected!
But we got it done!
It is still incredibly wonky, of course. Good thing it’s not intended to be permanent! We also didn’t use as many screws as I intended. For some joins, it was because the pieces were not of a size or shape to add more than one screw. With others, we just needed to get it in place and move on to the next, due to how painful or awkward it was for my daughter to support the cross pieces.
I now need to cut cross pieces for the bottoms. When I put those in, I will take the time to add extra screws were they are needed at the top. If necessary, I’ll add extra support pieces at the corners, but I think once we add the wire mesh for the vines to climb, that will help stabilize it a bit more, too. I’m actually not sure how we will get the mesh over the top.
Did I mention we’re short? LOL
At least it’ll be easier to put in the bottom cross pieces.
When we did as much as we could, I was ordered by my daughter to head indoors and out of the sun. Apparently, I was looking rather overheated!
So I am taking a bit of a break in the cool of the house. By the time I get outside again, more of the corn block I want to work on will be in shade, so that will help. I’m hoping to be able to get the corn transplants out by the end of tomorrow. We’ll see how it goes. I’ll be helping my mother with her grocery shopping earlier than usual, so that should work out.
Little by little, it’ll get done!
The Re-Farmer