I had a wonderfully productive day in the garden today, so I am splitting things up into a couple of posts.
I decided to shift gears today. After looking at what I was wanting to winter sow and where, I decided to leave cleaning up the last two beds in the main garden area for later. Possibly until spring, depending on how things go over the next while. I needed to move on to other areas. Areas I knew would be faster to work on, since I wouldn’t be dealing with the roots and rocks situation!
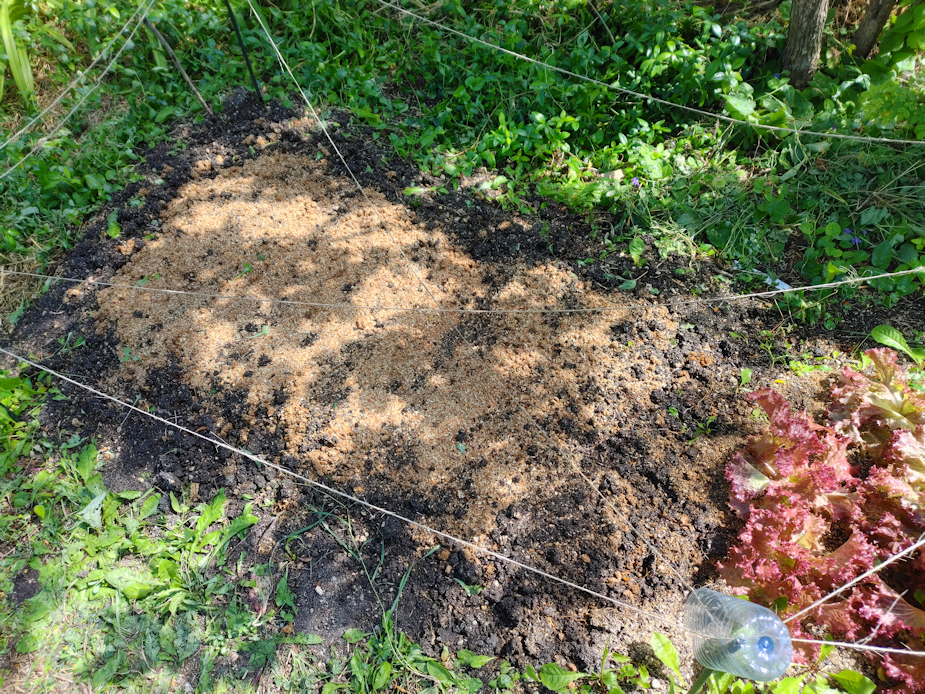
The priority was going to be the old kitchen garden, but first I decided to do the winter sowing in the garlic bed. I didn’t want to have the plastic cover over the garlic for too long, as I was concerned the mini greenhouse it created might mess with the garlic.
Here is how it looked, after the plastic was removed.
I’d already raked up as many leaves as I could stuff into the wagon and the wheelbarrow for mulching.
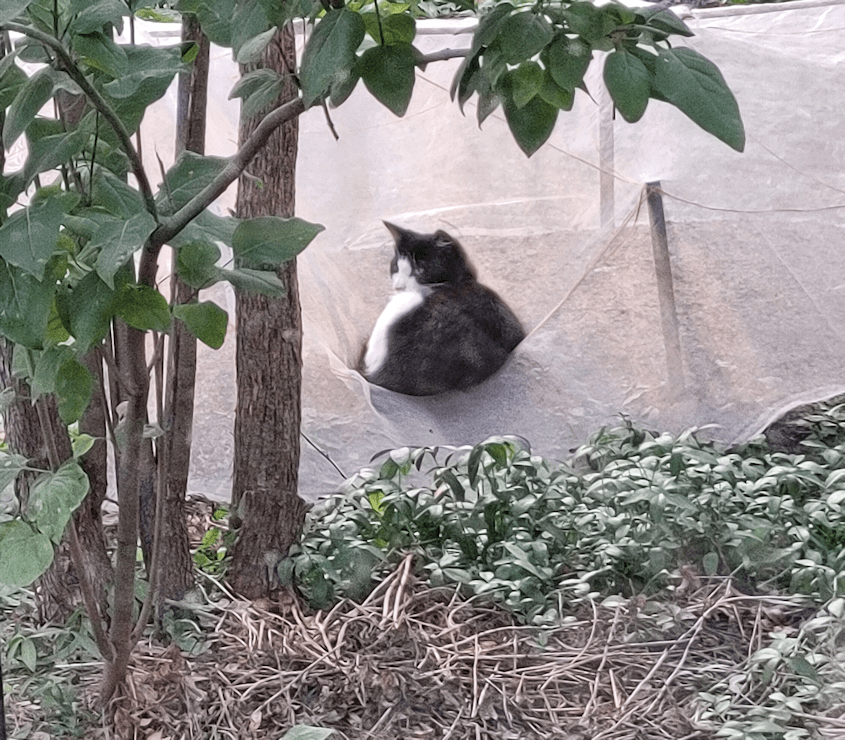
As for the plastic, I was going to roll it up for storage, but remembered the low raised bed I had recently cleaned up. The cats have been digging in it, so I tided that up, then just shifted the sheet over.
The boards and bricks that had weighted down the sides against the hoops before are now being used to keep the plastic snug against the soil, and from blowing away. I found a short log that I could roll the excess up into. Later on, I did take all those rocks you can see at the end, and set them on the plastic, under the roll. It is slightly elevated, and the wind was moving it around quite a bit, considering how litter wind we had today. The rocks weighing down the other end weren’t enough, so I found a short board I could wrap the plastic around and weighted that down with the rocks. If it were spring, this would be a good solarization set up. For now, it’ll just keep the soil a bit warmer, and keep the cats from leaving me more “presents”. 😄
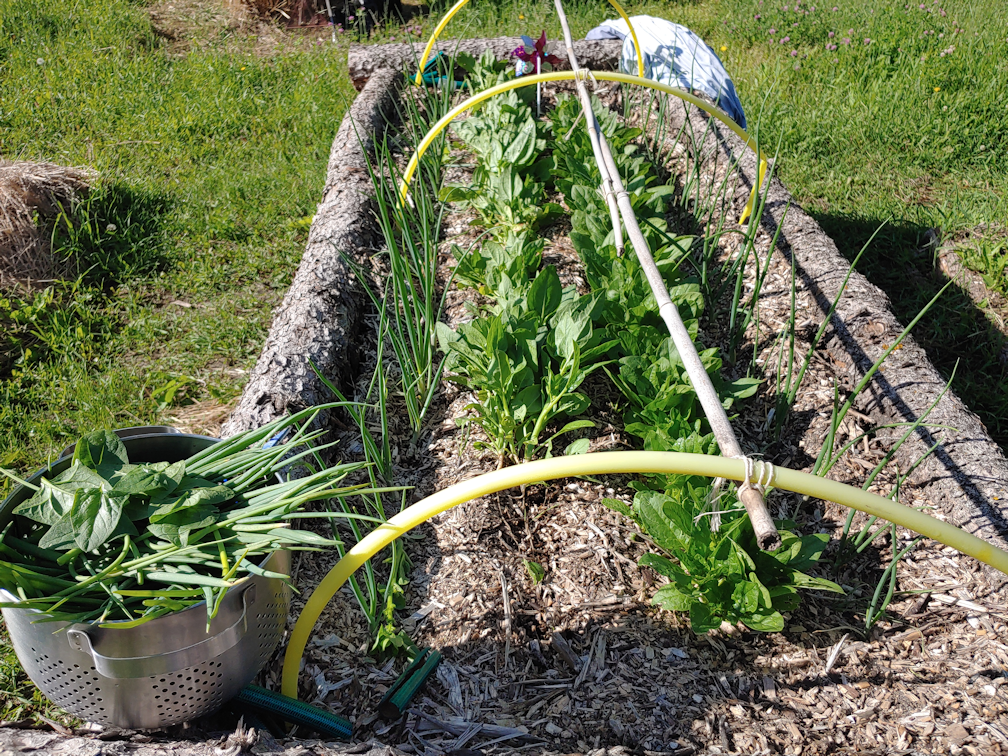
Then it was time to get back to the garlic bed, and clear away the hoops. With the twine marking the three rows of garlic, I used those as a guide while using stick to create furrows in between. I went back over them with my hands to lightly compact the bottoms for better soil contact – and remove as many little rocks as I was able to!
For the varieties, I chose American Spinach and Yellow Swiss Chard.
I didn’t mark the rows, so this picture is to help me remember what I planted and where!
I chose this variety of spinach because, after reading the back, it seemed the most appropriate for the location, as well as winter sowing. The Yellow Swiss Chard is a new variety, with an unusual colour for Chard, so I wanted to give it a go. Both packets still have seeds left, so we could potentially do another sowing in the spring, after these have germinated.
The seeds got lightly covered, and gently tamped down, again for better soil contact. I had made the furrows deep enough to form shallow trenches. The soil was damp and didn’t need watering – I don’t want them to germinate too early! – but next year, the trenches will help hold water, in case we end up with another drought year. Plus, it makes it easier to see where the seeds were sown.
You can see that in the next picture, along with the “first” mulching of grass clippings taken from other beds. Because the garlic is so close to the outside of the bed, and the bed has no log frame, I wanted to give the sides extra insulation. When the leaf mulch is removed in the spring, the grass clippings will be left as erosion and weed control.
I was originally going to remove the twine and stakes marking the garlic rows, but decided to leave them, and put the leaf mulch right on top, which you can see in the last photo. I finished off both the wheel barrow and the wagon of leaves before it was done. I got another wagon load to finish mulching the garlic bed, and had just enough left over to mulch the Albion Everbearing strawberries I’d transplanted from their original choked out bed to beside the new asparagus bed. The strawberry plants were still very green! Hopefully, they will survive the winter and we’ll have nice, big strawberries next year.
So the garlic bed is now DONE!!!
With the stakes left behind, the bed will be visible after the snow falls. This area gets very flat with snow in the winter. If we can get at the beds this winter, I would want to dig snow out from the paths and onto the winter sown beds for even more insulation – and moisture – in spring.
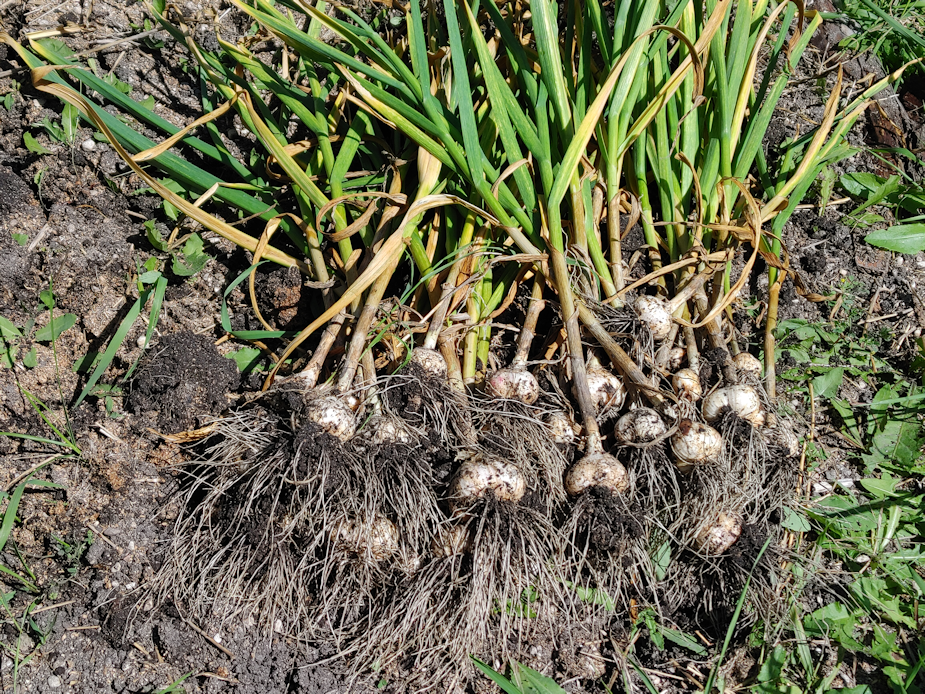
That done, I started moving my tools and supplies over to the old kitchen garden, where I wanted to work next, but first, I decided to gather a small harvest.
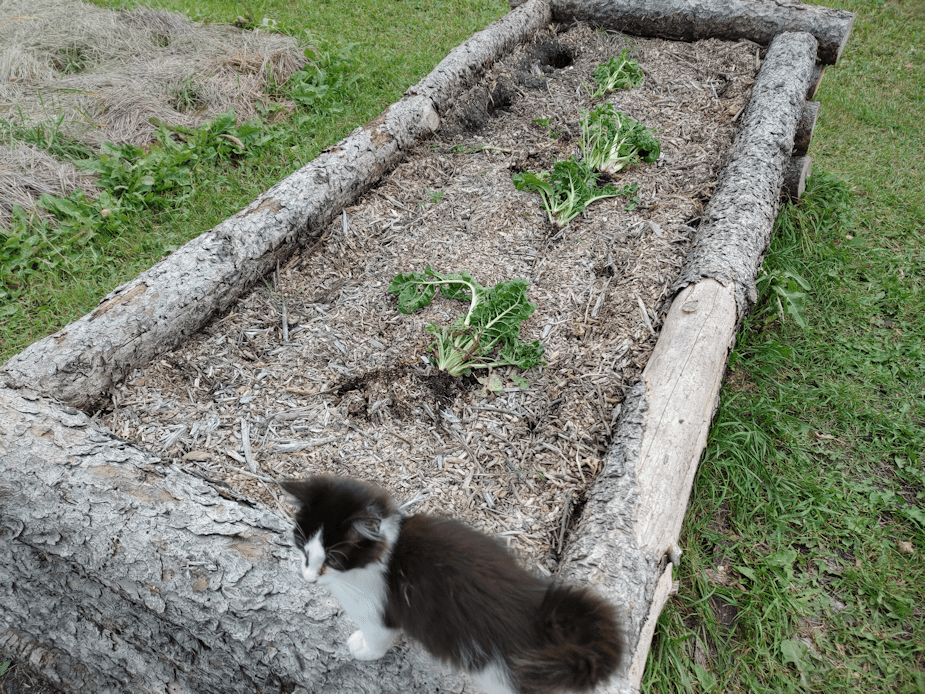
I dug up just a few Jerusalem Artichoke plants around the edges of the bed, and this is what I was able to gather from under them. I will leave the rest of the bed to overwinter. Later on, I’ll use loppers or something to cut the plants, which are still very green, and drop them on the bed as a sort of mulch.
The Jerusalem Artichokes (aka: sunchokes) did not grow very tall this year, compared to others. I did water it at times but, I’ll admit, it was largely ignored this year. As with everything else, I think the heat, the drought and the wildfire smoke set them back. I think they also got less light this year. The Chinese Elm trees beside them had been pruned, but the branches have grown back. I want to get rid of them entirely, because of the billions of seeds they drop in the spring, but for now we’ll just try to prune them again, when we can.
As for the sunchokes, I noticed a difference this year. For starters, I didn’t find any of those grubs I found so many of, when I harvested this bed completely, last time. Sometimes, I’d find them half burrowed into a tuber – both living and dead! Other times, I’d see the holes, then find a dead grub inside when cutting open the tuber. I was not impressed! This time, I saw zero grub damage. Sweet!
The tubers themselves are actually less nubby, too. A lot of the ones we harvested at the end of the season last year had so many nubs on them, they were hard to clean. This time, there are a couple of nubby ones, but most are smoother. Which I much prefer!
With leaving the rest of the bed to overwinter, I hope that we will have a much better growing season overall, and a lot more plants to harvest from. That seemed to work out when we did it before, as last year’s harvest was quite decent.
This done, I could finally move on to the old kitchen garden and start on the beds there.
Which did take longer than expected, but for a very different reason this time!
I’ll share about that in my next post.
See you there!
The Re-Farmer