Testing the grass whip

The thread lock on our new grass whip has had its 24 hours to set, and we had a lovely cool morning to test it out in. We actually dropped to 14C/57F by this morning! It was awesome!

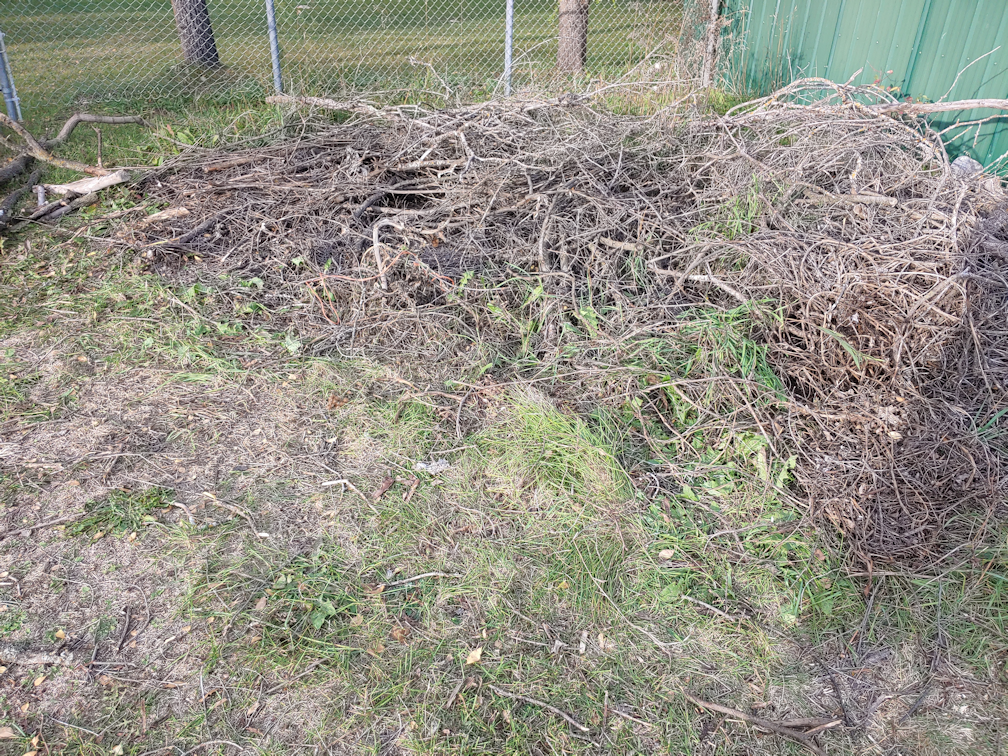
I was originally going to test it by starting a path to the barn through the tall grass, but changed my mine. We have a branch pile started that needs to be burned, and there were some large burdocks growing around it. So I decided to make a path to the branch pile and start taking out the burdock before their burrs develop and start causing problems.

I started off just swinging it back and forth, double handed, like a golf club. Which did okay at the edge, but the further in, I had to resort to chopping with it in one direction, then the other.

I discovered a potential problem, but not the one I was warned about.

The warning was that using it was pretty rough on the hands, until you get used to it. Which I would expect, really. It wasn’t my hands that were the problem, though.

It was my messed up left elbow.

When cutting in just one direction, I could use my right hand and chop away at the tall grass – which was incredibly wet at the bottom – well enough, for it being my non-dominant hand. When I switched to my left, however, my elbow did not like it at all. I could only manage a few swings before I had to switch hands again.

Obviously, this is not a problem of the tool, but a warning for anyone else with joint issues of any kind.

The grass I was chopping through was really tall and, between how wet it was and how some of it was already pushed flat to the ground, it took some doing to cut it. I just wanted a path, though, not a clear area, so that wasn’t a problem.

The burdock was the real test. Did the whip have trouble cutting through it?

Absolutely it did. Of course! This is burdock, after all!

What I found worked best was to first use the whip vertically, to cut away the leaf stems at the stalk. It cut through that quite easily. It could also cut through the higher, more tender, portions of the stalks easily, too.

The stalks closer to the ground, though, are very woody and more than an inch thick. Those required a fair bit of hacking! Loppers would have been easier, and in the future, I’ll make sure to have them handy for that point of the clearing, but the whip did do the job eventually.

It also made short work of the other weeds that were growing with the burdock.

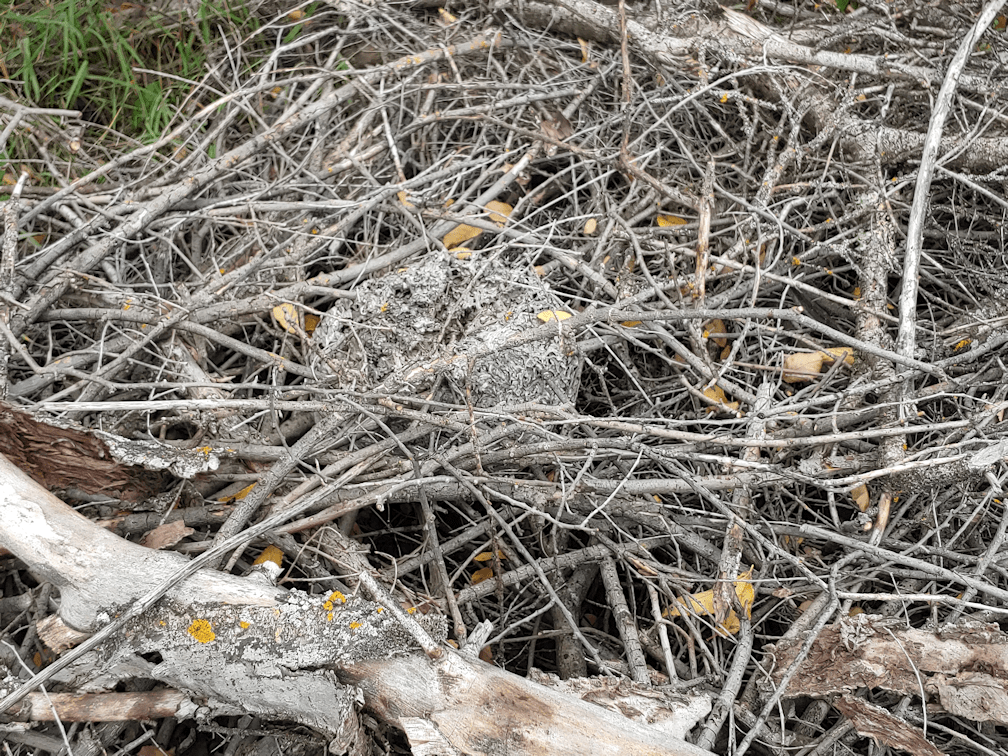
The larger burdock pieces got set aside, on top of the branch pile – still barely visible through the tall grass! – to be burned with the branches.

As for now, it’s just past noon and we’re at 23C/73F, with the humidex at 27C/81F. The predicted high for the day is 26C/79F, which we’re supposed to reach at around 4pm, and stay that hot through to about 8pm. It’s still damp out there, but I’m thinking of getting the push mower out, with the bag attached. We were never able to rake up the grass clippings from before, either because of the weather or other things going on. With the grass needing to be cut again, but still a reasonable height, I can use the mower to pick up the old clippings at the same time, and the wagon to haul them to the main garden area. I’ve got the black landscape cloth/tarp/whatever it is that we salvaged from around the old wood pile, years ago, laid out over where we had a squash patch last year. I want to spread the clippings out on that to dry out in the sun a bit, before using it as mulch. We may not be getting rain for a while, but with our high humidity, the ground stays wet for hours.

Another reason to mow the lawn before it gets too tall, even if it’s still wet! The taller it gets, the more it will clog up around the blade.

As for the grass whip, it was just a small test, but so far, I’m happy with it. It’ll do the jobs I got it for, and it seems it will do it well.

The Re-Farmer

Oh, what a beautiful day!

My goodness, how awesome it is out there today!

At the time I headed out to do my morning rounds, it was only -18C (about 0F), with no wind chill to speak of. As I write this, less than an hour later, we’re already warmed up to -15C/5F, again with basically no wind chill. We’re supposed to get a high of -10C/14F today. It’s going to seem tropical, after the past week!

I still wasn’t quite able to do my usual rounds. The wind has blown over many of the paths dug out in the snow. I decided it was a good day to test out the new heated gloves and do some digging, starting with the plow ridge across the driveway. My mother’s car had a hard time getting through it, yesterday!

Some of the cattens kept me company.

They love that tire that’s used to keep the doors from blowing open. It gets nice and warm! With how much warmer it is, I’m seeing them running around and playing, all over the place!

Along with the plow ridge, I also cleared the path to the compost heap. The wind had completely filled in parts of it, and the snow was brick-like on top, so that took a while. I didn’t even try to dig the path to the sign cam – too long! – but I had my nice new boots, and plowed my way through the wind packed snow. That was almost as tiring as shoveling! It’ll be easier to dig out later, though. The boots are awesome.

As for the gloves…

They are nice and warm, even without turning on the heat. They didn’t seem to get any more pliable by the time I was done, unfortunately. The long cuffs are great – except that they’re not wide enough to go over the cuffs of my parka, nor narrow enough to go under. So I ended up with both cuffs all bunched up. The stiffness of the gloves makes it hard to put on the second glove, but there was an extra problem. These XL gloves fit my wide hands just fine – but I have short fingers. So any time I tried to do something like adjust the other glove, it was hard to get a good grip with floppy finger tips! Plus, the touch screen sensitive parts on the thumb and pointer finger are slightly ridged and harder, so that gets pushed around more, too. I didn’t even try to test the touch screen sensitivity. I have to take a glove off to get my phone out of my pocket, anyhow, so there was no need – plus, just handling my phone with the gloves would be unnecessarily difficult. The last thing I wanted to do was drop my phone in the snow. I did get a lot of use out of the wrist straps while switching out the memory cards, pausing to get my phone out, or to dig out a tissue to blow my know while digging. I like being able to just drop the gloves and have them hanging!

It’s been quite a while since I switched out the trail cam memory cards. Today is the first time I saw the batteries on the solar cam at anything other than 100%! When I first opened it up and checked, it said the batteries were at 75%, but after I switched the memory card out it went up to 80%. Which tells me that it’s more about the cold. Much to my surprise, the older sign cam’s battery meter was still full bars. I suppose that makes sense, though. The gate cam is mounted on a stand in the open. It would have had the full blast of yesterday’s winds coming from the southeast. The sign cam is not only under a tree, but the sign it’s monitoring, as well as the trees across the road, would have stopped all wind from that direction, so it was quite protected.

It should be interesting to see the files over those freezing cold days! The camera that got stolen would do weird things when it got really cold, like turn everything pink. The new camera has had some cold spells before, but not quite like what we’ve had for the past week, so I’ve yet to get a good look at how it handles severe winter conditions.

Considering how many days of files I’ve got to go through, I think I’ll make some tea, first! 😄

The Re-Farmer

First day with the chipper!

Oh, what fun!

I got the chipper assembled, and we’ve tested it out. Here’s how it went.

This is after lifting the box off, and removing the bubble wrap around that biggest chute. It was deep in that chute, under other stuff, that I found the instruction booklet.

Which included detailed instructions on how to remove the chipper from the box. :-D

Time for assembly!

The tops of the shredder chute had to be put on first, then the handle. It wasn’t until that was on that I could grip it well enough to manhandle the chipper over the blocks holding the wheels in place, and the rest of the assembly was done outside.

Which didn’t take very long at all. :-)

Once it was together, I had to go and get fuel and oil. We had only a few litres of fuel left for the lawnmowers, so I had to refill the 20L jerry can anyhow. This thing takes 10W30 oil, and everything else we’ve got – including our van – uses 5W30. Oh, except the new push mower. That uses 0W30.

In reading the manual, it said to put in about 1.1L of oil, no more.

The oil, however, comes in quarts, or 946ml Which meant needing 1.16 quarts to max the oil level.

I bought two and filled it with one. The level should be checked before each new use, or at least waiting until after it has had several minutes to cool down, so I’ll see if it needs to be topped up the next time we use it.

It came with its own oil funnel, which was greatly appreciated. The opening is tucked well under the engine, and the oil funnels I already have would not have reached, nor fit in the space!

The fuel tank on this thing is pretty massive! If I had not gotten more fuel, I would not have been able to fill it.

A couple of appreciated features. One is the removable gadget in the tank opening, with the red fuel level marker. The instructions made a big deal about not overfilling, and this makes a very handy visual reference. The other appreciated feature is the fuel gauge. Love it!

There was just one down side to the fuel tank, and that was with the cap itself. It takes a surprising amount of uumphf to turn the cap, and I couldn’t do it with my right hand at all, due to a combination of arthritis pain and that injured finger. My left hand has arthritis pain, but I still had enough hand strength to open the tank. Hopefully, over time, it will get easier to open.

Once it was all filled up with oil and fuel, I spent a bit more time going over the instructions before we were ready to test it out.

Ear protection is a must!

We also need to get more safety glasses. The pair I have got all scratched up somehow, to the point that I couldn’t see through them!

My daughter brought over the loppers and starting breaking down branches for me, while I set up the collector bag. It’s attached with only a drawstring. It held well enough once the chipper was started, but there were gaps that allowed chips to go shooting out over the fuel tank and around the engine. I’ll have to figure out if there is some better place to attach it. There is nothing in the instructions other than saying to put it over the diverter.

The collector bag is very durable, and I love the zippered bottom that makes it very easy to empty.

My daughter and I started on the branch pile closest to the garage to test it out. She had a bit of a surprise!

There was an old wasps nest in it. It was an active nest last year, so there were no wasps in it this year, but she didn’t know that when she uncovered it!

The chipper is also a shredder. The larger chute at the top is for leaves and small things, including branches no more than 1/2 inch in diameter. With this pile, that’s the chute we ended up using the most.

With the smaller chute, the maximum diameter is 3 inches, however that’s not just the width of the branch. If there is a bend in the branch, or any knobby bit from a smaller branch that was pruned off, it could be enough to prevent the branch from fitting.

The pile had a lot of very bent branches.

The worst of them, plus any pieces we had to cut off to allow the remaining branches to fit, got set aside. They will likely go into the burn pile.

We went through about 1/4 to 1/3 of the pile in about an hour. We did have to stop to take apart the smaller chute and remove a piece that got stuck. There was a little bit of a side branch sticking out just enough to catch on the opening under the rubber guard.

All those branches gave us this.

The larger pile is in the garden, near the high raised bed I am working on. The small pile is what built up under the chipper itself, that had blown out the top of the collection bag.

The chips are quite small. Smaller than the chips we had when the arborists came and cleared trees from the power lines and roof. I am quite happy with that. This will be used as we layer organic matter in the high raised bed, and will also be used as mulch, so the finer the better!

I’m also happy with how much less space the chips take up, compared to the branches they came from!

Another thing I really like about it; how easy it is to move around! This chipper is designed only to be moved manually; it’s not of a size that can be towed by, say, our riding mower. Which is perfect, because some of the places we will be using it in, don’t have space for a tow vehicle.

This thing is going to make such a HUGE difference in our clean up progress! It’s going to take quite a while to chip away the branch piles, but we have been adding to those piles for four years now, so that’s to be expected! Best of all, as we continue clearing away dead trees, we’ll be able to chip the branches right away, rather than dragging them over to the piles and making them even bigger.

I am just so thrilled with this thing!!!

The Re-Farmer

We have a second well… sort of

Today, I finally had a chance to move my dad’s old welder aside, so I could access and test the well in the old pump shack.

Do I want to know why there is apart of a toilet seat there?

No. No, I do not.

I moved a few more things around, then set the old cream can under the pump’s spout, just in case I actually got water flowing.

I took an accidental picture while pumping the handle. I thought it looked very dramatic, so I kept it! :-D

We got water!!!

Sort of.

This well was here before my parents bought the property, and it is a design that does not need to be primed. After much pumping, I was able to get water flowing, but if I so much as slowed down, the water would stop and I would have to start pumping hard, all over again. Which meant I wasn’t able to get a photo of actual water flowing from the spout. :-D

On the one hand, this is very encouraging. If something ever happened to our well, we will still have access to water. We should get the water flowing more to clear it out a bit, and then just get it going regularly. There is a problem, though, and you can see part of it in the above photo.

The pump is not fixed. It’s just sitting on top of the pipe. It actually rotated while I was pumping!!

When I was a kid, we had a different pump completely. It had a sort of frame around it, supporting the mechanical pump mechanism, which was run with electricity. If the power went out, we could attach a handle and pump it manually.

I don’t know when or why the old pump was removed, and I am flabbergasted that this manual pump was hooked up, without some sort of base to attach it to, so it won’t move.

My brother tells me there are repairs to the well pipe needed. I suspect that getting that done would result in it becoming much easier to pump water.

It would be worth getting that done. I would also like to set up the electric/manual system we had before, too. We still have the attachment for the spout of the pump that we used to divert water out a hole in the wall, to a water trough for the cattle outside.

Being able to use electricity to pump the water would make life easier in general, but if I had to choose only one, I would go with a manual pump over electric, as this would be a back up source of water should we ever lose power.

The Re-Farmer