This morning, I made sure to give the garden beds a through watering before things got too hot.
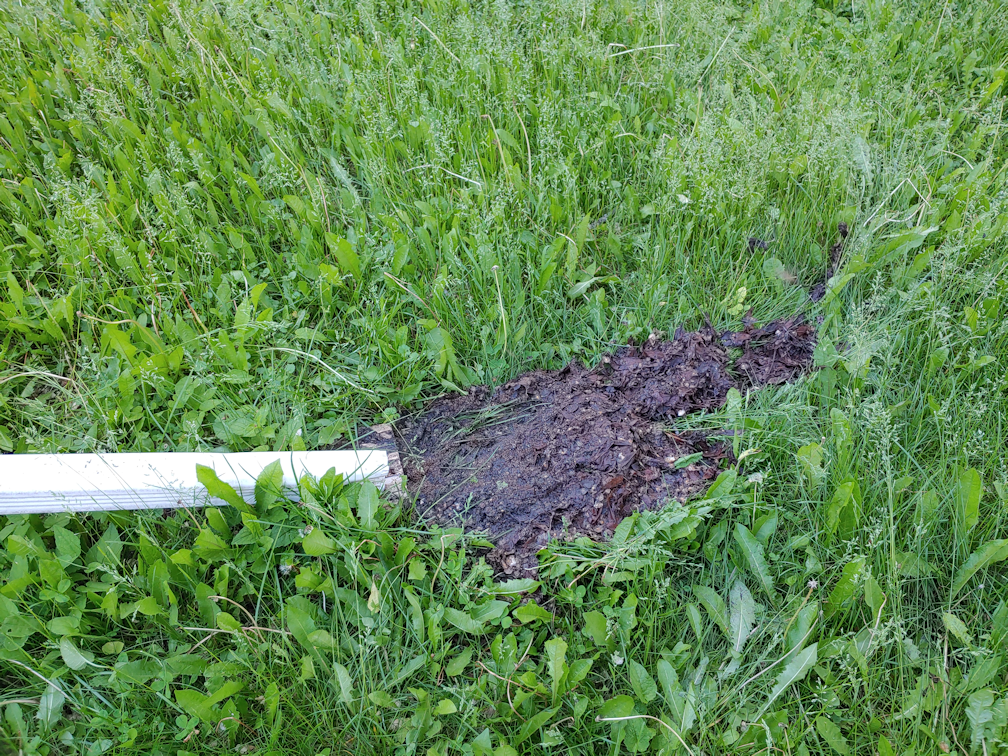
I found this.
On the one hand, I was happy to see another poppy blooming.
On the other, I was sad to see one of the flower buds got chomped!
I have a suspicion that it didn’t taste very good, or the rest would have been eaten, too.
So… we’re down to just 3 Giganthemum poppies instead of 4!
The nasturtiums are kicking into high gear with blooms right now.
The transplanted Crackerjack marigold and white dwarf cosmos that were supposed to be red cosmos are still blooming, too. The bush beans in the high raised bed have flower buds, and I spotted a flower on one of the Caspar eggplant. There are also more flowers showing up on various types of tomatoes. The musk melon and watermelon transplants I bought have also been flowering, but I’m picking those off. The plants are still way too tiny, but they finally seem to be growing.
Once the morning watering was done, we all just stayed indoors and out of the heat. I even crashed for a couple of hours of much needed sleep.
In the afternoon, after the cats were fed, it was back into the garden. I had a lot of stuff I wanted to get done.
First, I wanted to work on the corn patch.
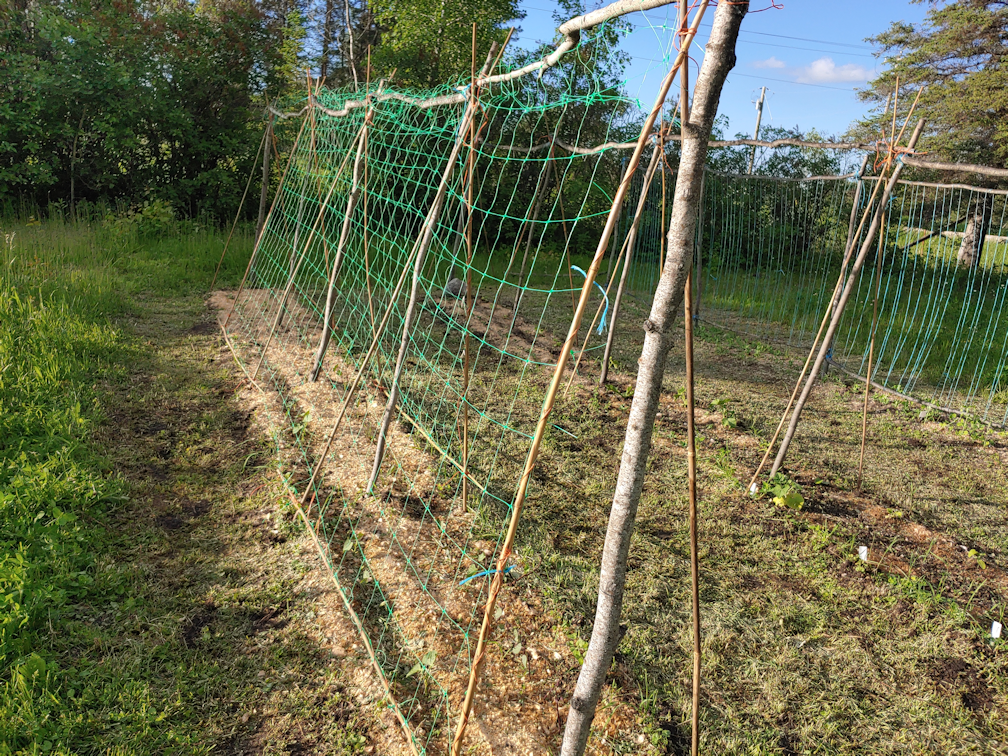
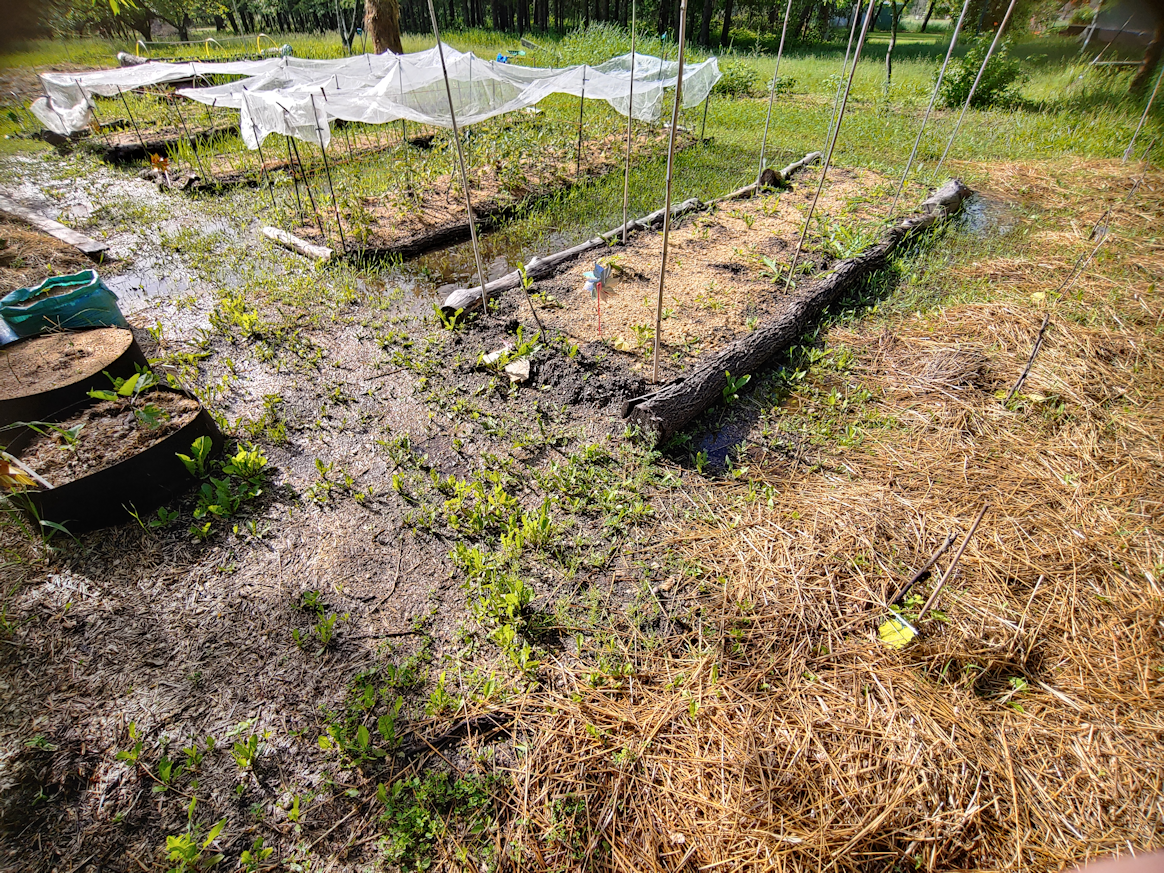
In the first image of the slide show above, you can see the corn leaves are starting to press up against the netting. This is not a tall variety, but it does get taller than this. I considered finding a way to make the hoops higher, but decided to just remove the netting completely.
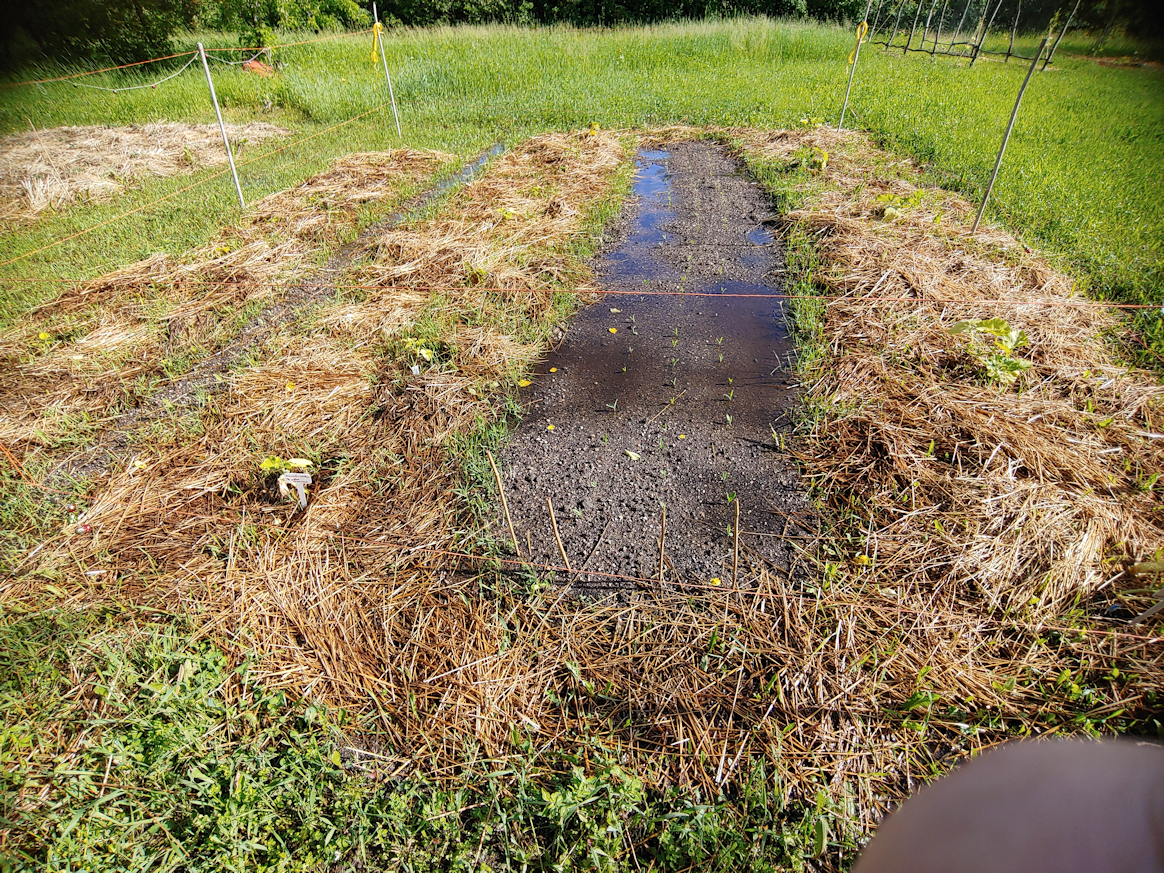
Once the netting was off, the corn got a thorough weeding, and then mulched with grass clippings. Parts of where I mowed yesterday do not have Creeping Charlie, so the clippings were safe to use. You can see it all done in the second image. I have left the hoops. Corn gets knocked over by wind very easily, and the hoops will provide at least some support. I’m considering other ways of adding more support as well.
I’ve got the motion sensor deer scarer set to go off at night, though I’ve set one off when it was still dusk, so “night” is a very brought frame. Hopefully, it will be enough to keep them away – and the raccoons! I might have to switch it to be active both day and night, though that would mean I would be setting it off while tending the garden. Which I might be willing to put up with!
Once the corn was weeded, it got a thorough watering, then the mulch was added, then it got watered again. From there, I kept watering the beds until I got to the next one I wanted to work on.
It was hard to see through the turnip leaves, but it did seem the red noodle beans were getting bitter. So, I harvested most of the turnips, partly to let the beans have more light, then added the trellis supports for them to climb. They look like they’re just starting to throw out tendrils.
This bed also got grass clippings added to mulch between the remaining turnips, and between the turnip row and the beans. The daikon radish is looking good – the one survivor from the winter sowing is not only still blooming but starting to develop seed pods. We will have seeds to collect for next year. The onions along the radish side of the bed are looking good, but not to much the ones on the turnip side. Those might start doing better, now that most of the turnips were pulled and they’re no longer shaded out by large leaves.
There was one more bed to water in this area before I moved to the next beds I wanted to work on.
The first section was around the dwarf peas. I wanted to remove the netting, partly because it was a pain to get under it to collect ripe pea pods.
I left the hoops, but added the wire decorative fencing to keep the cats from lying on the peas. After weeding and watering, grass clippings were added. This bed already had some leaf mulch on it, but that was breaking down quite a bit.
I found a surprising number of self seeded tomato plants while weeding! I removed the protective plastic collar that had been around the mystery flowers I’d found and transplanted here. They’re large enough now that I don’t think they need it. Very few of the onions I’d found and transplanted here in the fall made it, but the garlic I’d ground and planted are doing rather well.
Next, I worked on the rest of the wattle weave bed.
The Florence Fennel was pushing up against the netting already, so I took it off completely. I’ll probably remove these hoops later, but left them for now. The fennel, chicory and strawberries, with the two surviving summer squash I’d transplanted from thinning the other bed, are now well mulched with grass clippings and well watered again.
There was one last bed I wanted to work on.
The summer squash.
After removing the netting, each surviving summer squash got its own stake for vertical growing. It looks like four spots, from three different types of squash, didn’t make it. Once the stakes were in place, I went to use garden wire to start securing the larger vines to the stakes, but I think I may have accidentally killed one of them. I moved the stem to put it up against the stake and heard a noise that sounded like it was pulled right out of the ground! It wasn’t, but it may have been pulled up and the roots damaged. I’ll probably know by tomorrow morning if I killed it.
With four plants not making it, I found myself with four extra bamboo stakes, so I wove them across the vertical stakes on the inside, just a bit higher than the hoops. If I can find more bamboo stakes long enough, I’ll do the same on the outside row, too, just to help keep them stable and better able to hold weight.
Hopefully, the garden will survive the heat we’re going to have over the next few days. We’re expected to go above 30C/86F for the next three days, then the highs are supposed to be in the mid 20’sC (around 77F) for the rest of the month.
Definitely “water twice a day” weather.
It’s going to be brutal at the market tomorrow. Thankfully, we do have the canopy tent for shade, at least!!!
The Re-Farmer