Things actually got chilly last night, and we had a wonderfully cool morning! I was really looking forward to getting some progress in the yard.
Of course, by the time I actually got out there, it had warmed up considerably. :-D It was nice, working in the shade, though.
With the way things have been doing this year, I decided that getting this old wood pile cleared was my one primary goal for the summer. Anything beyond that was gravy.
I may have messed myself up with this particular goal! :-D It’s turning out to be a more challenging job than I expected!
This morning, thanks to cooler temperatures that I was able to take advantage of, I was able to finally get back to cleaning up around the east perimeter of the spruce grove. It was only about an hour and a half before I had to get out of the heat, but I think some good progress was done!
The area I planned to work on stays shaded for a while, which allowed me to work later into the day than otherwise. Dragging the bigger trees I cleared to one of the wood piles outside the yard really showed me what a difference that made! Walking into the sun, the heat hit like a hammer.
After a while, I stopped dragging them out and started a pile in the yard, instead. We’ll drag them out when it’s cooler!
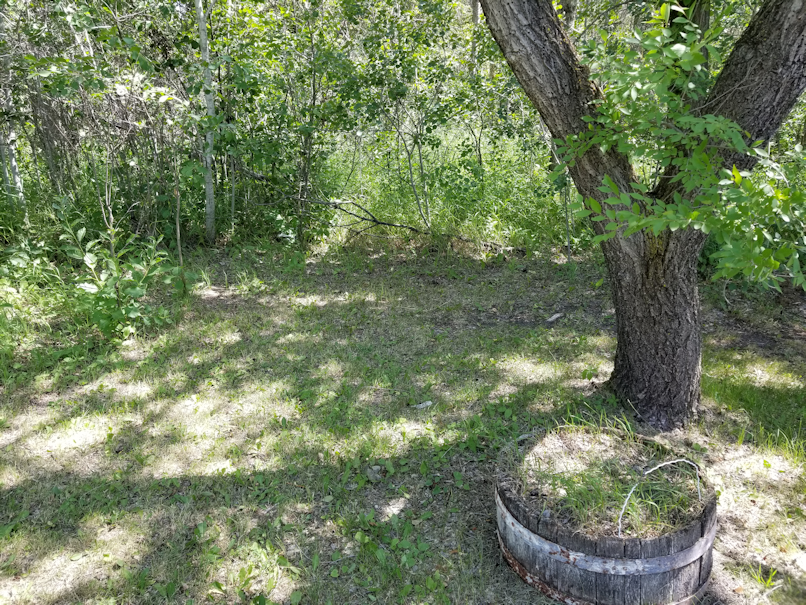
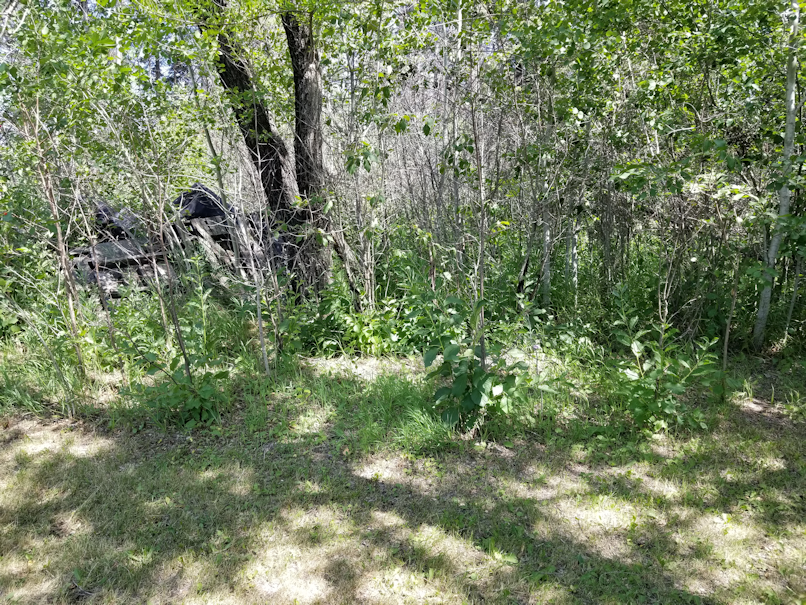
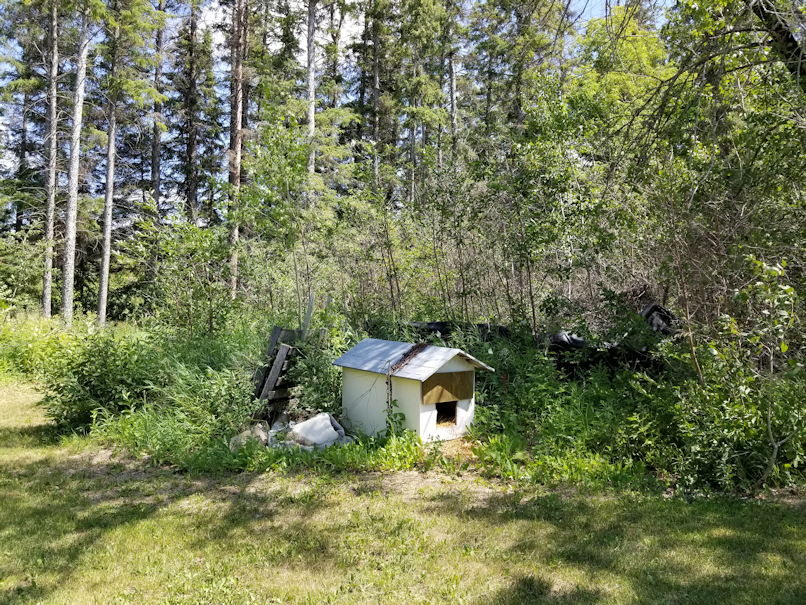
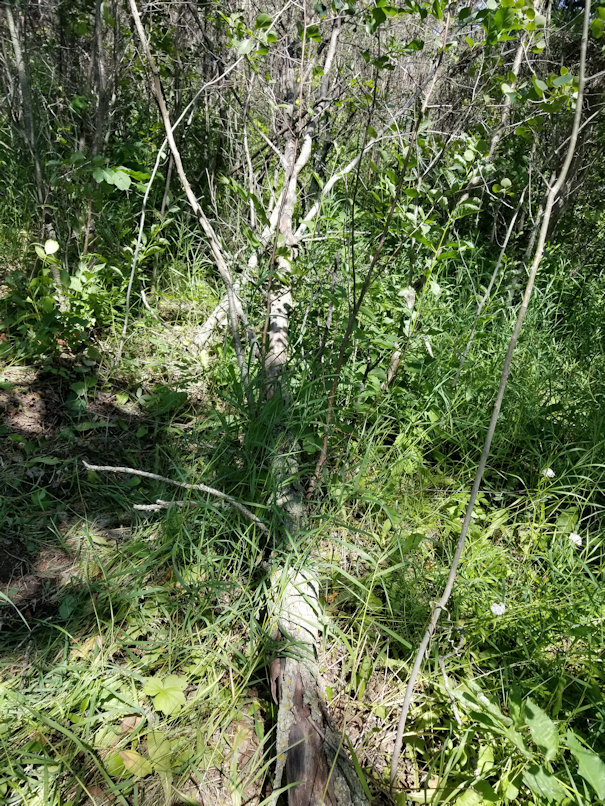
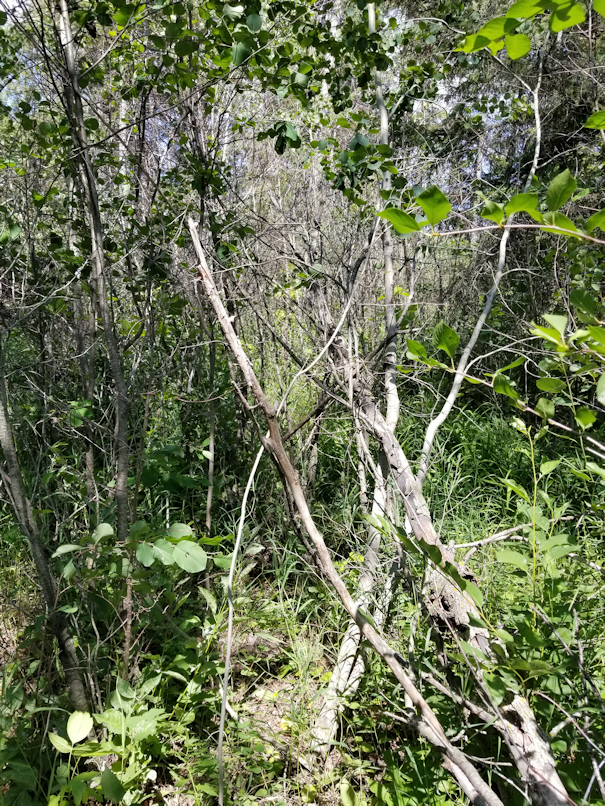
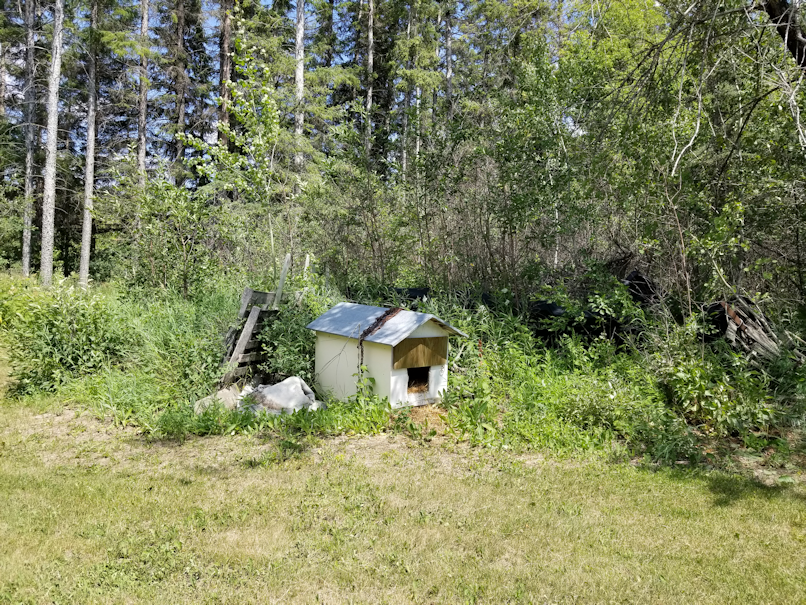
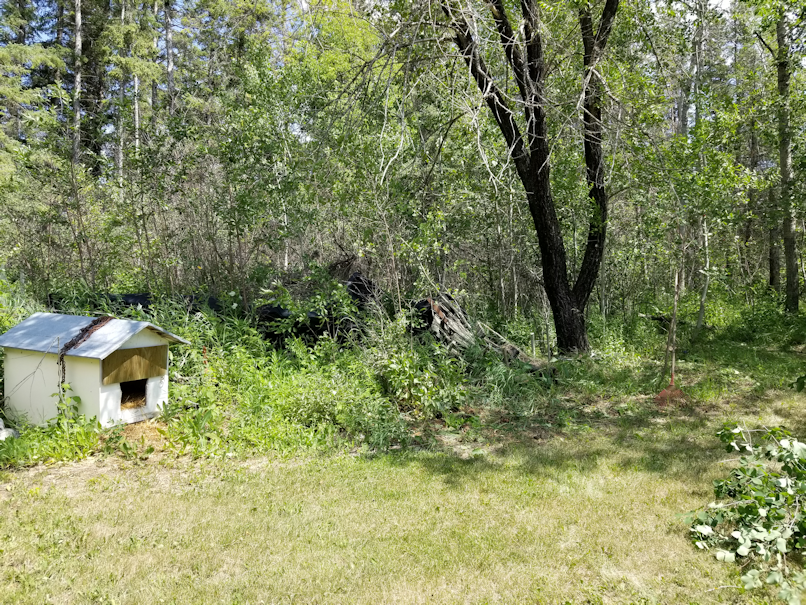
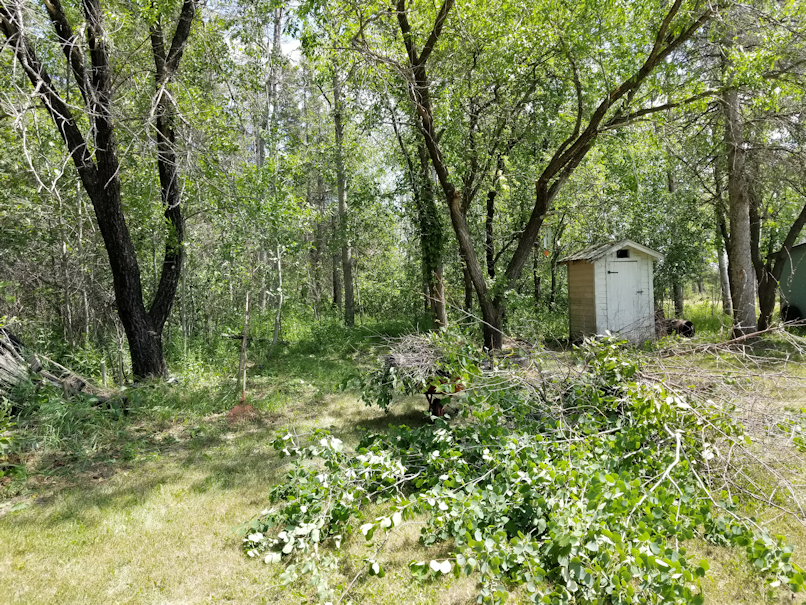
I took before and after pictures from two different views. Here are the before pictures.
The area around the old dog house is where the wood pile was, when there was still a wood burning furnace. It has a pallet fence, and pallets on the ground, all of which are falling over or rotting. My ultimate goal for this year is to get this area cleared.
In the process, I also wanted to clear things a bit further back into the trees towards the outhouse, to access a fallen tree I want to clear out.
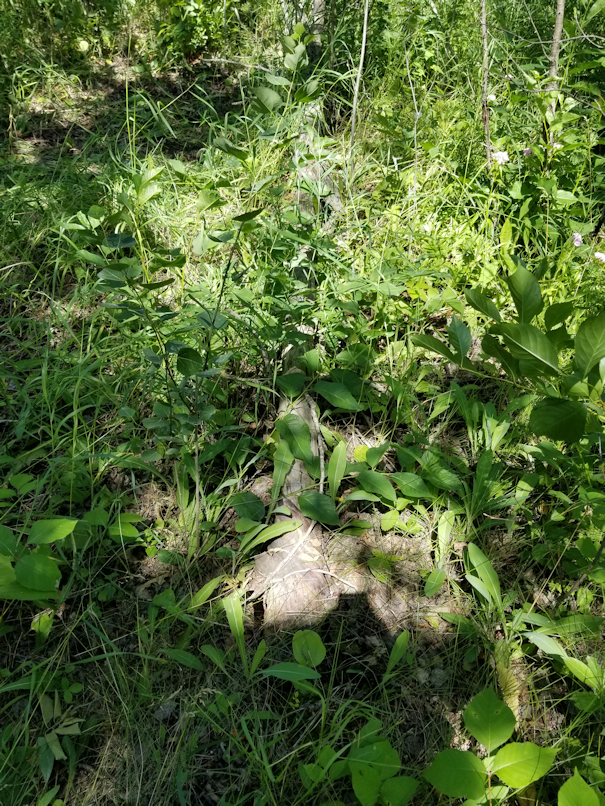
There turned out to actually be two of them. After taking pictures, I went to pull out what I thought was a fallen branch, only to find it was actually another dead tree – just a long and skinny one, with about 8-10 feet buried in the tall grass that I didn’t see!
I also cleared some poplars that were growing too close to the outhouse.
The dead tree I wanted access to was also longer than I expected. It extends quite a bit further into the trees, and in the third picture, you can see how its top has landed on other trees, causing them to grow bent.
I’m debating with myself whether I want to cut it into more manageable pieces and haul it out, bit by bit, or just drag the whole thing out in one go.
The lazy part of me says, drag it out in one go. :-D
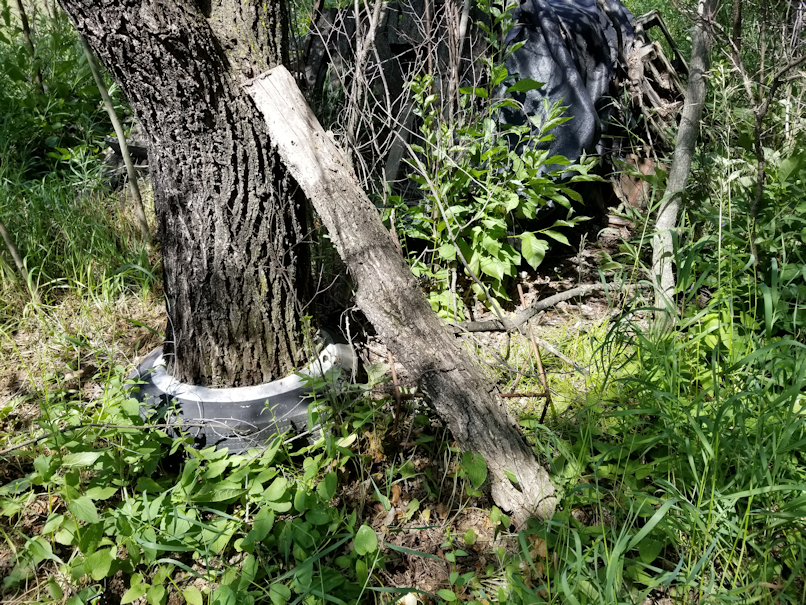
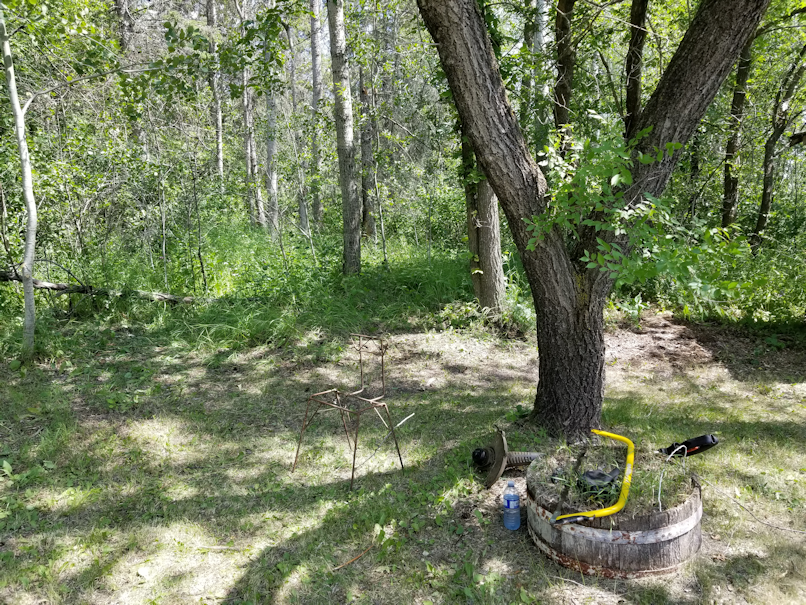
While working my way towards the elm tree with the tire around its base, I made a discovery.
I’d been able to somewhat see the log someone leaned against the tree trunk through the dying cherry trees, but what is that metal thing under it, and the fallen branch?
It’s a metal chair frame.
Because… of course.
I’m keeping this.
I’ll turn it into an art installation. To go with all the toilets I’m finding! :-D
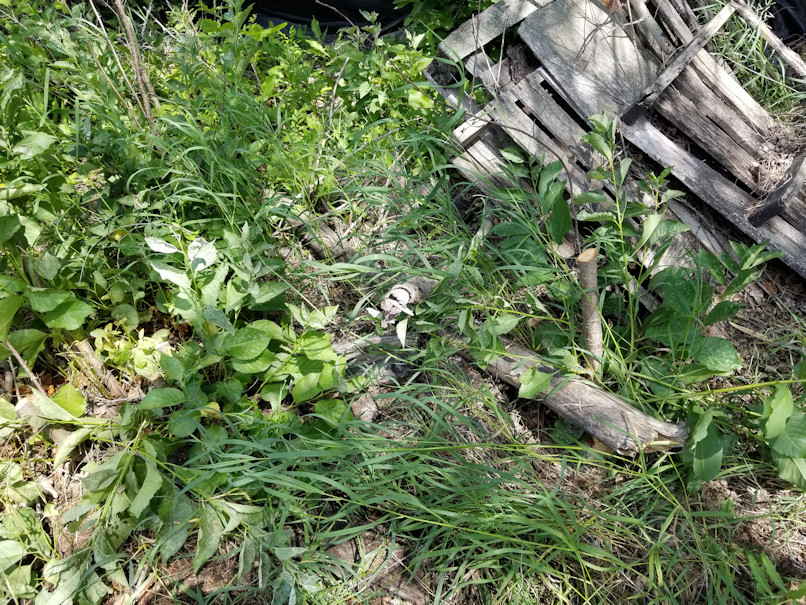
Clearing around that elm meant I also finally reached one side of the pallet fence.
There’s a poplar growing through it.
I also uncovered a dead tree and some fallen branches.
There are some branches that I put in the area (you can’t see it in the picture) that I saved from the pile in the big garden area that my sister and her husband had pruned before we moved here. Some of it is apple wood. I also kept some of the dead and dying cherry trees I cleared today. I plan to cut them into discs, or other shapes, to make things with them.
It’s hard to see, but as I was trying to clear away the cherry and poplars, I found some of them were growing through the remains of pallets.
There’s going to be a lot of that, as I work my way into the area.
By this point, it was getting simply too hot to keep working outside, and I had to stop for the day. Checking the temperatures before I started this post, I found it was 30C, with a “feels like” of 33C. Hopefully, I’ll be able to continue tomorrow. They’re predicting thunderstorms, but we shall see!
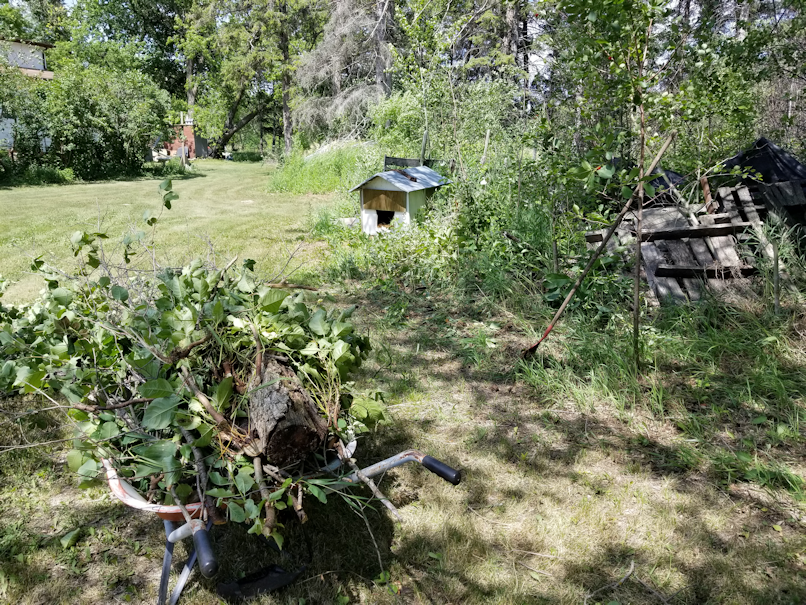
Here are the after pictures of my progress so far.
That reciprocating saw made the job so much easier! The only other tools I had to use were pruning sheers for stuff too small to use the saw on, and a rake, to try and find the bases of the trees I was taking down.
Of the self-sown cherry trees in the area I cleared, I did actually keep one. It even has some cherries ripening on it! I’m hoping it’s far enough away from the elm tree to get adequate sunlight.
Clearing and thinning the trees is the easy part. The hard part is going to be dragging the dog house out (it’s on a pallet, which is rotting and collapsing under it), then digging all the old pallets, pieces of carpet, and who knows what else is buried in there!
It’s been a hot one here today, so not a lot of outside stuff until later on. It was fascinating to find out from a dear friend that, in the city we moved away from, they had only 8C, and not too far from there, people got snow!
One of the things I need to do is re-pot some of our indoor plants. Today, I made a trip into the basements (which I usually avoid, because my feet and stairs don’t get along at the best of times!) to rifle through the various plant pots I had seen hidden in various places.
Today, I finally had both the time and the weather conditions to work on the south fence line of the spruce grove (there there aren’t actually any spruces left…).
So, while waiting for the freshly washed gates to dry, I brought out the weed trimmer, my new reciprocating saw, and a whole lot of extension cord!
Last year, before it finally got too cold to work on cleaning and clearing the trees, I did manage to get some areas on the south side of the spruce grove done. Just a bit by the garage, and more more by the gate.
One of my goals for the day was to finally start working on clearing that middle section. Since we now have a working electric chain saw, which is the perfect size for the job, I figured it would be nice and quick. When cutting some of the larger trees, I’d made a point of leaving fairly tall stumps, so they would be easily visible and no one would trip over them. I intended to cut those flat with the ground, too.
This morning, my older daughter and I moved the gates and got started on prepping them for painting.
Those things are fekking heavy!
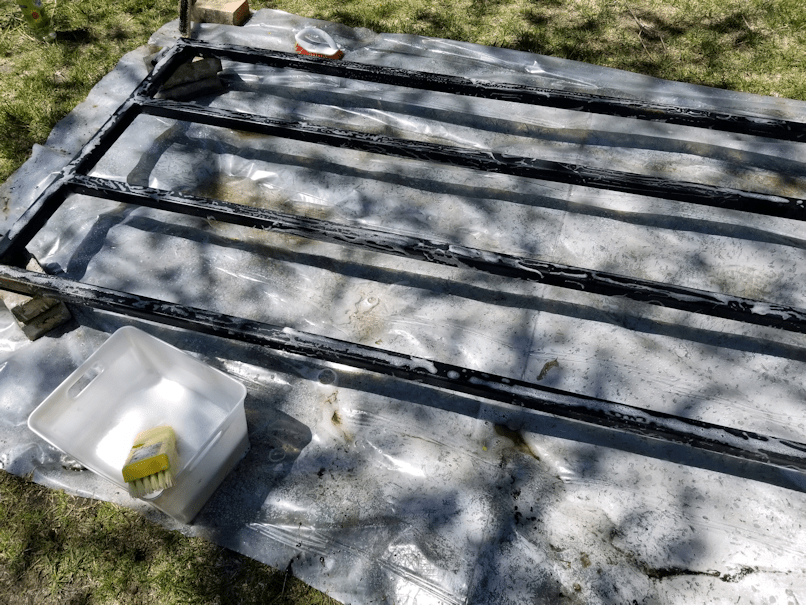
After considering our options, we ended up digging out a roll of plastic I found in the garage to use as a drop cloth and set one half of the gates up on bricks.
It’s hard to see in this picture, but even though I’d already hosed the gates down before we put it over the plastic, after hosing it down second time, the water puddled under it is really dirty!
We went over the gate on one side with a wire brush to scrub any areas that looked like the paint was peeling of, or were particularly rusted. Then we washed it.
We found an eco-friendly detergent for the job.
After doing the one side, we rinsed off the suds, flipped it over, then did it again.
We also took the sliding bar off the other half and that got scrubbed, cleaned and rinsed, too.
As of this writing, it’s still sitting in the sun, drying. We forgot to get paint thinner to clean our brush, so I will get some when I go to pick up my other daughter from work. By then, it should be dry enough to start painting. :-)
Once that one is done, we’ll do the same to the other half of the gate.
We’ll also need to do the gate posts, though for that, we’ll have to get those bottom broken hinges off, before we can clean it. We’ve been applying penetrating lubricant to them, every now and then, in hopes that that will finally get them loose.
While scrubbing and cleaning the gate, I could see that there was red paint under the black – and in some places, a bright blue! The gate construction is not very usual; gates tend to be made wither either a lighter material, or in a triangular shape, so they aren’t so heavy in the middle, which would stress the hinges and cause the posts to lean inwards. I’m thinking my late brother built the whole thing from scratch! As for the gate posts, which he designed so that they could easily be leveled as needed, they are actually starting to lean outward, due to the shifting of the ground. Heavy as the gate is, it’s not enough to overpower the forces of freeze and thaw!
I’m looking forward to how it looks when everything is all painted and fixed up.
I’m also looking forward to having a working gate again.
The Re-Farmer
Update: first coat of paint on the first side of the first gate is done.
That’s a lot of firsts. LOL
I am loving that blue!
The piece by itself on the brick is the slider bar. When the gates are hung back up, the bar will be placed on one side, with two bolts holding it place. One of them also acts as a stopper, when the gate is closed and the bar is slid across to hold the other side in place. At the other end is a hole for a pin to keep the bar from sliding back again. There had also been some electrical wire, used like a twist tie, to further secure the gate. We replaced the wire with a length of chain and a carabiner, before we had to start locking it.
For as long as I can remember, the pin was just a long screw tied to the opposite gate with some bale twine. When the gate was vandalized, the screw was bent into a semi-circle. Our vandal didn’t move the slider bar before he jacked the first side of the gate off its hinges. So we will have to think of what to use as a pin. Hopefully, we’ll find something nicer than a screw and bale twine. Not that that was anything to sneeze at. It worked for many years, after all!
The paint needs to cure for at least 6 hours, so tomorrow we will be able to flip the gate and do the other side. Then we will have to wait for all the paint to cure for 24 hours before we can put on a second coat. If all goes well, we’ll be able to move this one aside to cure while we prep and paint the other one.
I will have to find something soft to put over the bricks so as not to scratch the new paint after we flip it. :-)
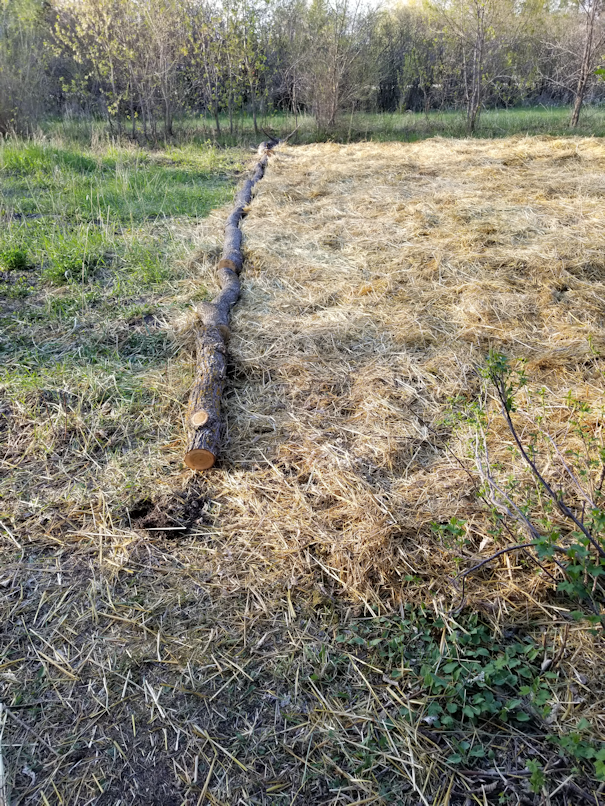
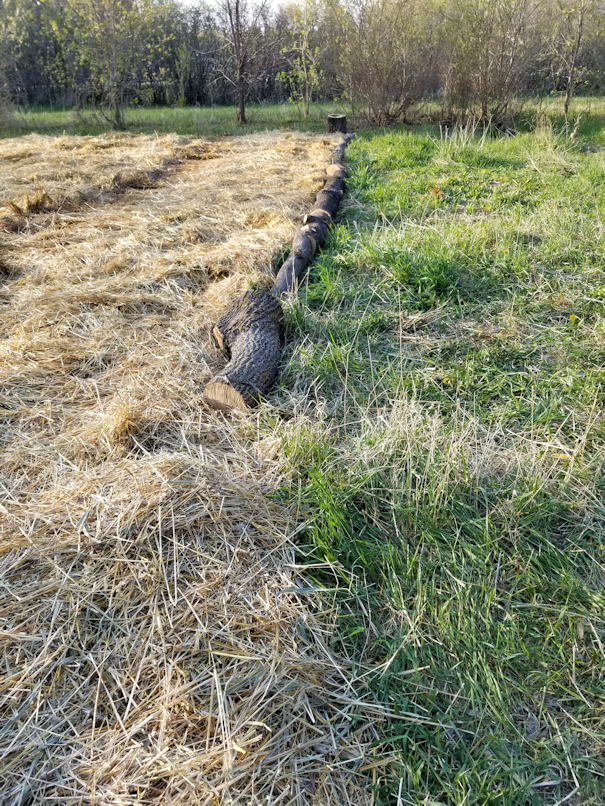
A bit more progress on the garden today; my daughters used some pieces of the trees that were taken down to edge the area we mulched yesterday.
The North end was left alone, since we won’t be going into there much at all, and the South edges were left open a path between the raspberries and the future garden.
The beauty of using these logs is that they are big enough to made an adequate “wall”, but will be easy to move away again, when that time comes.
One of my daughters tried to use a hoe to level some areas, so the logs wouldn’t be more level. The ground is so hard, it just bounced off the dirt!
We’ve broken down and removed the straw bale we got for mulch last year.
It’s amazing just how much material is packed into a round bale.
The girls continued taking wheel barrows of straw to the garden until the core was small enough to tip over and roll away.
There was still plenty left behind, of course.
Despite rolling against the grain, it still left a trail, all the way to the garden. :-D
Note in the above photo, how wide the mulched area in the garden is. We’ve already widened it on one side a bit, since we last worked on it.
Once in place, the core could simply be unrolled, leaving behind a thick enough layer that it only needed to be tamped down in places.
You can really see the difference between what was the bottom of the bale and the top; the part that was touching the ground is still tightly wrapped, and already starting to decompose, while the top is much looser, as it had room to spread while we took layers off to cover the septic tank and mulch the old kitchen garden.
This is where the bale sat all winter. When it was first moved, and my daughter was raking up what was left behind to haul away, she noticed lots of worms. When I was transplanting the raspberries, I noticed plenty of worms, too. This is a good sign!
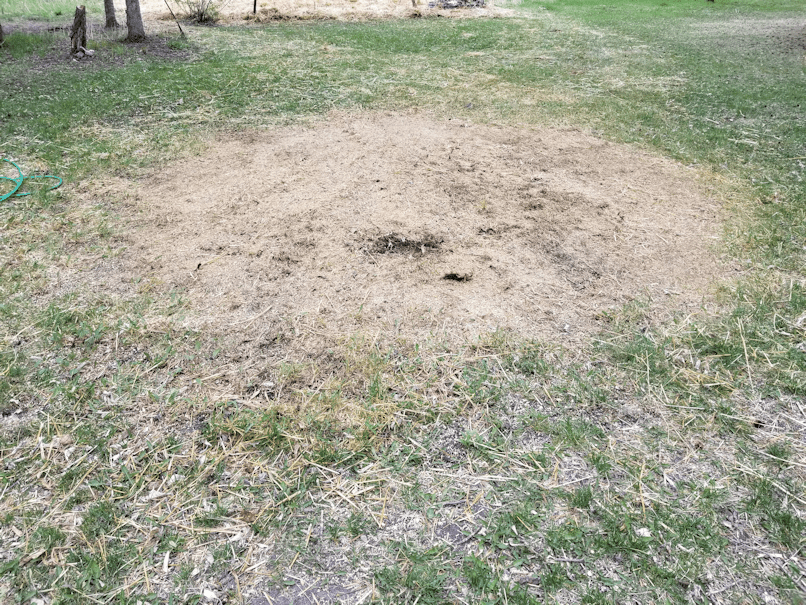
This area behind the house is very spotty as far as how the grass is going, with the area closest to the house having almost no grass at all. So we’re not too worried about the grass that was under the bale; we’ll need to find some shade hardy grass seed for the area, anyhow.
And here we have the mulched garden area for next year. In the foreground, to the left, is a big gooseberry bush that I hope will actually produce some berries this year. Next to it is a chokecherry, then where the raspberries were transplanted, a crab apple tree, and the compost. Which, I discovered as I tried to turn it, was used for garbage at some point, as I found pieces of food tray foam and the remains of a plastic tray that held transplants. Plus, lots of branches, still. This is where a pile of pruned branches and cut back trees were piled, then moved to the middle of the garden, before we moved here. The plan had been to burn them – yes, even when it was right on the compost pile, under that apple tree! – but we broke it down and moved it manually, last spring. We’ll have fire pit fuel for a long time, just from that one pile!
The next steps for the mulched garden area is to “frame” it with some of those logs we have from getting the trees cleared. The idea is to keep the straw from being dragged around with our feet as we work in it. Other material will be added to it, to build up the layers and improve that rock-hard soil. Covering it all with landscape cloth to prevent the grass and weeds from growing through the mulch would be good, if we can get enough to cover the whole area.
We’re getting a pretty decent sized garden out of this! Obviously, nothing close to what it was before, but we can amend and re-claim sections of it, little by little, over the years, while planning out where we want to put more permanent plantings.