Today, I finally got around to starting our onion seeds.
Usually, I start onions by densely sowing them in trays. Onion roots can handle quite a bit of abuse. When it’s time to transplant, I just pull them apart as I go. The problem with that, is, the roots do get pretty tangled together, and there have been times when I’ve even had to use water to wash away the growing medium in order to get individual seedlings out.
This time, I wanted to try something different.
I’ve been seeing the “seed snail” method that got me curious. Basically, seed starting mix it laid out on a strip of something – plastic, cardboard, paper towel, etc. – and rolled up. Seeds are planted at depth at the top, covered with more seed starting mix, and it’s done. When it’s time to transplant, the roll is undone and there is less root disturbance when accessing the plants. If the plants need to be “potted up”, it can be unrolled, more starting mix added, then rolled back up again.
In looking it up more, I see people using this method for pretty much everything, including things with very large seeds that grow pretty big. I’m not so sure the method lives up to the hype for larger things in particular, but something like onions? It seems perfect.
The thing that I was most curious about was, the material used to make the roll. One article I read, which was not positive towards the method, used paper towel. I can’t imagine using something that practically dissolves in water, over time! Others described using heavy paper or cardboard. I don’t really have anything like that, in the size and shape needed. I’ve also found that using paper products tends to wick moisture out of the growing medium, away from the plants, and need more watering. Even with the biodegradable pots, I’ve found the pots themselves need to be kept wet, or they start drawing moisture away from the plants.
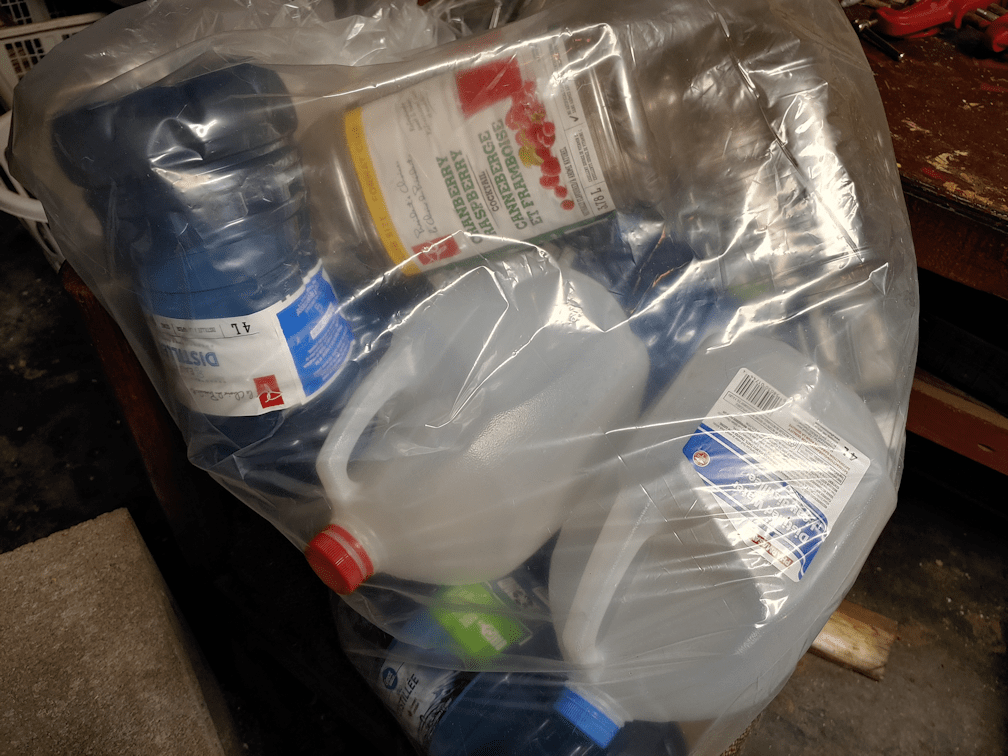
One thing mentioned as working well was the thin foam sheets used to wrap breakables for packing.
Did I still have some?
I quick look in a storage bin in the root cellar, and I found I had plenty!
So that’s what I used.
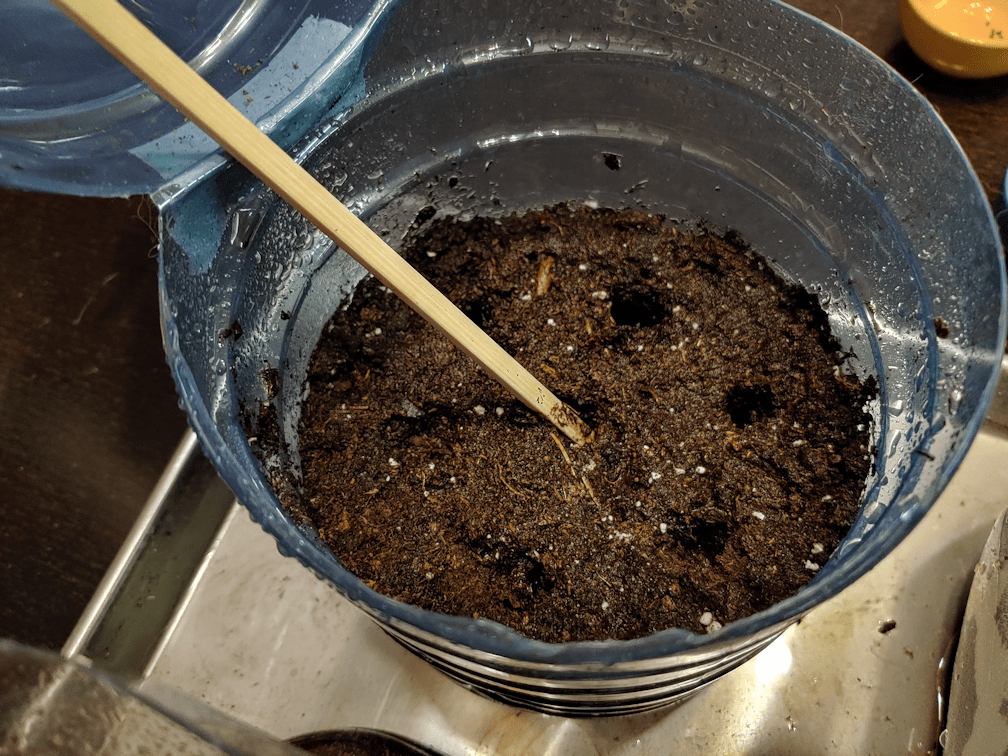
Before I started on that, though, I prepped the last of my seed starting mix from last year. It had quite a lot of pieces of wood and such, which would be more of a problem with a seed snail. I wanted to sift it, but didn’t have a sifter. In the end, I used a metal colander with finer holes all over, and sifted it into a giant mixing bowl.
I got quite a bit of larger material out. I also had some concern that I might not have enough sifted started mix for the project.
I had four seed options. There were our own saved seed, which is a mix of red and yellow bulb onions. Then there were the seeds I got from MI Gardener. Red Long of Tropea, which are very much like the Tropeana Longa onions we’ve successfully grown before. Red Wethersfield, which we tried but did NOT successfully grow before, and Red Beard Bunching onion.
I was at first thinking to do the bunching onions later, but they are 110 days to maturity, while the other two are 100 days to maturity, so I prepped four strips. I taped shorter pieced together for the length, then folded and cut them in half lengthwise. That resulted in two strips of about 31 inches, and two of about 29 inches long, and about 6″ wide.
That sifted seed starting mix was absolutely beautiful to work with! So soft and fluffy!
Each strip got a layer of starting mix about a quarter inch thick, laid out right to the edge of one end and the bottom. The top had about an inch empty, and the other end had about 8″ empty. I had my work surface covered with a repurposed clear garbage bag, which actually made it easier to roll them up. I could lift the plastic up against the base of the snail, to keep starter mix from falling out.
I prepped masking tape ahead of time. Four were labelled. After rolling up the snails, I used a black piece of tape to hold it together near the bottom, before tucking it into a bin. After they were all rolled, I sowed the seeds and added the labelled strips of tape to hold it together near the tops.
In the first picture here, the seeds are sown, more seed starting mix was set on top and every so gently tamped down to get rid of any air gaps. In the next picture, they’ve been topped with vermiculate.
Once topped with vermiculate, they got a very thorough watering with a spray bottle, then more water was added to the bottom of the bin they’re in, so they can be watered through capillary action, too. Last of all, the bin’s lid was laid on top to act as a moisture dome.
This was all done in our basement dungeon. I don’t have any of the grow lights, the heat mat, trays, etc. ready. I won’t need them for quite some time yet. So these went upstairs to the cat free zone (aka: the living room). It’s not particularly warm there, but warm enough. Plus, the window gets full sun only for a few hours in the morning, so we have supplementary light above.
It should be interesting to see how this method works out.
In the past, when densely sowing seeds in trays, I would usually finish off the package. This time, there are seeds left in all three packets – plus there is lots of our saved seed. So there is the possibility of trying again, if this doesn’t work, as long as they get started early enough.
Anyhow. The main thing for now is, the onion seeds are started!
First seeds started indoors, for our 2026 garden.
Yay!!
The Re-Farmer