So you want to grow a “survival garden”

For at least a decade, there has been an increase in people who have decided to move out of the cities, get themselves an acreage, and live as self-sufficiently as possible.

Which is basically, how I grew up.

Things have really changed, though, and modern homesteaders have a lot more resources, options and choices than was available when I was a kid, 50 years ago, never mind what our pioneers had. I found this very encouraging to see.

Photo by Greta Hoffman on Pexels.com

A couple of decades ago, while part of an online homeschooling support group – pre-social media, when everything was by email (and dinosaurs roamed the earth) – I often saw people waxing poetic about how we all need to go “back to the land”, and live these organic, subsistence lives, and all our food would be free and we would barter for everything else, and so on. It had a lot more to do with ideology than anything else. Going back to the farm was a dream of mine since I moved away in my late teens, so I could appreciate many of the sentiments they expressed. Unfortunately, this romanticized view was wildly unrealistic, and I found myself trying to remind people that there are reasons people, including farmers, moved away from that life.

Most of them didn’t get it.

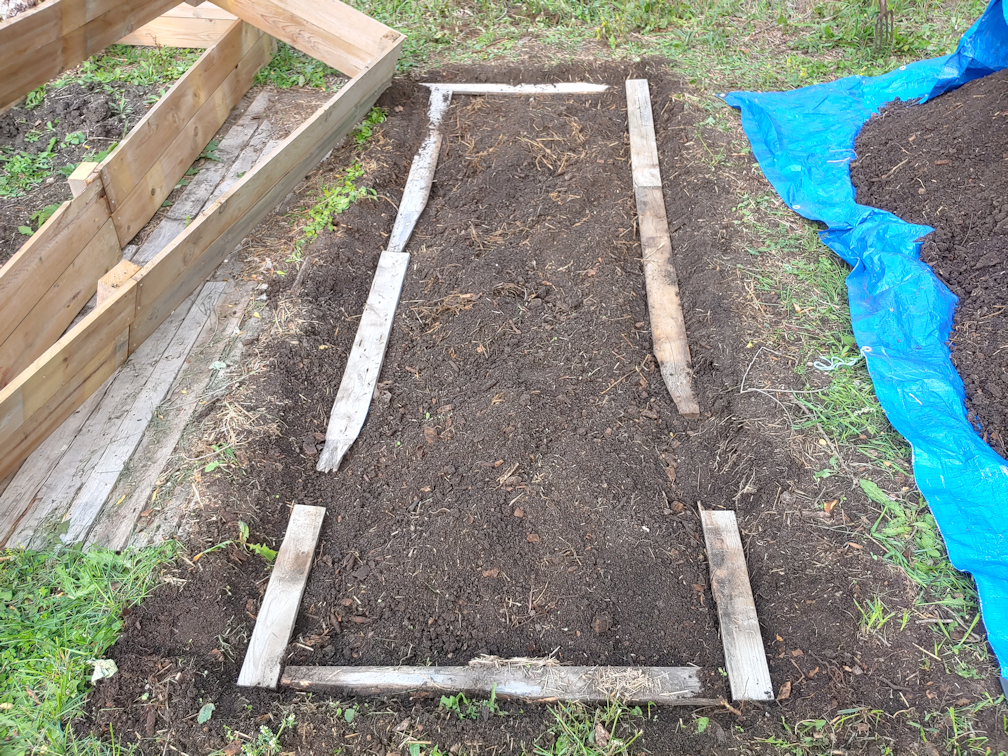
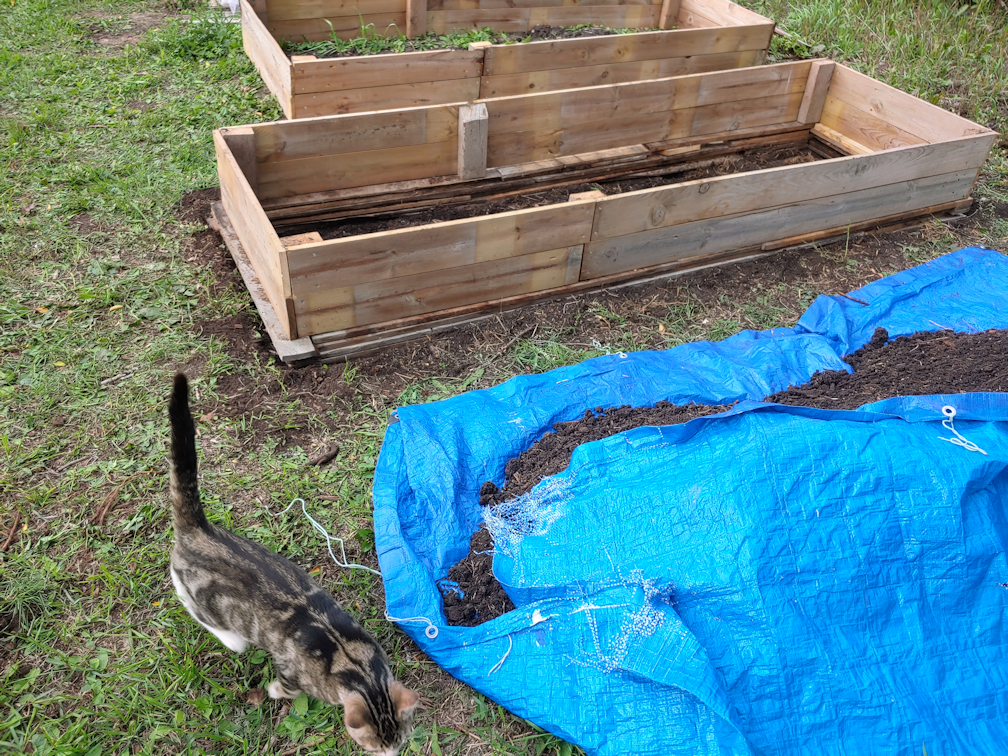
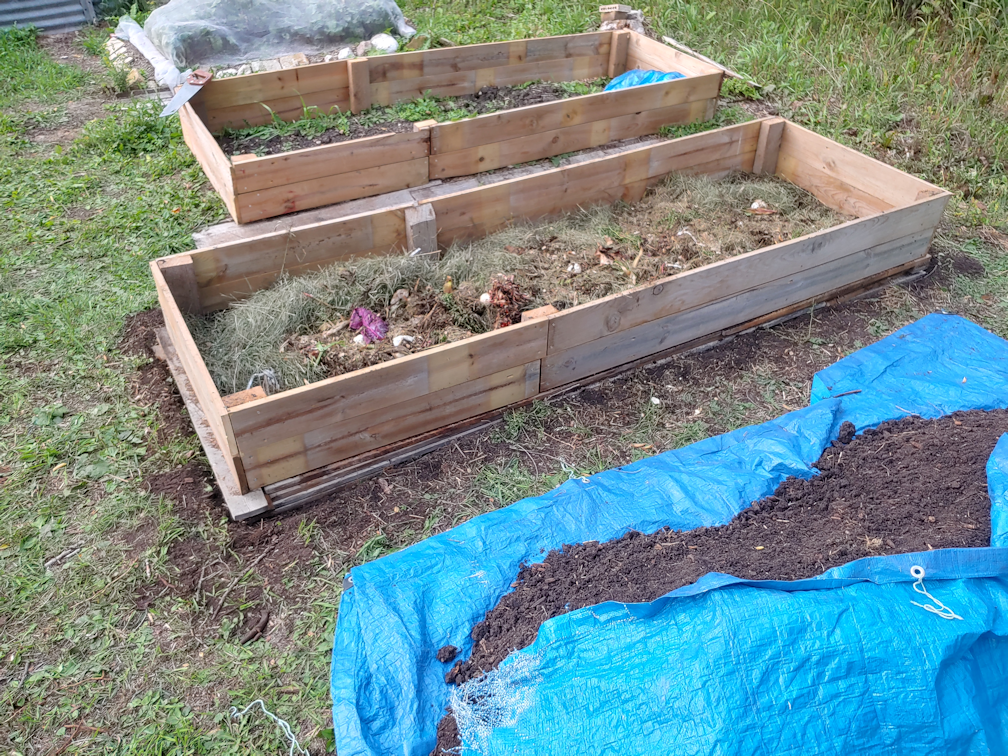
Once we moved to the farm, 4 years ago, in a caretaker role, how things were done when I was a kid just wasn’t an option, and I’m quite okay with that. Most of the land is rented out, so we just have our corner to work on. My mother had a massive garden that had been slowly neglected for many years, as my parents retired from farming and age reduced their mobility, no matter how much my siblings tried to help. We can finally work on our dream to be as self-sufficient as possible, but we have to do a lot of things differently than how we did it when I was a kid.

It was in researching this that I found this dynamic and growing homesteading community. These were people who may have gone in starry eyed, but were also realistic and determined, and they were making it work. The aging hippies I couldn’t get through to all those years ago, with their ideological blinders, could never have done what these awesome people were doing. It was very exciting!

Then, the last couple of years happened.

As people saw their jobs disappearing, their livelihoods destroyed, prices skyrocketing, and government restrictions stifling people’s ability to do some of the most basic things, a lot of people are suddenly having real concerns about being able to feed themselves and their families.

During WWII, governments actively encouraged families to grow Victory Gardens, and even gave out information and resources to help people do it. That sort of thing isn’t happening now. Instead, we are having to rely on each other to figure out how to grow what, for too many people, are literally survival gardens.

Whatever your reasons for wanting to start growing as much food for yourself as you can, I heartily encourage you! You won’t get any sermons or lectures from me. I do hope that I can, at the very least, provide some information and inspiration.

Start where you’re at

Your circumstances are going to be unique to you. If you’re already on an acreage, great. If all you’ve got to work with is a hall closet and some makeshift grow lights, great. You can start where you’re at, even if it’s just poking some holes in a bag of potting soil to grow some greens in a sunny window. Little by little, it’ll get done!

What I will be sharing here is going to be geared mostly to people living in colder climates – and by that, I meant Zone 2 or 3 (depending on what Canadian zone maps are being used, we live in either 3a or 2b).

I will add one thing I’ve heard quite a number of very experienced, prolific gardeners say. If they had to depend on their gardens for survival, they’d starve! It takes a lot to grow enough food to actually provide enough for even one person to last from preservation to the next year’s harvest, and it will still need to be supplemented with other things. I’m still somewhat amused and perplexed by my mother trying to lure us out here by saying we could grow a garden and not have to buy groceries anymore. Even as big as her garden was, plus having chickens and cows, sometimes pigs, turkeys and geese, a root cellar and lots of canning and freezing, we still had to buy groceries.

So you’re still going to need to buy stuff. Hopefully, just a lot less!

With that in mind, as you plan what to grow in your own personal survival garden, here are some things to consider when making decisions.

Grow what you will eat.

I’ve looked at so many lists out there, for things like what to grow to feed a family for a year, or what to grow in your climate, and so on, and frankly, a lot of stuff on those lists are foods I just don’t like. Others, I can’t eat. There are four of us in our household, and we have very different tastes. Which means that our focus will be more on growing things all of us enjoy eating, then including smaller amounts of things only one or two of us like to eat. As wonderful and appetizing as I find tomatoes and bell peppers, they both make gag, but two people in our household enjoy eating them, and all of us can eat processed tomatoes. Now, those two people REALLY like their tomatoes, so growing more of those than peppers for fresh eating makes sense, as well as growing a lot of tomatoes that are good for making tomato paste to last us for months. It’s a sort of juggling game.

Try new things

What we find in the grocery stores is there because those varieties can handle large scale growing and transportation. When you’re growing your own, you can have a lot more choices. This is a time to grow new varieties of things you know you like, and if you have the space and resources for it, grow something you’ve always wanted to try, but couldn’t for one reason or another. Which kinda ties in with my next point to consider.

Grow at least one thing for fun

Yes, growing food to ensure your family has something to eat when times are tough is serious business. The whole point of the list I’ll be presenting to you is to be able to get as much bang for your buck as you can. At the same time, growing something just for fun is a great morale booster. As you go through what various seed companies and nurseries have to offer, you’re bound to find something that just puts a smile on your face. If you have the space and resources for it, go for it!

Keep in mind your region, climate and particular circumstances.

While the zone maps are very handy, that doesn’t mean there aren’t exceptions. There are things my mother successfully grew in our Zone 3 that were rated at Zone 5. She didn’t even doing anything different for them, either! This is a good time to find and get involved with a community of people in your region and zone, online or off, to learn from. If you are growing outdoors, look at what is rated for your zone, but also consider whether you can create microclimates. If you have only a balcony or patio, there are lots of places where you can learn about container gardening or vertical gardening. If you are growing indoors, there are resources geared specifically for that.

Storage and preservation

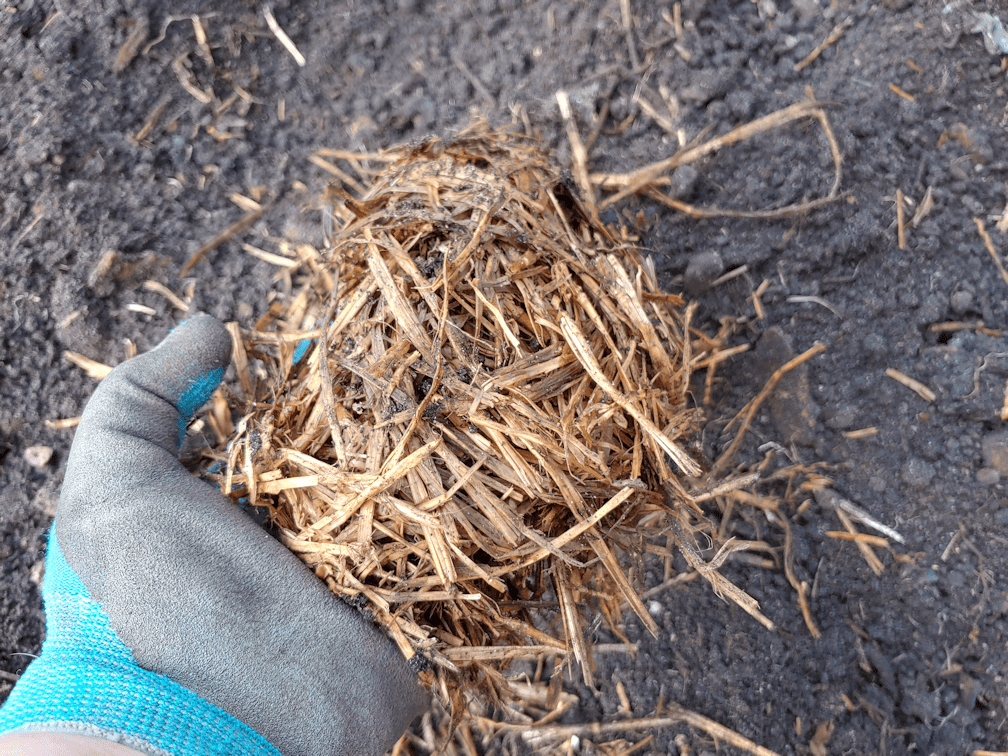
If you’re growing food to feed your family, and trying to grow as much as possible in your space, it’s not going to be much good if you grow more than you can eat, but can’t preserve it! There are many options available; freezing, dehydrating, water bath canning, pressure canning and even freeze drying, if you can afford the machine! You might even be able to create a root cellar in some corner of your home. Refrigerator pickling and fermenting are options, if you don’t have canning equipment.

If you’re going to store and preserve food, you’ll need somewhere to put it. What methods you have available to save your food will help you decide what makes the most sense for you to grow.

Things will go wrong. Do it anyway

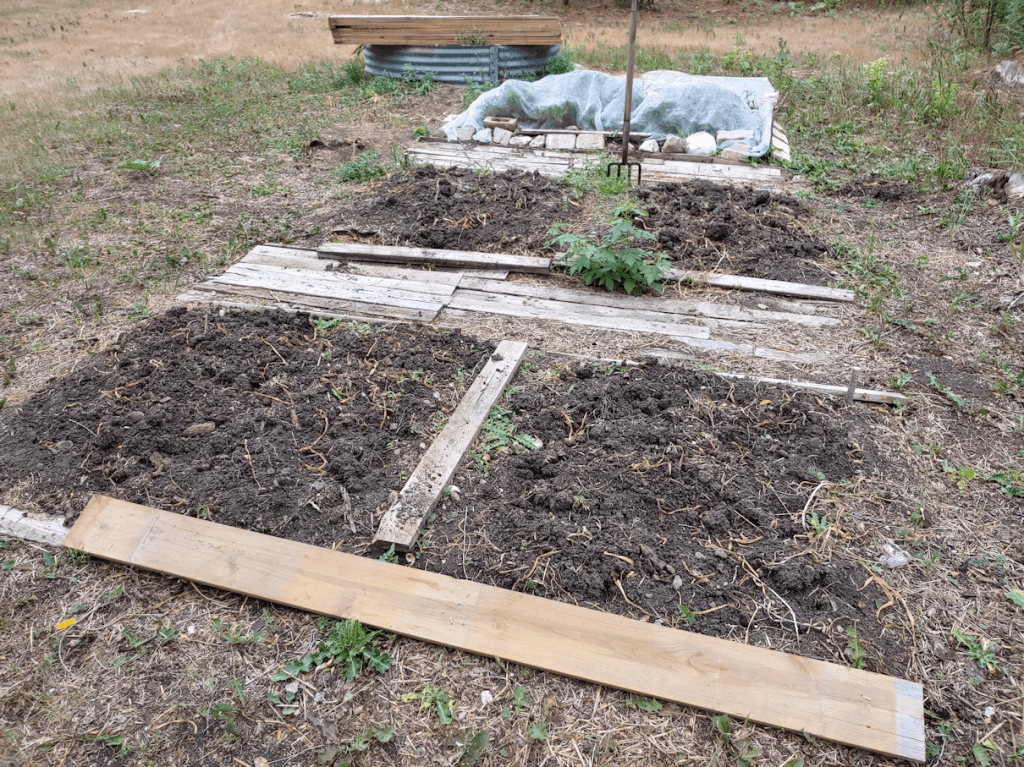
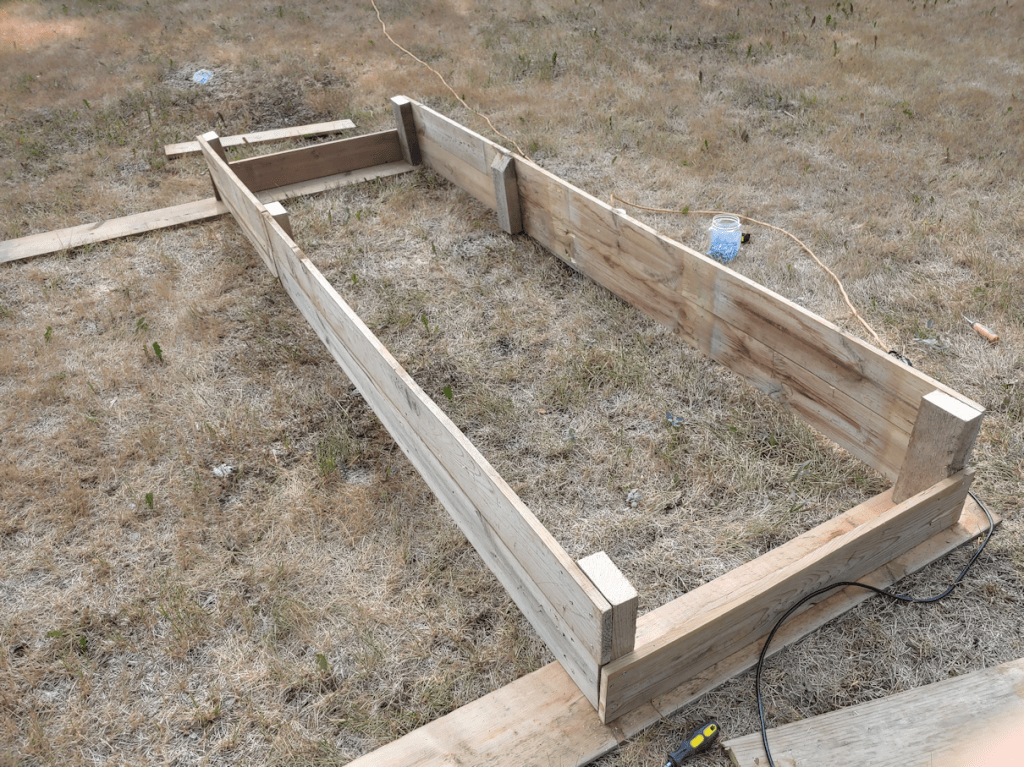
One thing that is going to happen is, there will be failures at some point. It’s inevitable. Sometimes, you’ll make a mistake. Sometimes, there will be circumstances completely out of your control. It happens. The beauty is, you can still fail “up”. Honestly, you’ll probably learn more from the failures than the successes! Of course, it’s always a good idea to learn from others as much as you can to avoid failures, but it’s still going to happen. Since being here at the farm for 4 years, and only gardening for 2, we knew we were trying to grow in far from ideal conditions, and had some setbacks, yet we still managed to have food from our own garden that we could enjoy.

When it came to making a list of things that might work well in a survival garden, I looked for things that could be grown in colder climates, had high yields, and could be stored or preserved, while also keeping time in mind. So let’s start with the fastest growing things, first!

Super-short term

Photo by Zdenek Rosenthaler on Pexels.com

There are quite a few things that can go from seed to plate in less than a month. Some in less than 10 days! Micro-greens and sprouts can be grown very quickly, can be grown indoors in trays or jars, continually throughout the year. Many seed companies now has sections for sprouts, and quite a variety of things can be grown for their sprouts. Many sprouts can be grown in jars – alfalfa, mung beans, lentils, radishes, and more. Gelatinous seeds, such as flax, chia, cress, arugula and psyllium, can be sprouted in trays. For microgreens, you can try beets, swiss chard, broccoli, cress, peas, radishes and sunflowers.

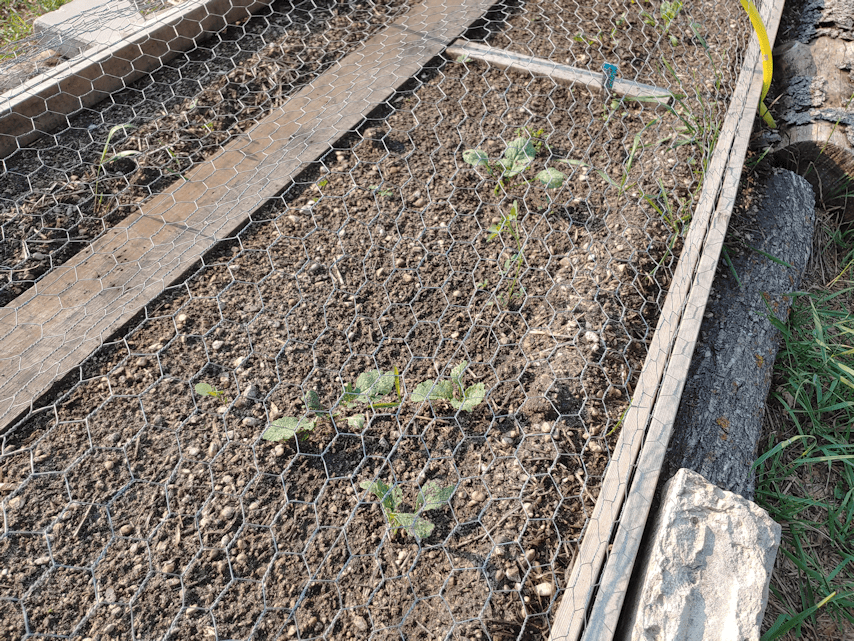
If you want to give things a bit more time, leafy greens such as pretty much any type of leaf lettuce, spinach, chard, kale, bok choi and radishes can be grown and harvested very quickly. Many of these don’t like heat much, so they can be planted outdoors early in the spring and sowed successively until the heat of summer, then sowed again for a fall crop.

These quick growing plants are nutritional power houses, but they don’t have a lot of calories. They’re not going to keep anyone going for long, so it’s good to think of these as a supplement, and something that can provide nutrition until other foods can be harvested.

Short term

By “short term”, I am talking about the things we typically think of in our annual vegetable gardens. These are things that can take a few months before you can start harvesting anything, and can potentially keep feeding you and your family throughout the winter, with proper storage and preservation.

Root vegetables: carrots, parsnips, beets, radish bulbs, turnips, rutabagas… there are many to choose from, and many varieties of each! Stored properly, they can last for months on their own, but they can also be pickled, pressure canned, frozen, and dehydrated. With these, they are one seed, one plant (except beets; their seeds are actually clusters of seeds), but they produce so many seeds, most packets will provide more than needed for a typical household.

Bulbs and tubers: potatoes, sunchokes/Jerusalem artichokes, sweet potatoes – yes, there is a cold hardy variety of sweet potatoes out there! – bulb fennel, celeriac and more.

There are many varieties of potatoes, some more prolific than others, and some better for storage than others. A good source of seed potatoes will give that information. Potatoes also come in determinate and indeterminate varieties. Indeterminates are good for potato bags and towers, while determinate are good for hilling or Ruth Stout growing methods. Sunchokes will grow in just about any type of soil, and can be so prolific, they are sometimes considered invasive.

Special mention: the alliums are excellent bulbs to grow, but tend to require a lot more time, unless you are starting onions and shallots from sets, or spring garlic. Hard neck garlic needs to be planted in the fall, while onions and shallots from seed – which gives a lot more choice in varieties – need to be started indoors very early. In my garden groups, I’ve found Zone 3 gardeners that start their onions from seed as early as January! Onions also come in long day and short day varieties. If you are in a northern Zone, look for long day varieties. Of course, some varieties store longer than others but, properly cured and stored, they can last a very long time! Onion greens can be eaten as the bulbs mature, and hard neck garlic produces scapes that need to be removed to produce bigger bulbs, and they are delicious, making them dual crops to grow.

Summer squash and zucchini: There are many varieties of summer squash, and they all tend to be quite prolific. Just a couple of plants can provide plenty of baby squash that mature fairly quickly, and if they are left to grow larger, some varieties can be stuffed and baked. Most summer squash start to get tough as they get larger, and are not a storage vegetable, but they can be pickled, canned, frozen and dehydrated. Zucchini is a bit of an exception, in that it can be used as both a summer squash while small, or a winter squash if allowed to grow to full size.

Winter squash and pumpkins: These are squash that can grow to sometimes colossal sizes, but there are also varieties that are small, fast maturing and very prolific. Once they reach maturity, the fruits are cured and can be stored for the winter months. Some varieties reach their best flavour after weeks or months in storage. They can also be frozen, canned, shredded and dehydrated.

Legumes: there are few vegetables out there that provide more bang for your buck than legumes! Especially beans. Bush beans can be grown for their pods, and when they’re done producing is about when pole beans are ready for harvesting, and of course there are shelling beans, which are grown for their fully mature and dry seeds. Peas, chick peas and lentils can also provide a lot of food from just a few plants. Dried legumes, stored properly, can last for years, making them one of the most efficient foods to grow.

We could fit about a hundred of these tiny Spoon tomatoes into a single Red Solo cup.

Tomatoes: tomatoes are a fruit that deserve their own category. The varieties available is staggering! However, if you are looking to get the most pounds per plant, look at growing a mid sized variety. Aside from fresh eating, they can be frozen, canned or dehydrated on their own, or be used as an ingredient for sauces and salsas, and so much more.

Cucumbers: As with tomatoes, there are a really amazing number of cucumber varieties available, but most fall into one of two categories; slicers, for fresh eating, and picklers, for preserving. They all tend to be fast growing and very prolific, too.

Peppers: I wasn’t sure about including peppers on this list. They are excellent producers, but growing them in our colder climate seems to be touch and go. I’ve heard from people who have had great success with them, while others have tried for many years, but have never had a harvest. Peppers can be canned, preserved in oil, frozen, dehydrated, pickled and made into relishes.

Photo by PhotoMIX Company on Pexels.com

Mid term

While being able to grow food quickly is important, it is also useful to consider the long haul. If you have the space for it, there are things that may take several years before they begin producing, but once they do, the harvests will be bounteous!

Asparagus: asparagus can be grown from seed or you can buy crowns to transplant into trenches. It can take three years before they can be harvested, and even then, for the first year or two, harvests should be minimal. Once they are established, however, asparagus will keep producing for up to 20 years!

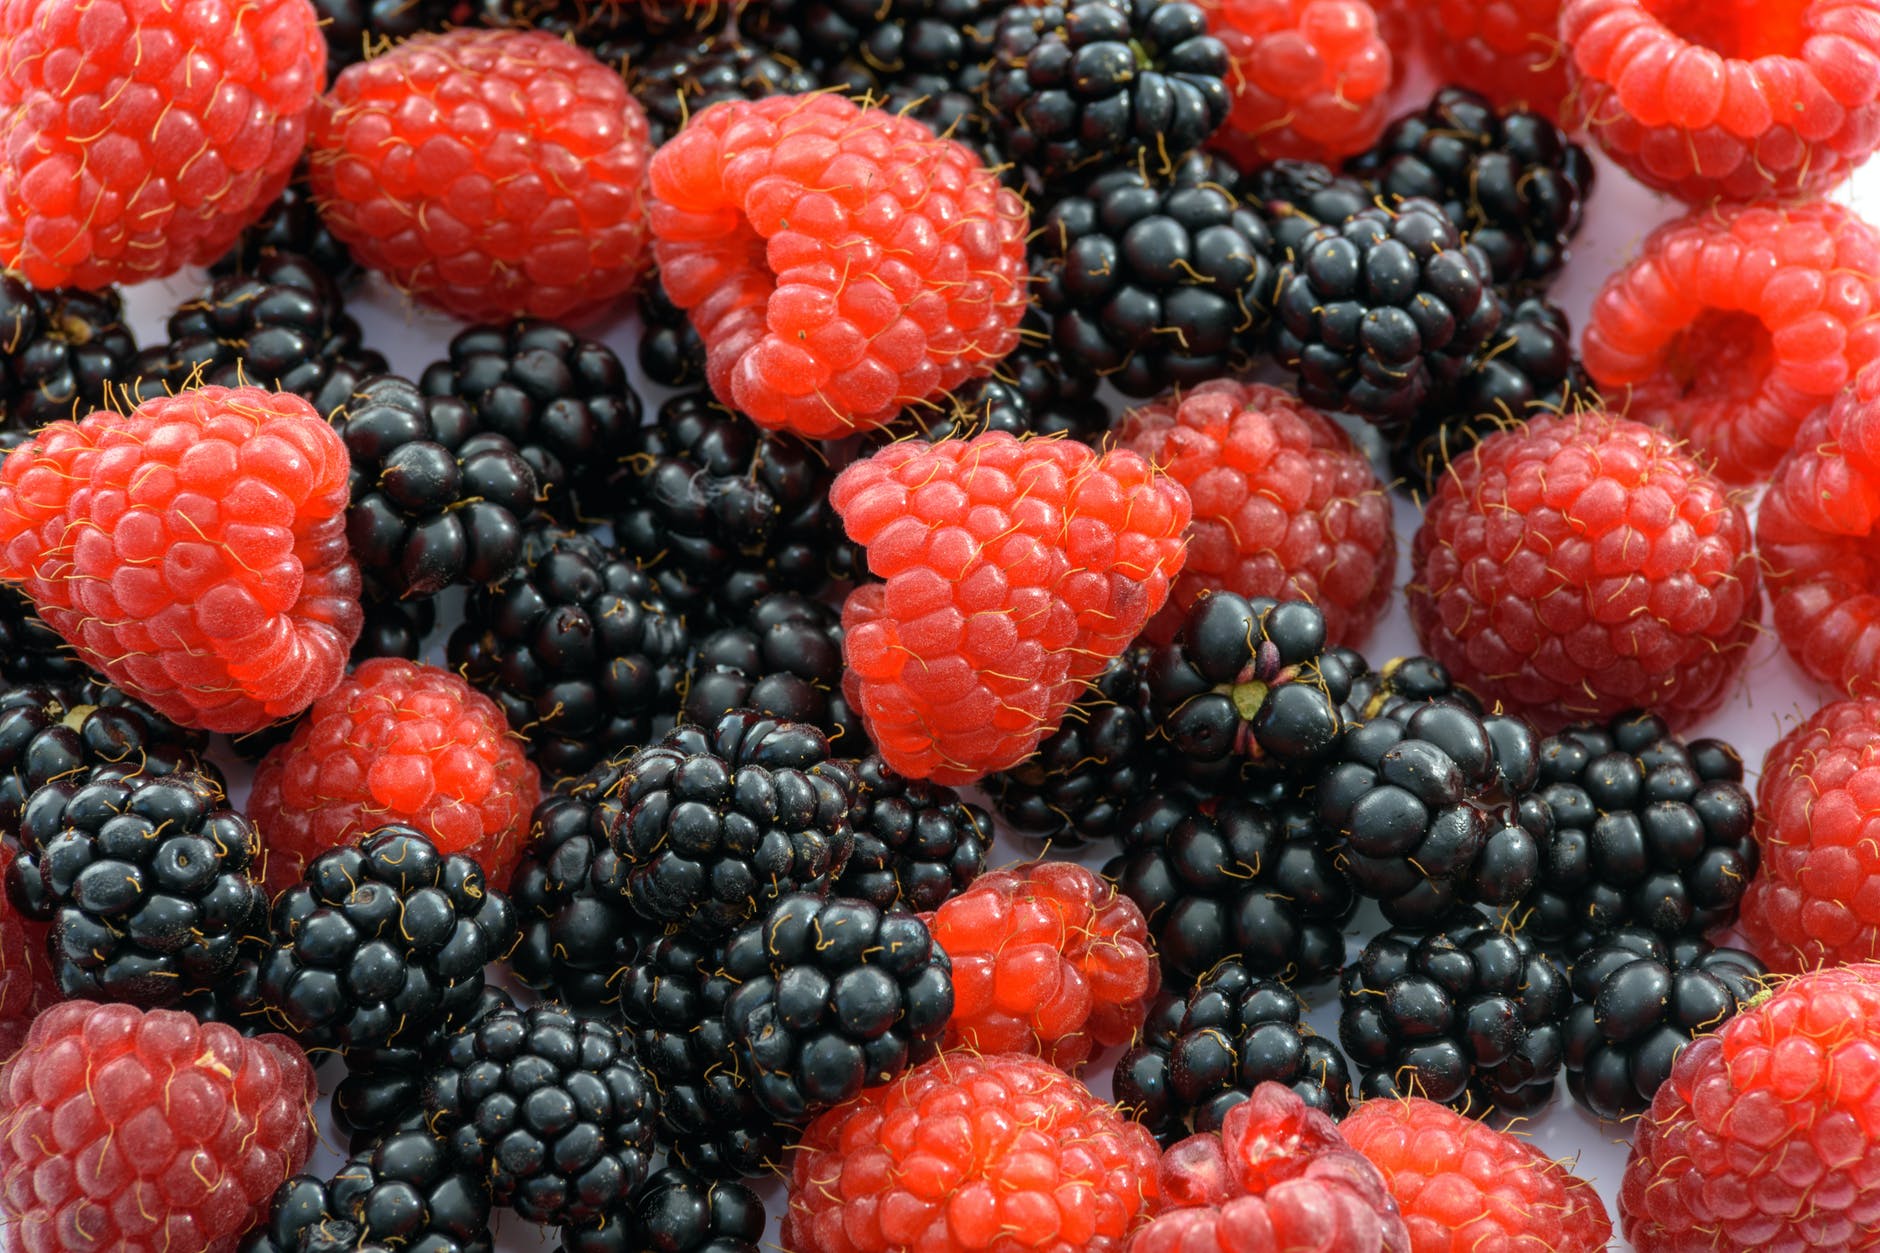
Raspberries, currants, gooseberries and haskaps: Haskaps are the new berries on the block, and are exceptionally cold hardy. They require male and female plants to produce, and can potentially begin producing berries in their first year. Raspberries are available as regular cane (new canes produce berries in their second year, then die back) or primal cane (new canes produce berries in their first year). Choosing varieties that mature at different times can give you fresh berries for months. Currants and gooseberries, once established, can produce fruit for many years. Berry bushes can provide a great deal of fruit per plant. Along with being used fresh, frozen or dehydrated, as well as made into jams and jellies, they can be used to make vinegars, syrups and wines.

Grapes: yes, there are Zone 3 grape varieties. I’ve even seen a Zone 2 variety. Grape vines are very long lived, and have the potential to provide fresh and frozen fruit, jelly, and wines for many years.

Hedge bushes and trees: There are a number of larger berry bushes that can double as shelter belts and natural boarders. Some, like sea buckthorn and bison berry, do well in poor soils, and while they may be considered invasive in warmer climates, they tend not to be, in our Zone 3. The Rugosa rose produces large edible hips, and their flower petals are edible, too. Saskatoons are a more of a tree than a bush, and absolutely delicious. Chokecherries produce many berries, but are better used in syrups, vinegars, etc. than eaten fresh. Many of these will provide enough berries not only for your own use, but for birds as well!

Photo by PhotoMIX Company on Pexels.com

Long Term

Now we’re really going for the long haul! Here, we are looking at things that can take five or ten years before they start producing food – but once they do, they will continue for decades to come.

Fruit trees: there are a remarkable number of fruit trees that can grow in colder zones. Apples, pears, apricots, cherries and plums can all be grown here. While a single mature tree can provide enough fruit for the entire family, many need to be planted with a pollinator, which can be a different variety.

Nut trees: there are not a lot of nut trees that can grow in Zone 3, but some, like the Korean Pine, are hardy to Zone 2! Hazelberts and beaked hazelnuts are also very hardy. Others, such as the black walnut, can grow in Zone 3, but the nuts may not have enough for a growing season to fully mature.


Okay, so all this is a lot more than just a “survival” garden, but we all start somewhere, right? :-) Little by little, it’ll get done!

I hope you find these useful in working out what are the best things for you to start growing in your own particular situation.

For those who have already been doing this for a while, please feel free to leave a comment, sharing your own experiences. What worked best for you? What didn’t work? Is there anything you would tell someone who is just starting out now? Let us know!

The Re-Farmer

Strange, furry bird, progress and solution found

My husband was able to bring food and water to the cats this morning. He found the heated water bowl had been knocked over again, even with the improved set up. Which means, of course, it is unplugged again. It’s just too close to the entrance of the cats’ house.

When I headed out later and went to put bird seed out, I found this handsome bird watching me!

Tuxedo Mask has such owl eyes, too! :-D

It’s rare, but he does sometimes let us touch him. More often, if I hold my hand out for him to sniff, he tentatively bats at it, instead. :-D This morning, however, I had a lovely surprise. Chadicous (I think) kept flopping onto the snow in front of my feet while I was trying to move around, pausing to pet Agnoos and Nutmeg. I’d reach out to Chadicous and he’d move away a few inches, before flopping on the ground again.

Then I got him!

Before he had a chance to move, I was able to start skritching his ears. Not only did he stay and let me keep skritching for a while, but he was actually purring!!!

Yes, progress!

As I continued my rounds, I went into the garage and did some digging. I found the extension cords we use to plug in our van, and the old one that used to be inside my mother’s car, to plug in the block heater, battery warmer and trickle charger, set up under the hood. Her old one got replaced because it was damaged, but I half remembered having an extra.

I was right. Not only did we have an extra cord that was only 8 ft long (still longer than I need, but better than the next size up we have, which is 30 feet!), but I could see no damage to it at all. I brought it to the house and asked my husband to check it for me while I finished my rounds, and he tested it out, too. It’s one of those that has a light in the female end to show if there is power on or not. It is in perfect working order, and has no damage.

Which means we have a suitable, safe extension cord we can set up inside the cats’ house, long enough that I can run it along the frame, away from the straw bedding and any gnawing teeth, up to the entry. We will then be able to reach the plug through the opening, instead of having to lift the roof every time. When my daughter and I opened the cat house to plug in the water bowl yesterday, I discovered it moving away from the wall near the hinge on one side. That roof is very heavy, and the shelter is pretty old. One of the pieces of wood in the frame had split, right near the corner. After we were done, I added a couple of screws from the outside to stabilize it. When we open it again today, I’ll give it another look and see if I should add more.

Once that’s done, we will no longer have to keep the heated water bowl so close to the entry, and can have it directly the ground.

Yay!

The Re-Farmer

Morning finds, and a majestic visitor

There’s always a little something, when I do my morning rounds! :-D

My husband had been able to take care of the cats earlier, so when I got out, I just have to put out feed for the birds (and deer). By the time I came out, however, I found the new heated water bowl had been knocked over. There had to have been some sort of altercation at the entry of the cats’ house, because even the brick supports around it had gone flying, and the power cord to the bowl had been pulled out.

Not only was the new bowl empty, but the water in the other bowls was frozen solid!

Something better had to be found.

I quickly went to feed the birds, thinking about it, and noticed the chimney liners along the side of the house. Since cleaning up the pile behind the house, we’ve been using these to hold the insulation that gets put around the house every winter.

They were just the right size and shape. Was there one we could spare?

Not on that side of the house, so I came back around and looked at the ones along the back of the house. We have other things set up against the house to help keep the insulation from being blown away, so I was able to find one that looked like we could spare.

It’s the perfect size and shape!

The bowl is so big, I added bricks as spacers between it and the shelter. The cats immediately were all over it, until I refilled the other water bowls, too. They were very thirsty!

We will have to plug the bowl back in later, once there are two people available. With the snow accumulation, the counterweight doesn’t quite reach the ground, so one person has to hold up the roof while the other does what needs to be done, inside. When we do our monthly shop, we’ll pick up a short, appropriate extension cord that can be safely used, so we can at least not have to worry about the cord being unplugged. Not too short, though. I want to run it along the frame of the shelter, just under the roof, so there will be no issue with the cats knocking it about, and no critters chewing on it.

Thanks to my daughter digging out more paths, I was able to get at the back of the garage and the outhouse. To clear access to the outhouse, my daughter had to break up that fallen piece of tree. It was warm enough to no longer be quite frozen to the ground, but that’s as far as it’s going to be moved until, most likely, spring.

When switching out the memory card in the trail cam by the new sign, I noticed these tracks. Something had walked towards the corner, stopped, then turned around. At first, I thought they were foot prints, they were so big. That didn’t seem likely, given the piles of snow from the plow. Not even our vandal is that dedicated to causing problems! The question was, did whatever made it go far enough to trigger the motion sensor on the trail cam?

The answer is, yes!

Would you look at that majestic beauty!!

While doing my rounds and seeing deer tracks, I had been noticing some hoof prints much larger than the others. I’d say, we’ve captured the beast that made them! And what a handsome fella he is!

I’m pretty sure we’ve been seeing this same buck visiting our place since we moved here. If it is, this would be the fifth winter of visits from him. :-)

The Re-Farmer

Clean up: our “second bathroom”, inside and out

I’m a sucker for punishment.

The plan was to head over to the outhouse, quickly do a second coat of paint until we ran out, then get back to working on the bread baking.

Instead, I kept adding more things to do, and by the time I got inside, I had to get my daughter to continue the bread baking, as I was no longer physically able to do it. Which is what she is working on now, as I write this blog post!

While looking for something else entirely, I found a pair of wooden shelf supports and instantly realized that they could be painted and used to put a shelf in the outhouse. So when I headed out to do the second coat of paint, I also poked around the barn and a shed to find a thin board wide enough for the supports. It was about six feet long, though, so I basically held it up to the outhouse door from the outside, and eyeballed where to cut it to fit along the back of the outhouse. It ended up being just over half the length of the board, so I figured if I was off with the longer one, I could still use the slightly shorter one.

It ended up being just a hair too wide to fit between the corner posts. A few swipes with a micro plan and some sand paper was enough to get it to fit perfectly!

That done, I sanded the rough edges, then scrubbed and hosed it down before setting it aside to dry. Then I added a second coat of paint, just to the seat box inside, before painting the shelf supports.

I’m thinking I might paint the rest of the board, too. If we get more shelf supports, we can add it onto one of the side walls.

It took a while for the washed shelf board to dry, so I decided to give the mirrored shelf a scrub down, too, then once that was dry, I hung it back up inside the outhouse.

Rolando Moon decided she absolutely had to be on top of where I was putting the tools and screws! The violent beast went from demanding I pet her, to attacking the hand that was petting here, making me bleed! I did manage to get the screws with washers out from under her, though.

I just wanted the washers, though. There were just two, for the top screw holes, which are slightly wider than the bottom ones. I used new screws to hang the mirror back up. After washing the blood off the new screws and washer, from the wound Rolando Moon gave me!

Previously, it had been hung up right against the centre joist, but I chose to centre it between the corner and the joist, instead.

Then, I just had to do it…

I just had to put the little mermaid I found while I first emptied and cleaned out the outhouse, inside the cabinet.

She lives here now.

:-D

Once we’ve picked one up, the LED battery operated light switch will be mounted directly opposite the mirror.

By the time this was done, the shelf board was dry.

After removing Rolando Moon, I got the one side painted. Tomorrow, I will paint the other side. By then, I should be able to mount the shelf supports, using the boards on the wall to make sure they are level, then attach the shelf board once the paint is dry. Only then will I continue doing the second coat of paint inside, until the can is empty. If I end up not doing the ceiling, or the narrow parts around the door, that’s not going to be a problem. As long as the areas that are most likely to get scrubbed in the future get a second coat, it’s all good.

Since I could no longer work on the inside, I decided to work on the outside, and empty the pit of groundhog gravel.

The wire mesh on the back was held in place by being hooked onto two bent nails, that were nowhere near each other. You can see one at the top right. The other is barely visible, near the bottom left. It didn’t take much to remove the mesh.

There was a second, smaller piece of mesh, partly buried until a thick layer of grass and roots.

*sigh*

That took some doing to move out of the way.

I thought I would be able to remove the two bottom boards by taking off the smaller pieces on the side, then pulling them off. They where, however, thoroughly nailed in place, with old and rusted nails that were not about to come out. So, I instead dug out my jig saw and used it to cut a piece off the bottom.

As you can see, it’s solid gravel against it! I ended up having to cut a second piece off. I was then able to start shoveling the gravel out, and when I could no longer get the shovel far enough in before the 2×4 across the bottom stopped me, I used a garden hoe to move more gravel closer, then shoveled some more.

I never did reach the … compost… layer. I did hit a lot of rocks, though! I emptied it as best as I could, without removing the more recent… deposits.

Then it was time to cover the hole back up.

I put the two pieces of siding back, then screwed the bottom one to the 2×4 behind it. The next time we need to get under there, we can just remove the screws and the boards will easily pop out again.

I then folded the smaller piece of wire mesh to fit the opening. I found a scrap piece of board with screw holes already in it, so I used that to fasten the mesh in place. The wire is folded at the bottom and weighted down with rocks. Critters can still get in if they really wanted to, but this is temporary. When we get to painting the outside, we’ll make things more permanent, perhaps replacing the cut boards with a hinged flap that can be latched to keep the critters out. Who knows.

I have no idea why that other large piece of wire mesh was used to cover almost the entire back of the outhouse. It really served no purpose, since only the gap at the bottom needed to be covered. Even the smaller one on the bottom couldn’t keep the critters out.

I was able to fill the wheelbarrow with clean groundhog gravel! If there was any chance the shovel full I pulled out wasn’t clean, it went onto the nearby cat litter compost pile, instead.

The clean gravel was put to good use.

It was enough to make a thin layer on top of the boards in the path between the new low raised bed boxes. The bigger rocks went up against one of the boxes, where there is a larger gap, then it all got spread out and hosed down, so that the finer particles would wash into the gaps between the boards below. It seems to be more clay than sand and gravel, though. We will still need to add more, but this is a good start.

And that was it for today!

Deciding to include a shelf added at least an extra day to finishing the inside, but I think it will be worth it. I’m more happy about getting the pit clean up over and done with for now!

The Re-Farmer

Morning harvest, and getting named

Check out what I was able to gather this morning!

There are quite a few more of the purple beans buried underneath. They have been, hands down, the most prolific bean producers, and if the weather keeps up the way it has been, we will be picking beans for at least another week or two! Even the yellow beans are putting out a second crop. With the drought conditions, none of the bean plants are as large and bushy as they should be, with the green and yellow beans particularly stunted, even as they continue to produce. With the green beans, that resulted in my finding bean pods that were almost as long as the plants were tall!

I had to get a bigger container to collect tomatoes with, instead of the red Solo cups we’ve been using until now. The vines are dying back, yet they still have so many ripening tomatoes!

Earlier today, I made a quick trip to the post office, before I gathered our morning harvest. The general store it is in always closes at noon on Wednesdays, so I had to do it early, but not too early; I knew the postmaster would need at least an hour from opening, to sort through the morning mail. We had some packages to pick up, but one of my daughters also had a package that was supposed to be delivered by courier, directly to our address, as it was from a place that does not deliver to box numbers.

Which has always been a problem, since our physical address doesn’t come up in searches. Like pretty much all of the roads around here, our road has two names; one is a numerical designation (part of the provincial system), and the other is our family name (a municipal thing). Many of the local roads are named after local families. It was only recently that I discovered that the road past our place has no name on the maps at all! Not even the road number. Which certainly explained why delivery companies had such a problem finding us!

My daughter was keeping an eye on the tracking number, however, and got a notification that her package was delivered to our door at about quarter to one. Of course, there was no such delivery, since the gate is locked. I could see nothing on the live feed of the security cameras, but my daughter went to see if it might have been left at the gate. Sure enough, I watched her on the camera as she got to the gate and picked up a white package. Which was on the gravel of the driveway, which also looks pretty white on the camera! No wonder I couldn’t see it!

I’m impressed that they found us, but it reminded me of something I wanted to try. Using the maps app on my phone, I found our road and took a closer look. It turned out that there is a 4 mile stretch of our road that is not labeled at all, however to the south of us, the road ends at another road, then restarts a short distance away. From where it restarts and continues south, it is labeled with the same numerical designation as the signs we have on our stop sign.

The four mile section that had no label is the only section that has our family name assigned to it. The offset part of the road with the numerical label probably has another family’s name assigned to it.

The app now has a function that allows the map to be edited. When I used that and started to select sections of the road, it simply said “unknown road”. I was able to select all 4 miles that had no label on it, then put in the name. It gave the option to add more information, so I added that it was also known by the numerical designation. I then sent the edit to Google Maps. I’ve already got a confirmation email saying “Thank you for your contribution. Your suggestion is being reviewed. Thanks for sharing your knowledge. We’ll let you know once the changes are published.”

Hopefully, that means or road will finally have a name attached to it on Google Maps, and people will be able to find us more easily! Plus, with the name rather than the number on the map, it will also match what is on not only my driver’s license, but on the licenses of several of my neighbours, too!

Speaking of which, I am hoping to get a chance to visit the one that sells pork products at the farmer’s market today. With our province’s latest draconian restrictions, organic humans are no longer allowed in “non-essential” places, even though such mandates are expressly forbidden in our laws, at both the federal and provincial levels. Vendors at markets aren’t required to be GMO though; just the customers. So I will just have to skip the market, and go right to the source! :-D

I’m quite okay with that. They are a homesteading family that are a few years ahead of where we want to be, as far as self-sufficiency goes, and I would love to see how they’ve been doing things! I may have grown up here on the farm, two sticks ahead of the stone ages, but I am more than happy to learn new, better and more efficient ways to go things! Especially since we’re only about one stick ahead of the stones ages now. ;-)

The Re-Farmer

Clean up: salvaging logs, and bonus clean up

Today was dry enough that I could work on cutting up the dead tree that had finally fallen, thanks to recent high winds.

This time, I could use power tools! I used my baby chainsaw (aka: cordless pruner), with it’s 4″ blade, to trim off branches, then a reciprocating saw, with a 12″ blade to cut the measured lengths. Unfortunately, my reciprocating saw is giving up the ghost. It cuts, but it doesn’t stop. Sometimes, it’ll slow down when I release the trigger, but other times it would just keep right on going. I had to unplug it to turn it off!

At the last minute, I changed my mind on the longer lengths I would be cutting. These will be used to make high raised beds in the main garden area, and I had been thinking of building them at 10 feet long. As I was measuring, however, I decided to make them 9 feet long. The boxes we built for the beds where the garlic had been planted are 9′ x 3′. I figured if I did these at 9 feet long, any future cover frames we build will fit on both. I kept the short ends at 4 feet, though. With the width of the wood, the inside of the beds will be roughly 3 feet wide, so any covers would still be interchangeable.

So here we have two 4′ and two 9′ lengths. Enough to make one course of logs to frame a high raised bed.

By the time I cut these, the rest of the tree was light enough that I could drag it closer to cut a couple more pieces.

That gave me another 9′ and another 4′ piece. At the top of the long pieces is the remaining top of the tree, which is about 7 or 8 feet. I set that aside for potential future use. When I was trimming the branches off, I found another 6 or 7 feet of the top had broken off and was dangling from a nearby tree. With three 9′ lengths, three 4′ lengths, plus another, say, 7 feet of trunk, and 6 feet for the top that broke off, we’re looking at a tree trunk that was roughly 52 feet. Add in the roughly 3 feet of stump left behind, we’re looking at a dead tree that was about 55 feet tall when I cut it down.

The one that’s still stuck on another tree was a bit taller.

At this point, I had salvaged logs to do 1 1/2 courses to build a raised garden bed. I needed two more pieces.

I didn’t have to cut down another tree, though. I still had the trunk of the dead tree I’d cut down and used the stump to make a bench.

After I finished trimming the branches, the trunk was eventually rolled up against the patch on the right, where there is a currant bush, chokecherry tree, raspberries, some flowers and a crab apple tree that died this spring. So after dragging/carrying the first pieces over to where the garden bed will be built, I cut a couple more lengths from this tree trunk, then set the remaining top piece aside with the top of the other tree, for potential future use.

You can see that the new raised bed will be quite a bit shorter than the low raised beds we had this year. Those are about 13 feet long. We will be losing planting space, but we should also be able to plant more densely, once they are at a more accessible height. For now, I want to make these at least 3 logs high, then see how they work. I expect to finish them off at 4 logs high.

Which would translate to roughly 3 or 4 trees to harvest, per bed. In this area, there are six low raised beds that will be converted to high raised beds, so that means as many as 12 trees to replace all the low raised beds with high raised beds.

Considering that we have more than 20 dead trees that need to be cut down, having enough logs won’t be a problem, even if some of them turn out to be too rotten to use. Some of those trees are thicker and taller than the two I used today, so I’ll probably need even fewer. With the new beds being several feet shorter than the current beds, we could potentially have a double row of beds. That will depend on the space for paths. These are meant to be accessible raised beds, with room for a walker or wheelchair in between, so the paths need to be 4′ wide.

The one thing we do have is the luxury of space. While we are starting with raised beds in this area we are already gardening in, as time goes by we will be adding more beds in this area. Not a lot more, though, as there are too many tall trees on the south side casting shadows. The plan is to build more permanent raised beds in the outer yard, where they will get full sun.

But that is for after we’ve done a lot more logging of dead trees in the spruce grove!

Once the last of the logs were dragged over, I took advantage of having the tools handy and finally took down the dead crab apple tree.

For this job, I was able to use the baby chain saw, and didn’t need anything else. I love that thing!

In the photo, you can somewhat see where the bark as split off the trunk at the bottom. This tree had started to get leaves in the spring, but then just died off, and seeing that damage sure explains why. The tree itself was showing signs of disease, even last year, so all this wood is for burning, not the chipping piles. I noticed that even the raspberry plants near it were also showing signs of disease, so what we will likely have to do is remove any plants growing around the tree and not plant anything at all here for a few years. That should be time enough for whatever disease has gotten into the soil to die off.

Once cutting and clearing away to the base, I could see that this tree was actually the sucker of a larger tree that had died, long ago! The inside of the old stump was so rotted out, I could brush it aside with my hands.

I kept cutting and breaking up bits and pieces for a while, but what I will ultimately do is bring a small metal ring I found and have been using as a portable fire ring, and light a fire on top of the remains of the tree. That will prevent any suckers from trying to start growing and, hopefully, sterilize the soil of whatever disease has gotten into it, at least a bit.

It was good to finally get this cleared up. There are a few other dead and dying crab apple trees that will need to be cleaned up, too. Over time, once enough time has passed, I hope to replace them with other fruit trees that are more disease resistant. This spot, however, will not get anything tall planted in it. There are already too many tall trees shading the area. An awful lot of garden space was lost to shade because my parents planted so many new trees on the south side of the garden, instead of the north! Most frustrating is that they also planted them too close together, so none of them thrived, and quite a few died. I removed a lot of these when I cleaned up the maple grove, our first summer here, but I think I will have to take out an entire row of crab apple trees I discovered in the process. They simply aren’t getting enough light to bloom and produce, even after I cleaned the area up. That’s not a priority right now, though.

But I digress!

I’m happy to have gotten as much done as I did today. Tomorrow, the girls and I have an outing with my mother planned, so we won’t be able to get more done then. I’ll have to use Sunday to take down another tree and hopefully get enough wood to start on the first permanent high raised bed before winter. With several days of rain predicted next week, we shall see how far we will be able to get on that!

The Re-Farmer

What a drip!

The old basement is the heart of the plumbing in this house. It’s where all the pumps and tanks are, plus we have a couple of sets of taps; one for the laundry sink, and one for where the washing machined to be, and pipes with shut off valves leading to the taps outside.

Until the plumber added a shut off valve to the hot water tank, those were pretty much the only shut off valves in the system. Otherwise, there is a main shut off valve at the well pump that shuts water off to the entire house.

One of the things my brother did was install a pool filter to the septic pump system. It has a filter basket that catches larger bits before they get into the pump and sent on to the outflow. It has to be cleaned out every now and then, so he got an extra basket, so one can be quickly switched out for the other, and the pump can be back in action right away, rather than having to stay off while the filter basket gets cleaned. Which is a big deal, since it basically turns black and needs time to soak in a detergent solution after the grit and odd bits of straw that fell into the tank while it was being emptied are cleaned out.

Handily, the laundry sink is right there, and that’s where I wash out the filter basket.

It is also where we shock our hot water tank with hydrogen peroxide every now and then, when the water develops a rotten egg smell. This is done using siphon action by attaching a short hose to the tap. After shutting water off to the hot water tank, then allowing it to drain until the vacuum created prevents more water from draining out, we can put the hose end into a container of hydrogen peroxide, turn on the hot water tap, and the peroxide gets sucked into the hot water tank. Unfortunately, the threads on the hot water tap are damaged, so instead of being able to screw on a short length of hose directly to the tap, we’ve had to use Gorilla tape and a length of aquarium hose. It doesn’t seal as well, but it works.

Those are pretty much the only times that sink gets used.

When I’d switched out the filter baskets at the septic pump, I noticed that the hot water tap had developed a drip. I have no idea how long it’s been dripping, but as I used the hot water to do a rough clean on the filter basket, then set it in a container to soak, it started to drop more. Last night, I switched out the soaking water, and the slow drip because a fast drip.

We already needed to replace both the hot and cold water taps, but until now, that wasn’t much of a priority.

Here, you can see the hot water tap, with the tape holding the bit of aquarium hose. The cold water tap has a length of hose screwed on – without the hose, the water sprays all over. The piece of hose across both taps is what I’d tried to screw onto the hot water tap, only to discover the threads were damaged.

This morning, I headed into town to hit the hardware store, just as it opened. After showing the photo to one of the staff, he found the right size replacement taps for me (I plan to take advantage of the situation and replace both taps). Unfortunately, these taps are soldered on. Which means, to change them out, I need to heat them with a torch, remove the taps, clean the pipes, then solder on the replacement taps.

We don’t have the tools to do that. Even if I wanted to cut the old tap off and put a new one on the remaining length of pipe, I’d still need a soldering gun – and I don’t want to shorten the distance of the taps over the sink, anyhow.

Of course, there are no shut off valves between these taps and the pumps. To work on it means, at the very least, shutting off the water to the hot water tank. To work on the cold water tap means shutting off water to the entire house.

So I picked up a couple of Shark Bite shut off valves.

We have what we need to cut pipe, so we can install the shut off valves ourselves. That will allow us to shut water off to the taps and stop the drip, until we can replace the taps themselves.

I’ve already been able to talk to my brother about this, as he has the tools needed to replace the taps. As for the shut off valves, he had it in his mind to install them in the vertical pipes leading to the taps, but I am thinking of installing them in the horizontal pipes running along the ceiling, so that they will shut off water to the other set of taps as well. Those have never been used since the washing machine was moved upstairs, but considering how old they are, I can see needing to replace them in the future, too.

My daughters are still on “night shift”, though, so I don’t want to start any of this until after they’ve gotten up and had their showers. For now, I just want to install the shut off valve on the hot water pipe, but – as unlikely as it is – if something goes wrong during the install, we wouldn’t be able to turn the hot water back on until it’s fixed, and who knows how long that would be. It’s really a simple job, but I know how easily simple jobs can become major problems, in this place!! Hope for the best, plan for the worst!

One of the considerations for installing the shut off valves; unless we cut out about 3 inches of pipe, they will add to the length of the pipe. That would mean the taps would need to be shifted over by the same distance. Which I wouldn’t have a problem doing, except that parts of the copper pipe have been painted over.

Including the clamps and screws holding the pipes in place. Which is going to make loosening the screws a pain in the butt!

*sigh*

Still, it needs to be done, regardless. We’ve had issues with a loud noise that would start after the well pump kicks in to refill the pressure tank. It is very loud, and I can actually feel the floor vibrating under my feet when I am at my computer. It rather freaked me out because, at first, I thought the noise was coming from the well pump, and we’re already on borrowed time with that thing. Eventually, I was able to trace the noise to the pipes. The pipes run under the exposed floor joists, and have a mishmash of supports attached to the joists, holding them in place. In a couple of spots, there is a pipe that has a 90 degree turn and runs under the pipe it had been parallel to. One of those spots is the hot water pipe that runs from the hot water tank to the laundry sink. What seems to have happened is that, as the house has shifted, those pipes no longer have any sort of gap between them. When the pump starts running, it causes vibrations in the pipes, and with these two pipes now hard against each other, that results in the noise and vibrations I can actually feel in my feet. Right now, the vertical pipes are clamped so tight against the wall – with painted over screws – that there is no give at all. So while we are working on the taps and valves, I want to see if I can adjust the hot water pipe downwards a bit, so that they are no longer touching. Hopefully, I’m right that this is the cause of the noise, and it will stop.

If it doesn’t, and we still get the noise in this location, I’m at a loss as to what else the cause might be!

So we’ve got our work cut out for us this afternoon, just to be able to stop the drip until we can replace the tap itself. Once that’s done, there is no longer any sort of urgency.

The Re-Farmer

First low raised bed: part one. It’s good to be flexible!

This evening, I finally got around to working on the first of the low raised beds in what had been our garlic beds this year.

The boxes are ready and waiting, and the beds had been left for any weeds to get larger, so they would be easier to pull.

The plan: dig out all the soil and buried layers of compostable material beneath, set up the box frame, then add the layers back, Hugelkultur style, with wood at the very bottom layer.

The first order of business was to loosen the soil a bit further than the new length the bed will be, and clear out all the weeds by the roots.

The first problem was in adding length. I was originally going to make it longer just at one end, only to find myself hitting large roots and rocks. So I did a bit at one end, then extended the other end, only to have the same problem!

Once the soil was as clear of weeds and roots as I could, it was time to remove the topsoil onto the waiting tarp.

The original plan had been to remove the soil up to the buried straw and compost pile contents into one pile, then remove the straw and other matter onto another. With the extended length, there was already the problem of not being able to dig far because of the roots and rocks I was hitting.

As expected, the straw was barely decomposed. It takes a long time for straw to rot away. That made it harder to dig down further.

I decided to leave it and modify my plans. If it wasn’t practical to dig down further, I would just have to build up higher!

Using a garden hoe, I flattened and somewhat leveled the perimeter, pushing the soil into the middle.

The box was then laid over the bed and stomped on, to create guidelines.

Then, it was time to raid the junk pile of old boards and create a foundation.

A first layer was placed on the guide lines, leveling the soil out more in the process. Then it was just a matter of digging out more boards and adding more layers. The boards are in varying states of condition and length, and a few were cut to size to fill in gaps.

I stopped at 5 layers of boards, which put the foundation at about level with the ground.

Then the box was lined up on top of the foundation.

That was definitely a two person job. :-D

The next step was to use the hoe to move the soil from the middle to the sides, burying the foundation on the inside.

Now it was time to do our use-watcha-got, Hugelkultur layering.

I raided one of our branch piles and brought small branches and twigs to cover the bottom. If we were doing a high raised bed, I would have used larger branches and logs, but these will do for a small bed. The idea with the wood is that, as it decomposes, it acts like a sponge, absorbing moisture that later becomes available to the roots of the plants above, and reducing the need to water.

The next layer was shredded paper. We’ve been saving and shredding our compost safe fliers and other paper, just for this purpose.

Then a layer of grass clippings from our new little “haystack” got added.

Then, the contents of our compost pile was added. Plenty of egg shells, coffee grounds, banana peels – all sorts of things that “garden hack” lists include. :-D

The last step for today was to hose the whole thing down, partly to keep things from blowing away. We have thunderstorms predicted for tonight. If we do get rain, it will help soak down the layers and get a kickstart in decomposition. If we don’t get rain, it will get saturated with the hose before the soil is returned.

Before the soil is added, however, I’ll have to find something I can pound into the ground on the outside of the long sides of the box, to prevent the boards from bowing out.

As lovely as the soil here is, it did test low in nitrogen, so before returning the soil to the bed, I will be mixing in some of the new garden soil, as well as more grass clippings, plus some of the pellets we’re using for cat litter now. It’s just compressed sawdust. As they get wet, they expand and break apart. This will add organic matter to the soil to keep it from compacting, plus the sawdust will absorb moisture and act as a sponge. The clipping and pellets will have the fall and winter to break down, and help increase the nitrogen levels.

If we had wood chips, they would have been included in the layers, and would be added as a layer of mulch at the very end. Alas, that will have to wait until we either get a wood chipper, or hire the tree guys to come out with their massive chipper for a few hours, and break down some branch piles for us. :-)

Which, weather willing, I should be able to work on tomorrow. :-) Unless something else comes up. Which happens often! :-D

The Re-Farmer

Our 2022 garden: first raised bed box

With the garlic all harvested, we’ve got two empty beds that need to be readied for next year’s garden.

With these beds, we had dug into the soft soil we found under the wood pile, mounding soil into beds and making paths in between. This worked out quite well, but there were a couple of issues. One was, for such low raised beds, I found them too wide. They were about 4 feet wide, which would be fine for a high raised bed, but awkward to reach the middles on a low bed. That was partly solved by putting a board across the middle, which served to both mark where the different varieties of garlic were, and to give something to step on while trying to reach into the middle.

What can I say. I’m short.

The other issue was that the soil along the edges would end up in the paths, either from watering or from when the birds were digging around the garlic, early in the season.

The solution to both issues was to build a narrower box frame.

After scavenging in one of the sheds, I found some boards that would serve the purpose.

I dragged them all over to the beds. Here you can see one of them laid at the first bed I want to frame.

In total, I had 17 boards like the one in the foreground, plus 4 more that were the same length and thickness, about about an inch wider.

I decided to keep things simple.

I left four boards as is, then cut another four in half. The boards were all 6′ 1/2″ long and 5 1/4″ wide. Some of the half pieces would be used to increase the length, while the rest would be for the ends of the bed. I cut support pieces for the corners and to join the lengths together from some wood leftover from another project. Those were cut to match the width of two boards together.

The long sides were made by screwing the boards to the support pieces. The boards all have damage to them, ranging from old water damage and some rot, to splitting and cracking from being so very dry. Which is fine. They will do the job, and will last a few years, at least.

What wasn’t fine was flipping a board and almost catching my hand on these!!! They look like the screws were broken off on the other side, so there is no way to unscrew them from the wood. I have to think about the best way to get rid of these, using what tools we have, but for now, we’ll just have to watch out for them!

Once the side pieces were screwed together, making sure they matched in length, I brought over a couple of the wider boards to give a flatter, more even, surface to work on while putting on the end pieces.

Then I quickly tacked it together with just a single screw at each corner, to hold everything together while I worked.

Oddly, one piece was almost an inch longer than the others! Which is okay; the excess can be sawed off, later.

Here we have it! The finished box, next to the bed it will be placed at.

Here, you can see the difference in the dimensions quite clearly.

The box is about 9 feet long by 3 feet wide, and about 11 inches high.

In preparing these beds before planting the garlic, we dug out the soil and buried layers of straw and compost material at the bottom. Since the dimensions are being changed so much, I plan to dig out the beds again, then once the box frame is in position, will start filling it, hugelkulture style, by burying some of the branches we’ve been pruning for the past few years at the bottom, then layering the contents of our compost pile on top of that. Straw decomposes slowly, so I expect to find it when digging the bed out. If I do, I’ll be keeping it separate from the soil, so it can be layered back on again. As for the top layer of soil, I’ll take advantage of the situation to get rid of the weeds by their roots, then mix in some of the garden soil we purchased this year, before returning it to the bed. This soil tested healthier than anywhere else we took samples from, but it was still low in nitrogen, so adding the fresh soil will be a benefit. Once we have the materials again, the top will get layers of mulch to protect the soil.

I have enough wood to make a second box frame just like this one. I plan to build the second box before I start digging out soil. With the wider boards, there is enough to make a third frame for the bed that still has the beets in it, though it will be only one board high.

When this area is done, there will be three longer, narrower, framed beds with wider paths in between. This will make them much more accessible, even at their relatively low height.

Hopefully, I will be able to continue working on this tomorrow, but we’ll see how the day goes. I’ve got our rescheduled court date for the restraining order against our vandal in the morning. Hopefully, it’ll actually happen this time – and if the security guards try to tell me to leave and come back later, I will stay close this time.

The Re-Farmer

Row cover adaption

When we planted for a fall harvest, we did as much as we could to make row covers to protect our seedlings. We had enough materials for only two chicken wire covers, then made do with other materials for the third bed.

We rigged what we could to protect the last bed, but the grasshoppers really did a number on the seedlings. I ended up using old water bottles with their bottoms cut off to protect the remaining bits of seedlings, hoping they would recover. As you can see by the green in some of the bottles, there has been growth!

They can’t stay under the bottles, though, as they need wind and air to be strong. However, if we just took off the bottles, they’d only get eaten by critters.

The bed nearby was pretty much wiped out by the grasshoppers.

Even though the ends of the covers were open, the critters didn’t seem to want to go under them, but there is no such barrier for the grasshoppers!

The third bed is doing a bit better. The radishes may have lots of damage to them, but they’re the biggest ones we’ve got right now. The only surviving chard is in this bed, too.

Since the middle bed was the most damaged, I decided to modify the cover and move it to another bed. In cleaning up the new part basement, we found a roll of window screen. I’d used some of it to make covers for the rain barrles, but there was still quite a bit left.

The cover is wider than the mesh. One length of it was enough to cover most of the chicken wire, but after cutting the remaining mesh in half and adding it, I was left with a small gap.

The edges of the screen were stapled to the wood frame, including enough to cover the ends. I tided down the mesh to the chicken wire just enough to keep it from moving.

A dear friend had sent us a couple of those mesh curtains that are meant to go over doors. The idea being, the mesh would keep the bugs out, but still allow wind in. They are tacked to the door frame, and the middle is held closed with magnets. The hope was that we could set them up in the old basement door, to keep the cats from going in there, but they could just push their way through the magnets. :-(

One of the panels was perfect to cover the gap.

The outer edge is stapled to the frame. The fabric is reinforced there, since it’s supposed to be tacked onto a door frame, so there is no damage there. Amazingly, the magnets are holding to the chicken wire enough to keep it one!

Once it was ready, it was time to set up the garden bed.

Even covered by water bottles, there was still grasshopper damage!! Some had never recovered from being eaten, at all. While removing the bottles, the soil wanted to stick to the them, too, and that quite nearly pulled up several of the plants. :-(

After making sure those that had been disturbed had soil pressed in for supper, it was time to add the new cover.

I’m quite happy with this.

It will be worthwhile to get more window screen mesh!

Since the ends are covered with window screen, it made it easier to add the shade cloth.

The surviving seedlings in the now-uncovered bed to things much bigger than little water bottles to protect them. The grasshoppers can still get in, but it’s still better than nothing.

Then all the beds got their shade cloths to protect them from the heat of the day.

When we make our permanent raised beds, they will be shorter. I actually like the length of these – they’re about 15 feet long – but it makes the protective covers awkward to handle, and we just didn’t have the materials to make them the same length. The covers are only about 13 feet long. I’m thinking 10 feet will work better, but we shall see when the time comes.

Until we can get the materials to build them, it’s a moot point, anyhow!

Whatever we end up with, having window screen mesh on a frame to keep the insects out seems to be more practical than the mosquito netting we’re using as floating row covers.

The Re-Farmer