Quick Sourdough Chocolate Cupcakes

When we were living in Victoria, BC, and had made our first sourdough starter, this recipe from The Sourdough Cookbook was one of our favorites.  Not only was it chocolatey and delicious, it was one of the few things we could bake in our wonky PMQ oven.  We couldn’t bake a cake, because it had hot and cold spots so bad, parts of it would be raw and parts overcooked, but we could manage cupcakes and muffins.

We didn’t bake very often at all while living there.

Last night, I gave Sir Sour Alot a new home in one of our giant Tupperware Thatsa Bowls.  Since there is so much room in there, I fed it more than usual so that there would be lots left over after my daughters baked bread today.  With the larger amount of starter, it will be good to be able to use it for multiple things, all in one day.  They made 4 loaves of black olive and cheddar bread today.  While the first pair of loaves was baking, I started to pre-measure the ingredients and prepare the pans.  That way, when the second pair of loaves came out, I could quickly start mixing the batter while the oven got to temperature (the bread recipe calls for the same temperature, but with glass loaf pans, we reduce by 25F, so it was already pretty close).

Here is the recipe;

20180127sourdough.chocolate.cupcakes.ingredients

Quick Chocolate Cupcakes
(from The Sourdough Cookbook)
preheat oven to 400F and pre-measure the ingredients.

1/2 cup sourdough starter
1 egg
1/2 cup milk
1/2 cup softened butter
1 tsp vanilla extract
1/2 cup cocoa powder (sifted)
1 1/2 cups all purpose flour
1 cup sugar
1/2 tsp baking powder
1/2 tsp baking soda
1/4 tsp salt

  1. Grease 16 muffin cups, or line with paper liners; set aside. (note: I prepared 18 muffin cups)
  2. Place all ingredients into a large bowl – do not mix until all are combined.
  3. Beat with electric mixer on high speed for 2 minutes.
  4. Fill prepared muffin cups 2/3 – 3/4 full with batter.
  5. Bake in preheated oven for 18-20 minutes, or until a toothpick inserted into a cupcake comes out clean.
  6. Remove from muffin cups and cool on rack.

The recipe then says to put frosting on them, but I don’t think we have ever bothered! :-D

When I started mixing these today, the batter was MUCH thicker than I expected.  Almost a dough, rather than a batter.  I think perhaps the sourdough starter was thicker than when we’d made it before.  I ended up adding extra milk to it.  It still was really thick, but it turned out wonderfully, anyways.

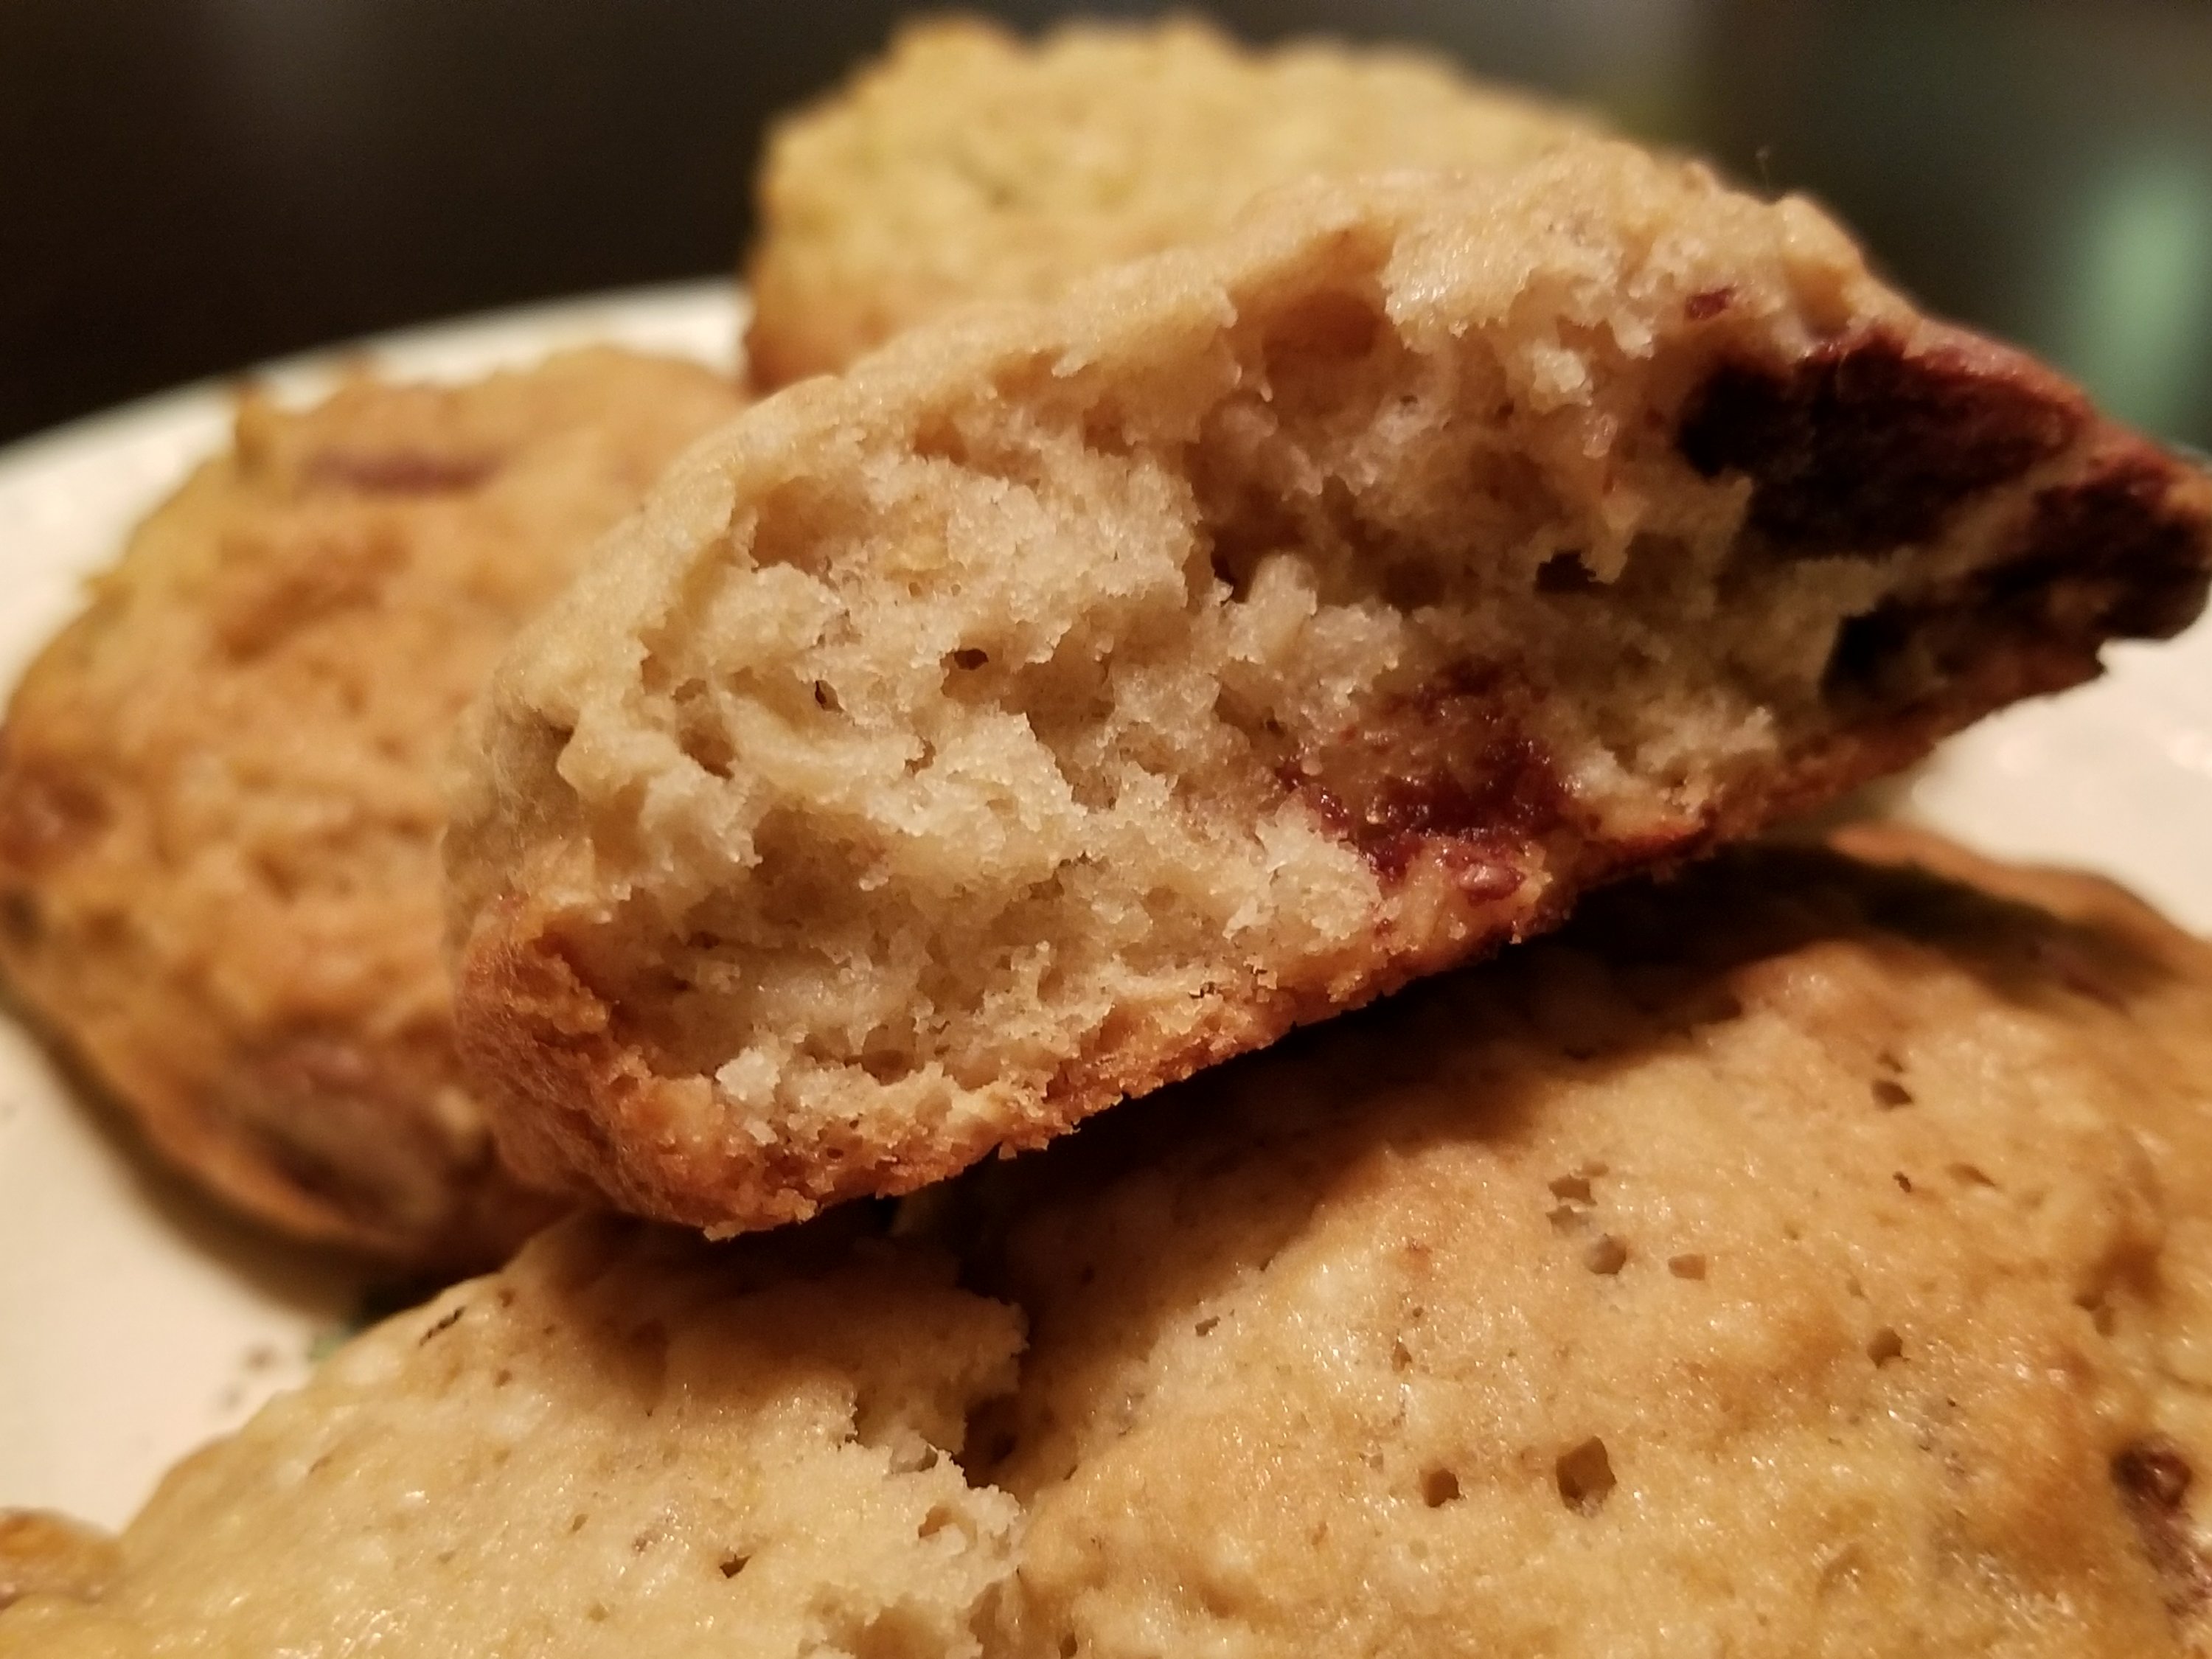
The recipe said 14-16 cupcakes, but I filled 18 muffin cups (I had three tins with 6 muffin cups each), so they were a bit on the small side.  They turned out very light and airy.  So much so, the first one I tried to photograph didn’t work out because, when I started to break it open with my fingers, the inside was so delicate, the slightly crispier outside just crushed it!  So I got another one and very carefully used a knife to cut it open.  :-D

These have a rich chocolate flavour, but are not too sweet.  So you taste chocolate, not sugar.

As for the sourdough, you don’t really get a “sourdough” taste, but there is definitely something there that’s different.  It adds a depth and complexity to the flavour that is quite nice, and of course, it adds to that light and fluffy texture.

Very delicious.

And, judging from how many are disappearing with the girls upstairs, they might not last until morning.

Ah, well.  I guess I’ll just have to make more…  Oh, the tragedy. ;-)

The Re-Farmer

Black Olive and Cheddar Sourdough variation

For the past while, we’ve been using Sir Sour Alot to bake 4 loaves of bread, every other day.  Give or take.  We’ve been using the Quick and Easy Sourdough Bread recipe each time because… well… it’s quick and easy.

When it came to the final kneading of the dough, before shaping into loaves, that’s when we would get creative and start kneading in other ingredients.  Garlic powder, grated dry Parmesan or Asiago cheese, or both together (both from the Bulk Barn), rolled oats, shredded cheddar cheese, etc.  Whatever we have in the cupboard that we thought to try.

Yesterday I needed to make a quick run into town, so I was able to pick up a can of sliced black olives.  I used half the can, chopping the black olives up finer, and kneaded it in to half the dough, together with about a cup of shredded cheddar.  (We kneaded rolled oats into the other half.)

We also used warm potato water, drained from the potatoes I’d made for supper, as the liquid.

20180125-olive.cheddar.sourdough.loaf

This is what they looked like, by the time the other loaves were done in the oven and I was about to put these in.  When kneading the shredded cheddar and olives into the dough, the cheddar basically disintegrates and gets completely worked into the dough.  So you can’t really see it, but you sure can taste it!

It took all our will power to finish off the last of the previous baking we did before going into the fresh loaves!  Two of which went into the freezer as soon as they were completely cooled.

This morning, we tried the olive and cheddar loaf, toasted.

20180126-olive.cheddar.sourdough.toast

It was so incredibly delicious, we’re now thinking of making ONLY olive and cheddar bread from now on!

Since Sir Sour Alot expanded so enthusiastically last night, maybe we’ll do some extra baking tonight.  I even picked up more cheese – old, rather than medium, cheddar, for the extra tang.

So, to summarize, to the basic recipe we made the following changes:

  • substituting potato water for regular water in the recipe.
  • adding chopped black olives and shredded cheddar cheese (medium) to the dough during the final kneading.

I look forward to when we can start making yogurt cheese again.  After draining the liquid off the yogurt to make the cheese, I would use the liquid to bake bread, and it’s even better than potato water.

The Re-Farmer

Our Pot Overfloweth

We need a bigger pot for Sir Sour Alot!

This is what I came out to, this morning.

20180126-sourdough.starter.overflow

No, that is not a ladybug on the counter in the bottom right of the photo.  It’s an Asian Lady Beetle.  And they are EVERYWHERE this year!

Since transforming Sir Sour Alot, we have been using it about every other day, feeding with just flour, water and a bit of sugar, as usual.

Yesterday, I boiled potatoes for supper and kept the water I drained for bread baking.  Because using potato water when baking bread is delicious.

Since I had as much potato water as I did, after I poured out enough starter for a doubled recipe of bread, I figured I’d use some of it to feed the starter instead of plain water.  I’d measured out 2 cups of starter, which left very little behind, so I added about 2 1/2 cups flour and maybe 2 cups of potato water, with about a tablespoon of sugar, to feed it.

There are pretty standard amounts.  I’ve added as much as 3 cups of flour into this container when there was nothing but dregs left after use.  I’ve had it over flow only once before, when the container was placed on the stove, where it was warmer.

While we were working on the bread last night, we noticed that Sir Sour Alot had started to overflow.  Clearly, it liked the potato water!  I stirred it down and figured it had already reached its peak expansion for the night.

Boy was I wrong!

20180126-sourdough.overflow

Not only did it overflow the pot and the bowl under it, it went down the counter, all the way to the floor!

We need a bigger container.

We don’t boil potatoes all that often, but when we do, I plan to treat Sir Sour Alot with some potato water in the future (not to be confused with “rich potato water”, which is potato mashed into the water).  It obviously really does well with it!

The Re-Farmer

Alaska Sourdough Hotcakes: comparison

These are the hotcakes I made yesterday.

This is what I did with Sir Sour Alot last night.

Today, I made more hotcakes, using the transformed Sir Sour Alot.  These are the results. Continue reading

The Transformation of Sir Sour Alot

This morning, I started working on making an Alaska Sourdough starter, based on the book.  The recipe calls for “rich potato water”, flour and sugar, with optional yeast.  After making hotcakes this morning, I didn’t feed the starter, as I normally would.  The container needed to be cleaned out (the lid was becoming glued to the top!), so I decided to use the remaining starter as the “yeast” portion.

“Rich potato water” is made up of potatos, boiled in their peels, until they begin to fall apart.  Continue reading

Almost Alaska Sourdough Hotcakes

I say almost, because I don’t have an Alaska sourdough starter.

Yet.

I will be working on that later today, and when it is ready, I will make another batch to compare.

Basic Sourdough Hotcakes
(adapted from Alaska Sourdough)
Note: make sure the mixing bowl you use has enough room for the batter to expand.

2 cups sourdough starter
2 Tbsp sugar
4 Tbsp oil
1 egg
1/2 tsp salt
1 scant tsp baking soda; full teaspoon if starter is very sour.

Mix together all ingredients except soda.

Heat pan or griddle.

Dissolve soda in a tablespoon of warm water. Fold soda gently into batter.  Batter should immediately begin to expand and become light and fluffy.

Cook on prepared pan or griddle.  Place cooked hotcakes on hot place and serve immediately.

I like to put some butter onto the hotcakes as soon as possible after transferring them from pan to plate, while waiting for the next one to cook.  That way, the butter is melted into the hotcake before it gets to the person eating it.

These hotcakes have a very strong and robust sourdough flavour.  Which makes sense, since it’s got no additional flour, and only egg and oil for additional liquid.

For this recipe, I use an 8 cup measuring cup as a mixing bowl; that way I can measure the 2 cups of starter first, then add everything else, and still have room for the batter to expand.

Quick and Easy Sourdough Bread, with garlic and parmasan

While I was driving my husband to a medical appointment and then the pharmacy, my daughters eagerly went at my new copy of Alaska Sourdough and baked bread.

This was not our first attempt at doing a sourdough yeast bread in loaves.  However, when we tried it before, we did not have any commercial yeast left.  Normally, this is not a problem; it just takes longer for the dough to rise.

Except it didn’t really rise.  Even using the oven with the light on to keep it warm and draft free, and giving it 4 hours, it still didn’t double in size.  Nor did things improve after shaping the loaves and setting it aside for a second rising of a couple of hours.

We baked it anyways and got a very dense loaf that was delicious, but it was half-way between unleavened bread and regular bread in texture.

Our home is simply too cool for doing sourdough bread without using commercial yeast, though if we had shaped them into buns instead of loaves, it might have worked better.

We have yeast now.

The girls went through the cookbook and settled on the Quick and Easy Sourdough Bread recipe because… well… it was quick and easy.

Of course, it was also modified a bit.  Because we do that.  They added Herb and Spices Parmesan (found at Bulk Barn) and garlic powder.  You can’t see it in the bread, but you can taste it!

They also doubled the recipe, because two loaves with 4 people is gone in a day.

So here is the modified, two loaf, recipe.

1 cup Sourdough starter
1 Tbsp yeast (1 pkg)
1 1/2 cups warm water
2 Tbsp sugar
1/2 tsp salt
1/2 tsp baking soda
6 cups flour
optional: about 1/4 cup each, garlic powder and Herb and Spice Parmesan, or to taste.

Add yeast to warm water.  Mix in sourdough starter, sugar, salt and 4 cups of flour.  Beat well.

Put in oiled bowl and set aside in a warm spot to rise until doubled.

Mix soda win 1 cup flour.  Add to risen dough.  Knead in garlic, Herb and Spice Parmesan, plus more flour as needed, until satiny and springy to the touch.

Cut dough in half and shape into loaves.

Bake in 400F oven for 45 minutes.

Note: if using glass loaf pans, reduce heat by 25F.

The recipe did not call for a second rising, so with the doubled recipe, the first two loaves went straight into the preheated oven, while the second two loaves got a second rising while waiting.

I would go with doing a second rising.

The resulting bread has a lovely, spongy texture that is dense enough to handle being spread with rather cold butter (when we buy bread, sometimes I have to warm up the butter in the microwave for 8-10 seconds, just to be able to spread it.  Otherwise the slices just disintegrate!).

We polished off the first two loaves with some beef stew.  A marvelous combination.


Sourdough Dinner Rolls

Today was our first yeast bread using Sir Sour Alot.  The recipe is very basic.

Typically, with yeast breads, I like to do things like use oatmeal, seeds or grains, or knead in herbs or shredded cheese.

For this one, I didn’t play around.  When my pantry is better stocked, I will get more creative. I didn’t even double the recipe, like I usually do.  So these buns were much tinier than what I typically make! :-D

It was quite a success.

The sourdough flavour is still quite mild with this baby starter, but it is identifiable.  A bit of butter melting on the still warm buns is heavenly!

20180107_1509582064642697.jpgSourdough Dinner Rolls
(adapted from The Sourdough Cookbook)

1 Tbsp active dry yeast
1/2 cup warm water
1 egg
1 cup sourdough starter
2 Tbsp sugar
1 tsp salt
3 Tbsp oil
3 – 4 cups all-purpose flour

Sprinkle the yeast over the warm water and set aside for 5 minutes, or until bubbly.

In a large bowl, beat egg.  Stir in sourdough, sugar, salt and oil, then stir in the softened yeast mixture.

Add 2 cups of flour and beat until smooth. *

Continue beating in small amounts of flour to make a soft dough. **

Turn dough out onto floured surface, then wash and grease the bowl and set aside.

Knead dough, adding flour as needed, until smooth and elastic. **

Place into prepared bowl, turning to oil all sides.  Cover loosely and set aside in a warm place to rise for about 2 hours, or until dough is doubled.

Oil large baking sheets and set aside.

Punch down the dough, then divide into 24 pieces.  Shape the pieces into rolls and arrange on prepared baking sheets.  Cover with a towel and set aside to rise for about 45 minutes or until doubled in size.

Preheat oven to 400F.

Bake for 20 minutes or until golden brown. ***

* How much flour needed can change based on things like humidity.  When I made these today, the first 2 cups was almost all that was needed.  I mixed in maybe half a cup more with this batch.  Likewise, rising times can change dramatically.  I placed the bowl in the oven with the light on for warmth, and it took only about an hour to double in size.

** Sourdough breads will have a slightly stickier dough than those made without sourdough starter.  This is normal.

*** Ovens can be quite variable.  Check after 10 minutes.  Of our two pans of buns, the first one was ready in 10 minutes.  The other in about 15.


Sourdough Starter: One Week

Sir Sour Alot is now a week old.   This image is of how it looks now, after it’s been stirred.  20180106_191800551221457.jpg

At this point, the starter gets more frothy than bubbly, and has a finer texture.

The starter can rest in maintenance mode now.  Aside from feeding after use, it can just be stirred daily and fed lightly every two or three days.  If it’s not going to be used for more than a week, it can be put into the refrigerator.  It will go dormant and doesn’t need to be fed often, though the occasional stirring is good.  When it’s going to be used, it should either be taken out of the fridge and allowed to come to room temperature, or just the portion needed can be removed, while the remainder is fed with the same amount of flour and warm water as was taken out, then left in the fridge.  A bit of sugar to feed the yeast wouldn’t hurt, either.

None of these are hard and fast rules, of course.  Once a starter is going, theoretically, it can be kept going for generations with minimal care and regular use.  It’s good to remember that a sourdough starter is a living thing that needs to be cared for.  Like a pet, it needs food, water, shelter, and a bit of TLC.

More fun than a pet rock, plus you can eat it.

My copy of Alaska Sourdough has been shipped, and I’m quite looking forward to it.  I plan to start a new one when it comes in, but I don’t really need to have more than one starter going at once.  We’ll see how the new one works out, and then decide what to do.

The Re-farmer


Sourdough Oatmeal Chocolate Chip Cookies

We broke out the sourdough starter again today; this time for something sweet!

The following recipe is modified from The Sourdough Cookbook; Soft Oatmeal Cookies.  There are some really awesome recipes in this book!


1 cup butter
1 cup granulated sugar
1/2 cup packed brown sugar
1 egg
1 tsp vanilla extract
1/4 cup water
1 cup sourdough starter
1 1/2 cups all purpose flour
1/2 tsp baking soda
1 tsp salt
2 1/2 cups rolled oats
1 cup chocolate chips

Grease a baking sheet (or two), set aside, and preheat oven to 400F.

In a large bowl, cream the butter and sugars together.

Beat in egg and vanilla until fluffy.

Stir in water and sourdough starter.

In a medium bowl, mix flour, baking soda and salt.  Stir into the sourdough mix.

Stir in rolled oats.

Stir in chocolate chips.

Drop by spoonfuls until prepared baking sheet(s).  Bake for 10-12 minutes, or until golden brown.

Remove from baking sheet and cool on rack.  Clean and grease baking sheet between batches.


It is interesting to make sourdough sweets.  I find you can’t really identify that distinctive sour taste that you would find in making a bread or pancake.  Yet, there is a definite “something” that accents the flavour.

These cookies turned out nice and fluffy on the inside, with a light crispiness to the outside.  Great with peppermint tea!

The Re-farmer