After having to get creative to prepare our first tray of seed starts, we left the tray overnight to give the peat in the K-cups more time to absorb the water.
I didn’t check it until late morning, and the peat was still dry in the middle! The water was basically staying on top. It was better than before, though, so I went ahead and planted our first seeds of the year!
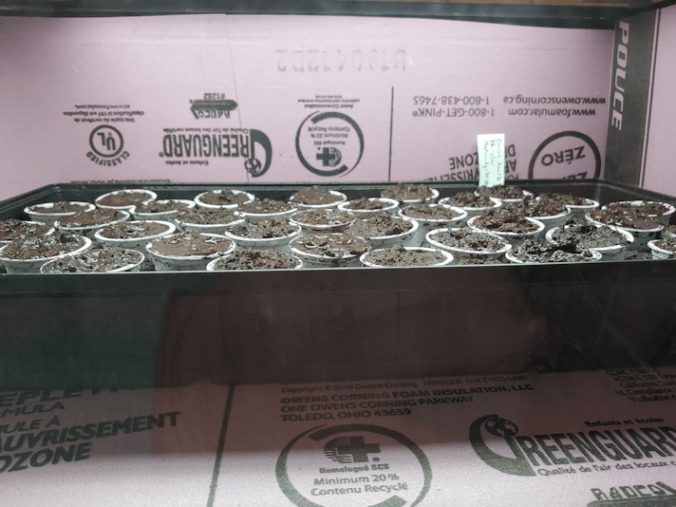
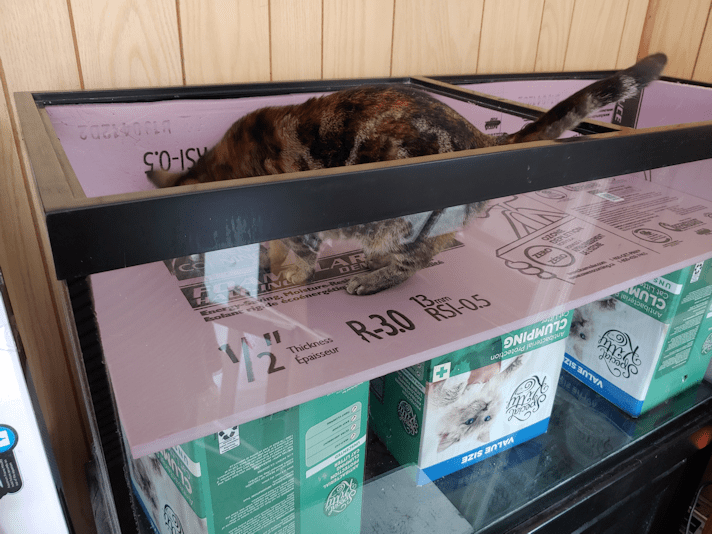
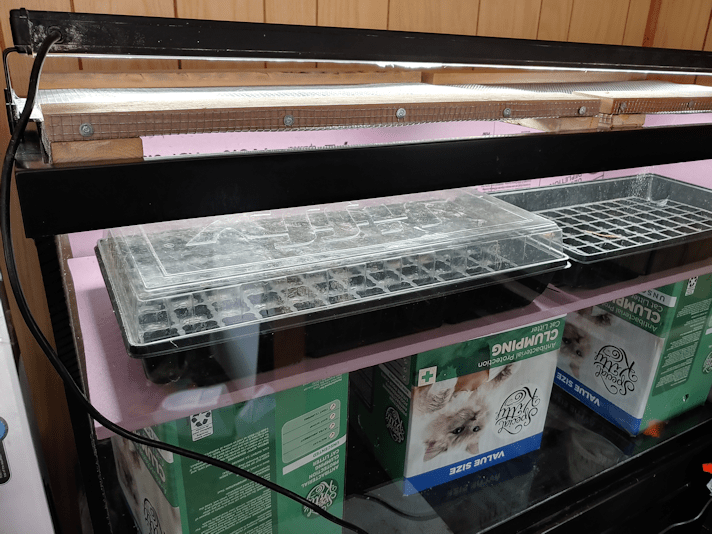
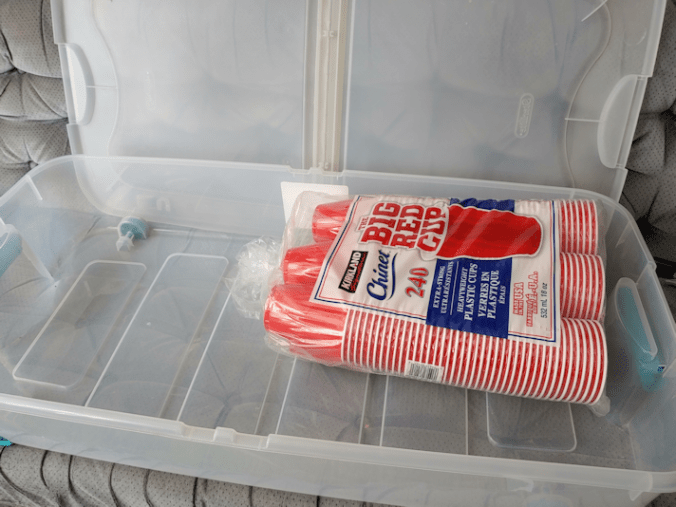
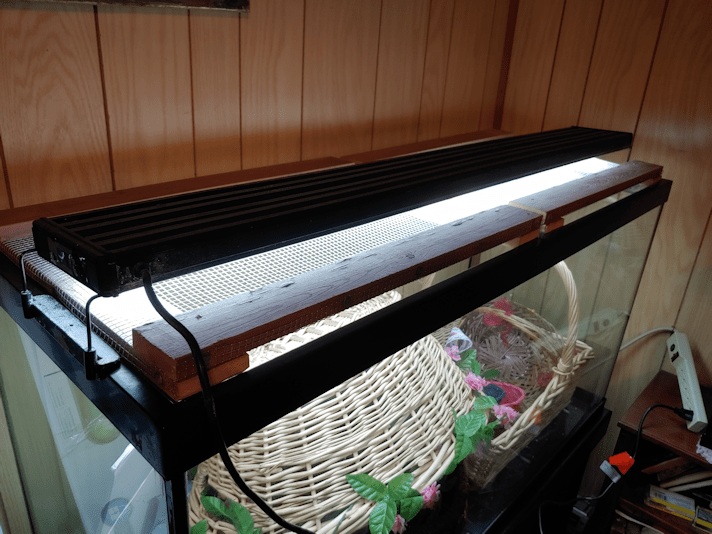
I used a skewer to make holes for the seeds and sprayed more water into the holes in the K-cups (the peat pellets were fully saturated). Then I poured some of the seeds into a small dish and used the dampened, flat end of the skewer to pick up seeds and transfer them into the pots and lightly cover them. Using the skewer works really well! I ended up using only about half the seeds in the package to fill the tray, and that’s with 2 or 3 seeds each! Then I sprayed the tops with more water – especially the K-cups – before getting a daughter to help me transfer it into the big aquarium.
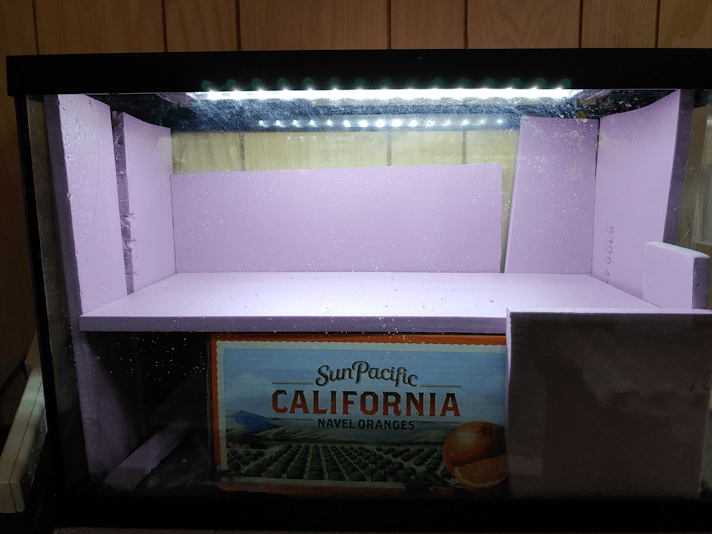
I am not going to use the tray’s dome to cover them, as the high humidity can promote mold growth. Instead, we will be checking them every day, and probably spraying them daily. The tray is designed to water from below, to encourage the roots to grow downward, so we won’t keep up the spraying for too long. It’s mostly the dry peat in the K-cups that concerns me. I will also be leaving the light on all the time until the sprouts are emerged for a few days, then reduce it to about 16 hours a day. Hopefully, we will soon have a tray of shallots in here, too! Before filling any pots (if I can’t get more pellets), I’ll have to make sure to use a container to saturate the peat in, first, then fill the pots.
Meanwhile…
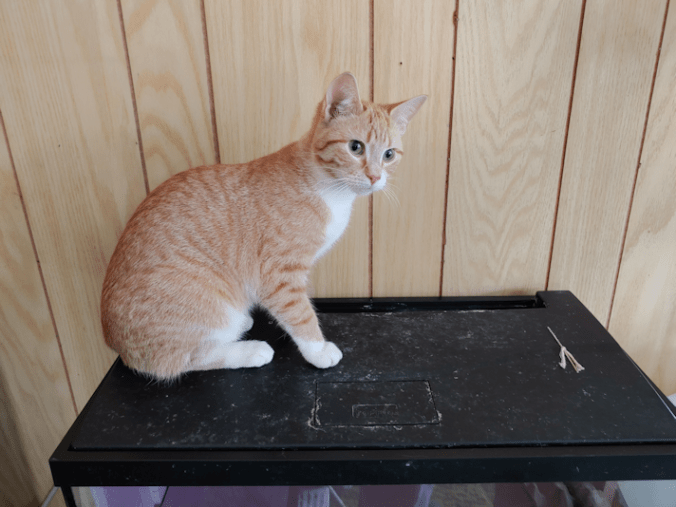
I’m a suck.
I’ve mentioned that a few times, usually in the context of cats, but it turns out I’m a gardening suck, too.
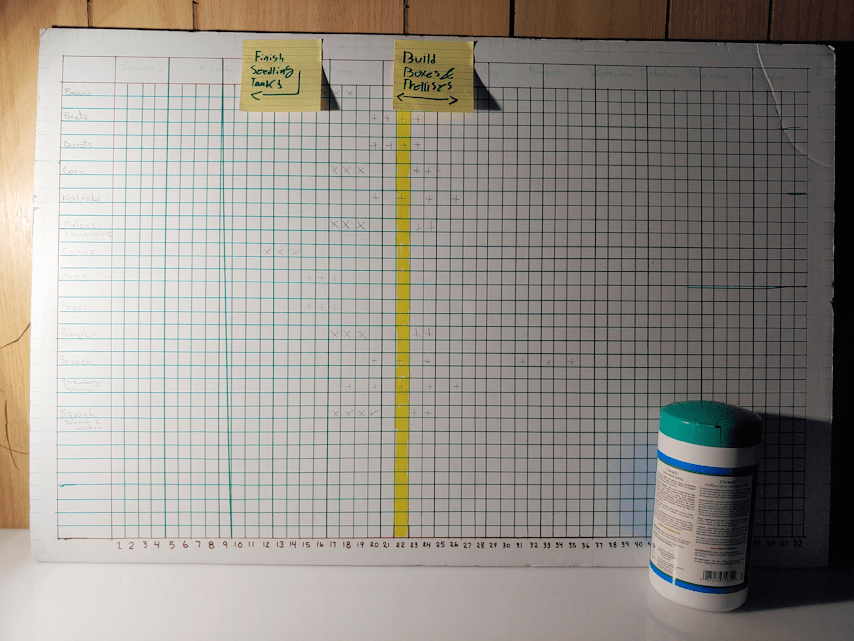
Last night, the girls and I were pouring over a satellite image of the property. We marked out the current garden beds, and we have been using it to figure out where we are going to plant various things.
One thing is for sure. If we aren’t able to get a load of soil this spring, we’re lining ourselves up for some back breaking labour, and probably a lot of failed growth. Last year, we basically dug small holes for everything we planted, filled the holes with a soil mix, then planted or transplanted into these in-ground “pots” we created. That’s fine for the small garden we had last year, but not so much for this year! The soil is so hard and filled with rocks, it’s difficult to use a spade or hoe. Even sticking wire flags into the ground left me with several bent flags from hitting rocks. We have so few tools here, we don’t want to break what’s left of what we’ve found! My mother still goes on about how we could get one of the tillers fixed and using it, but I’m pretty sure we’d just break a tiller, trying to use it! I couldn’t even use the soil auger drill attachment when we planted all those bulbs in the maple grove last fall. The original plan had been to slowly build up areas and increase our garden size over several years, but… well, then the world went crazy.
We have so many more things we’re planning to grow compared to last year, it’s going to be a huge job. Especially the area where we want to plant the tallest things – 3 of our corn varieties, and the giant sunflowers. We’re wanting to start going into an area that has never been part of the garden before, and has only had grass on it. Two of the reason we grew giant sunflowers last year was for a privacy screen and wind break. We’re still keeping that in mind for this year. Between tall plants, using trellises, and whatever we come up with to keep the deer out, we should be able to make a pretty decent privacy screen. We may be in the boonies, but the main road goes right by the garden. Aside from vehicles slowing down to watch the deer at the feeding station, through the lilac hedge, we’ve got our vandal and his creeping about to contend with. :-/
As we talked about what seeds we have now, and what will be shipped in time for spring planting, we ended up talking about other things we’d like to plant, and I showed the girls some things I’d found on the Baker Creek website. We have a lot of things that are purple (corn, potatoes, sunflowers, beans, carrots…). We had a blast looking up other purple things, and talked about having a purple themed garden. So, of course, I was adding all sorts of things to my wish list.
I really ought to know better. :-D
Yeah, you guessed it.
I made another order this morning!
Thankfully, seeds are still cheap.
When I placed the order, there was a highlighted note telling people that, because there are so many more orders this year, things are taking longer to process. For us in Canada, that means it could take up to 3 months for our seeds to arrive. That would be too late for anything that would require starting indoors, but that’s okay. I’d rather order them now, while they are still available.
So, this is what we’ve ordered (all links will open in a new tab, so you don’t lose your place. :-) ).
Spoon Tomato: this is the one that I really wanted to show the girls – and then we got sucked into the vortex! We are not big tomato eaters; my older daughter enjoys eating them, and we have ordered a mix of cherry and grape tomatoes for her, but when I saw these “micro mini” tomatoes, I just had to show them to her. While they are incredibly small (possibly the world’s tiniest tomato), they’re supposed to be big on flavour. They’re adorable!
Chinese Pink Celery: this is a new variety for Baker Creek, and one that was already on my wish list. I was thinking for next year, but I went for it. These are supposed to be easier to grow than other types of celery, and seem to be well suited for our climate. Hopefully, we’ll get them early enough to plant them this year.
King Tut Purple Pea: This was another one already on my wish list, and since we’re going with a purple/pink theme, I included them. We only have 1 variety of peas right now, anyhow, and I felt it wasn’t enough. I’d resisted ordering more, since we already have so many other things, but… it’s peas. Can you have too many peas? I don’t think so. I highly recommend checking out the link and reading the story included about them. :-D
Merlot Lettuce: lettuce is one thing I had not included in previous orders for various reasons. We’ve tried growing lettuce before, in our balcony gardens, and never had much luck with them. Plus, they just seem to go bad quickly. But as we were looking at the purples and dark reds, these stood out. Not only do they have an amazing colour (they are well named!), but they are bolt resistance and cold tolerant.
Lunix Lettuce: Every time I see the name, I want to say “Linux” instead of “Lunix”. LOL These have such deep, dark red leaves! Bolt resistant, and apparently great for hydroponics and off season low tunnel growing. We’ve been looking at ways to use poly-tunnels to extend our growing season, so it would be good to test these out.
Lollo Rossa Lettuce: This is a very dramatic looking head lettuce! Also noted for its great flavour. I’ve had no luck growing head lettuce before, but maybe now that we have the spaces that we do, we can make it work.
Dishcloth or Luffa Gourd: this one’s for me! We have so many squash already, the last thing we needed was one more but, like I said, I’m a suck! Chances are, we won’t be able to start them this year, but they seem to be having a surge in popularity, so I figured I should get the seeds now, while I can. Young squash are edible and tasty. Left to fully mature, the gourds are dried, peeled, the seeds shaken out, and the remaining sponge is great for washing with. I don’t think I’d use something that size as a dishcloth, but in the shower, they are great for exfoliating the skin. You’ve probably seen them in stores, along with the back scrubbers and such.
Along with these, we will also be getting some free mystery seeds that Baker Creek always includes with their orders.
This really should be the last of the seeds we order, but I’m pretty sure I said that after our first two orders for this season! :-D
I’m pretty excited about it all!
The Re-Farmer