Yesterday, I got started on making covers for our big fish tank, to keep the cats out. Today, I assembled the first one.
Of course, things did not go to plan.
Does anything ever? :-D
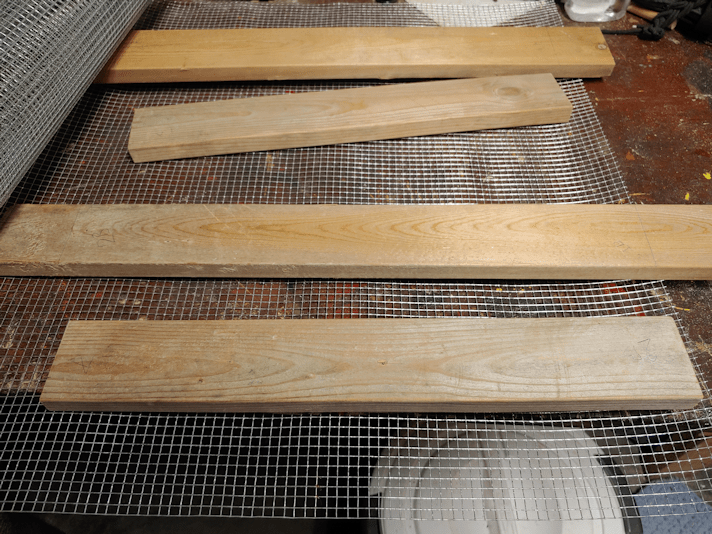
One of the things I needed to figure out was how to secure the hardware cloth to the frame pieces, for those inevitable times when a cat jumps on them. All I’ve got for materials is whatever we can find lying around the farm. While doing my rounds this morning, I went digging in the side of the garage where we store the lawnmowers and snow blowers. I knew there were some roofing nails in there, so I grabbed a while bunch and brought them inside.
Here is the first problem.

All of the nails were huge. There was only a single smaller size, and it was still too large. What I wanted to do was secure the mesh to the tops/bottoms of the boards making up the frame. Previously, we’ve used a staple gun to do that, but these were not for things where the wire mesh was expected to hold weight. Particularly not the sudden weight of a cat leaping onto it from above.
The mesh was going to have to be secured along the sides.
That meant cutting it with a half inch overlap on all sides.
I’m getting closer to the end of my roll of 1/8 inch mesh, and it really does not want to unroll at this stage! :-D I had all the boards on there to hold it down, and it still kept rolling itself back up again!

Once the mesh was cut to side and flattened, I affixed it to one side.
Normally, I would have used the staple gun to tack it in place, but I couldn’t find it anywhere. Which is really weird, because I’m the only person who uses it!
So it had to be tacked in place by screwing in the cross piece, holding the wire as taught as I could in the process.
Then I took out one of the screws in each corner.
I had placed the wood in place on the tank and marked each one with pencil, but once the hardware cloth was in place, I couldn’t really see my marks anymore. Plus, with the cross pieces a fraction too long, I had to make sure I didn’t line the side pieces up to the other end, or the while thing would be to big.
So I quickly drilled a pilot hole in each of the other corners of the cross pieces, then went back to the tank.

This way, I could place the long pieces where they were meant to sit, line everything up, then add a couple of screws through the pilot holes to hold them in place.
Then it was back to the basement to continue.
Once each corner was secured with a pair of screws, it was time to bend the wire mesh. Since the sides would be bent in one direction, and the ends in the other direction, I first cut out the corners.
The wood pieces may have been lined up to the tank, but no matter how careful I tried to be, the wire mesh ended up uneven.
Ah, well.

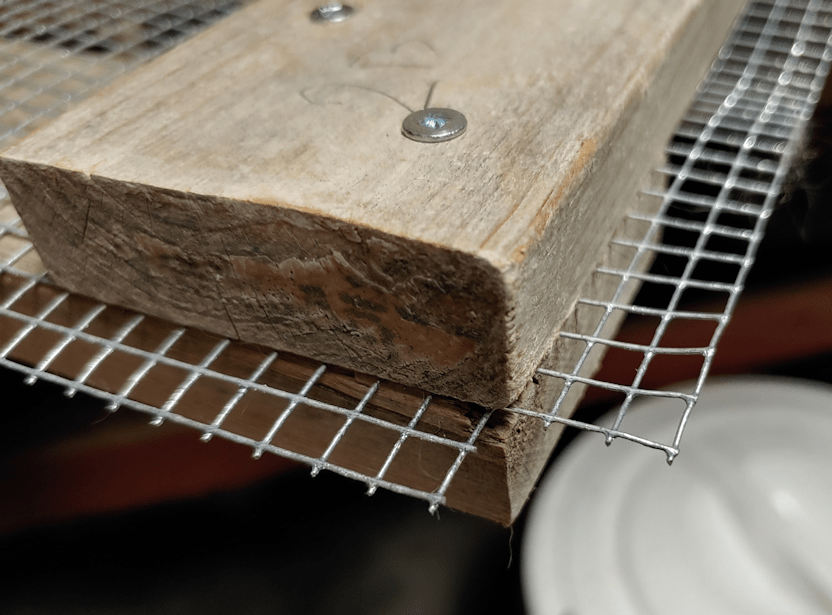
Once the mesh was bent, I drilled pilot holes for each nail (to prevent the wood from splitting) and hammered them in. The flat tops of the roofing nails were perfect for securing the mesh. Very different from how I had to do it with the larger mesh on the screen “door” we made to keep the cats out of the old basement.
Time to test it out again!
Oh, dear.

The addition of mesh and nails – especially the nails – made it wider. It wasn’t so much that it no longer fit. I could have let it just rest on the nail heads, I suppose. They would, however, damage the tank’s frame.
There was a very easy solution to this problem.
Flip it upside down.

With the cross pieces being every so slight too long, I used my Dremel to take off the corners at roughly a 45 degree angle.

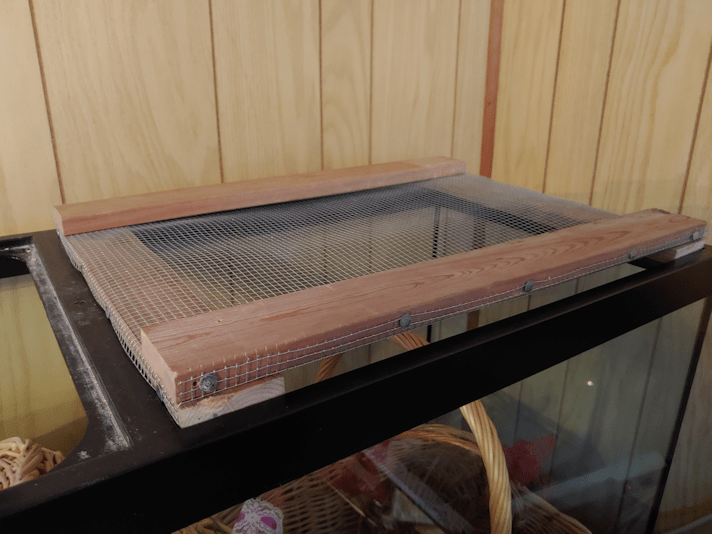
It now fits!
Unfortunately, the wood is a bit warped, so it doesn’t sit flat, but it should still do the job.
There are still a couple of things I need to do. One is to find some way to cover the edges of the hardware cloth, for safety reasons. I’ll probably just use Gorilla Tape, if we still have some.
The other is to find my self-adhesive felt pads. The kind that’s meant to go on the bottoms of chair legs or the like, to protect floors. Since the bottom is now the top, the screw heads are facing down, and each corner screw is sitting on the plastic ledge in the corners of the tank. It wouldn’t be an issue, if I weren’t expecting cats to jump on it, so a bit of padding would be a good thing. I haven’t seen them since we packed for the move, though. :-/
Aside from those 2 things, this cover is done.
The other one will wait for another day! :-D The earliest we should be starting any seeds is in late March, so we have time! :-)
The Re-Farmer


Hopefully the cats aren’t taking “how to break into anything lessons” from the raccoons. :-)
LikeLiked by 2 people
:-D :-D
LikeLiked by 1 person
Great job!! Good luck with the seedlings!!
LikeLiked by 2 people
Thanks! :-)
LikeLiked by 1 person
Pingback: Converting the fish tank to a cat proof greenhouse, part 3: covers done! | The Re-Farmer