Things are getting busy all over the place!
Including in our maternity ward.
Continue readingThings are getting busy all over the place!
Including in our maternity ward.
Continue readingYesterday, the girls needed to pick up stuff not available locally, so we made a trip into the city.
While we were out, a wonderful, long rain came through our region.

We could actually see the difference in the trees between when we drove into the city, and when we drove back!
The only down side is that we had also been getting strong winds. Enough to blow over the bird feeder stand in its summer location. The hanging feeder fell apart, but thankfully, it just pops back together easily. I was needing to refill it, anyhow.
I also finally saw birds using the bird bath, in its now location. So I’m happy. :-)
I had nothing I needed to get in the city myself, but of course I was checking things out. Especially the garden centres. One of our goals is to plant food trees, so I’ve been checking out the varieties of apples – I’d like something other than crab apples! – that can grow in our region, as well as anything else that produces fruit, nut or berry.
I ended up buying our first food trees.

Also known as haskap, these berries were on my list. I’ve never actually had one before, but they can be used like blueberries, raspberries or strawberries. Part of why I included them on my list was due to their extreme hardiness. These babies can withstand -45C temperatures! They are also an early producer, with ripe berries (after the second year) by mid-June.
This is a variety that needs male and female plants to pollinate, and when I saw there was only one of each left, I grabbed them. We won’t expect berries in their first year, but we should have plenty, next year.
What we now have to do is figure out where to plant them. They require sun and shade, can grow 5-10 ft high, and should be planted about 4 feet apart. We thought of taking out more of that spirea by the storage house, and planting them near the grapes, but with the size and spacing needed, I’m moving away from that idea. They could be planted in one of my newly mulched beds in the south yard. They will also be easy to water, there.
Something to figure out over the next couple of days. :-)
I’m really looking forward to seeing how these grow!
The Re-Farmer
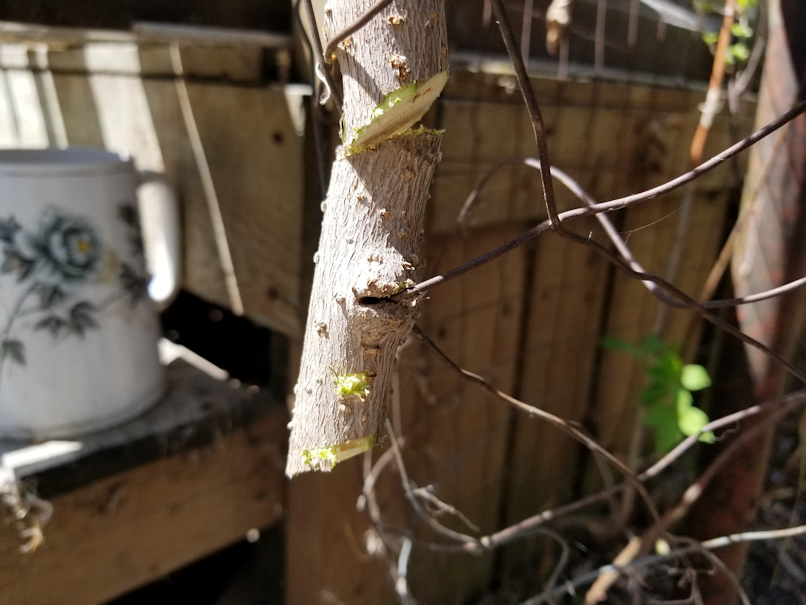
The trees are starting to put out their leaves, which means the pollinators will be out soon.
Time to put up the mason bee hive we picked up a while back.
We decided to place it near the crab apple trees, since that’s where the most flowers are soon going to be. That meant attaching it to one of the spruce trees.
Which… the box isn’t really set up for.

Under the disc that covers an opening into the butterfly space, there is just this to hang it with. Which might work in some areas, but I can see this falling in the wind, so easily.
I figured I’d try bungee cords, instead.
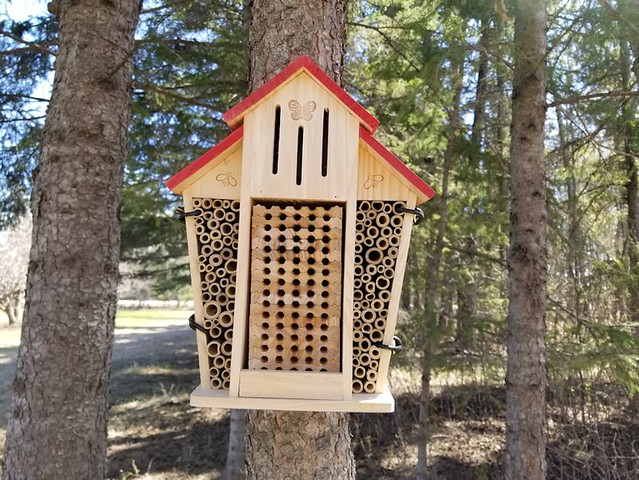
I had to find a tree small enough that my pair of cords could reach around both the width of the tree, and the depth of the hive.
I also turned it away from the apple trees, so it won’t have the north winds blowing right into the openings. This tree is also surrounded by other trees, providing shade and shelter as well. The next thing I want to do is provide a water source; just a shallow dish with some smooth rocks for the bees and butterflies to land on. I already have appropriate rocks. I just need to find an appropriate container and the right place to set it. Between watering the bird bath and the bee dish, there should also be enough mud available for the bees to use in the hive.
We’ve never had anything like this before, so we shall see how it works out. In the future, we plan to plant bee and butterfly gardens – well away from the house, since my husband is allergic to stings. (Most of the local bee species don’t sting, so it’s more honey bees, wasps and hornets that are of concern.) One of my brothers even has milkweed on his property, so I hope to get some growing here, too. If it does work out, I plan to get more of these, in different styles.
Also in future plans are setting up bat houses and maybe even purple martin houses – both do a great job of eating mosquitoes!
The Re-Farmer
Well, today was certainly a productive day outside!
I decided to see how much I could get done on the old kitchen garden today, and ended up finishing the job! So I’m happy. :-)
When I came out of the house, I startled cats in all directions, including that new grey ball of fluff. A few of them even hung around while I moved things around the garden to prepare.
Yay! I can tick “straw bale” off my list of things we need to get/do before winter!
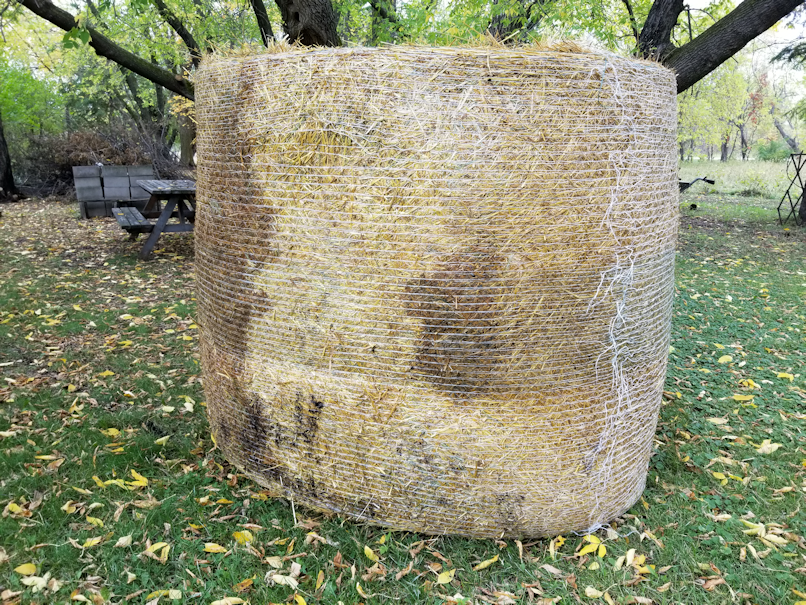
The renter was taking his bales off our field today, and this beauty was just delivered.
That is going to be enough for so many things!
The main thing is to cover the top of the septic tank – the other thing on the list is getting that emptied, and I’ve already contacted the company about when they’re going to be in the area again. There will be enough to cover that entire corner. I’ll be able to put a nice, thick layer on the small garden by the Old Kitchen. The girls plan to rake some leaves to layer on to there today, too, so we’ll be able to build up lots of organic matter onto it. This garden slopes, so I’m loosely planning to eventually build a low retaining wall at the west end, and find a way to do the sides as well, to level it off.
We will also be able to put new straw into the old dog houses the cats use as winter shelters, and insulate the outside of them, too. I want to see if I can move those to more sheltered places, first, though.
We might even still have enough left to use the remains of the bale as a throwing target. :-D
Oh, I am so happy!
It’s the little things that make life good. :-D
The Re-Farmer
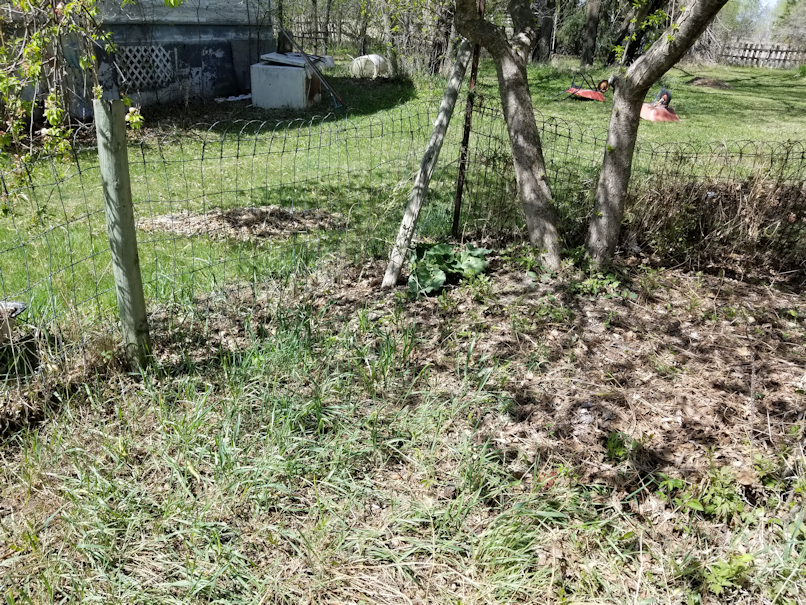
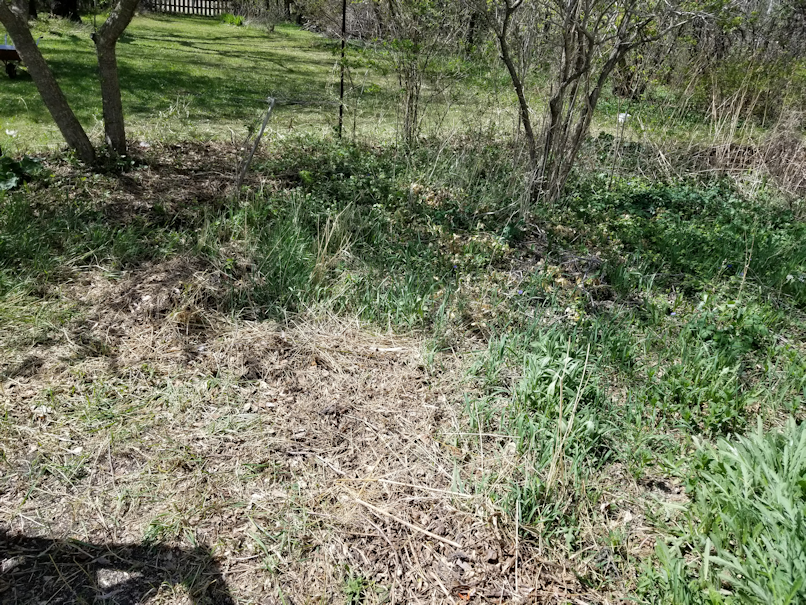
When we moved out here to take care of the farm for my mother, one of the things we knew is that this first year would be a year of discovery. With the yard in particular, I wanted to get an idea of what was growing where. Sure, my mother could fill in a few details, but she hasn’t lived here in a few years, and isn’t going to remember everything.
As summer progresses, and things come to bloom in their seasons, I am making more and more of these discoveries.
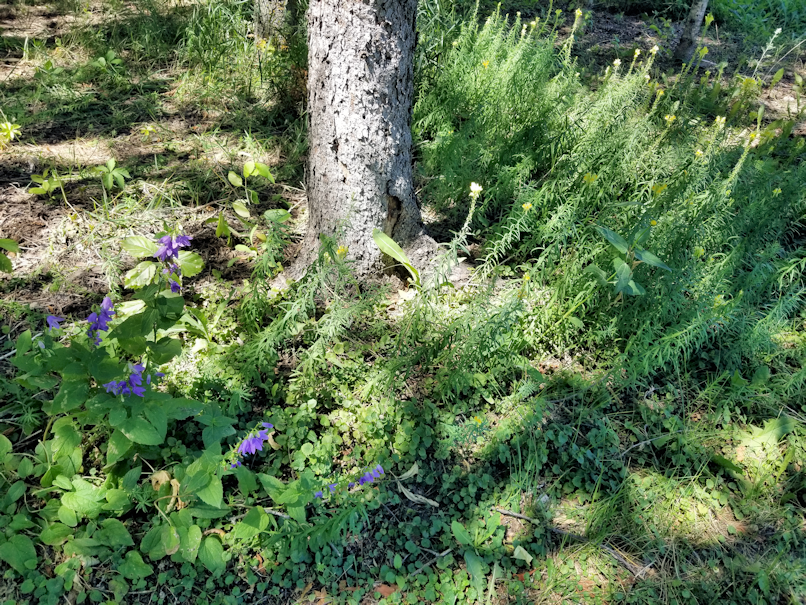
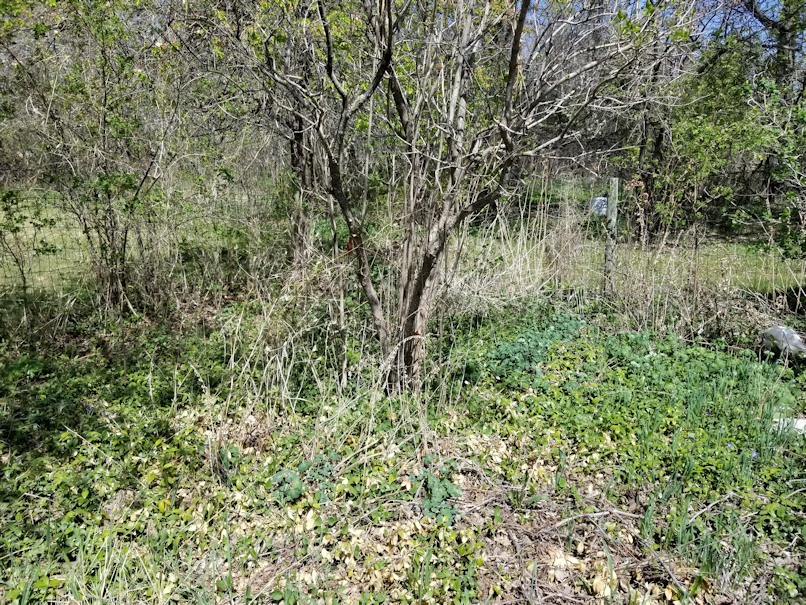
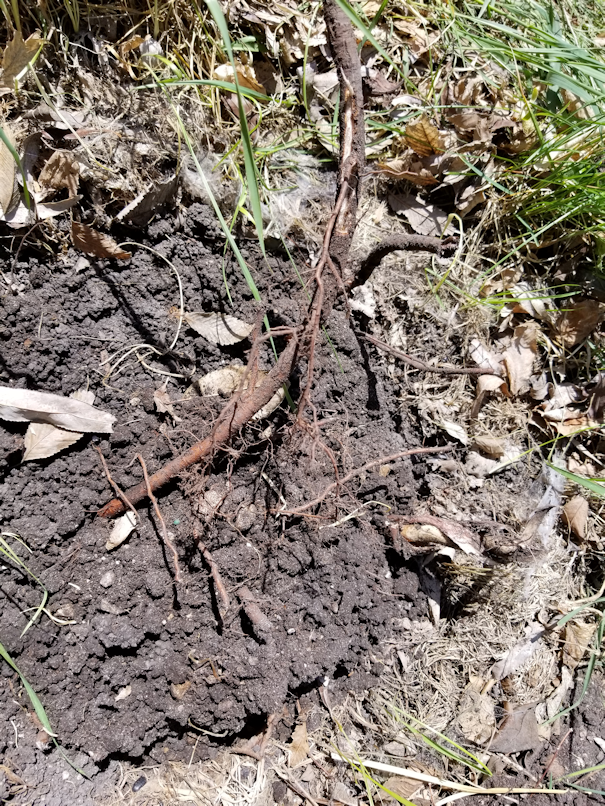
This is at the base of one of the dead spruce trees I’d pulled a whole triffid of vines out of, not long ago. When I was going around here with the weed trimmer, I avoided this area, partly because I could tell it wasn’t just a whole lot of overgrown crab grass and weeds, partly because I wasn’t sure what was hidden in it. I’m glad I left it. :-)
The main garden area is completely overgrown right now, much to my mother’s dismay, but I did try to explain to her that I wanted to see what was there.
In the middle of some tall grass and burdock that I’d pulled, there is this splash of colour. There is another next to it that’s more white than pink. Just the two of them, in a sea of grass!
I will see about transplanting these somewhere, to salvage them, later on.
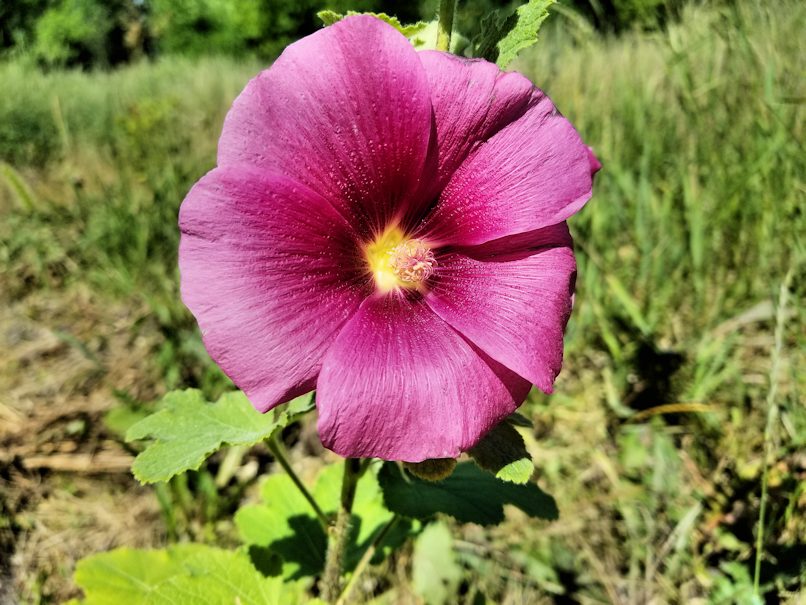
There were a couple of areas with a lot of thistles that I pulled when they were larger (easier to pull), but I didn’t get all of them. There is another type of thistle, with fewer but larger leaves and spines, that grows much larger flower heads.
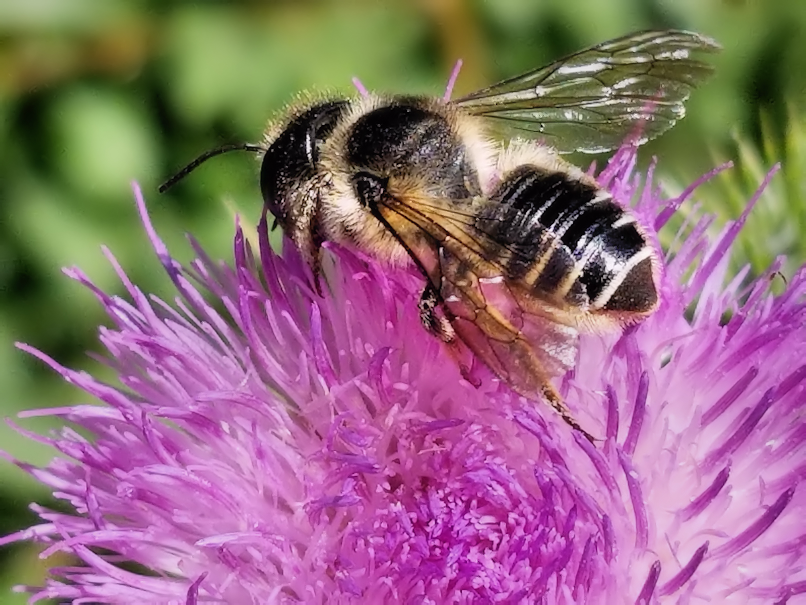
The bees and butterflies love them.
There’s only a couple of these big thistles. I will leave them for the insects and pull them out just before they go to seed.
There were many more random flowers and raspberries (I picked almost 2 cups of raspberries while taking these photos – far more than I expected to get out of them!) growing in between the trees in the maple grove, including in areas where I’d already used the weed trimmer.
The girls and I have been talking about what we’d like to do, and it turned out we’re all on the same page. When things are cleaned and cleared out, we want to plant, in some areas, a variety of wildflowers and bulbs that will naturally spread. The rows of trees are not the same distance apart, so I’m thinking of keeping the widest area clear, and planting between the rows that are closer together. If we’re careful about what we select, we can encourage them in these areas to not only make it look pretty, but to reduce maintenance. No grass to mow or weeds to trim. We’ll just have to make sure there is plenty of grassy areas, too (or maybe moss) to walk in. Plus, I’d like my husband to be able to enjoy the space, too, and not have to worry about getting stung, since he’s allergic to stings.
Finding that balance, and thinking years into the future, will be the key in deciding what we do. We don’t want to be in the same situation, years down the road, that we are in now with the spirea and the vines!
Until then, we’ll just enjoy the blooms as we find them!
The Re-Farmer
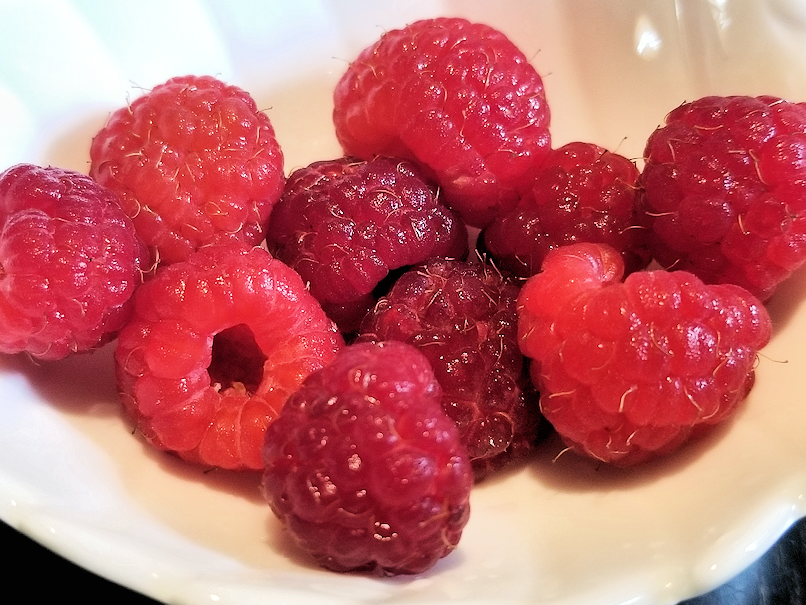
While doing a check around the yard for downed branches, I went past the remains of the raspberry patch along the big garden. There I found the first ripe raspberries of the year!
There are so few surviving raspberries left that I don’t expect much more, but now that they have started to ripen, it will be good to check them every day until the season for them is done.
Next year, I hope we will be able to start up a new raspberry patch in a better location, and with other varieties as well. :-)
The Re-Farmer
The heat is on for the next few days, with some thunderstorms predicted by the end of the week. This will limit what we can do in the yard, and when, for a while.
After dropping my younger daughter off for her first shift at her new job, I decided to finish up the sun room. I’ve emptied it out completely, and mopped the concrete floor. I’d originally intended to take a hose to it, but there is nowhere for the water to drain.
I mopped that floor three times, with many changes of water. I swept it as much as I could, but there was just so much dust left behind!!
It is now drying, so I figured this was a good time to make a post. :-)
Yesterday was our day of rest, and I took advantage of it to just walk around, checking things out now that it’s all as green as it’s going to get, and thinking ahead.
After I finish with the area I’ve been working on for the past while, I intend to slowly work my way through the maple grove to the garden area.
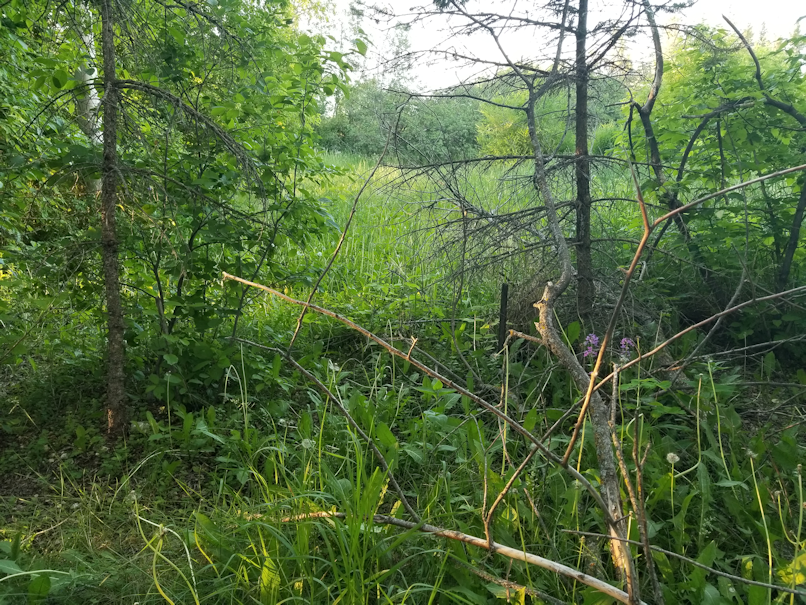
There was a time when this space was a path to the garden. I think that stick next to the dead spruce tree is marking one side of where it used to be.
As you can see by the dead branches in the foreground, there’s more than dead spruces blocking the old path. There is where there are a bunch of maples that had been cut down, cut into pieces, then left there. I don’t know who started the work and then stopped part way through; for all I know, it was my late brother, which might also explain why it was left unfinished.
Before we can even start on taking down the small dead trees (the big ones will wait until we have a chain saw), I will have to clean up all the deadwood on the ground.
We’re going to have several years worth of fire wood for cookouts, by the time it’s done!
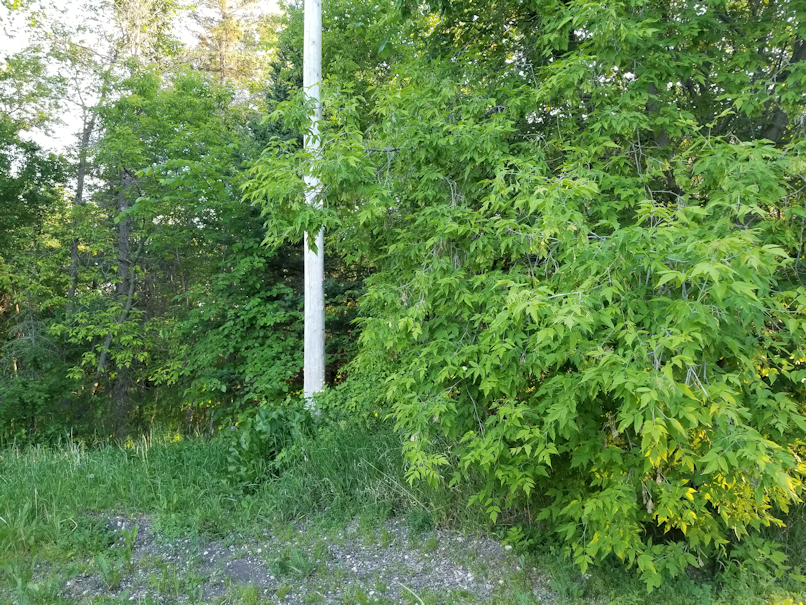
I squeezed my way through to check out the West end of the garden space. There, I discovered a huge mass of horseradish! My mother had told me she’d transplanted some there, but that the younger of my brothers had plowed too close to the pole and dug it up, so she transplanted it again, under a spruce three nearer the house. Clearly, she missed some, and it is thriving!
When I was younger, this area was pretty much all open. Now, there is a dense, virtually impenetrable wall of trees where I remember we once had a cabbage patch. From what I could see, along with the usual maple, elm and black spruce, I believe there is also some Colorado blue spruce and birch.
Unfortunately, the trees near the pole are tall enough that they are reaching the power lines! I think they are still clear enough, though, that we can safely cut them down without hitting the the lines. At the very least, we will need to thin the area down. It is so dense, everything is fighting for survival. I can tell quite a bit of it is deliberately planted, such as the Colorado blue spruce (not a native species) and the row of birches, plus the rows of black spruce, but I’m pretty sure there is quite a bit that is self sown. Some of the black spruces, perhaps, and most likely the maples and elms. I am hoping to save as much as I can; the birches look pretty good, but I will likely be removing 2 out of every 3 trees in the rows of spruces. Though just removing the dead ones might achieve the same goal. I would really like to save the Colorado blues.
A number of years ago, the Canadian government was encouraging people living on farms to plant more trees and shelter belts. They had a program where people could sign up and order all kinds of trees, shipped to them for free. I have no idea if this program is still available, but I know lots of people took advantage of it. I am thinking that this is how my parents ended up planting so many of the trees I’m finding, including the shelter belt outside of the yard, along where the cow fence is now.
After checking this area out, I took a look at the North fence line. At this end, there are a number of trees that look like they were deliberately planted, along with some obvious self-sown ones. There is a gap between the big trees and the fence line, which is good. I’d like to clear that gap, so that the fence is accessible. Once the lilac hedge starts, though, I couldn’t see the the fence line at all, and couldn’t tell if there was a space between the bushes and the fence. While walking along the lilacs to try and see, I did find a couple of chokecherry trees.

There are quite a few berries forming, though a lot of them seem to have insect damage to them. We shall see how they do throughout the season.
Eventually, I found a gap in the lilacs and went to see how close to the fence line they are and found…

… some mystery wire.
I have no idea what kind of wire this is, other than it is NOT fence wire. I can’t even see anything nearby that it might be from, or that might explain why it is here.
Something else I’m going to have to clear out and add to the haul-away pile.
The lilacs, meanwhile, are well into the fence line. Not going to be able to clear a path out. Ah, well.
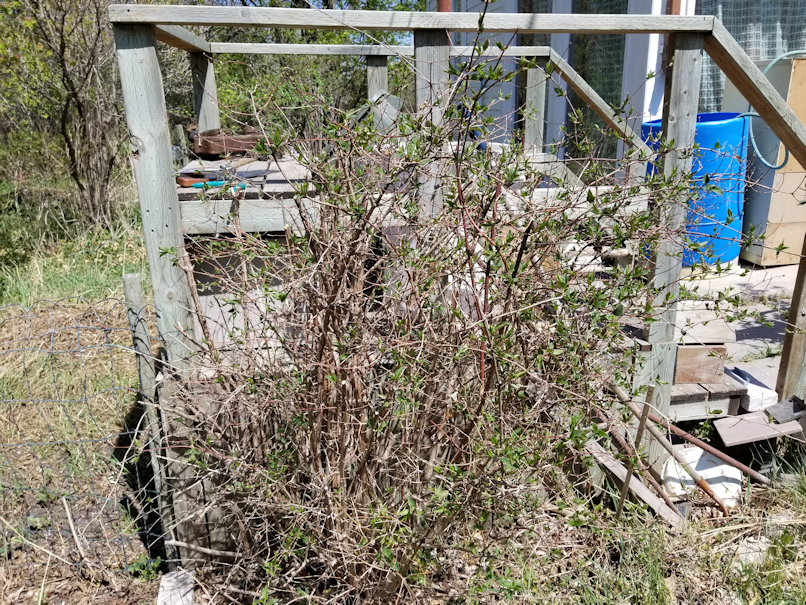
As I was finishing up, I went past a bush my mother planted by the clothes line platform. I had ruthlessly pruned it down, because it was in the way of trying to hang things on the line.
It seems to have like the pruning, because it is now completely dense with foliage, and covered with flower buds, including one early bloomer!

Based on how many buds I’m seeing, by the time this bush is in full bloom, we’ll hardly be able to see any leaves at all; it’ll be a mass of white!
I’m rather looking forward to seeing that.
Well, I think the sun room floor has had enough time to dry. Now I have to decide what to put back, and what will have to go into storage!
By the end of the day, we should finally have a usable sun room. :-)
The Re-Farmer
It was much more pleasant working outside in the cooler temperatures! We were heading well towards 30C today.
One of the first things I wanted to do when I went back out was to empty the second tire planter and move it out.
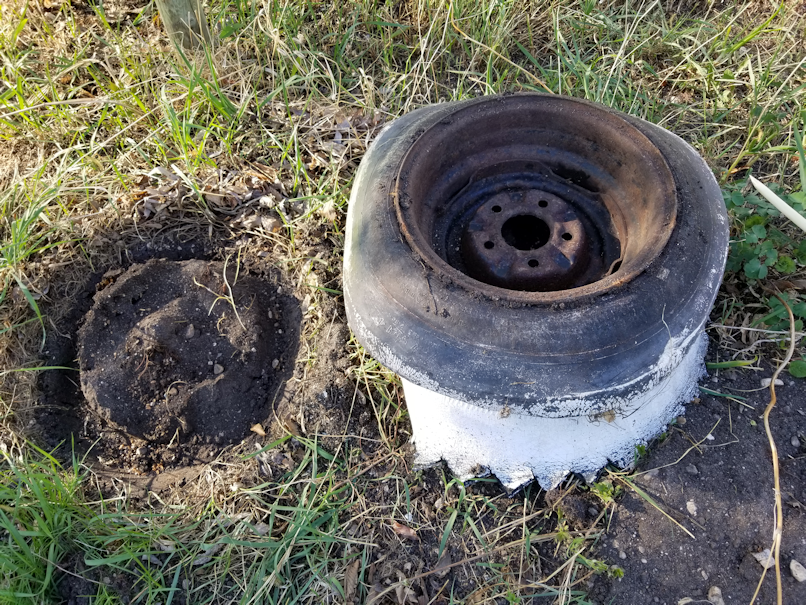
This one still had the other half of the tire attached as a base.
Also…

It was on top of an ants’ nest. The rim was full of ants, some carrying eggs, trying to find their way back to the nest.
I left the planter right where it was. I can get it out tomorrow! :-D
For the garden itself, I focused on trimming, pruning and cutting. There were a few rose bushes at the fence line that I was going to leave, but determined that they were not deliberately planted there, so I took them out. I pruned the apple trees a bit, and cut away deadwood from trees and bushes alike. I cut away lots of those vines, and so on.
Then this happened.
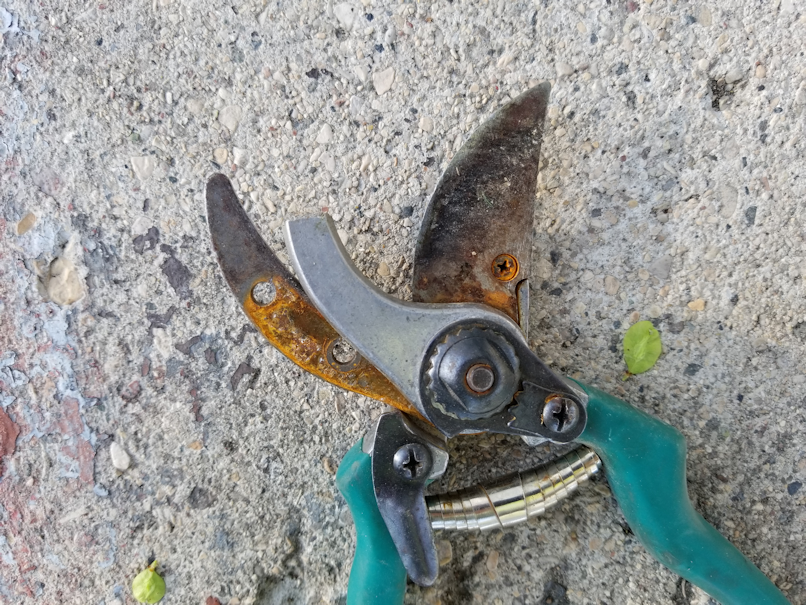
One of the problems we’ve found since moving here, is that so much of my parents’ stuff is gone. The good, working stuff, that is. Tools, equipment, supplies… This was a fully functioning farm and, after 40 + years of farming, my parents had pretty much everything anyone could need, and then some. What we’re finding now is basically the left behind junk. Like these old pruning shears. My husband was able to sharpen them, but they were clearly not going to last long.
Still, I didn’t expect a chunk to actually break off like that!
We’ll have to add “pruning shears” to our list of purchases. Or, should I say, bump it up higher on the list.
So I made do with a small hand saw. There is a large collection of old saws (and axes) here, with most of them being quite large. I remember using smaller saws that would have been perfect for the work I was doing, but I have not seen any of them, anywhere. Instead, we are using my older daughter’s hand saw, that she bought for herself a few years ago.
It did the job. That’s the main thing.
Here is the garden now, from the south west corner.
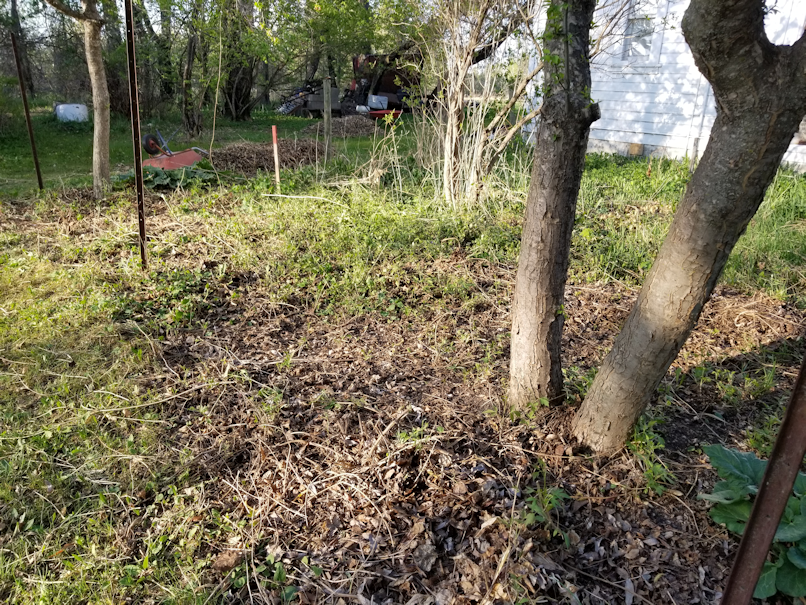
Clearing that west fence line was the most work.
Here is the garden from the north west corner.

There is still a stick in there, that is supposed to me marking something my mom planted, but I don’t think there’s anything there anymore. I’ll check more thoroughly when I start raking, tomorrow.
The fence posts are going to take a bit more effort to remove. I can wiggle them from side to side quite a lot, but can’t pull them out.
All in all, a very good day’s work!
The Re-Farmer
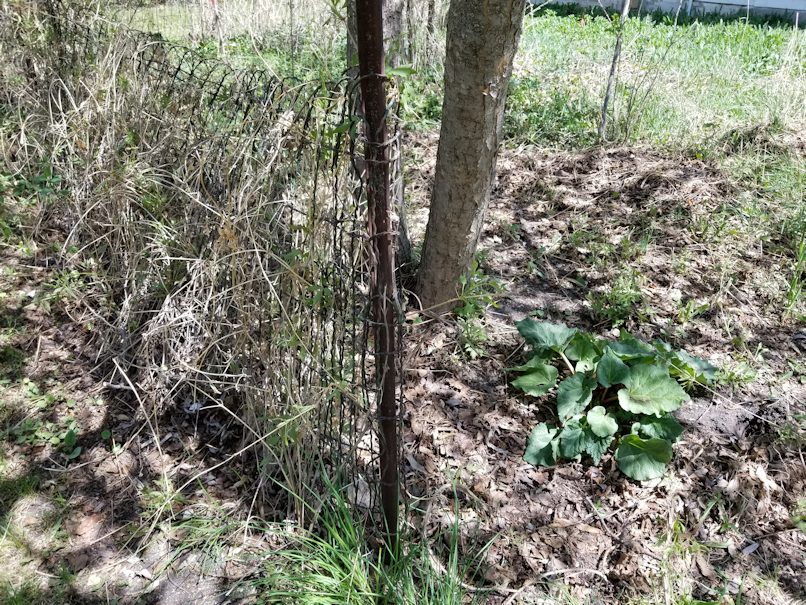
Today, I decided to get started on the flower garden off the Old Kitchen. When my mother came by a couple of days ago, we talked about what was there, what she wanted, and what I was thinking of doing. I now know that the vines, while deliberately planted, turned out to be invasive, so she wants them gone. There are several bushes she wants to stay, but the greenery below can go completely. The fence will also be removed, but she doesn’t care if any new fence gets put up again later. It can stay down.
I had already started clearing the area a bit. Now that I know my mother is good with the greenery being gone, I have decided that I will start doing “lasagna garden” type layering to build up the soil, while at the same time killing off the invasive plants.
I intend to keep the rhubarb, which will be fairly easy to work around, and the chives are on the outside of the fence line, but whatever onions are growing among the crab grass will be buried, too.
First order of business, then, was to remove the fencing. My daughters would continue to clean around the yard, but instead of taking the raked leaves to the big garden, I asked them to pile it near the flower garden, and I will use it later.
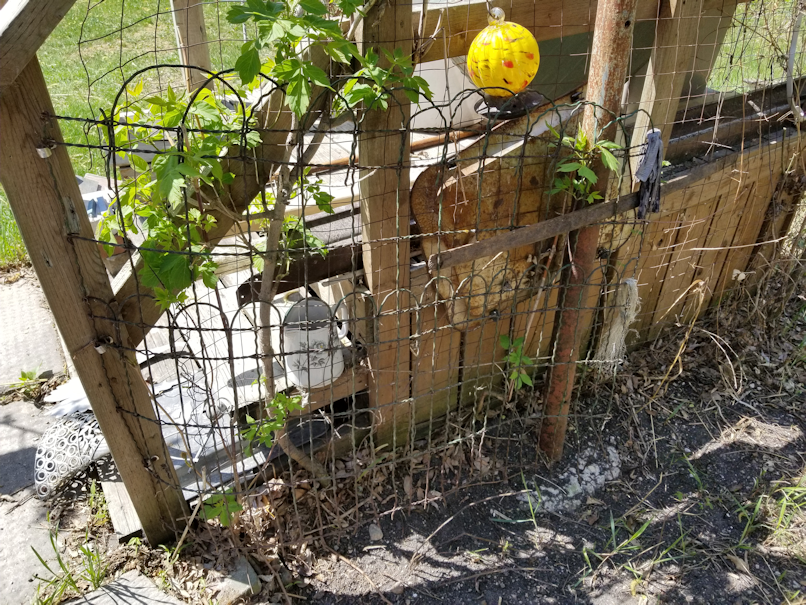
The first section to work on was the “gate”. I’d used a stick to prop it open, because it kept flopping.
When I moved the bright yellow thing hanging there, it was actually the first time I’d looked closely at it. I had just thought it was some sort of decoration.
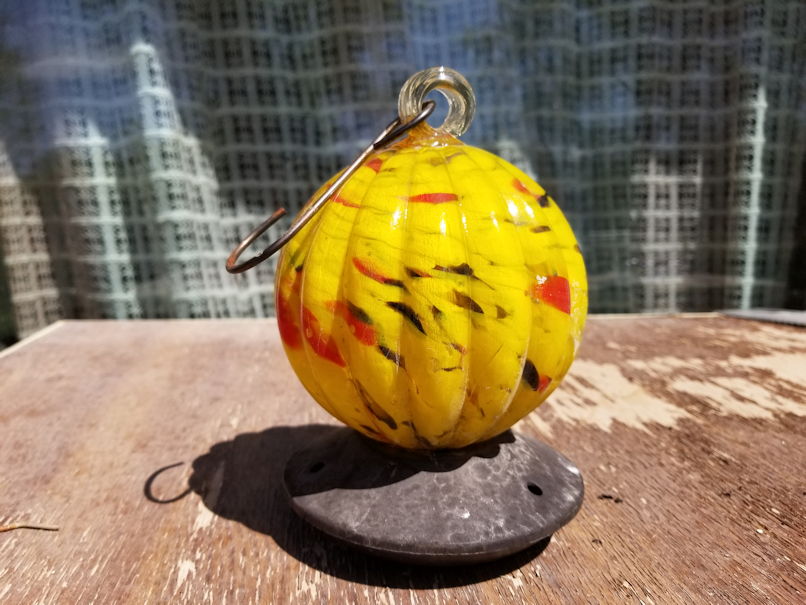
Turns out, it’s a glass hummingbird feeder!
I really like it.
No idea why it was left hanging there, instead of being taken inside for the winter. Now that I think of it, it may well have been hanging there for years.
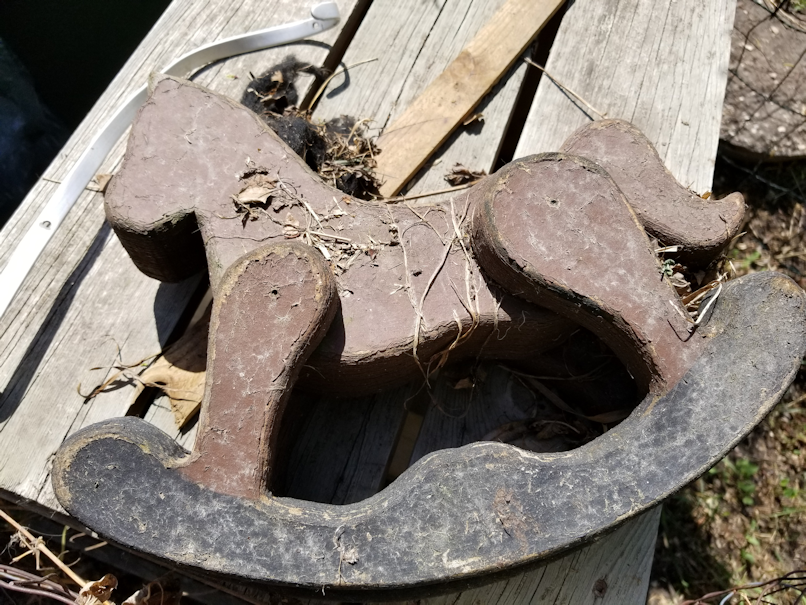
This is the toy rocking horse I’d found buried in the leaves and other dead foliage, when I had first started cleaning the area.
This is the opposite end of the fencing by the gate. It just sort of ends, sticking out past the clothes line platform.
I honestly can’t think of why any fencing was added there. It was attached to the platform in places, so it’s not like it was added before the platform was rebuilt. It serves no purpose that I can think of.
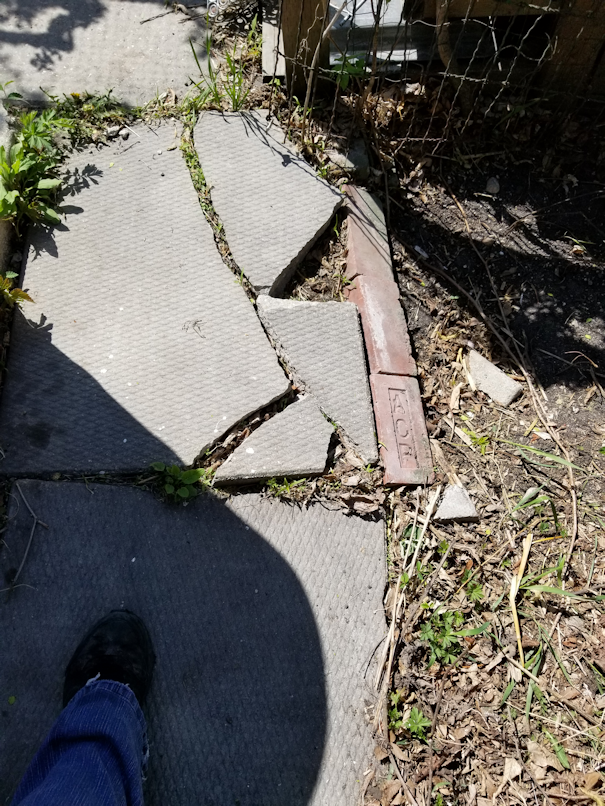
While working on the gate, I quickly discovered I needed to watch my step; these broken blocks and bricks move when you step on them!
There is a downspout near there, currently with a rain barrel under it. I am guessing these were added because the area would become muddy.
We’ll have to figure something else out, later. I don’t know about right by the Old Kitchen, but in the garden itself, I might look into putting some stepping stones or some other decorative, yet useful, elements.
After removing the gate portion, I found a challenge.
The self-sown trees can actually grown around the wire of the fencing. To remove the fencing, I had to free it by cutting the trees.
That was another reason the fencing needed to go, here. There was no way to clear away the self-sown saplings. They have to be cleared away, or they will destroy the clothes line platform as they get bigger. Plus, of course, they’re close to the house, and the roots would cause problems, too.

First section clear! Yay!
I’ll come back later to cut away the remaining bits of saplings and do other clean up.
Here is how things looked from the inside of the garden, as I started.
This is the south side section.
Note the wooden post, at an angle, supporting the metal post.
That comes up, later.
This is what the middle looked like. All that greenery on the bottom is invasive plants.
It was now time to work on the side section of the fence, which started at the corner of the clothes line platform.
But first, I needed to be able to get to it.
I’d talked to my mother about the trees in the re-purposed tire planters, and the bush that was in the way of hanging anything from the planter. She was good with me getting rid of the planters, and the saplings in them were self-sown. While she didn’t say it outright, it was clear she wanted to bush under the clothes line to remain, but she was okay with it being pruned.

The saplings in the planter had shallow enough root systems, that I could pull them up fairly easily, except for one in each planter. The toughest one had to be sawed at the tap root.
Then I pruned the bush under the clothes line.

Very stabby little branches!
I will have to work on it again, later, to get rid of the dead branches and stuff, but for now, I just needed to get it cut back enough to clear the rail, and access the fence post at the corner.
After starting on removing the fence from the post, I quickly realized I needed to get the planter next to it out completely. It was in the way. So, I dumped out the soil and discovered…

There was still a rim attached!
How utterly strange!
A couple of longer roots that had been giving me trouble could now be seen. One, I had been able to break. The other, the one to the right, had to be sawed.
Something else to go back to and clean up, so no one will trip over them. Plus, once it’s all cleared and cleaned, we will be mowing there.
I finally was able to reach the post and start removing this section of fencing which was, for the most part, nailed in place with U nails.
Lots of U nails.
At the very bottom of that first post, however, there was one nail sticking out. I tried several times to pull it out with the claw of my hammer, and it wouldn’t budge.
I did, however, knock off some dirt and rust, which is when I could see it was no nail at all!
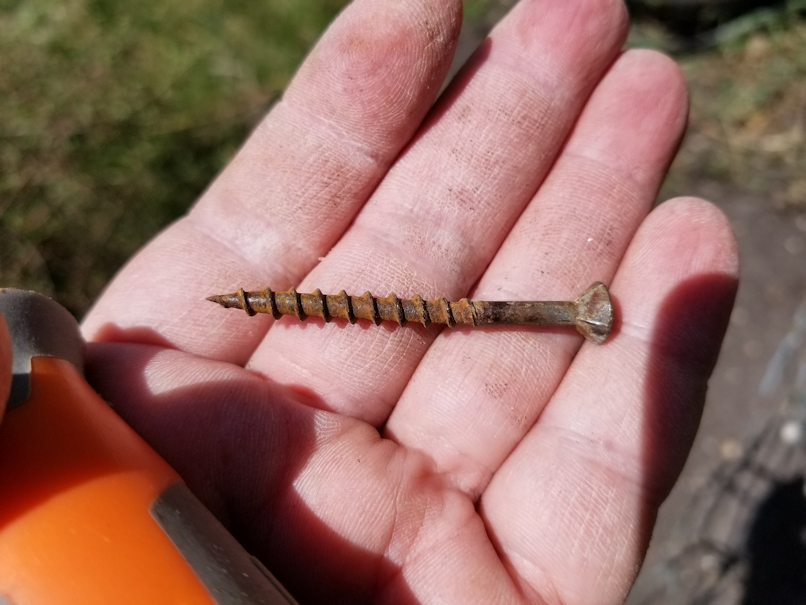
Yeah. No wonder I wasn’t able to get it out with my hammer!
I am really appreciating the tool set my older brother and his wife gave us for Christmas. I went into it quite a lot, today!
I got the fencing off up to the corner, where I found this.
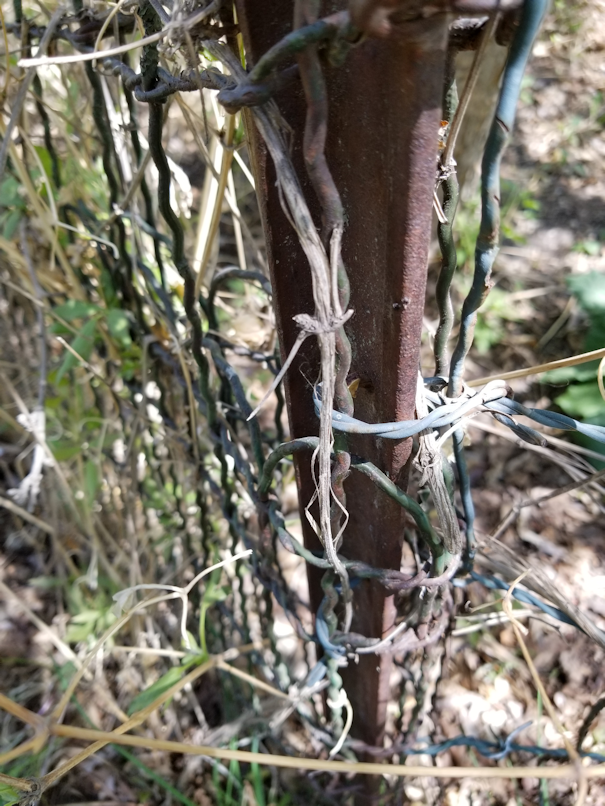
It turns out that the section I had been working on ended at this post. It was held in place with twisted wire, which went through holes in the metal post. The fencing on the end section was folded around the post, then pieces were bent back to form hooks that held onto the continuing fence.
And that supporting wooden fence post at the top?
It was held in place with a large nail, through a hole at the top of the metal post, which was then hammered to a right angle to hold it in place.
In the end, it was easier for me to pick up the wooden post and hammer away at it, near the nail, then to try and pull the nail out from the other side.
Which actually served to straighten out the nail.
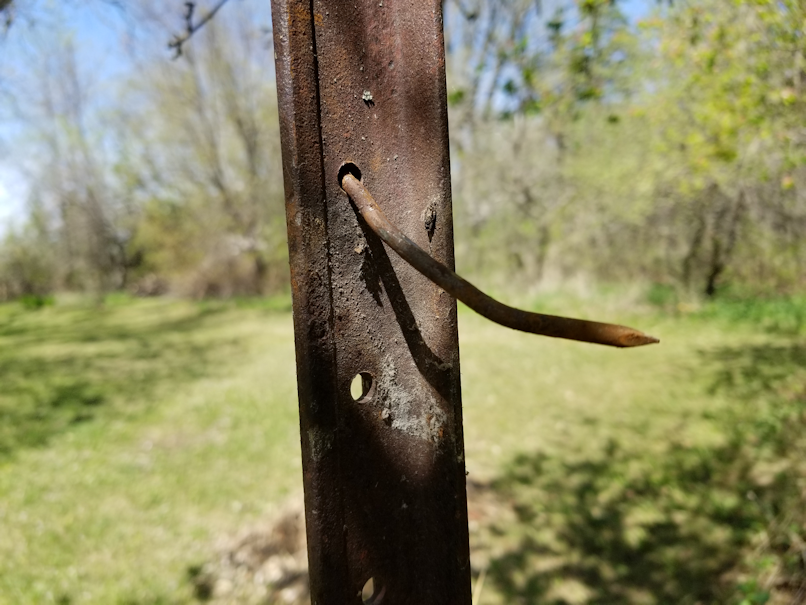
About half of the length of that nail was in the wooden post, while the other half or so was bent down on the other side of the metal.
Then I had to use pliers to untwist the wires that held the first section of fencing in place. The wire was so old and rusting, several pieces broke off.
By this point, I’d found a bucket to take along with me, to put in the assorted nails, screws and bits of metal that I managed to keep out of the grass.
Side fence, gone!
The next section was a different challenge. After removing the twisted wire that held the fencing to the posts, I then had to cut away the rose bushes that had come up on the outside of the fence, more stems that had woven themselves through the gaps of the fencing, and cut away the vines at the base of the fence.
Then I just left the fence there, and took a break! There was just the north side section to do, with two more fence posts and more roses to trim out of the fencing.
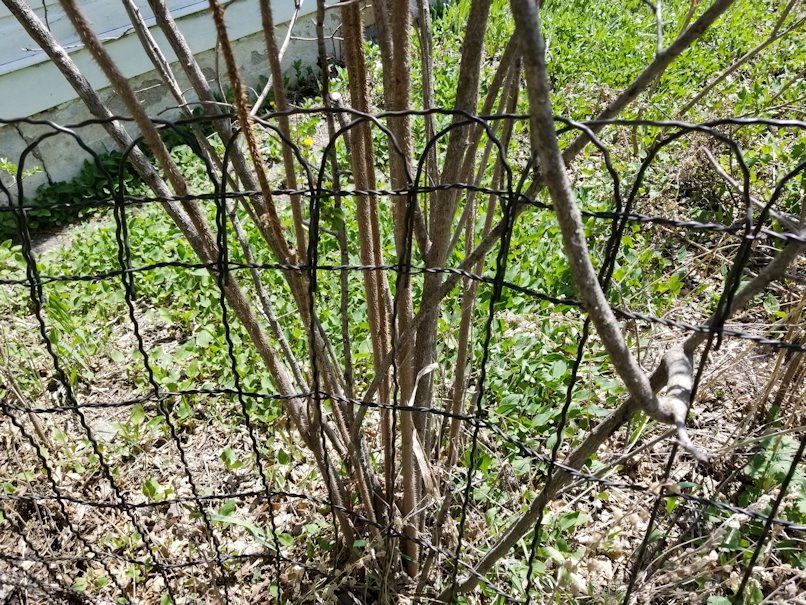
My mother tells me this is a white rose bush. I cut away just what I absolutely had to, to get the fence loose. I noticed some dead stems and branches that will need to be cleared away, so it’s another thing to go back to, later.
Much to my surprise, the rest of this fence was held up by what looked like a broken broom handle, shoved into the ground, a length of pipe stuck into the ground, and at the corner of the house, it was tied to the fence post with twine. The other fence post in the middle? Nothing. It wasn’t attached to it at all!
Once that was done, we only needed to roll up the fencing (still full of plant matter in some areas) and haul it away. We’ve selected a spot to leave all the detritus we find, so when we hire someone to haul the junk away, it’ll mostly be in one place.

Here is what the south corner looked like, after…
And the centre.
Later today, when it is cooler, I will go back and do some more clean up, and see if I can take out the fence posts.
The next major step is to first lay down a layer of cardboard (after our move, we’ve got lots of that!) and wet it down, then start to layer the leaves the girls have been piling up for me, as well as the straw that was over the septic tank like, and the straw that’s in front of the dog houses the outside cats have been using all winter.
Throughout the summer, we will continue to layer grass clipping and other yard waste, and the kitchen trimmings that would normally go onto the compost pile. I plan to use what’s currently the compost pile as well.
By the end of fall, I hope to have some pretty solid layers on there, and by next year, it should be well-built-up soil.
At least, that’s the plan!
The Re-Farmer


