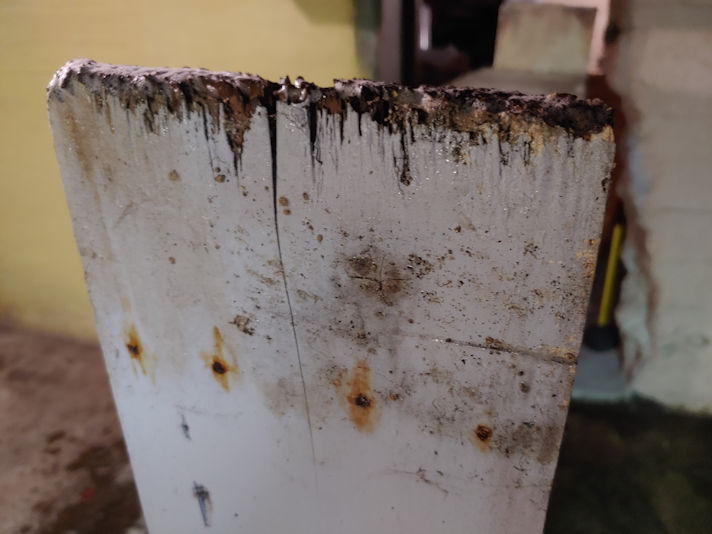
Today, it was back to the old basement to finally do something about the old hot water tank that died on us, shortly after we moved here.
A job that didn’t go as well as I’d hoped in some ways, while better than I hoped in others! :-D
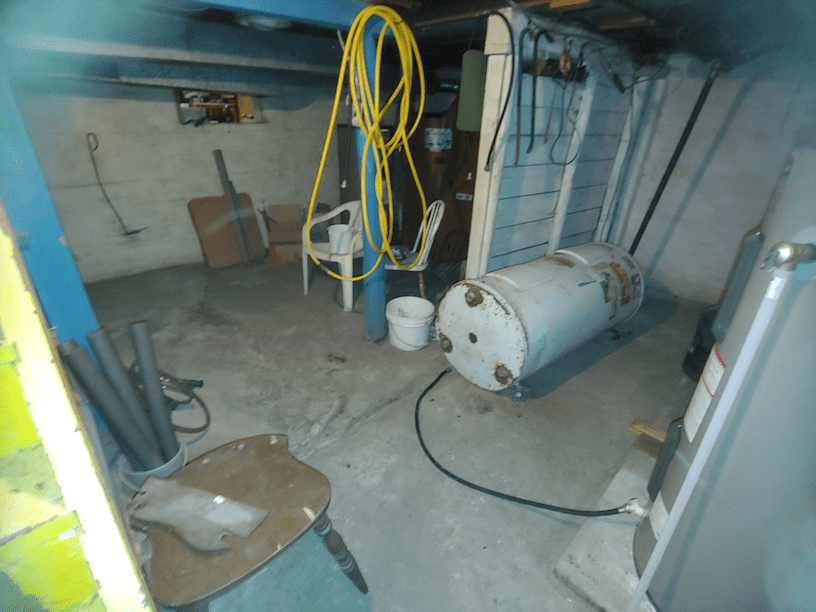
Here is the state of the tank, before I started.
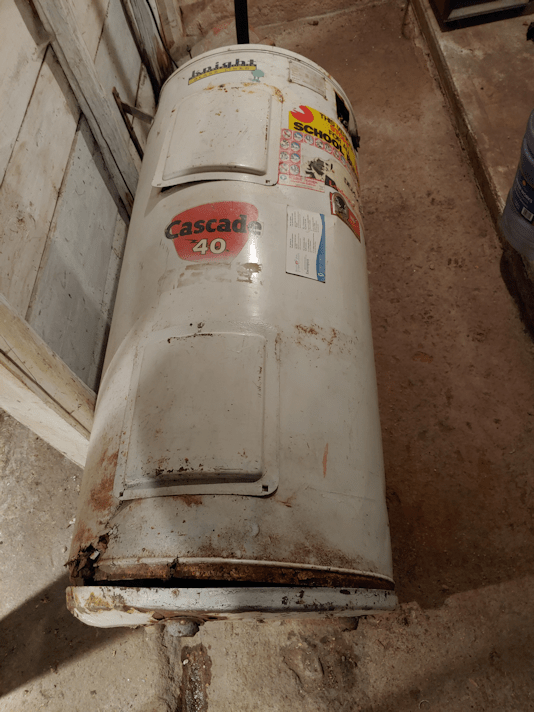
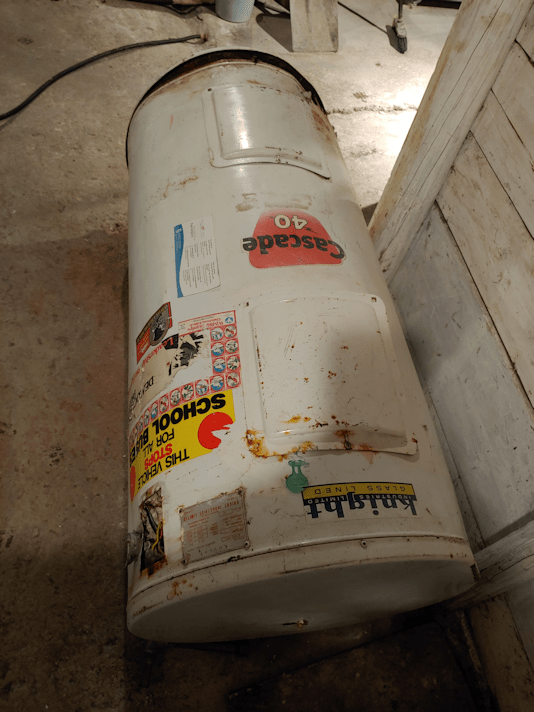
You can see that the bottom of the tank is quite rusted out and falling apart. The top, however, is still quite secure. It’s held in place by 4 screws, so I thought I’d try to take those off, first.
The first challenge was to figure out what type of screwdriver to use. They were so full of grit, I at first thought I’d need a star tip, but after digging some crud out with the tip of a box cutter, I discovered they needed a square tip.
Not that it mattered. The screws immediately stripped, as soon as I tried to loosen them. They weren’t going to move.
I was able to get the access panels on the side off easily enough, since they were barely put back on before the tank was moved.
I should note that yes, I was wearing safety gear before I started.
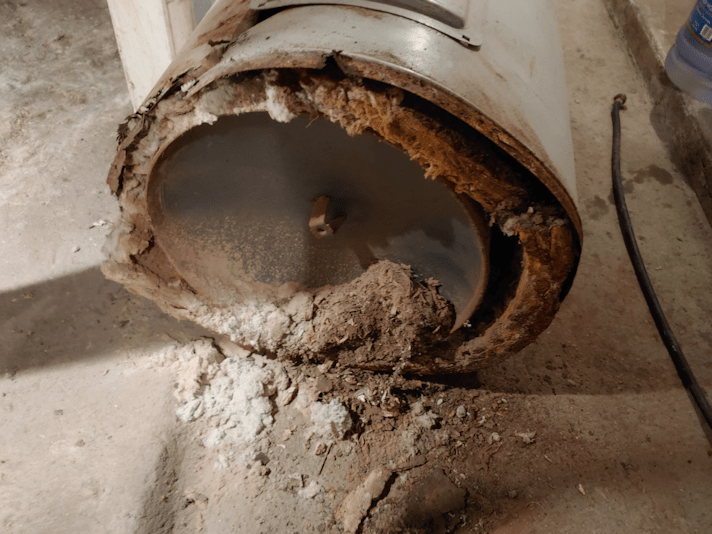
The bottom came off quite easily, and all sorts of rotted insulation and rust started to fall out!
I had a box ready for the smaller pieces of metal, and garbage bags for the insulation. I was using the old ash shovel as a dust pan as I swept up the smaller stuff, trying as much as possible not to kick dust up. Impossible, of course, but I could at least minimize it a bit, and using a shovel for a dust pan gave me a bit of distance as I worked.
Then, I took out insulation through the access panels. It wasn’t as rotten, higher up, but still…

… lots of rust on there!
I then had a couple of problems to work around. The screws on the top weren’t going to come out. I even tried a crow bar, but couldn’t get the leverage. The tank has a seam that I hoped to pop open, but that was more solid than the rest of the tank. Even if I opened it, though, it would hang up on the drain pipe near the base.
Then I remembered something.
In my late brother’s work shop, which we are now using to store all my parents’ stuff as we clear out the house, we found a pair of cutters. My oldest bother spotted them and told me they were sheet metal cutters. So I brought it to the house, and my husband sharpened them (they really needed a sharpening!).
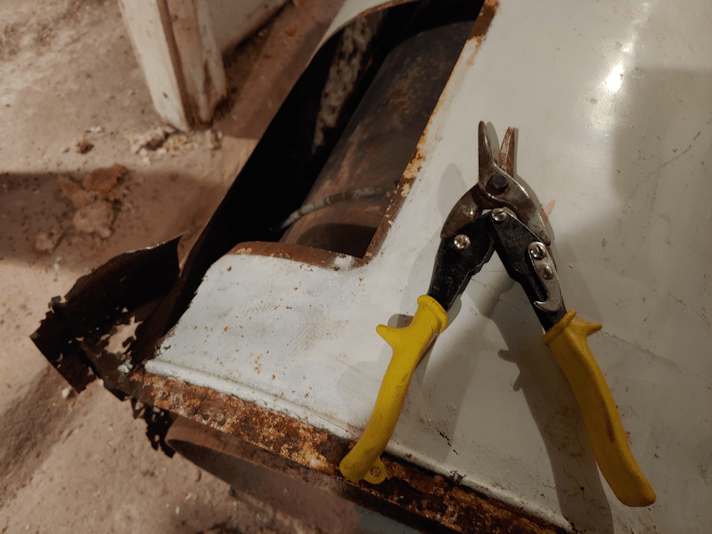
They cut through the metal beautifully!
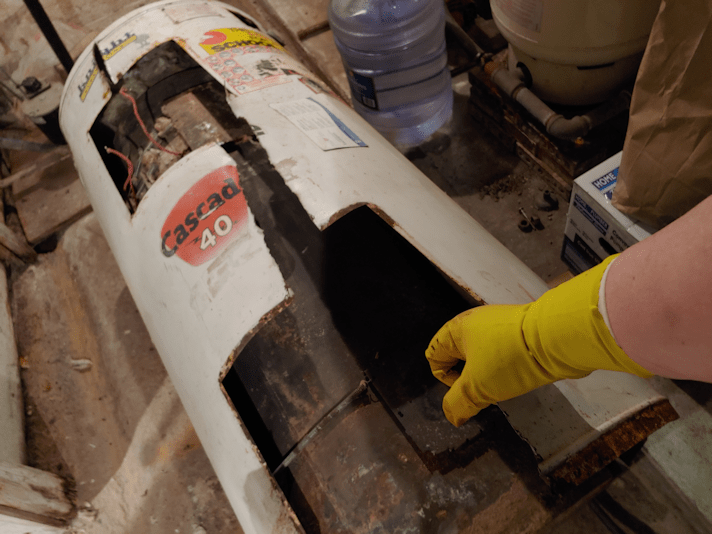
Cutting where the access panel openings where made it much easier. I also cut to the drain pipe so the metal could be pulled up around it, as well as going as close to one of the screws in the top panel as I could.
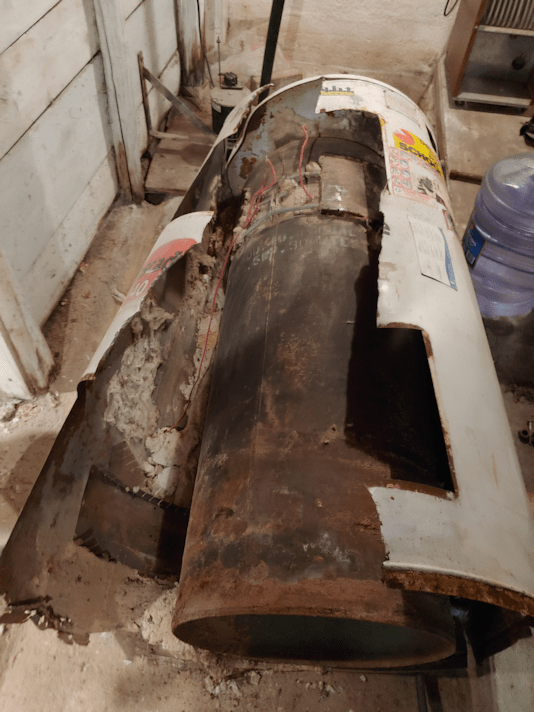
After yanking on it a bit, the outer shell panel broke free from the top cap and the whole thing popped open!
So. That’s what it looks like on the inside!
The next while was spent removing more insulation, taking off the springs that held the bands in place, and pulling out some of the wiring. I was also able to basically tear off the cap without any extra cutting near the screws. The metal of the shell tore pretty easily at the screws, once it started to open up.
In the process, I discovered a problem.

That cylinder is where all the weight is – and as I manhandled it, I could hear water sloshing inside! Yes, we let it drain before it was removed, but there’s no way to get all of it out completely, without cracking it open somehow.
This thing is heavy, and I needed to get the stuff out from under it. There wasn’t a lot of space to work in, either. (You can see the box with the new well pump waiting to be installed, and the jug of water that was intended to be used to prime the pump after installation.)
The first thing to do was clean up as much of the insulation as I could, then try and get the bands out from under it. I was able to get the bottom band out, a little at a time, but would not be able to do the same at the top. I had somewhere to grip and lift the bottom, but nothing to grip at the top. The obvious solution would have been to stand the cylinder up and move it off the shell, but there was simply no way to safely grasp the rounded top and lift that much weight.
I might not be able to stand it up, but thanks to that very strong drain pipe at the bottom, I could drag it!

And this is as far as it’s going to get for now!
I honestly don’t know how we’re going to safely get it out of the house. I had hoped that taking it apart would reduce the weight more than it did, but I probably took of maybe 10 pounds of material, in total. That’s barely noticeable.
As for the shell…
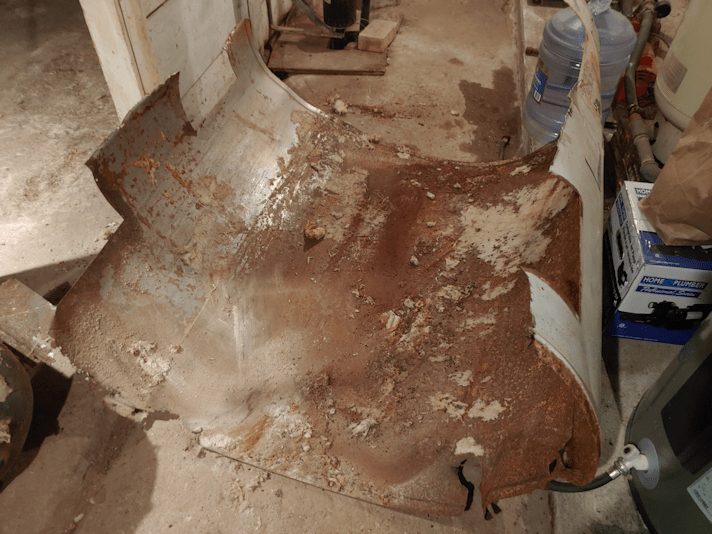
I could now remove the top band and use the shovel and broom to get rid of the majority of the insulation that had been crushed under the cylinder.
Then, I folded it.
And squished it.
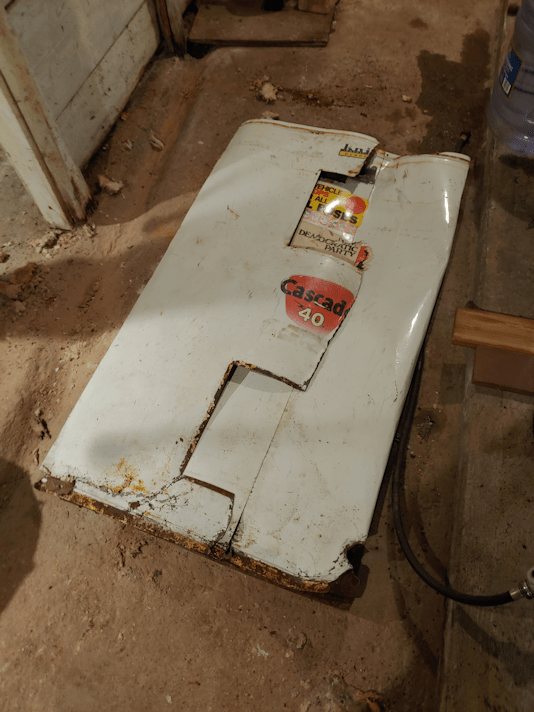
Into a nice, flat pancake that could easily be moved.
It was very satisfying! :-D
The parts and pieces will be taken outside through the new part basement, with its safer stairs that are right next to the entryway door! But not until more of the snow has melted and we can reach the junk pile.
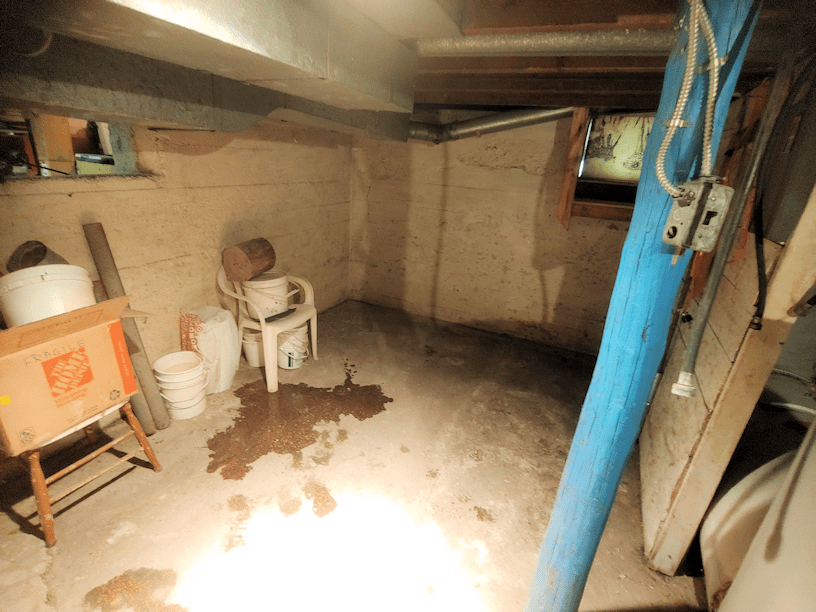
Next, I had to carefully clean up the dust and rust underneath. I wanted to make sure as little as possible could end up washed into the sump pump reservoir. I do NOT want this stuff clogging up the pump!
In the end, I used a wet mop to pick up as much as I could, because sweeping was just kicking up way too much dust.
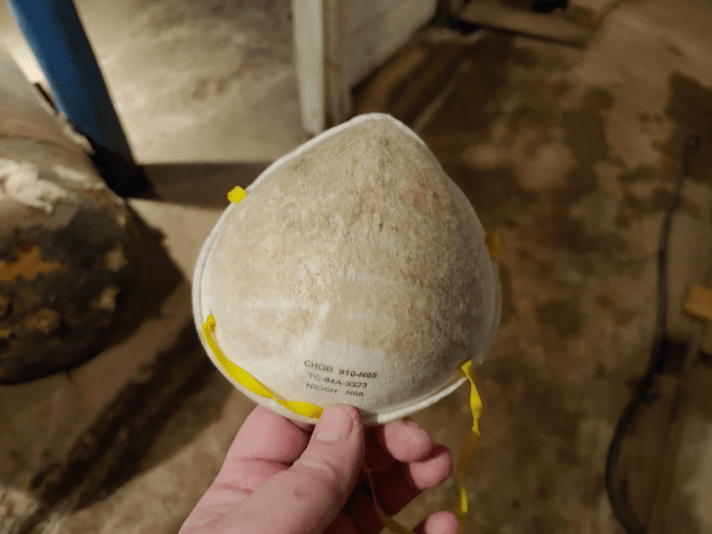
I am so glad I was able to find these thicker masks at the pharmacy, before everyone went crazy and bought them all up. This is actually my second mask. One of the elastics broke on the first one. I have no more. I do still have some dust masks I’d found in the hardware store, but they’re not as thick as these ones.
Once I finished cleaning up the mess in the basement, I proceeded to take a shower, then put my clothes in the wash. Fiberglass insulation dust can be dangerous stuff. Especially when it’s as old and rotted out as this stuff was. When it comes time to take the garbage bags of insulation to the dump, I’ll have to make sure to keep them separate, so they go to the proper disposal area, and not with household garbage. I’ll also have to double bag them.
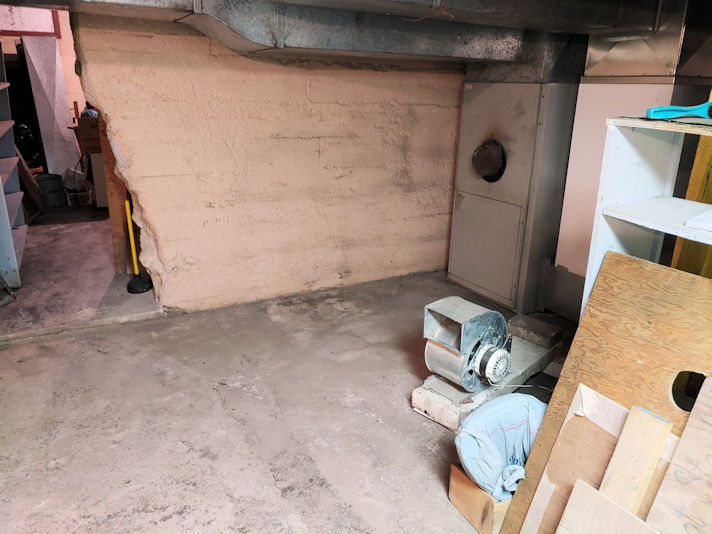
For now, I’m glad that the space in front of the pumps and tanks is finally clear of this thing. It’s been there for over 2 years! :-D It’ll make it much easier for when the well pump gets replaced.
I’m looking into finding a filter to install between the well and the pump. Or pre-filter, these are apparently called. I’ve found several kinds, but I can’t tell if they are suitable for use with a deep well pump, rather than a shallower well pump. The problem is that the deep well pump has two hoses, one above the other. From the looks of how they are installed, the second hose would be in the way. It would be good to use one, though. They are designed just to filter out the bigger stuff, and should help extend the life of the pumps and tanks. I’ve sent some links to my older brother, who knows this system better than anyone, and hopefully he’ll be able to tell me something, one way or the other. Or, perhaps, inform me of something better to use.
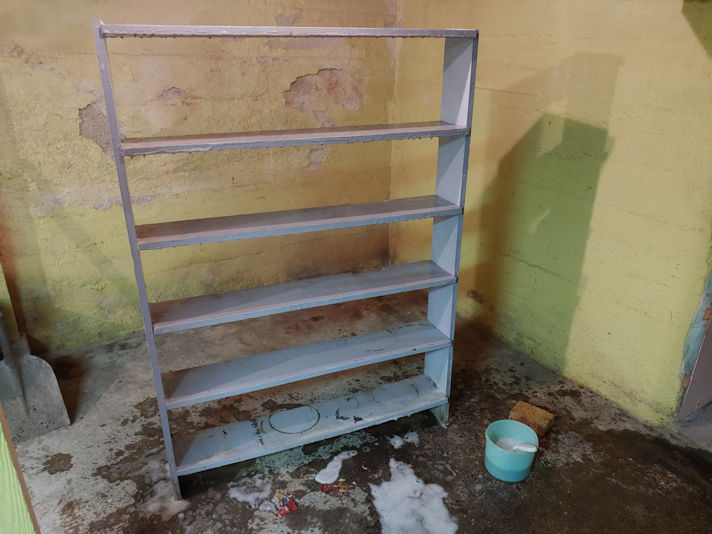
At this point, I’ve done almost as much as can be done in the old basement. The other things that need doing are little things, like getting plastic utility shelves to replace the wood shelves on bricks, and organizing.
Which means we will now work on the new part basement.
Oh, that reminds me. I was chatting with my brother about the clean up I’d done so far, and commented on the collection of car batteries down there. I said that, unless he knows if any of them are still usable and he wants them, I would probably take them to the dump for proper disposal. He very adamantly told me not to do that. It turns out that these can be taken to a scrap yard, in the same way we plan to do with our aluminum collection. They will pay by the pound for the lead in them, and each battery can bring in quite a lot. He tells me that the amount of aluminum we have is probably enough to make it work taking in.
I figure we can do that in the spring. Anything we get from the aluminum or the batteries is going to go into a tax free savings account we set up for our contingency fund, and the money will go to replacing the roof.
It’ll take a while. Based on the two estimates we got, and assuming that they will find rot under there, we’re looking at $10,000 we have to come up with. Assuming no emergencies happen before then. :-(
Ah, well. For now, we just deal with what we can.
Like figuring out how to get that beast of a cylinder out of the basement!
The Re-Farmer