Quick and Easy Sourdough Bread, with garlic and parmasan

While I was driving my husband to a medical appointment and then the pharmacy, my daughters eagerly went at my new copy of Alaska Sourdough and baked bread.

This was not our first attempt at doing a sourdough yeast bread in loaves.  However, when we tried it before, we did not have any commercial yeast left.  Normally, this is not a problem; it just takes longer for the dough to rise.

Except it didn’t really rise.  Even using the oven with the light on to keep it warm and draft free, and giving it 4 hours, it still didn’t double in size.  Nor did things improve after shaping the loaves and setting it aside for a second rising of a couple of hours.

We baked it anyways and got a very dense loaf that was delicious, but it was half-way between unleavened bread and regular bread in texture.

Our home is simply too cool for doing sourdough bread without using commercial yeast, though if we had shaped them into buns instead of loaves, it might have worked better.

We have yeast now.

The girls went through the cookbook and settled on the Quick and Easy Sourdough Bread recipe because… well… it was quick and easy.

Of course, it was also modified a bit.  Because we do that.  They added Herb and Spices Parmesan (found at Bulk Barn) and garlic powder.  You can’t see it in the bread, but you can taste it!

They also doubled the recipe, because two loaves with 4 people is gone in a day.

So here is the modified, two loaf, recipe.

1 cup Sourdough starter
1 Tbsp yeast (1 pkg)
1 1/2 cups warm water
2 Tbsp sugar
1/2 tsp salt
1/2 tsp baking soda
6 cups flour
optional: about 1/4 cup each, garlic powder and Herb and Spice Parmesan, or to taste.

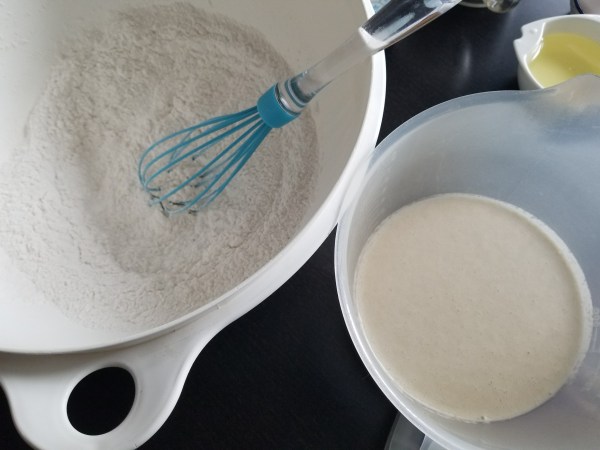
Add yeast to warm water.  Mix in sourdough starter, sugar, salt and 4 cups of flour.  Beat well.

Put in oiled bowl and set aside in a warm spot to rise until doubled.

Mix soda win 1 cup flour.  Add to risen dough.  Knead in garlic, Herb and Spice Parmesan, plus more flour as needed, until satiny and springy to the touch.

Cut dough in half and shape into loaves.

Bake in 400F oven for 45 minutes.

Note: if using glass loaf pans, reduce heat by 25F.

The recipe did not call for a second rising, so with the doubled recipe, the first two loaves went straight into the preheated oven, while the second two loaves got a second rising while waiting.

I would go with doing a second rising.

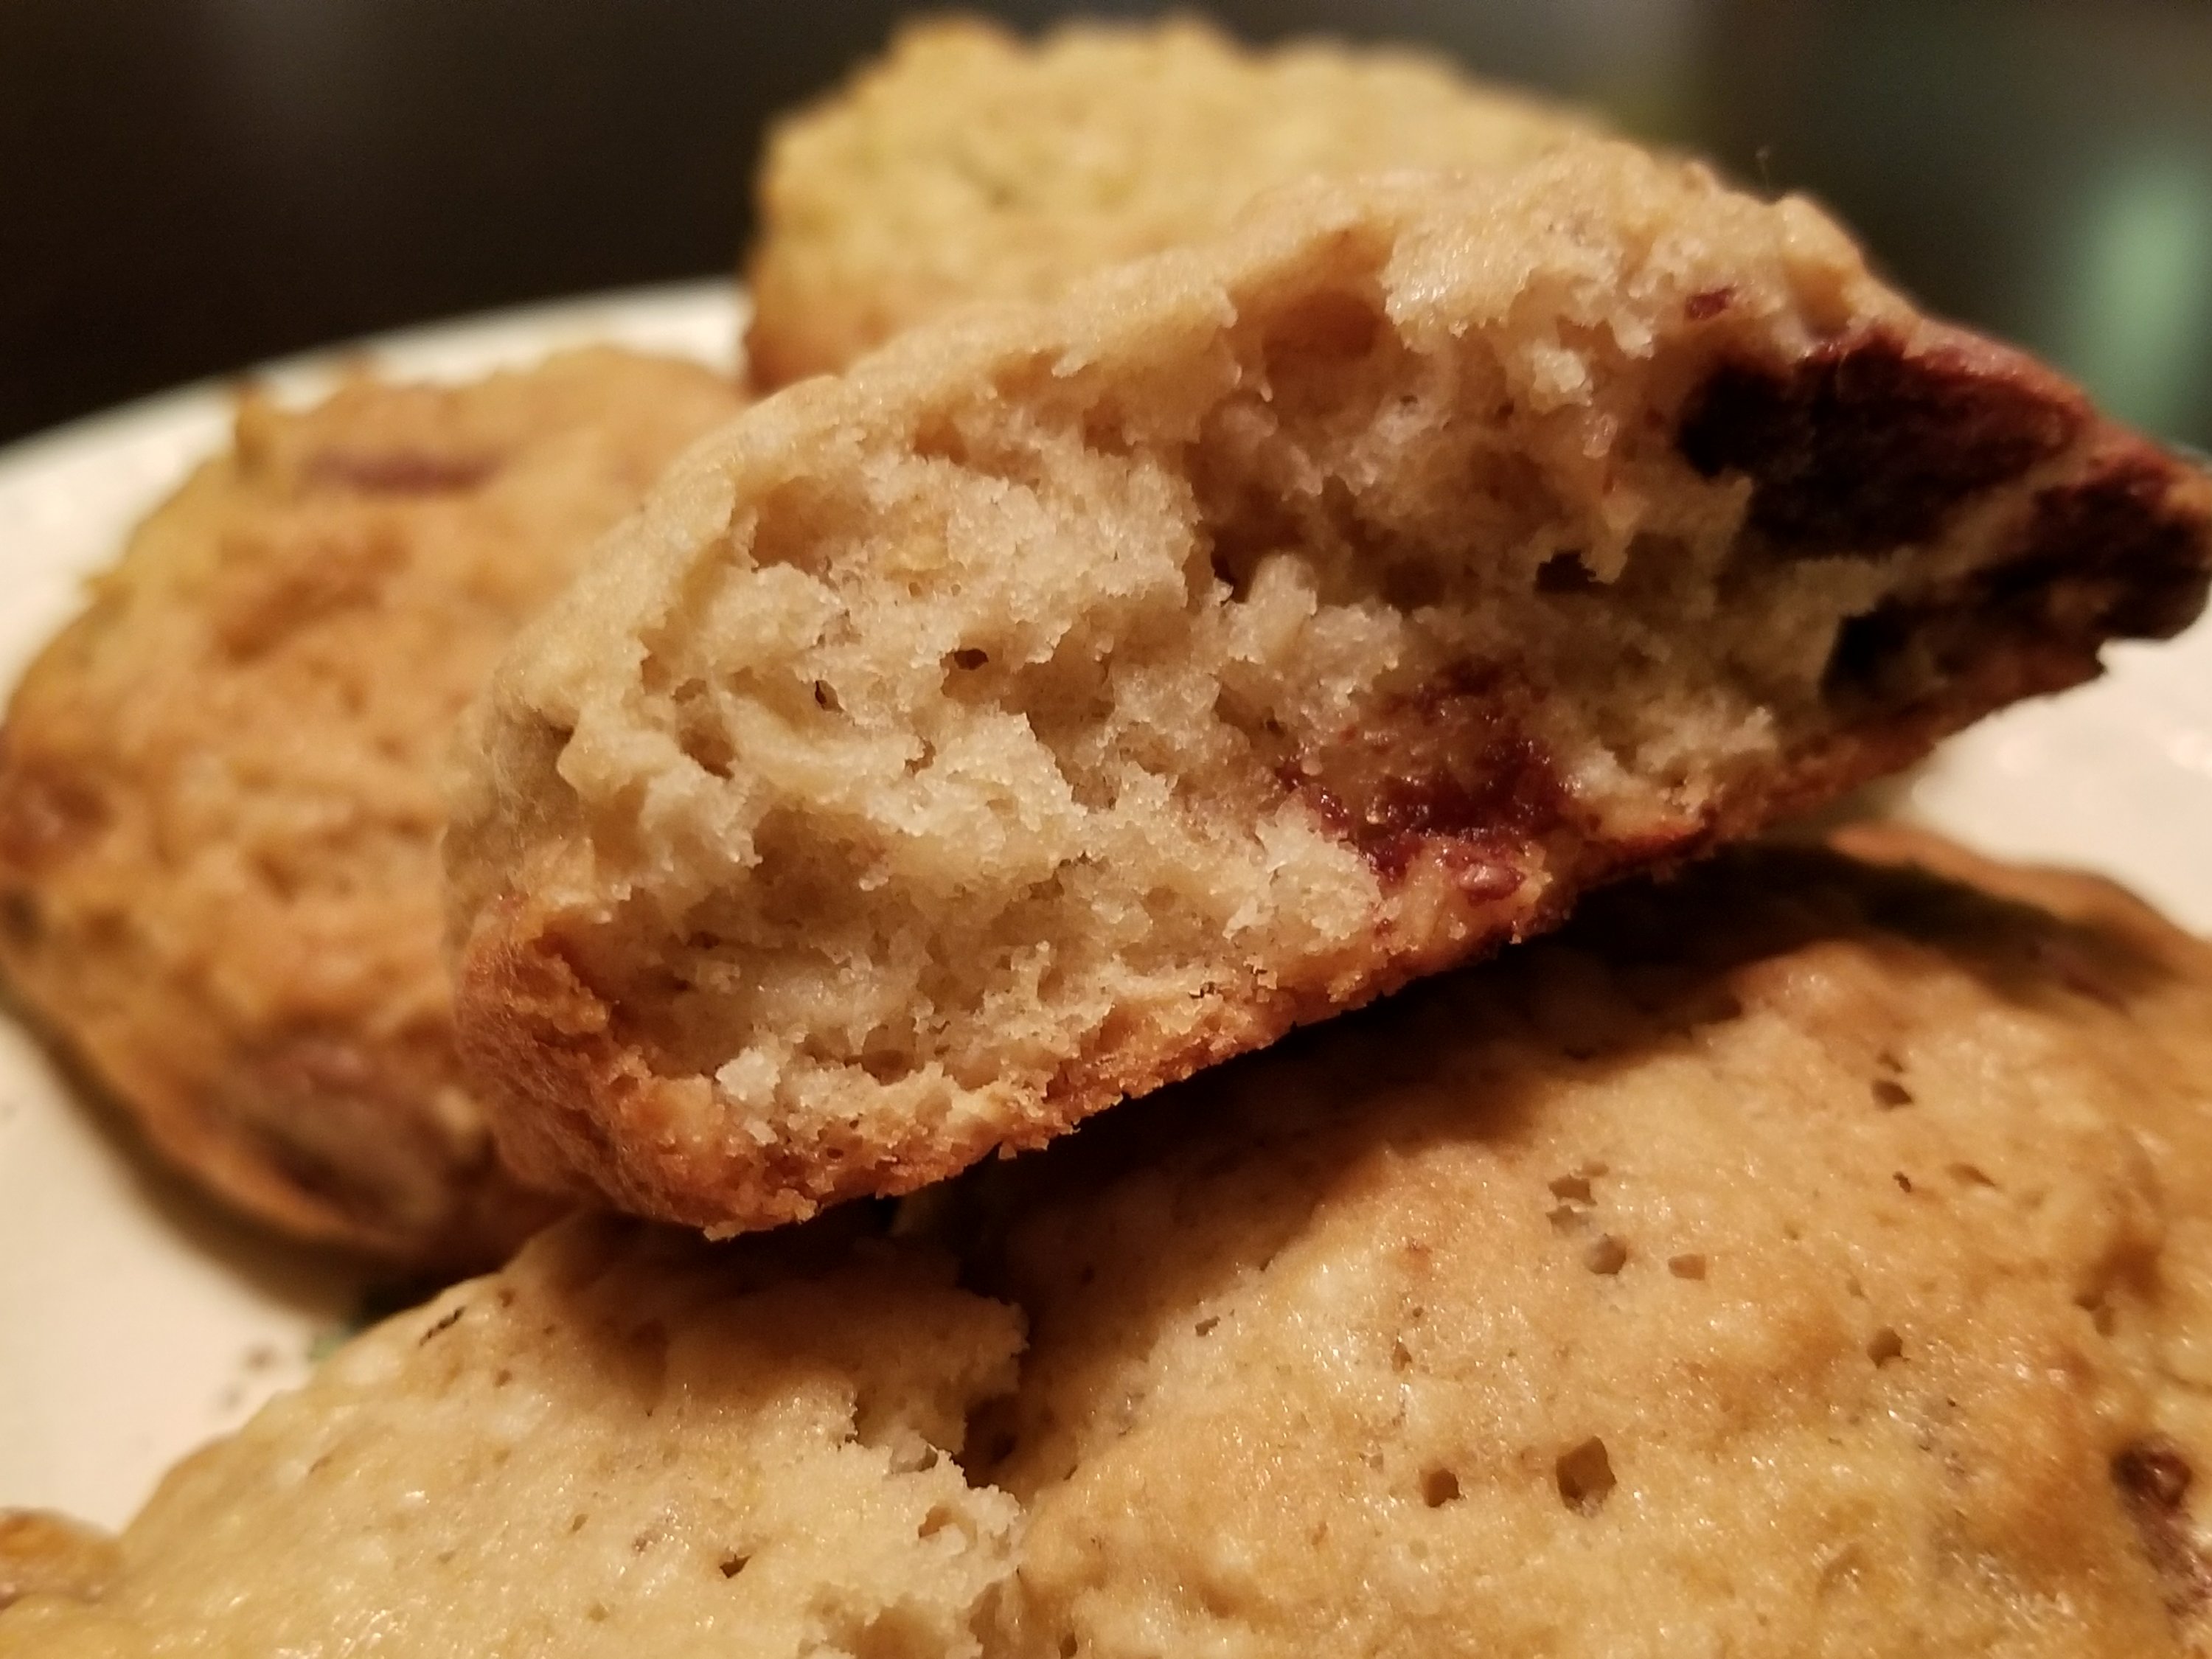
The resulting bread has a lovely, spongy texture that is dense enough to handle being spread with rather cold butter (when we buy bread, sometimes I have to warm up the butter in the microwave for 8-10 seconds, just to be able to spread it.  Otherwise the slices just disintegrate!).

We polished off the first two loaves with some beef stew.  A marvelous combination.


Sourdough Dinner Rolls

Today was our first yeast bread using Sir Sour Alot.  The recipe is very basic.

Typically, with yeast breads, I like to do things like use oatmeal, seeds or grains, or knead in herbs or shredded cheese.

For this one, I didn’t play around.  When my pantry is better stocked, I will get more creative. I didn’t even double the recipe, like I usually do.  So these buns were much tinier than what I typically make! :-D

It was quite a success.

The sourdough flavour is still quite mild with this baby starter, but it is identifiable.  A bit of butter melting on the still warm buns is heavenly!

20180107_1509582064642697.jpgSourdough Dinner Rolls
(adapted from The Sourdough Cookbook)

1 Tbsp active dry yeast
1/2 cup warm water
1 egg
1 cup sourdough starter
2 Tbsp sugar
1 tsp salt
3 Tbsp oil
3 – 4 cups all-purpose flour

Sprinkle the yeast over the warm water and set aside for 5 minutes, or until bubbly.

In a large bowl, beat egg.  Stir in sourdough, sugar, salt and oil, then stir in the softened yeast mixture.

Add 2 cups of flour and beat until smooth. *

Continue beating in small amounts of flour to make a soft dough. **

Turn dough out onto floured surface, then wash and grease the bowl and set aside.

Knead dough, adding flour as needed, until smooth and elastic. **

Place into prepared bowl, turning to oil all sides.  Cover loosely and set aside in a warm place to rise for about 2 hours, or until dough is doubled.

Oil large baking sheets and set aside.

Punch down the dough, then divide into 24 pieces.  Shape the pieces into rolls and arrange on prepared baking sheets.  Cover with a towel and set aside to rise for about 45 minutes or until doubled in size.

Preheat oven to 400F.

Bake for 20 minutes or until golden brown. ***

* How much flour needed can change based on things like humidity.  When I made these today, the first 2 cups was almost all that was needed.  I mixed in maybe half a cup more with this batch.  Likewise, rising times can change dramatically.  I placed the bowl in the oven with the light on for warmth, and it took only about an hour to double in size.

** Sourdough breads will have a slightly stickier dough than those made without sourdough starter.  This is normal.

*** Ovens can be quite variable.  Check after 10 minutes.  Of our two pans of buns, the first one was ready in 10 minutes.  The other in about 15.


Sourdough Starter: One Week

Sir Sour Alot is now a week old.   This image is of how it looks now, after it’s been stirred.  20180106_191800551221457.jpg

At this point, the starter gets more frothy than bubbly, and has a finer texture.

The starter can rest in maintenance mode now.  Aside from feeding after use, it can just be stirred daily and fed lightly every two or three days.  If it’s not going to be used for more than a week, it can be put into the refrigerator.  It will go dormant and doesn’t need to be fed often, though the occasional stirring is good.  When it’s going to be used, it should either be taken out of the fridge and allowed to come to room temperature, or just the portion needed can be removed, while the remainder is fed with the same amount of flour and warm water as was taken out, then left in the fridge.  A bit of sugar to feed the yeast wouldn’t hurt, either.

None of these are hard and fast rules, of course.  Once a starter is going, theoretically, it can be kept going for generations with minimal care and regular use.  It’s good to remember that a sourdough starter is a living thing that needs to be cared for.  Like a pet, it needs food, water, shelter, and a bit of TLC.

More fun than a pet rock, plus you can eat it.

My copy of Alaska Sourdough has been shipped, and I’m quite looking forward to it.  I plan to start a new one when it comes in, but I don’t really need to have more than one starter going at once.  We’ll see how the new one works out, and then decide what to do.

The Re-farmer


Sourdough Oatmeal Chocolate Chip Cookies

We broke out the sourdough starter again today; this time for something sweet!

The following recipe is modified from The Sourdough Cookbook; Soft Oatmeal Cookies.  There are some really awesome recipes in this book!


1 cup butter
1 cup granulated sugar
1/2 cup packed brown sugar
1 egg
1 tsp vanilla extract
1/4 cup water
1 cup sourdough starter
1 1/2 cups all purpose flour
1/2 tsp baking soda
1 tsp salt
2 1/2 cups rolled oats
1 cup chocolate chips

Grease a baking sheet (or two), set aside, and preheat oven to 400F.

In a large bowl, cream the butter and sugars together.

Beat in egg and vanilla until fluffy.

Stir in water and sourdough starter.

In a medium bowl, mix flour, baking soda and salt.  Stir into the sourdough mix.

Stir in rolled oats.

Stir in chocolate chips.

Drop by spoonfuls until prepared baking sheet(s).  Bake for 10-12 minutes, or until golden brown.

Remove from baking sheet and cool on rack.  Clean and grease baking sheet between batches.


It is interesting to make sourdough sweets.  I find you can’t really identify that distinctive sour taste that you would find in making a bread or pancake.  Yet, there is a definite “something” that accents the flavour.

These cookies turned out nice and fluffy on the inside, with a light crispiness to the outside.  Great with peppermint tea!

The Re-farmer


Alaskan Sourdough: A story

While I was writing my last post about using our new sourdough starter for the first time, I was really excited to find a particular sourdough cookbook available.

This is the cookbook that started me on making sourdough. I had found it in the library in Victoria, BC. I took many notes from it, and I’m glad I did, because I never saw it again. Until tonight!

I’ve ordered myself a copy and can’t wait until it comes in.  I collect cookbooks, with a preference for older ones and historical cookery, and I love cookbooks that you can read for the information and stories that are included.  This is one of those.  It’s just chock full of interesting things.

This will not be a review of the book, however.  I’m just going to flat out recommend getting it, if you have an interest in sourdough cooking.

What I’m going to do, instead, it tell you the tragic tale of our first sourdough starter.

I still miss that starter.

Continue reading

Sourdough Pancakes

This morning was our first use of the sourdough starter, to make some basic pancakes.

They were awesome.

I topped mine with just a bit of butter and a sprinkling of brown sugar.

20180102_115213739858653.jpg

The sourdough flavour was mild, but definitely there.  They were also light and fluffy.

Before I go on to the recipe, here are a few tips.

It’s very helpful to pre-measure all your ingredients first.  It’s also a good idea to use a bigger mixing bowl that you might normally use.  Once the wet and dry ingredients combine, there is a chemical reaction between the baking soda and the sourdough, causing it to bubble up and expand a fair bit, very quickly.  I’ve made a flapjack hotcakes recipe using an Alaskan Sourdough where the batter would quickly triple in size!  You’ll want to be able to start cooking them right away, to keep them all light and full of air.  I started preheating my pan after pre-measuring the ingredients, and just before I starting combining them.

Again, you’ll want to avoid using metal bowls or utensils.  Metal will affect the flavour of your sourdough, so stick with wood, plastic, glass or ceramic.

20180102_1109481444070986.jpg

It now has a name!  Meet Sir Sour Alot!


This is what the sourdough starter looked like this morning, before I stirred it.  With my doubled recipe, I used 2 cups of starter, which left behind maybe 1/8th of a cup.  More than adequate.  I fed the remains with equal parts flour and warm water, plus a bit of sugar, right away.  I will feed it again tonight, so there will be a decent quantity for anything we’d like to use it for tomorrow.

Here is the recipe I used this morning, except that I made a double batch.

Quick Sourdough Pancakes
(from The Sourdough Cookbook)

20180102_111510828317172.jpg1 1/4 cups all-purpose flour
2 tsp baking powder
1/4 tsp baking soda
1/2 tsp salt
1 Tbsp sugar
1 egg (beaten)
1 cup sourdough starter
1 cup milk
3 Tbsp vegetable oil

20180102_1118001516703109.jpgIn a large bowl, stir together the dry ingredients and set aside.

In a medium bowl, stir together the wet ingredients.

Add wet ingredients to the dry ingredients and mix until just moistened.

Cook on pre-heated griddle or frying pan for about 1-2 minutes each side, or until golden brown.

20180102_114909672118921.jpg
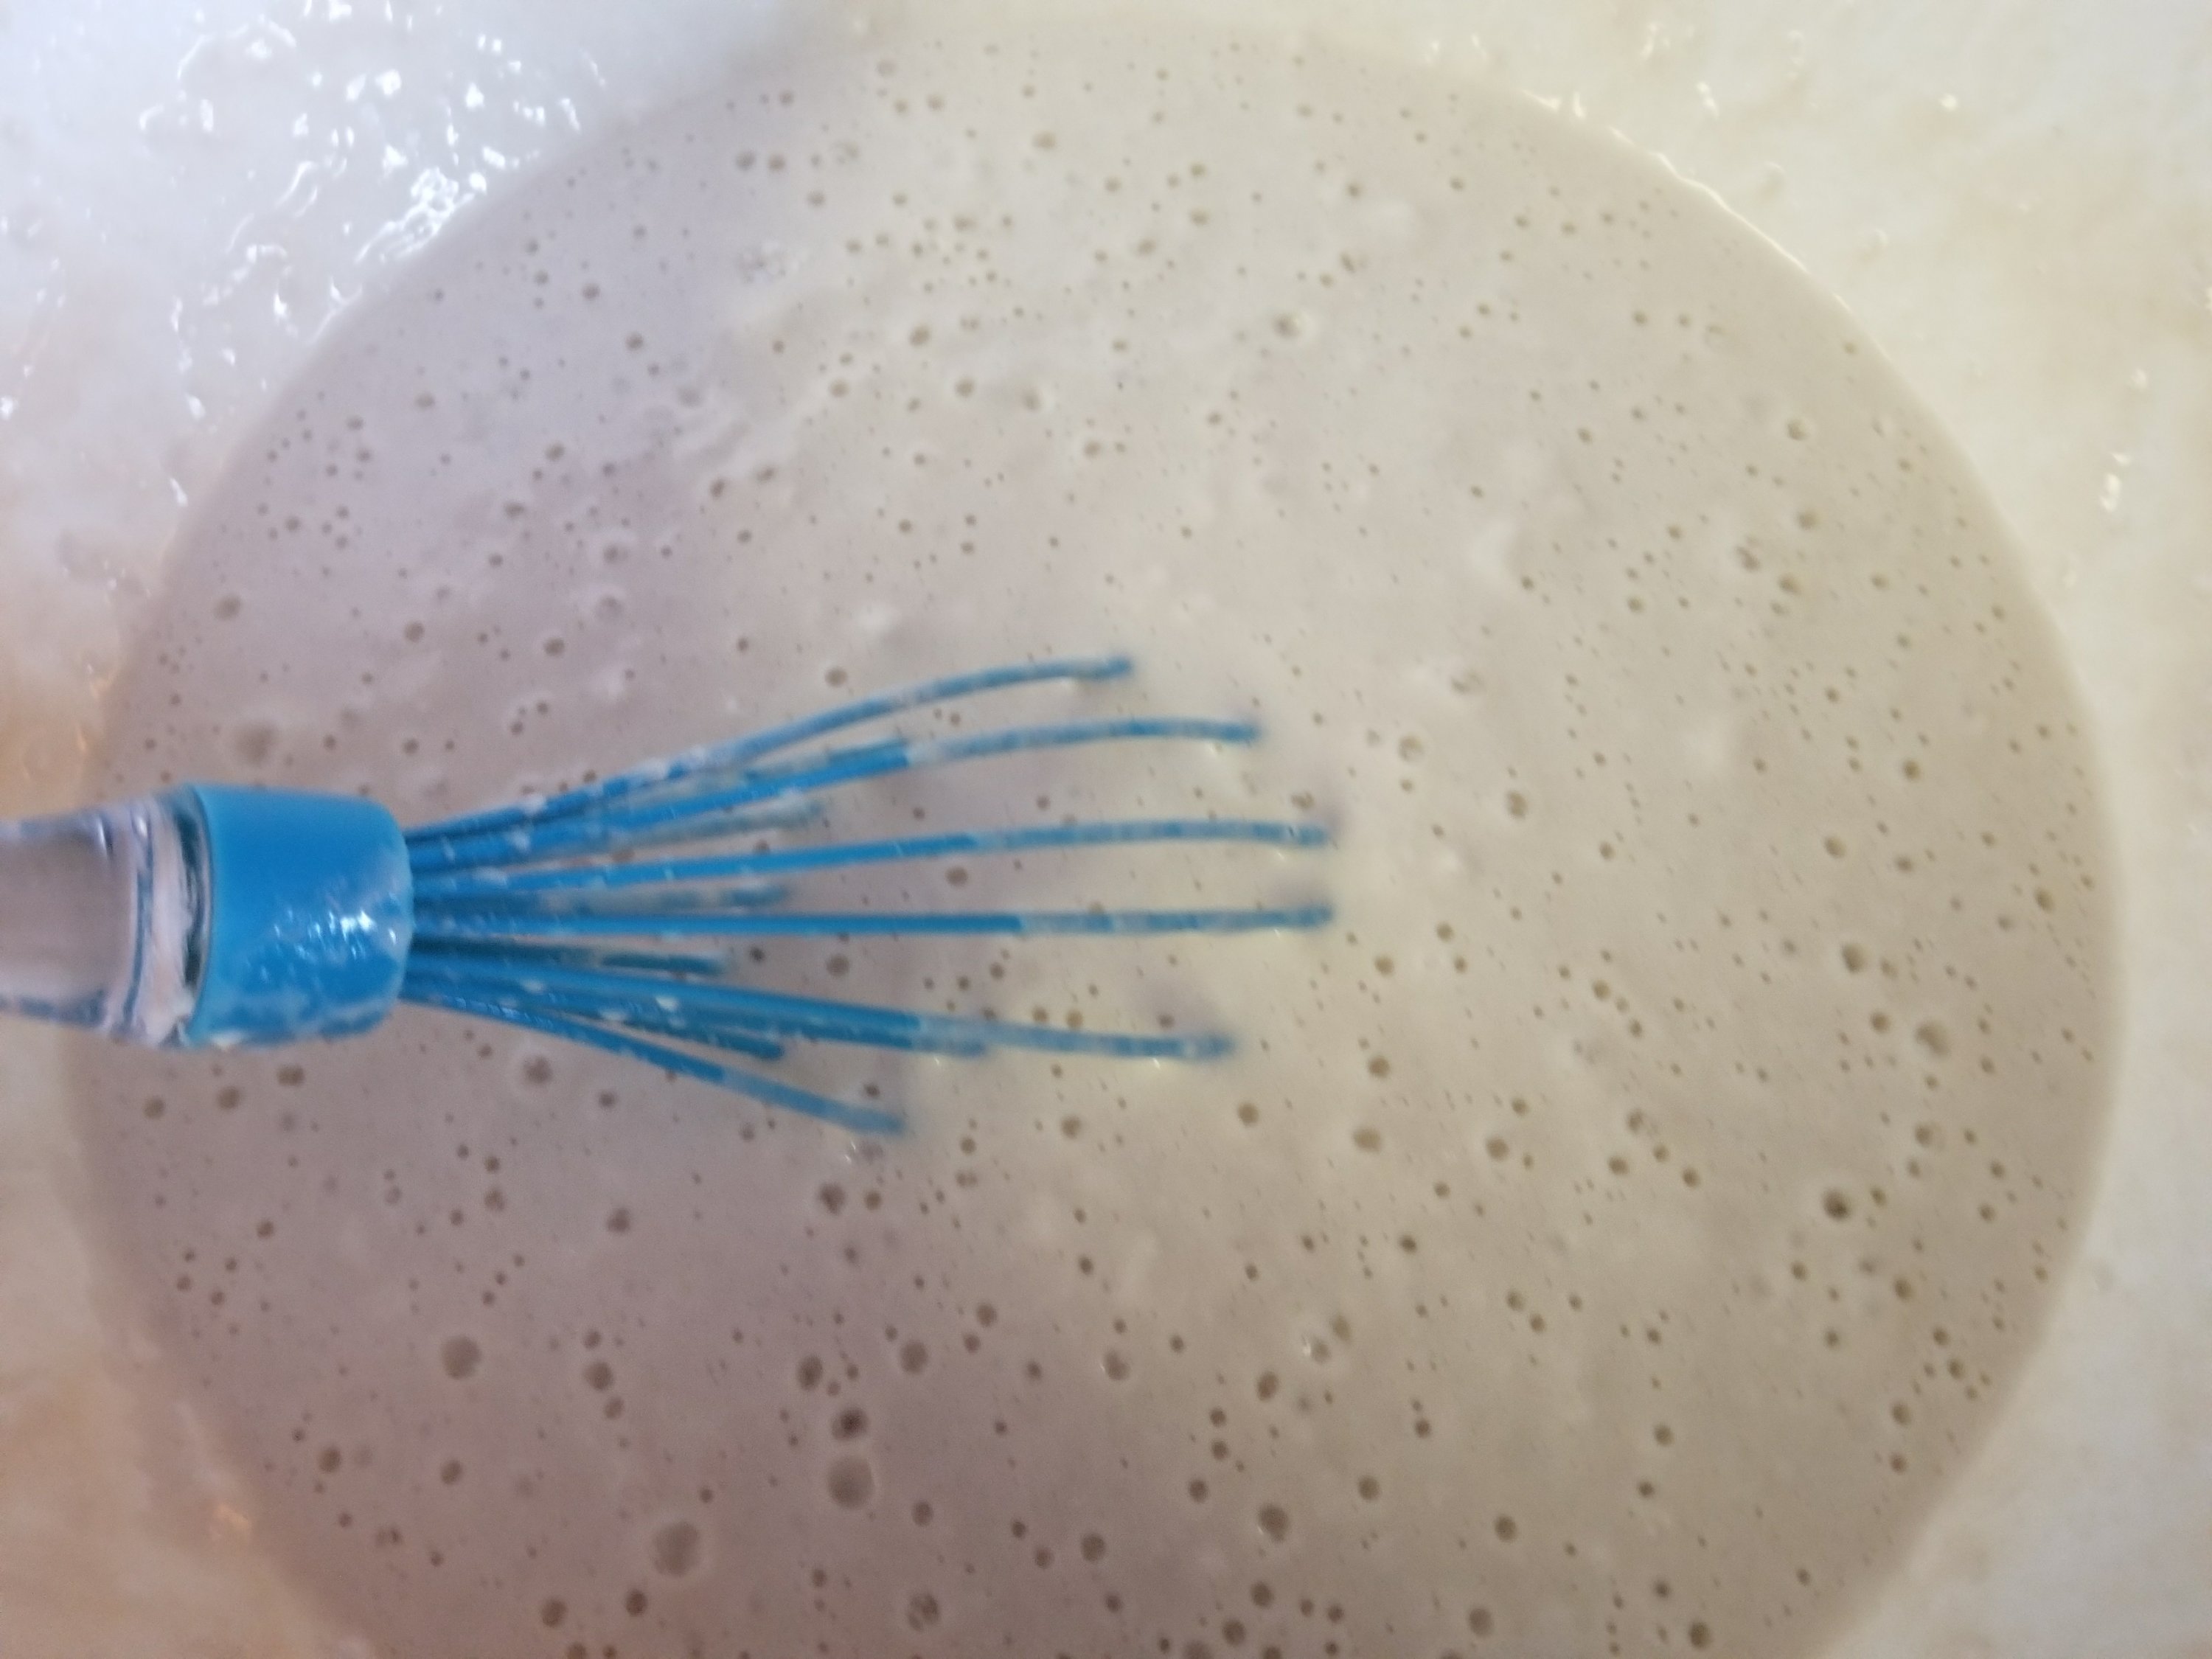
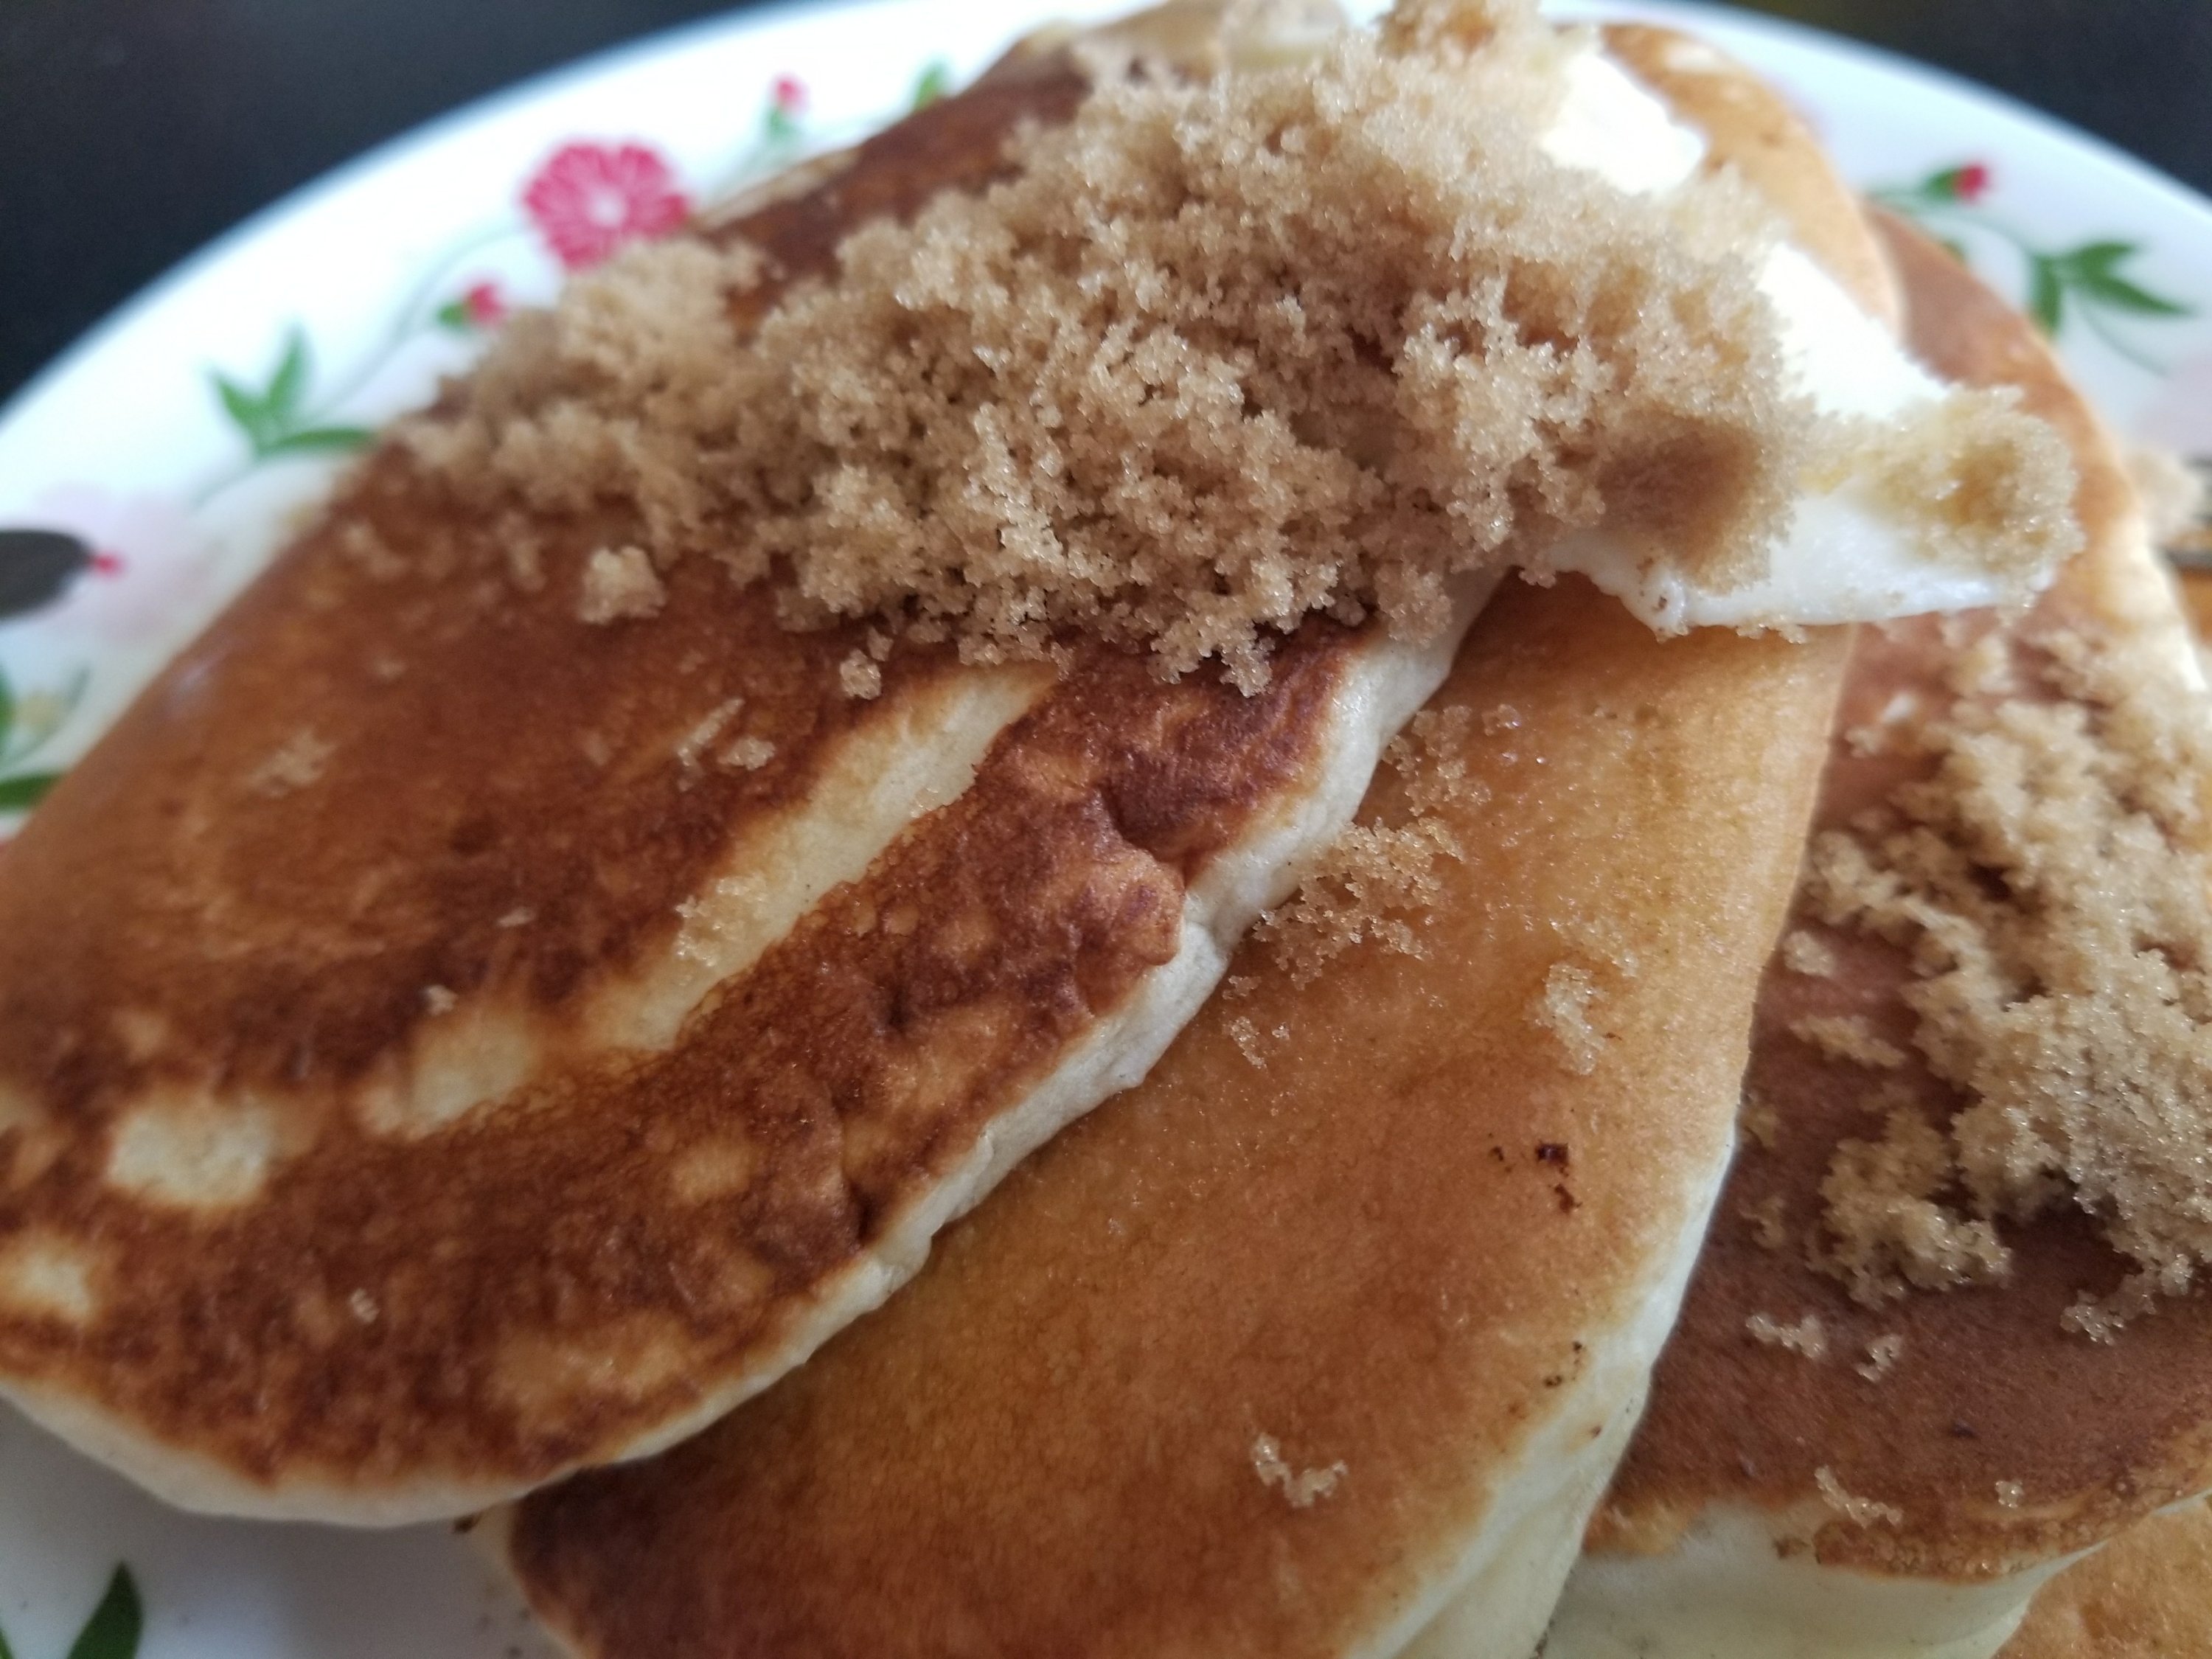
I like to finish off cooking with one giant pancake.  Just because.

These can be modified by adding chopped pecans, frozen berries, diced bananas or even crumbled bacon.  Just fold 3/4-1 cup into the batter after it’s mixed.

If you give these a try, do feel free to leave a comment and let me know how you like it!

The Re-Farmer


Sourdough Starter: day 3

Here is the progress on our new sourdough starter.

It was fed after 24 hours, and again after 48 hours.  With the size of my container, I fed it only a half cup each of flour and warm water, with a sprinkling of sugar.

This is what it looked like before I stirred and fed it tonight.

20180101_1911281280191620.jpg
You can see that it has separated a bit, and there is quite a bit of liquid. This is normal.  I stirred the liquid in, then added just flour and sugar. There was no need for more water.

This is what it looked like, about an hour later.


I am relieved to see the sponge bubbling up as as well as it is.  The ambient temperature is on the low side, but it seems to be handling it quite well.  What has been funny is to see my family opening the lid every now and then, just to smell it!  Nice to know I’m not the only one.

If I felt the need, I could place the whole thing in the oven with the light on. The heat from the light bulb would be enough to create a nice, cozy temperature for the yeast to grow in. I would make sure something was under the container, just in case it overflowed.

I went digging through some boxes to find cookbooks with sourdough recipes in them. I collect cookbooks, so that took a while.

We aren’t ready to start making bread quite yet, but we can do pancakes.

:-)

The Re-farmer

Getting Started on Starter 

There is a fair bit of variety of sourdough starter recipes.  The first one we made used potato water – an unpeeled potato boiled until soft, then mashed into its own cooking water – as the liquid.

In essence, though, getting a new starter going is just flour and water, left to sit.  Anything else is just bonus.

Of course, there are a few basic requirements that need to be followed.

So if you are not fortunate enough to be able to get some established sourdough starter from someone, here is what you need to start your own. Continue reading