I’m absolutely thrilled that my brother and his wife are over for the weekend! Their RV trailer fits in the inner yard, so they even brought their own “house” with them.
My brother, being how he is, was soon working on the damaged gate. More specifically, the gate posts. He’d actually been working on it for a while before he asked me to come and document what he was doing, so he’d managed to get the first of the remaining hinges off by then.

It took 15 minutes, some penetrating lubricant, wrench, torque amplifier and a whole lot of effort, but he got it done!
Personally, I probably would have just taken a hacksaw to them and cut them off completely. He wants to keep them, though.
I took video while he did the other side. I’m not going to upload that. The first video was almost 8 minutes long, while the other was almost 5 minutes long. It was NOT an easy job!!!
Once those were off, he took some measurements and used a level to score where he was going to drill new holes.
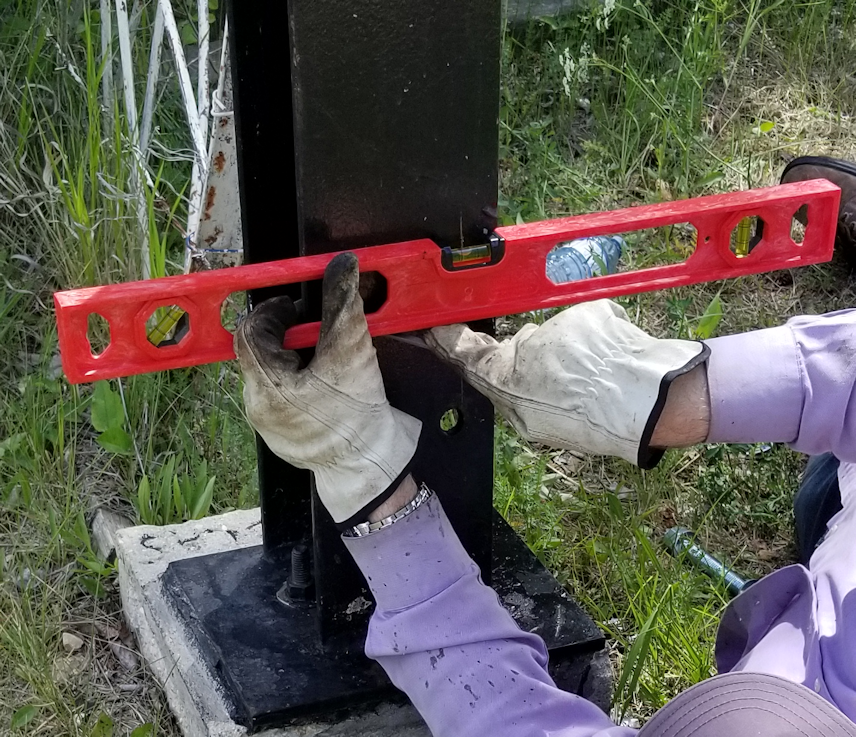

He got a lot of use out of his calipers, too – including getting measurements of the inner diameter of the existing holes.
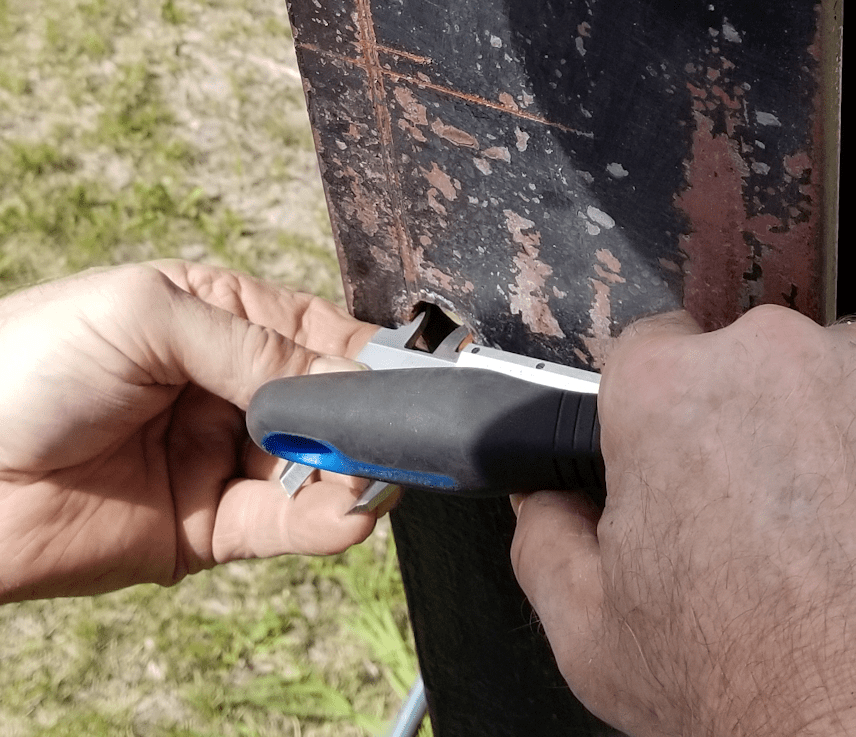
Which, we discovered, are not completely round. My brother guesses that our late brother used a torch to create the holes, and from the flattened sides and marks I could see, I think he used a file to try and round it out more.

He then made more marks to work out where to begin drilling the pilot hole. He had brought a full range of drill bit sizes – including the largest one he bought specifically for this job. In multiples. Because he knew he would break bits while working on this.
He also tripe and quadruple checked his math and his measurements, every step of the way. There’s really no room for error when drilling through steel!
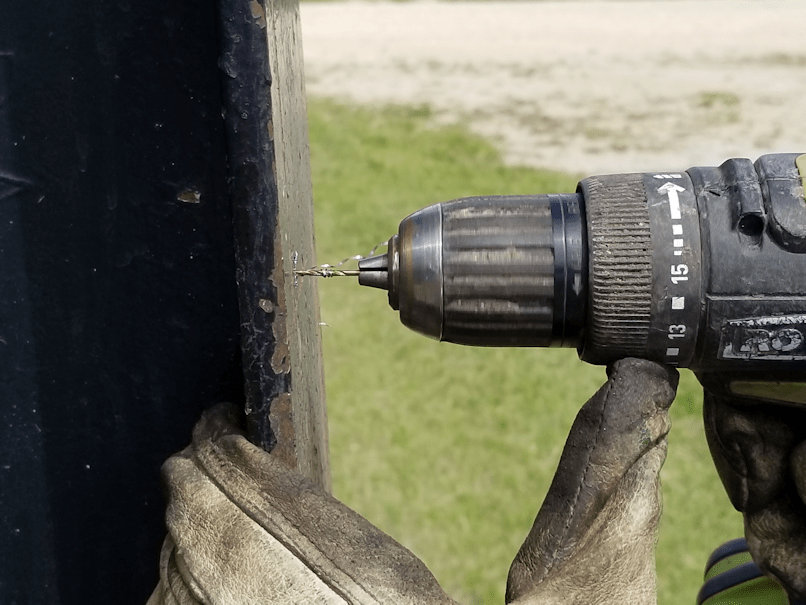
Here, he’s drilling the pilot hole with this smallest titanium drill bit.
Because he used a spray lubricant on the old hinges, there were convenient little puddles at the bottom of the posts. Every now and then, he’d dip the drill bit into the lubricant before continuing to drill.
By the fourth pilot hole, the drill be finally broke.
Inside the hole.
He had to drill it out.
At this point, I had to leave to run some errands before picking my daughter up from work, so I didn’t get to take pictures of him using successively larger bits to enlarge the hole to the final size. He had pretty much just finished and was putting things away when we got back.
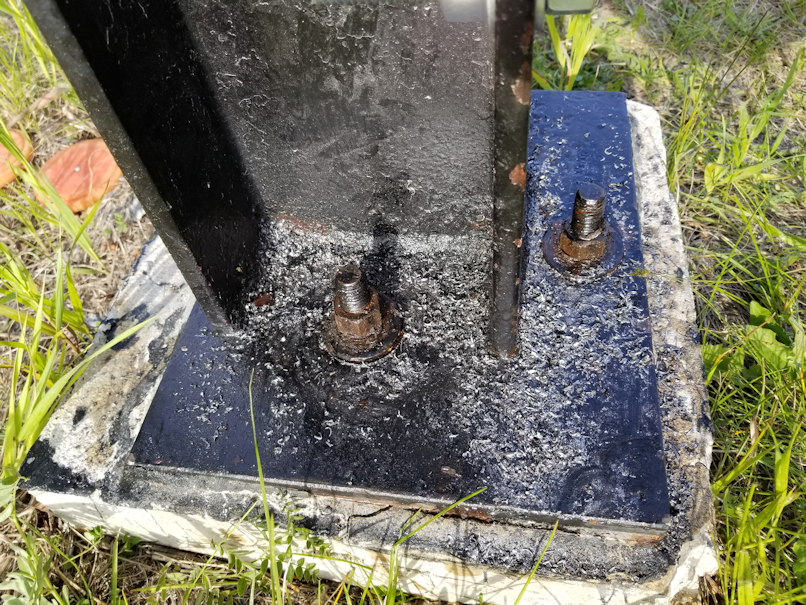
He also used an angle grinder to cut the new J pins shorter. These are the metal filings from that!
He also loosened the three nuts at the bottom of each post. They will be used to level the posts, before the gates are hung back up.
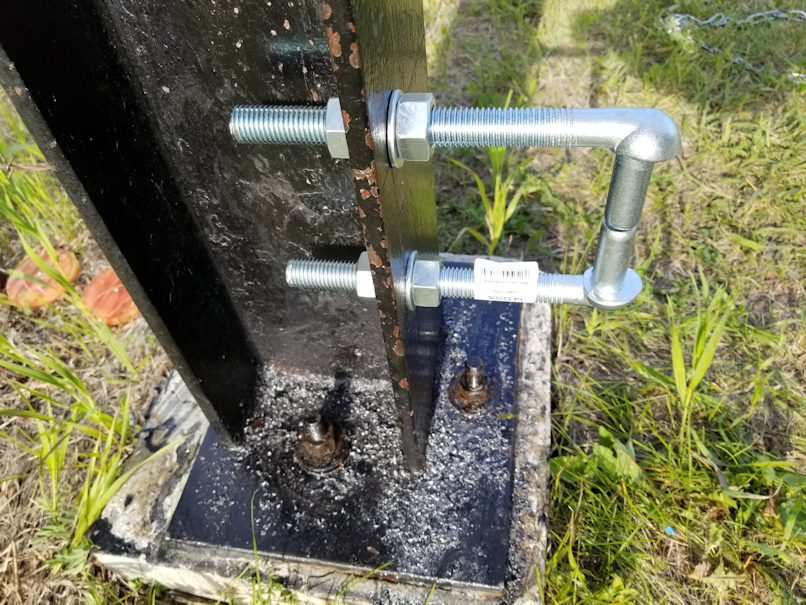
Here are the new hinges!
Each hinge now has a pair of hinge pins. The short part of the J pins are slightly narrower, however, so they will have bushings added to them. A washer will also be added to the bottom pin at each hinge.
No one is going to be able to use a jack to just lift these gates off again!
So over the next little while, I plan to finish scraping rust and peeling old paint, plus washing the lubricant off. (I’d already washed them, earlier in the day, not realizing my brother was planning to work on it!) I want to get it painted with the hinge pins off and, if I can, I want to NOT paint the bottom nuts and washers over. These not only hold the posts in place, but make it adjustable by the addition of washers underneath, so that the gate can be straightened as needed. After we straighten it this time, it may be years before it will need straightening again. I don’t want to make the future job any harder than it needs to be! :-D
While I was recording the work on the gate, I remembered to ask my brother how much he estimated the gates weighed. He thinks they’re about 300 pounds each. !!! So I’m really amazed that the gate posts have been tipping outwards, not inwards. I guess that just shows how powerful the freeze/thaw effect is in shifting those concrete bases.
My brother did an amazing job! And in this heat!!! It’s almost 8pm as I write this, it’s still 28C (with a “real feel” of 32C), and we’re getting severe thunderstorm alerts for tonight.
I’m rather looking forward to it. I hope they don’t blow past us. We could use more rain.
The Re-Farmer


Pingback: The status of things | The Re-Farmer