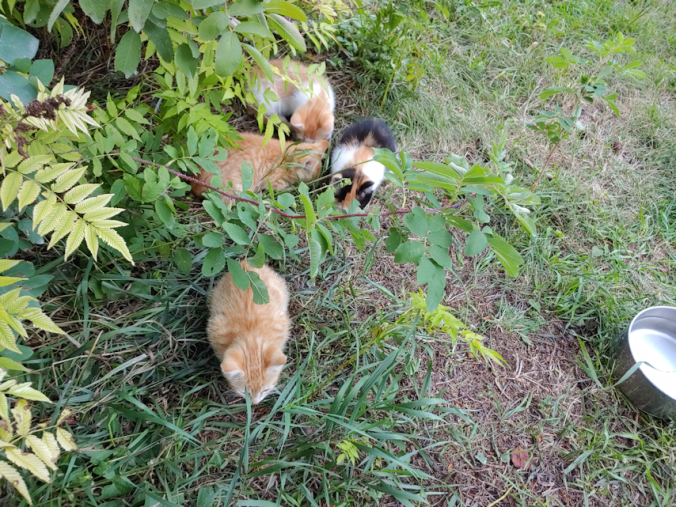
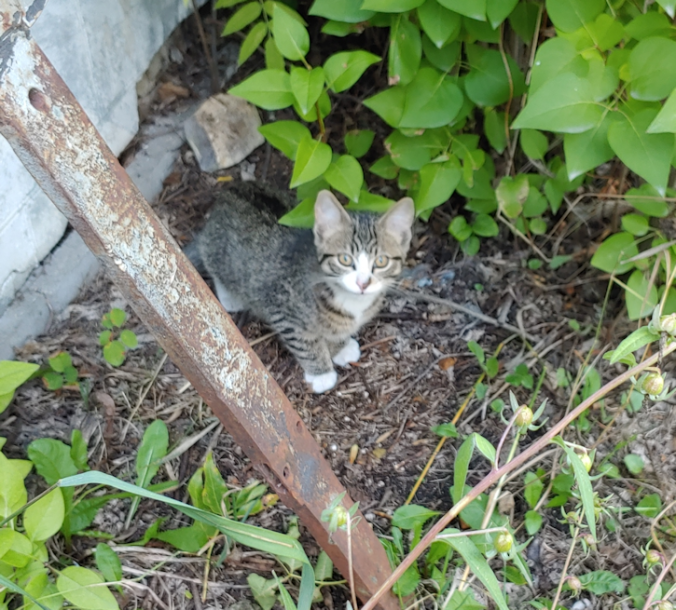
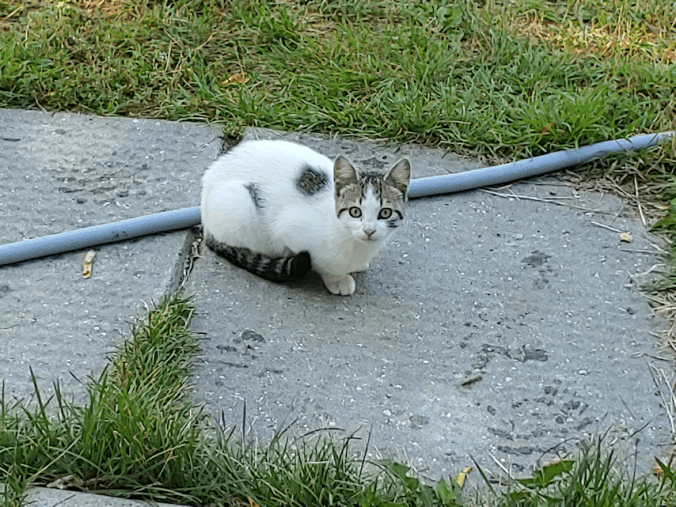
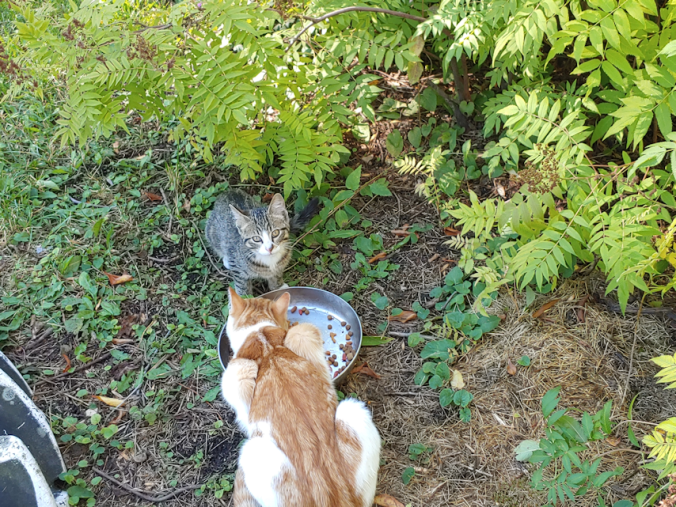
Last night, the outside kittens got their first taste of cat treats!
It got their interest, but not quite enough to come close. ;-)
They were enough to keep Tabby from running away, though!
If Little Braveheart got any of the treats last night, I never saw it, but she has been increasingly less jumpy around me in the mornings, and preferring to eat by the house.
Even Tabby is not running off quite so quickly.
As for Little Braveheart and Tabby’s sibling, we still hardly see it at all. It’s the same with Rosencrantz’s baby – and it appears there’s just the one left from her litter. I have not seen any sign of the other two, since that one day I spotted them at the pump shack. :-(
Another reason to socialize the outside cats as much as possible. They’ll stay closer to the house, where their chances of survival are higher.
One of these days, I want to break out the big guns.
Looking at the weather forecasts, it’s looking more and more like our planned outdoor gathering with family to celebrate multiple birthdays and anniversaries is going to be an indoor celebration!
So today, I focused on tidying up the Old Kitchen a bit more, so my mother, at least, can sit in it comfortably. Between the Old Kitchen and the sun room, we should be able to fit all of us, if a bit tightly. Of course, if my mother is up to doing the stairs between the old and new parts of the house, we can always move to the dining room.
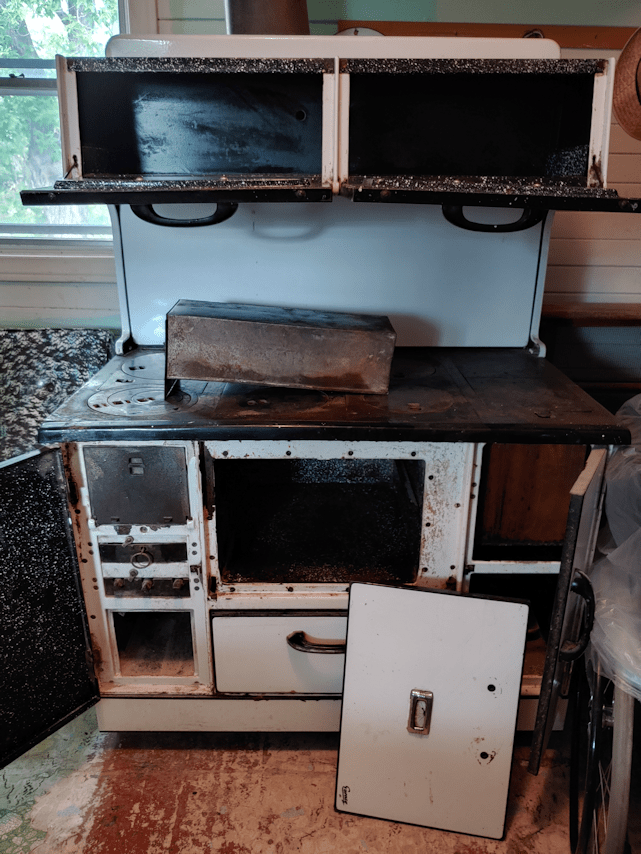
While wiping things down, I started doing a more thorough cleaning of the old wood burning cookstove. It’ll probably just have a tablecloth thrown over it and be used to hold the food, but I wanted to get some more progress in cleaning it out. Including several decades old ashes in the fire box!
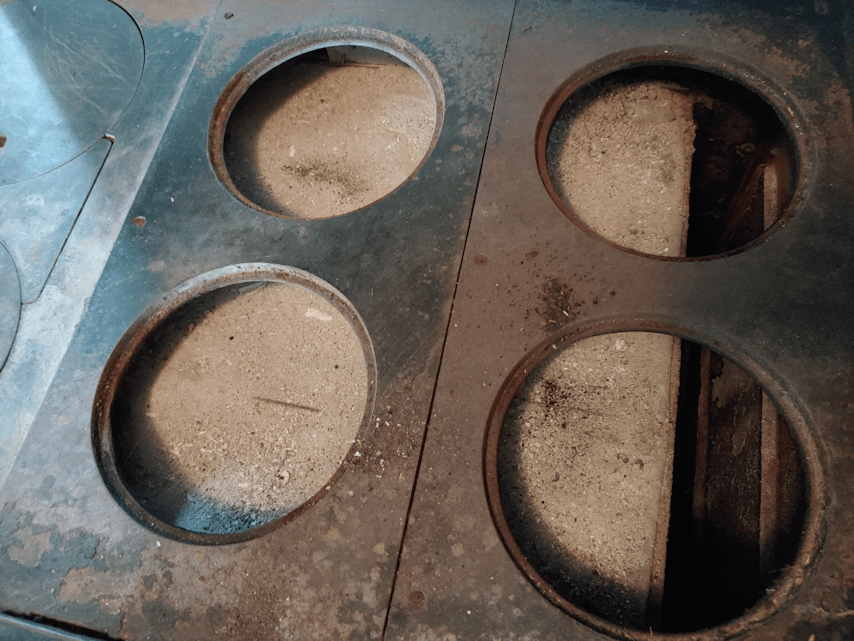
Here is how it looked after I removed the top pieces, and brushed the ashes through.
I should be able to remove the metal plates at each end, which would allow me to remove the grate at the bottom, but I couldn’t see how to do that. For now, I just tried to sweep away as much as I could.
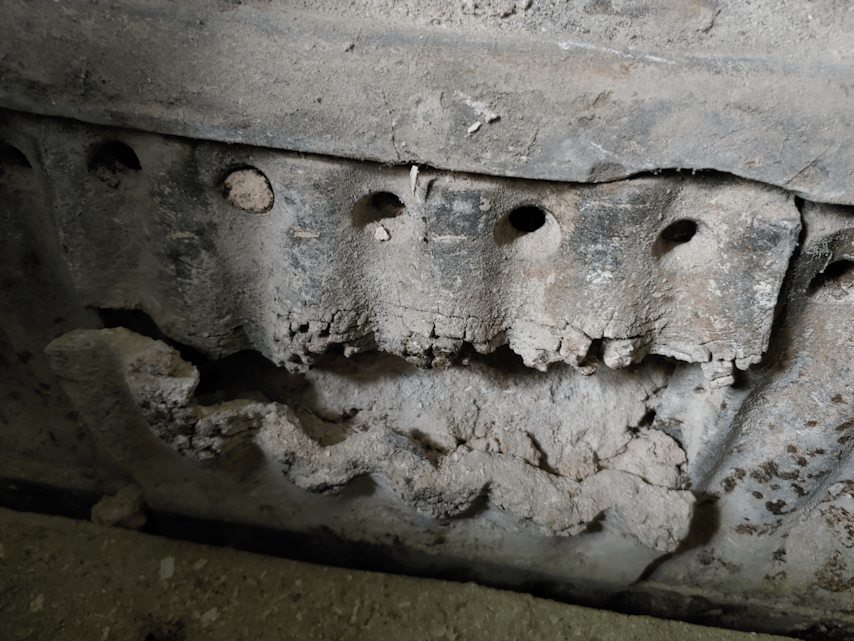
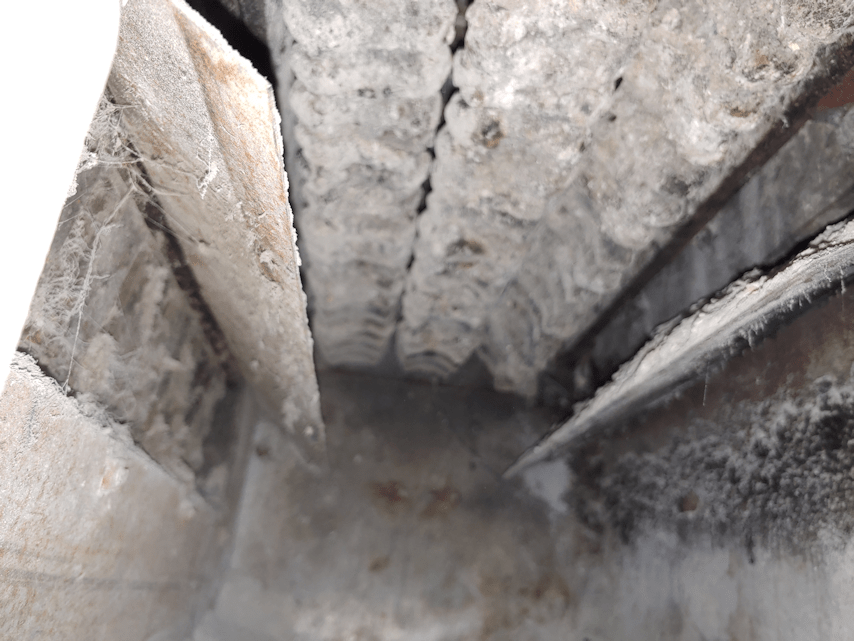
Doing so revealed something strange about the inside wall.
The middle plate looks absolutely destroyed!
I left that for later. First, I wanted to get rid of the ashes. Under the grate are three rollers that can be turned from the outside; a crank handle to do that seems to be missing, but I was able to turn them with my fingers. This allows the ashes to fall into the box below.
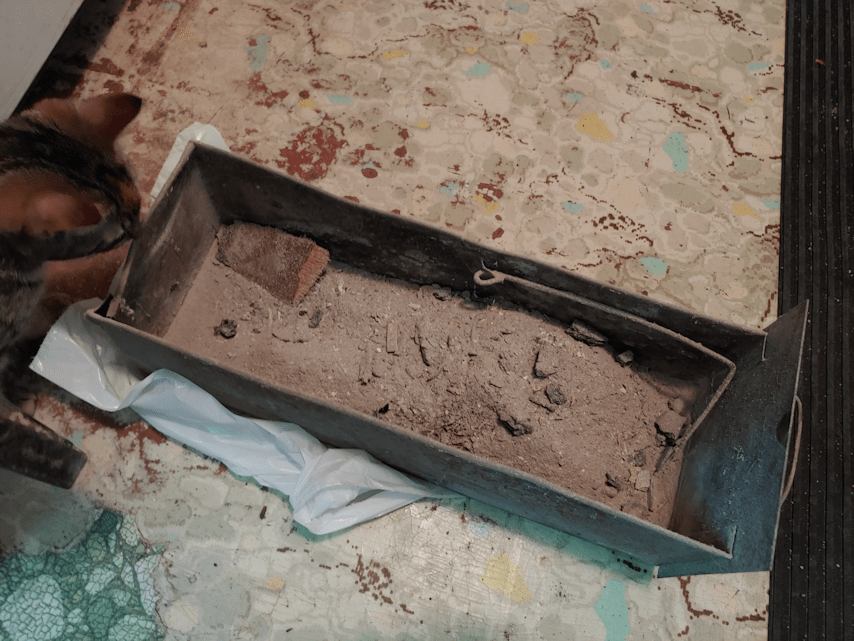
I had mostly emptied this box before, so this is all ashes from the fire box.
I’m not sure where that unburned piece of… paneling? … came from. I might have simply missed it, before.
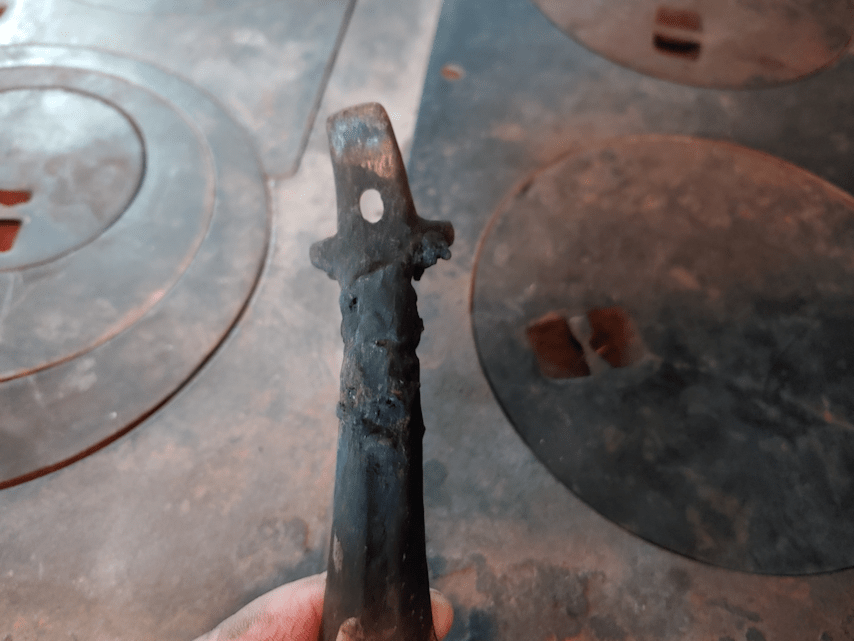
The piece to hold one end of the handle is broken.
After taking the ashes out to the compost, I hosed it down. Then used a chisel to scrape off things stuck to the sides and bottom that were definitely not wood ashes. :-( After hosing it down again, I set it aside to dry, then went back to working on the fire box.
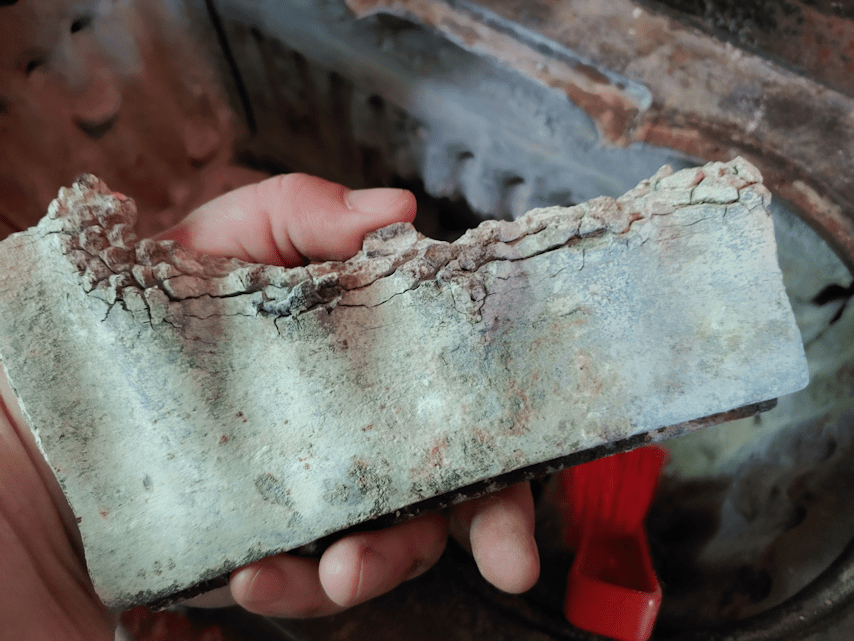
I ended up taking out the bottom of that destroyed panel completely.
This is thick, cast iron. Just how hot did things get, for this top happen?
Once it was out, I tried to sweep away more ashes.
I ended up knocking out chunks of packed ashes, like this one. More was jammed behind the top piece of the metal panel, and I took that out to get at the rest.
Ashes are not supposed to be able to get in there!
I then started sweeping out the space the ash box fits into. In the ashes I swept out, I found some odd things, like old nails and…
What is this???
That, my friends, is the screw end of a light bulb.
Later, I found the filament in the ashes, too. No glass, thank God!
Why on earth would someone toss a light bulb into the fire? The nails, at least, I can see happening. Scrap wood would have been burned, and if they had nails in them, no one would have taken the time to pull them out, first.
But a light bulb???
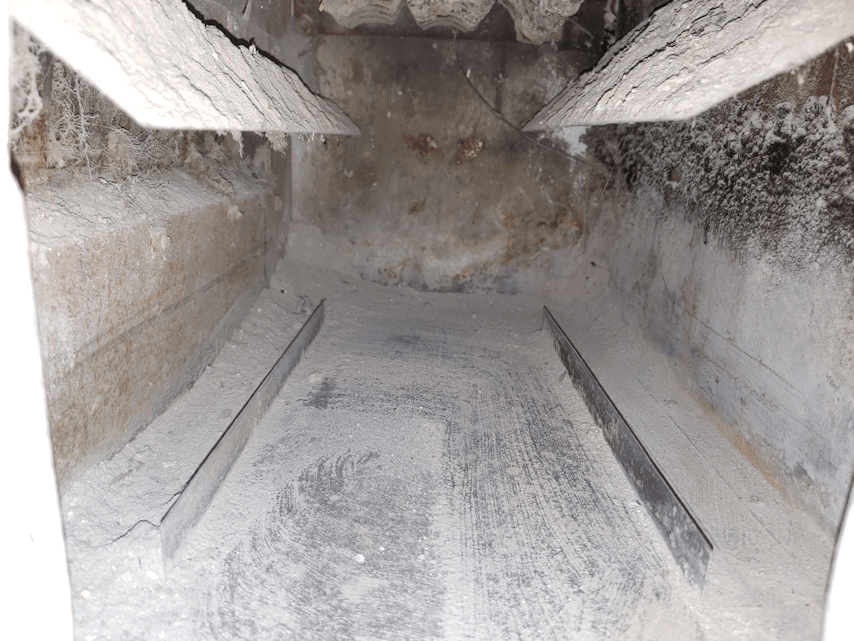
Then I used the miracle of technology that is my phone camera, to see what I couldn’t see otherwise!
This is where the as box slides in. The flaps above divert the falling ashes towards the box.
The camera focused on the flaps, but you can see the rollers above, that keep the hot coals from falling into the ash box.
I did as much as I could for now on the fire box side. Next was the cook top above the oven.
As you can see, the oven box is covered with ashes. Now that I’ve seen the broken panel piece in the fire box, I know why.
I didn’t even try to get those out. The metal pieces can be removed for easier access, but…
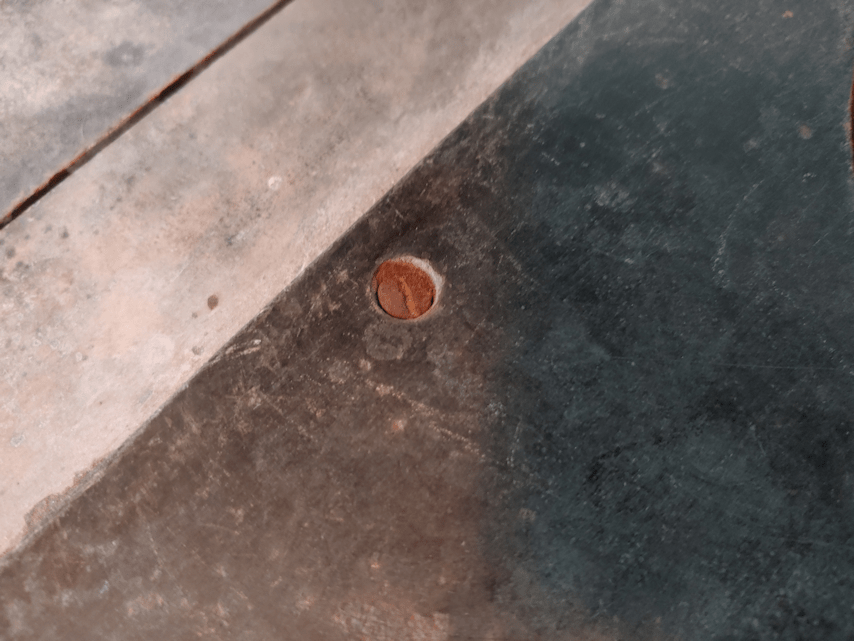
… they are held in place by screws, and there is no way I’m going to try and take those screws out now!
Though I’ve taken the ring plates out before, somehow I never looked at the bottoms of them.
!!!
It seems the fire was allowed to be built up too big and too hot to cause all that damage in the fire box, which then lead to ashes and sooty smoke getting into the space around the oven box. I was quite young when this was still being used, and don’t remember much about it, but I may well have been among those causing the damage. :-/
I really wonder, at times, how we didn’t burn the house down back then!!
I just brushed off as much as I could from the underside of the ring plates. The panels over the water reservoir didn’t need as much.
I didn’t even try to clean the inside of the water reservoir this time.
I did go into the drawer under the oven. The handle and a piece of hinge from the broken oven door is in there, along with …
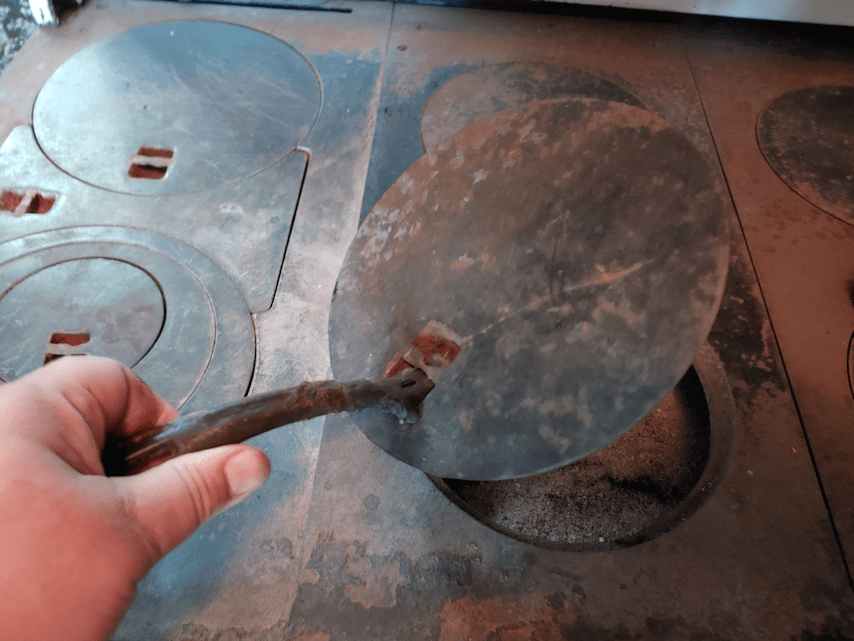
… the lifter for the ring plates.
I just used my hands to lift them, but when the stove is in use, this tool is vital.
I… can’t imagine what was done to it to cause this damage. !!!
The final thing to do was give it all a wipe down, then leaving it to dry completely before closing it up and putting everything together again. The cook surface and parts like the front of the fire box, and the panels below it, are the only things that are not enameled. Eventually, I want to use stove blacking on those parts. The rest still needs a very thorough scrubbing and rust removal, but I really don’t know far I’ll bother to go with that. We can’t use it – partly because of the damage, partly because we’d lose our insurance if we did – so mostly, I just want to keep it from degrading further. It would be great if we could get it all fixed up but… I’m not sure that it’s worth it. Especially since, there is another one in the storage shed that I know my late brother used, back when that building was his workshop. As far as I know, it’s in good shape. It’s not as old as this one, but is almost exactly the same design.
Who knows. When we finally build our outdoor cooking area, maybe we can include the wood cookstove as part of it. I think I’d really like that.
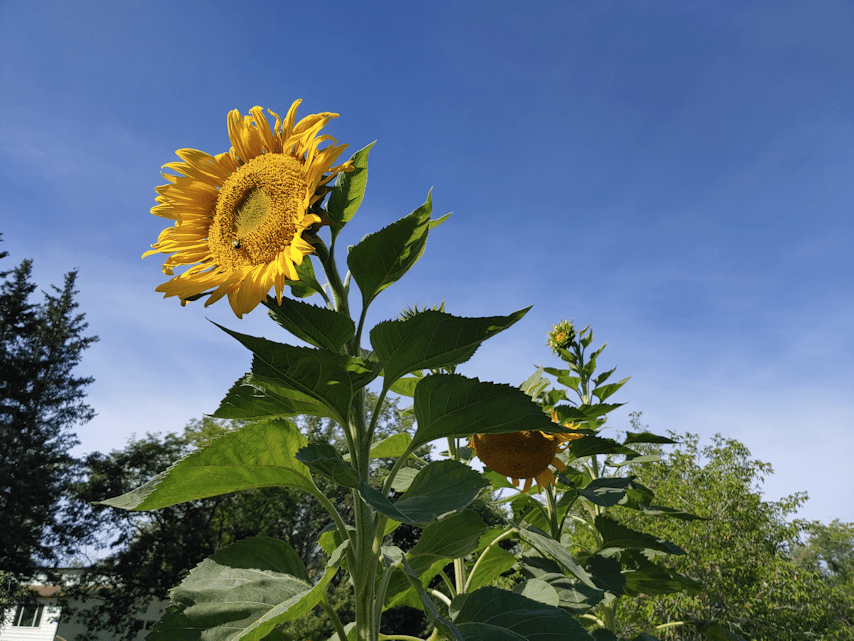
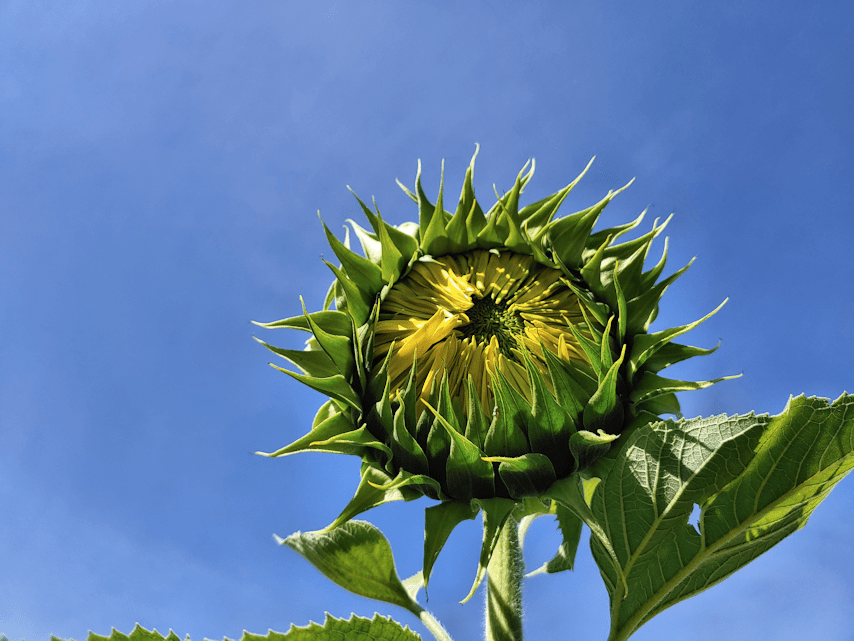
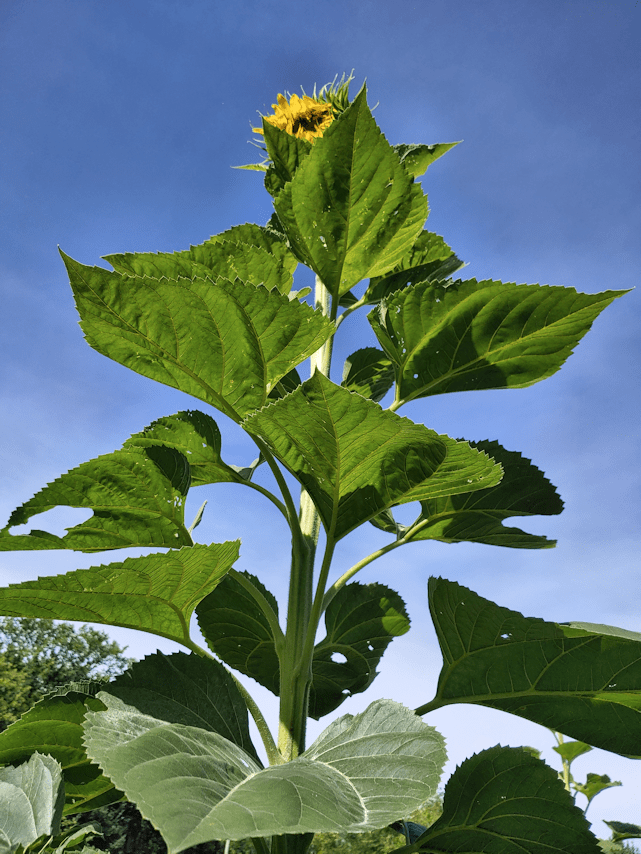
That first seed head that opened is getting pretty big! Quite a few more are starting to show yellow petals.
It’s nice to see more reaching this stage.
I have no convenient way to measure, but I’d guess the tallest ones are reaching the 8 foot range.
The heights are all over the place. Of the original seeds planted, they are among the tallest, of course, but some of them are still only in the 5-6 foot range – and then there are the ones that were shortened by deer! Among the variety that got planted later to fill in the gaps, some are just a couple of feet tall, while others are around 3-4 feet. That variety is supposed to reach about 6 ft, if I remember correctly. Hopefully, we’ve got enough of a growing season left for them to produce harvestable seed heads, but even if they don’t, they are good for the other reasons we planted them; as a privacy screen and a bit of a wind break.
I was a little late in doing the outside part of my morning routine.
Which meant there were hungry kitties wondering where I was!
Little Braveheart was not only willing to let me come fairly close, but she kept going for the food bowls by the sun room, even when I added kibble to the bowl near the spirea they like to hide and play in.
Today turned out to be actually chilly, for a change. Also, a bit on the damp side, with the odd bit of rain here and there.
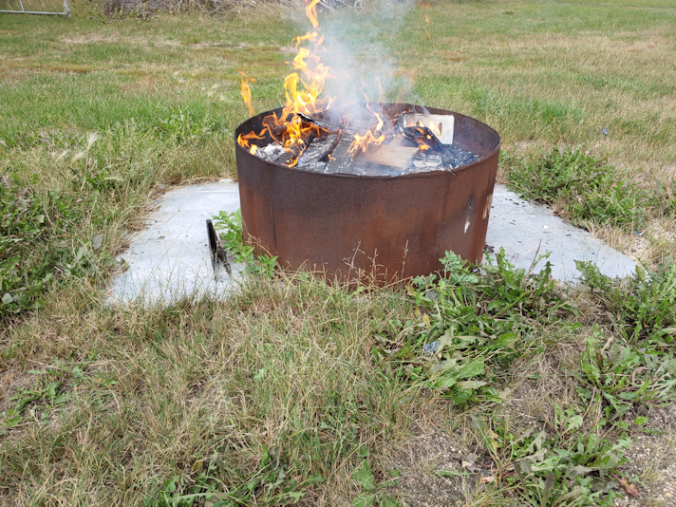
Which made it the perfect day to FINALLY get a burn done.
I set this ring up last year, so we could burn away the scrap and rotted wood and other garbage that was too big or oddly shaped for the burn barrel.
With weather conditions, neither have been used much at all, lately! There was stuff in here, waiting to be burned, for months. This thing was supposed to be a short term set up that was meant to be cleaned up by fall of last year!
It is about 2/3rds full of ashes now, so this will be the last burn in it.
I was originally thinking that the ashes would be emptied into garbage bags, then taken to the dump, but I’ve decided against that. It will be added to the material we’ve been putting behind the outhouse. At some point, we’ll be ready to get rid of it and fill in the pit, and we should be able to just shovel this stuff in.
While tending the fire, I had some loving company!
He was not only determined to get hugs and cuddles, but also to lick my nose. If he couldn’t get at my nose, he would go for my neck, chin, ears, hair… but apparently, my nose tasted best of all! LOL Which wouldn’t have been too bad, except he kept trying to lick the inside of my nose, too.
Which actually hurts. That tongue is sharp!
When I had get up to tend the fire…
… he took my butt spot! :-D
After everything was burned out, I found some pieces of metal that I fished out. Nails and old wire are one thing; they’ll be left in there. These pieces, however, were a bit too big!
The metal plate could have been on pretty much anything that was in there, and I half remember the parts and pieces of an old drawer going in, which would explain the handle, but I cannot, for the life of me, think of what went into the pile that had such a huge hinge on it!
The next step will be to shovel out the ashes until I can move the ring. The metal sheet underneath will make it easier to clean up whatever is left. Then the whole thing will be moved away. I had deliberately placed it, not only far away from anything that could catch fire, while still being close enough to reach with a hose, but also in the way of using this part of the driveway. The inconvenience of it would be incentive to get it done! :-D
Well, it worked. It was definitely inconvenient where it was. LOL It’ll be good to finally have it cleared away!
I dumped my laundry on the bed for folding, and it immediately got catted! :-D
Our mama cat and Leyendecker had formed a Nicco sandwich on my clean sheets. Turmeric had been asleep in my arms when I had to get up, so I was going to gently put her on the bed. Instead, she jumped right on top of the Nicco sandwich.
Then promptly squirmed into the pile. Which mama cat took advantage of and began grooming them enthusiastically. Turmeric and Leyendecker, meanwhile, started hunting for nip. !!! Their own mom won’t let them anymore, but “grandma” doesn’t seem to care. LOL
Today was our day to head into the city for our monthly shop. We will be making another smaller trip, later in the month, but the big stuff is done. We normally would have done it a few days ago, but doing Costco on a weekend just didn’t appeal to us! :-D
So that took up the bulk of our day. Which made it one of those days were some plenty of stuff got accomplished, but it doesn’t feel like it, since much of the day was spent driving. :-D
While doing my rounds this evening, I was able to play with Butterscotch’s babies again. :-)
The orange babies were quite eager to play, while the calico and the orange and white kitten (which was sitting in the broken barrel planter at the time this picture was taken) looked like they were falling asleep where they sat!
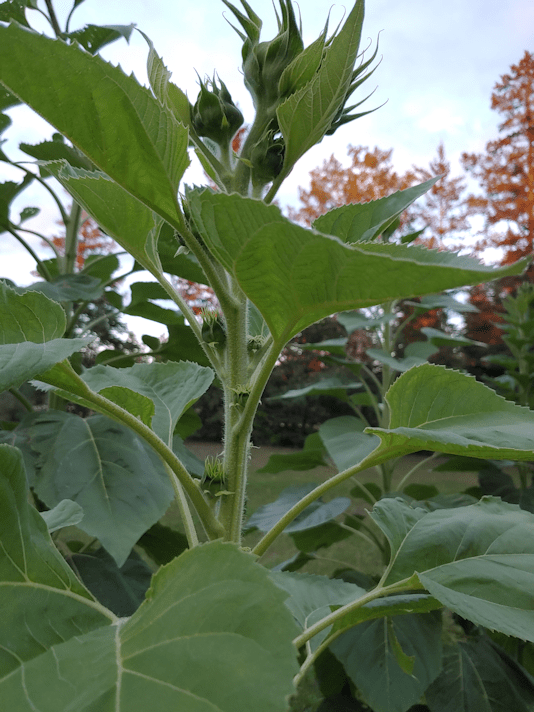
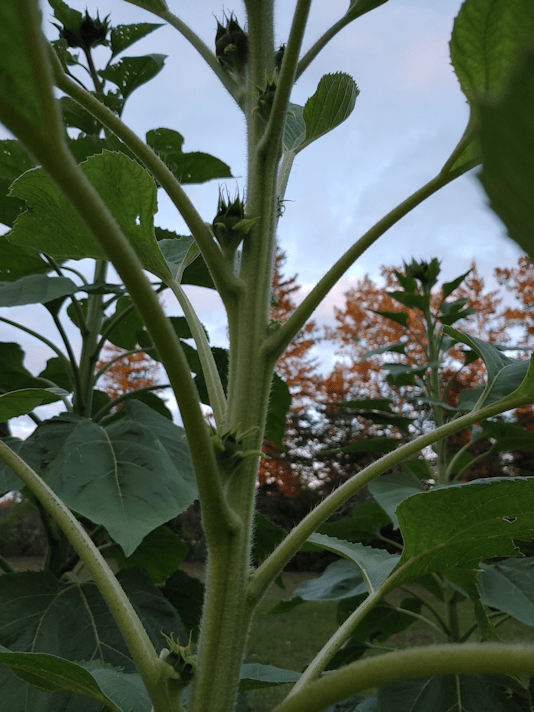
Later, I headed over to check on the sunflowers. There are still only 2 seed heads that are opening, but there’s at least one that looks like it may start opening tomorrow.
Then I noticed something… different… about one of the sunflowers.
Very different.
It is covered with developing seed heads.
I started counting them. I got to 21, and I’m sure I missed some. Along with the several at the very top, every single leaf on the stalk has a seed head developing in the “elbow”. Some of them were absolutely minuscule, but they were there!
I looked at every other sunflower in the rows, and there are no others like this. All the other plants (that aren’t too deer damaged) are developing just one seed head. Which, for these giant varieties, is to be expected. This one plant is among the many that tower above my head now, so it is definitely one of the giants, and not an ornamental type that found its way into a seed packet.
It looks amazing! I really look forward to seeing how it progresses!
Speaking of progress, I made sure to check the pumpkins, too.
The first pumpkin to develop is growing nicely, but it was the the next plant that had me smiling.
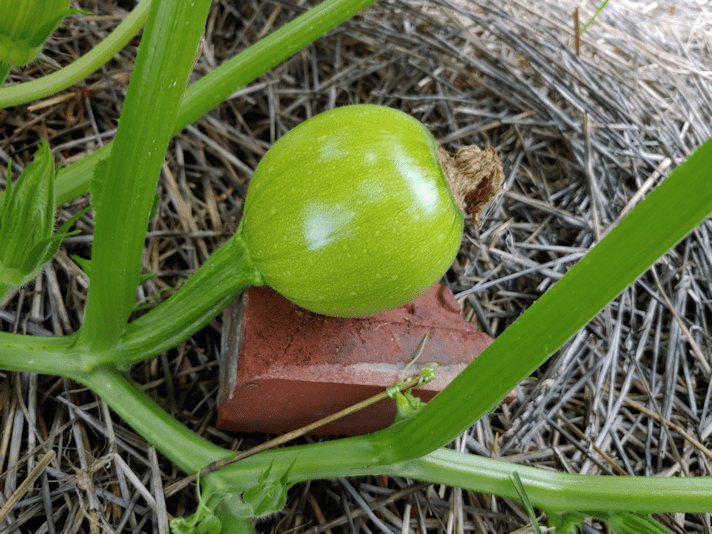
The pumpkin plant in the middle mound has finally developed a pumpkin! I made sure to put something under it, so it won’t develop rot from the damp ground.
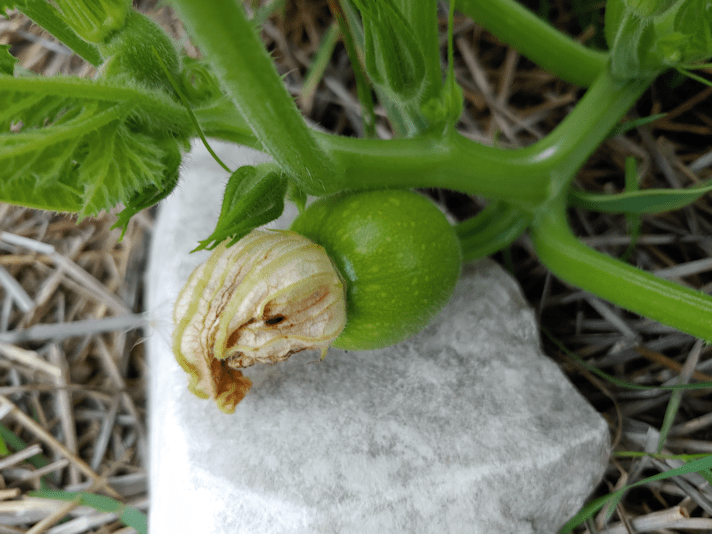
The third pumpkin mound had a surprise for me, too.
There’s a new baby pumpkin developing!
Our squash beds had one last surprise for me tonight, too.
That, my friends, is the tiniest of birdhouse gourds! :-D
There’s just one that has started developing. I can see no sign of gourds on the others, but they are all so small, I honestly wasn’t expecting any to develop at all.
It should be interesting to see if this one gourd will survive. Especially as we start to get some actually chilly overnight temperatures.
Before it got too dark, the girls helped me with one last thing outside. We moved my daughter’s tent, then moved the picnic table under it.
September is a month filled with birthdays and anniversaries, so we have decided to celebrate them all at once. On the long weekend – weather willing – we will set up by the fire pit and have…
Chinese food.
And birthday/anniversary cake.
And maybe roast some hot dogs over a fire, too. :-D
The tent has one solid wall that we will add to the far side to act as a bit of a wind break, since that is the direction the wind usually comes from. We also have screen walls, in case bugs are a problem.
If the weather isn’t co-operative, we now have the sun room and old kitchen cleaned out and organized, so we can move into there. The old kitchen is downright pleasant to sit in now, plus it’s close to the bathroom. More importantly, there are no stairs, so my mom can get in and out more easily than into the new part of the house. Plus, there is also a door we can keep closed, and keep the cats out! :-D
This is planned for almost 2 weeks from now, so we have plenty of time to make sure everything is clear and accessible for my mother.
Hopefully, it will all work out. A lot can happen in 2 weeks! :-D
Today I found myself heading into town for a trip that included a stop at the hardware store. I took advantage of being there to look for some Dremel tips.
The didn’t have the individual tip I was looking for.
I ended up getting this, instead.
I think I’ve got enough tips for quite a few projects, now! :-)
So, of course, I had to find a reason to use it. :-)
A while back, I posted about making a maple spoon.
You see that chunk of wood beside it?
That’s what I worked with, today.
This is that same piece of wood, roughed out.
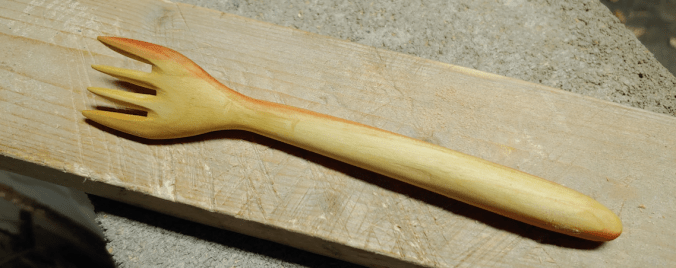
Not for a spoon, though. Today, I was determined to make a fork!
For this project, I used everything I had around to remove the excess wood. The 4 way rasp got a lot of use, but I also used several of my new Dremel tips, the big K-bar knife, and a couple of my fine saws.
Basically, I see no point in dulling the blades on my carving knives any more than I have to! :-D
I saved cutting the tines for when I was ready to start using sandpaper on the rest of it.
I used a carving knife, as well as a fine tip on the Dremel to shape the tines.
Unfortunately, while sanding them, the wood broke off the tip of one of the inside tines.
Which meant I had to shorten all the others to match.
Here it is, after sanding.
Front
Back
The end result is the wonkiest of forks!
But it’s still a fork. :-D
Here is it, after oiling.
Front
Back
Oh, gosh, it’s the funniest looking fork, ever! :-D
Here it is, next to the spoon made with the same wood.
The spoon could use another coat of oil!
Well, I at least accomplished what I set out to do. Even if it does look totally wonky!! :-D
I still have wood left from the piece I used for these. I suppose my next project should be a knife. :-)