Today, while the girls continued to work on the basement (I have yet to go down to see their progress!), I worked on baking our Easter bread.
Then, since I was baking anyway, I made some sourdough soda bread, and another double batch of what has become my usual standby, a basic bread recipe modified by the addition of rolls oats and various seeds. This recipe, plus chia seeds and minus the rye flour. Lately, I’ve also included hemp hearts as well, which adds a really nice flavour and texture. Thanks to my dear friend, I even had yeast to use for the non-sourdough recipes. :-)

In this photo, the braided loaf is for our Easter basket, and I made 4 mini loaves with the other half of the recipe. In the back, left, are the loaves of sourdough soda bread. Which did NOT want to rise today. The house was a bit too chilly today, even though it has been warming up again, outside.
In between batches and rising times, I also made a soup using one of my meals in a jar mixes with sausage. The mix had brown lentils, red lentils, orzo pasta, turmeric cous cous, dehydrated vegetables, dehydrated onions, mushroom ketchup powder, 1 cube of vegetable bouillon and 1 cube of chicken bouillon.
The seedy bread was shaped into mini-loaves that made excellent bread bowls.

This was soooo good to break my Good Friday fast (for health reasons, I do not do a total fast).
While doing my rounds this morning, I checked the ground near the power pole in the old garden, where there is horseradish planted. It was rock hard, but I hoped that things would have warmed enough to dig some up by this evening.
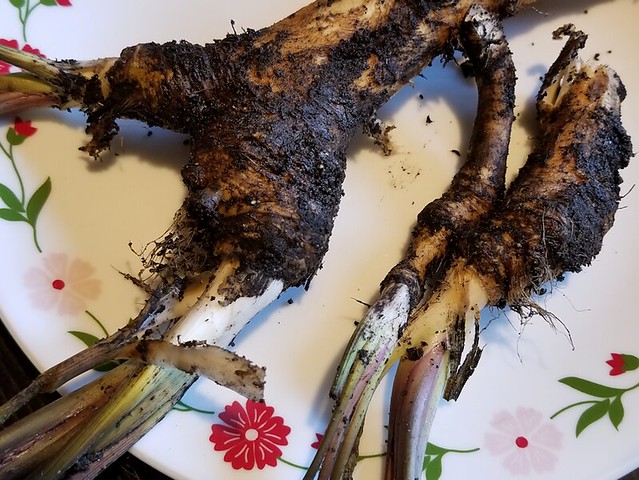
After scraping aside last year’s leaves, I found the horseradish has already been trying to grow.
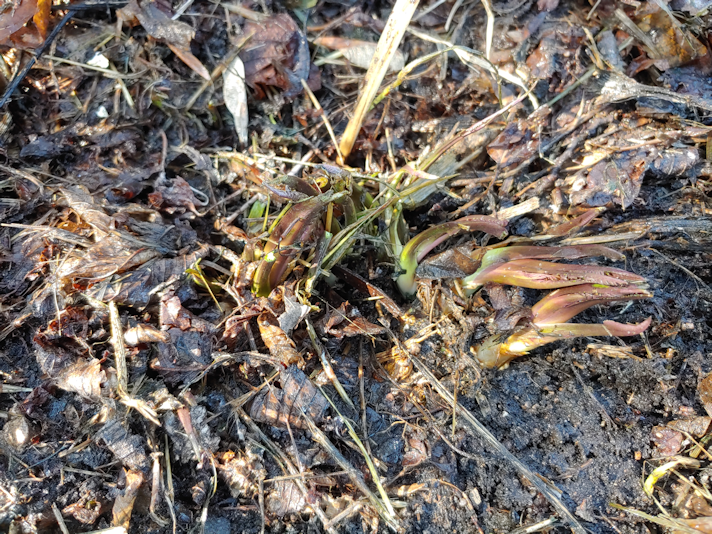
The ground was certainly starting to thaw out by this time, but the soil here is so full of rocks, it didn’t make that much of a difference. I can’t understand why my mother planted these here. For a plant that is grown for its roots, rocky ground would have been something to avoid. The area has always been much rockier than the rest of the garden; so much so, my parents eventually stopped using it completely. The base of the power pole, however, has rocks and gravel packed around it, so it’s even worse than anywhere else.
I did manage to break off a couple of pieces, then decided to see what I could find in the other spot my mother had planted horseradish; at the base of a spruce tree near our feeding station. I had hoped that, between the wood chip mulch and possibly a bit more sunlight, the ground would be thawed out more.
The horseradish here isn’t as big or prolific, but I could see where it was starting to grow.
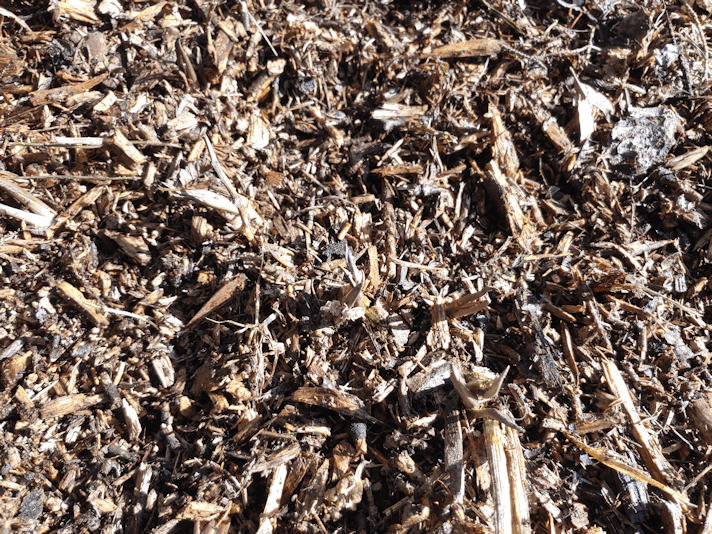
I did scrape away the wood chips, but it’s still pretty hard to see.
There isn’t as much growing here, and they’re much smaller, but the ground was indeed a bit softer, so I got a couple of decent chunks out. The ground isn’t rocky here, but of course, there’s plenty of tree roots. Again, I don’t understand why my mother chose this location.
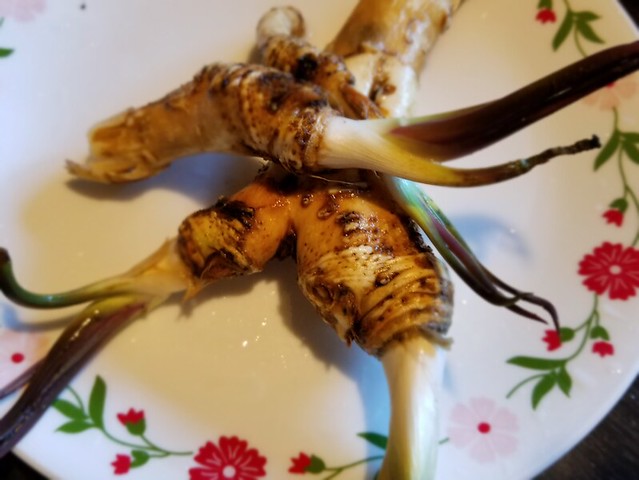
After much washing, then scrubbing with an old tooth brush to get into the crevices, I now have several chunks to use.
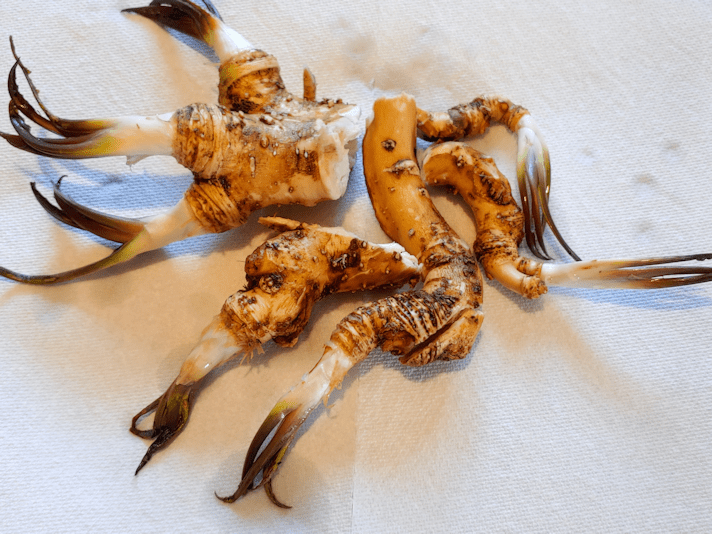
That big piece with three sprouts? I could potentially plant each of those, and have three fresh plants.
I think the two little ones will be enough for my mother. If all goes to plan, I hope to swing by her place tomorrow with a care package for her. I’ll leave these as is, so she can prepare them as she wishes – or plant them in her own little garden plot outside her window. :-)
We only need a bit for our own basket. I have been thinking of planting horseradish in softer ground; perhaps in a raised bed or planter. Something that will allow a straighter root to develop. If I can think of a good spot for that, I might do that with the big piece. My mother always kept a piece of horseradish, with the green parts still attached, in the basket to be blessed with the rest of the food, specifically to share with friends to transplant, or to transplant herself. I’ve tried it myself a few times, but the only one that succeeded (and didn’t get dug up by squirrels) was the one I’d included with our Easter basket the last time we were able to visit with my father, 5 years ago. I took it back with us to plant when we got home, and it actually survived. It got left behind when we moved, of course.
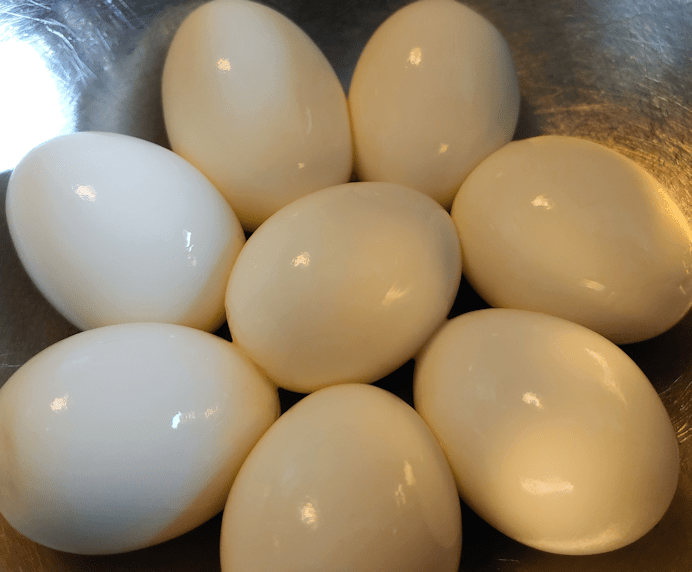
Normally, we would finished putting all our basket contents together tonight, in preparation for taking it to church for the blessing tomorrow morning, but since there is no church blessing, we’ll finish arranging the basket tomorrow and do our own blessing whenever we’re ready. I still want to do onion skin dyed and tea dyed eggs, which will be the last things that require any cooking.
For now, I think I’ll head down into the basement and see how things are looking after all my daughters’ hard work! :-)
The Re-Farmer