Ah, what a perfect day to work outside! This morning, it was cool enough that I actually wore…
*gasp*
…long sleeves!
:-D
The goal was to move the debris pile from where I’m clearing in the old wood pile to the area behind the outhouse. Which meant I first had to clear around the outhouse.
This is what the must looked like this morning, before I did the first stir of the day.
Bubbly bubbly!
I love me some CO2 action!
At the time of this writing, we’ve done the second stir of the day. The instructions we are using as a guide said to stir it twice a day in the first 48 hours, so this was the last one. We now leave it, loosely covered and untouched, for the remainder of 10 days. After that, we siphon it off into the carboy, leaving behind any sediment, set up the airlock, then tuck it away into the basement for a minimum of 4 weeks. After this second fermentation, it should be ready to bottle.
We will, of course, have to taste it first, and see if we’ve got mead. :-)
I was able to swing by the beach after dropping my daughter off at work.
What a glorious morning!
I love these marks the waves left behind, as the tide receded.
Those squiggly whiter lines are tiny ridges of sand, left behind by waves.
The rocky part of the beach is always so much more interesting than the sandy parts!
You never know what you might find, too.
Unfortunately all the pictures I took focused on my dash in the background, instead of this amazing rib bone I found. The size of the fish this belonged to must have been impressive!
Yes, I kept it – for my other daughter’s collection.
One of the things we found in the spruce grove was a bench made by nailing a board across 2 logs.
It was left where it was, but while doing my rounds this morning, I noticed something missing…
The board was off.
I’m not sure what knocked it off. The outside cats did sometimes sit on it, so it’s entirely possible some animal bumped it and finally knocked it off.
You can see how the rot was the worst, where wood contacted wood. One nail was still in a log (bottom of the picture), while a second nail at the other end (in the board, top of the picture) was rusted away to almost nothing; just a tall, thin bit of metal I would not have recognized as the remains of a nail at all, had I not been looking for it.
I cleared away the board and the nails, but didn’t bother moving the logs, yet.
When the spruce grove is finally cleaned up, I do want to set up a bench or two. Something make out of materials that won’t rot like this! :-)
Using a set of instructions we found, the must is to be stirred basically once every 12 hours, for the first 48 hours.
This is what the must looked like after the first 12 or so, and before I started stirring.
I have no idea if this is what it’s supposed to look like at this point. Of the various instructions and recipes I found that included pictures, I never saw one that included pictures at this stage.
I expected more of a yeasty smell, but there is barely any smell at all at this point.
After about a minute of stirring (the instructions said stir for 2 minutes, but I didn’t want to have the bucket open for that long), I popped the lid back on top. Then I made sure to write on a sticky note that the first stir is complete and left that on the lid, so no one else would accidentally pop it open and stir it again.
I’m really looking forward to seeing how this works!
Yesterday, I heard some odd meowing noises out my window, so I went to check it out.
I walked right by one of the apple trees by the old kitchen garden, completely missing it was the source of the meowing!
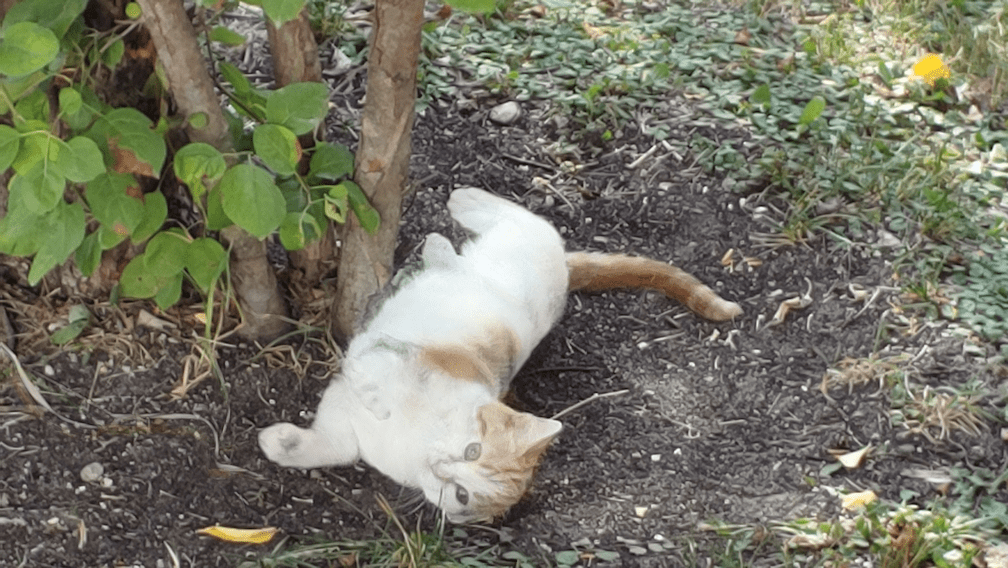
The base of this tree is one of the cats’ favorite rolling-in-the-dirt places. When I first spotted them, though, he was mostly hidden behind the tree. It was his Aunty Beep Beep that had me laughing. It looked like a pair of eyes was watching me from the ground!
Then she rolled around some more; the epitome of grace. Not. :-D
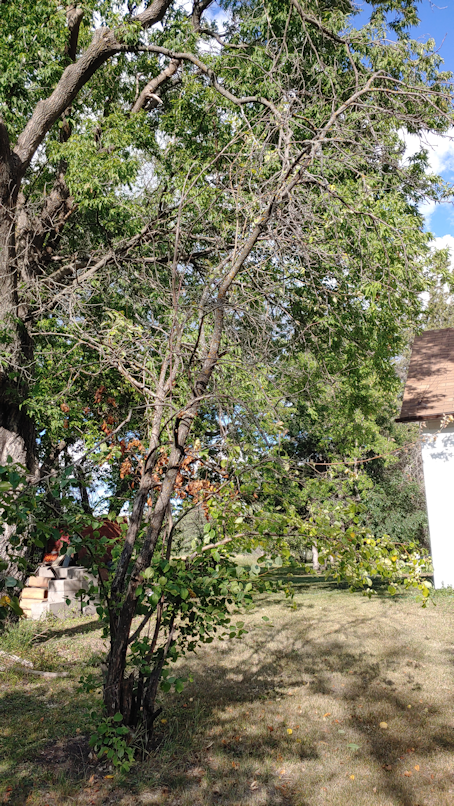
Since I was there anyhow, I stopped to take a good look at this apple tree.
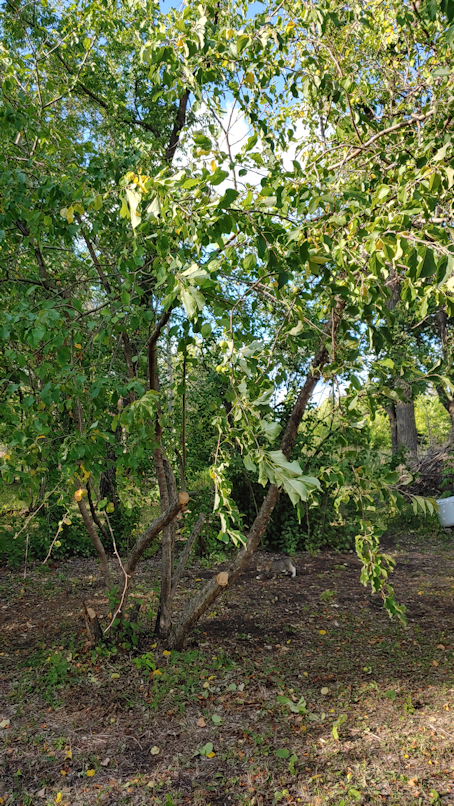
You can see one branch is hanging quite low, weighted down by apples as they get bitter.
Much if it, however, did not survive the winter. It wasn’t doing well last year, and I guess that polar vortex that kept hitting us was too much for parts of it.
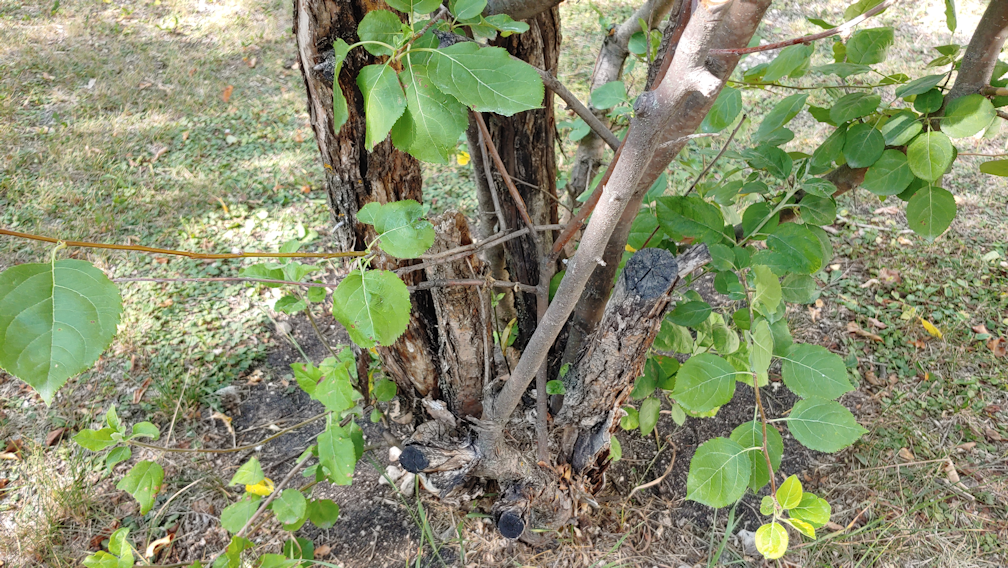
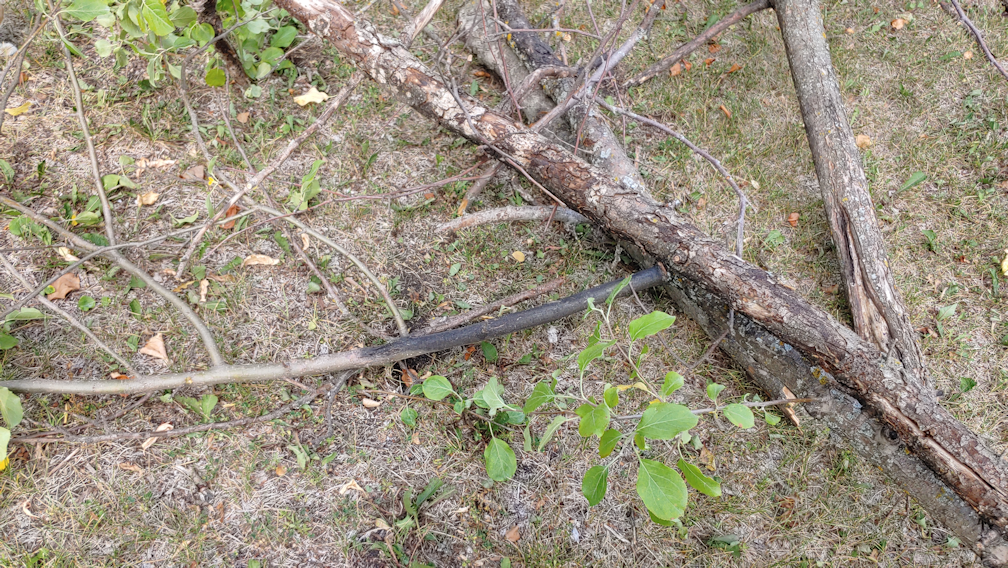
As you can see from its base, it has been cut back a few times. I don’t think there’s anything left of the original graft. The two main trunks that you see in the above picture seemed to be dead. With living and dead branches so entwined together, it was really hard to tell where one branch started another began. I couldn’t tell if they were completely dead, or if they still had a live branch or two on them.
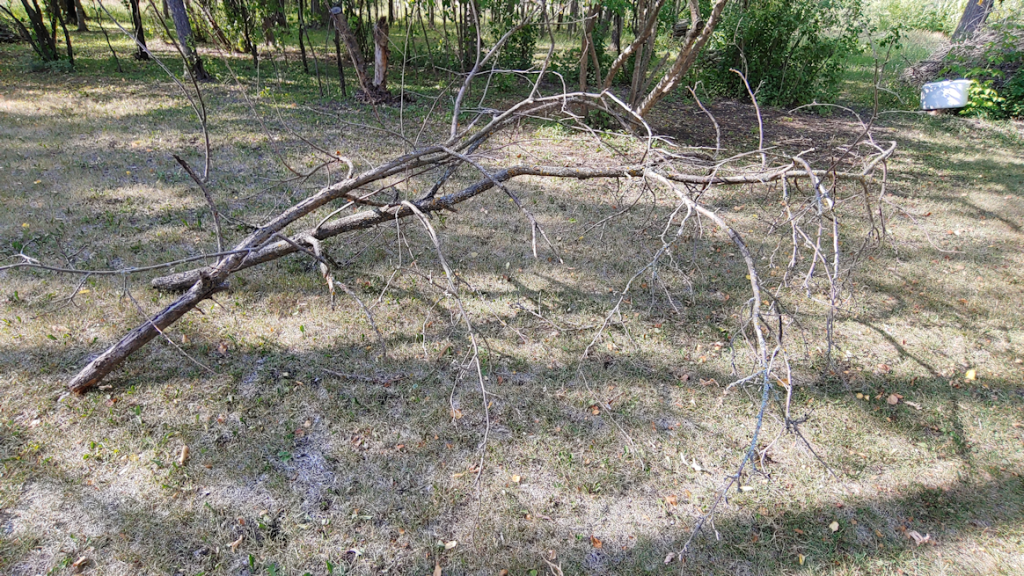
Either way, down they came.
Not a living thing on either of them.
I cut them at about 3 feet above ground, with the intention of cutting the remains, further down. Instead, I decided to make use of them.
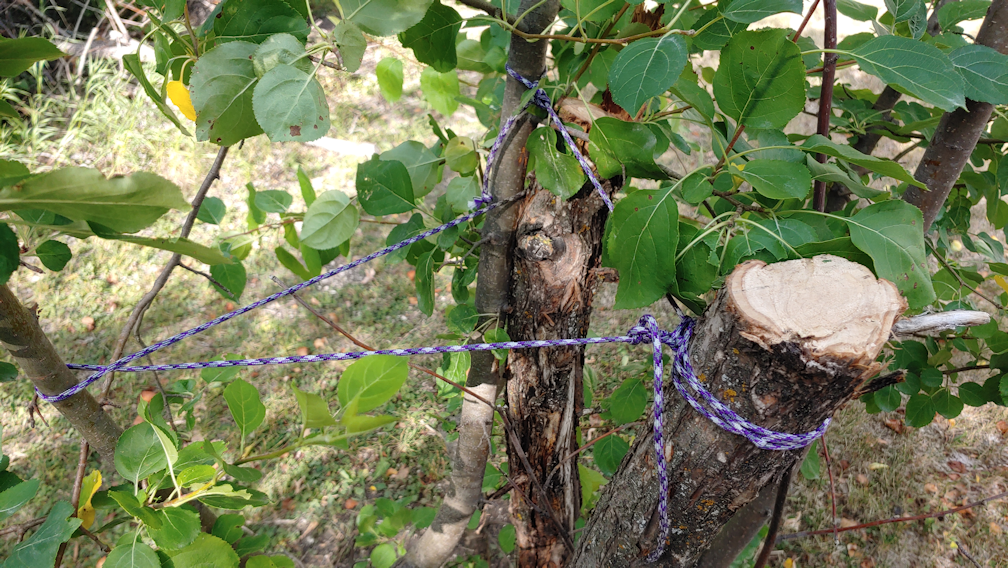
I took the branch that was hanging down the most and braced it against one of the remaining trunks. It had a secondary branch that immediately began leaning over in the other direction, so I used rope and the remaining trunk pieces to support them. If they survive, with this support, they will continue to grow stronger, upwards.
This is not a healthy tree, however, so we shall see.
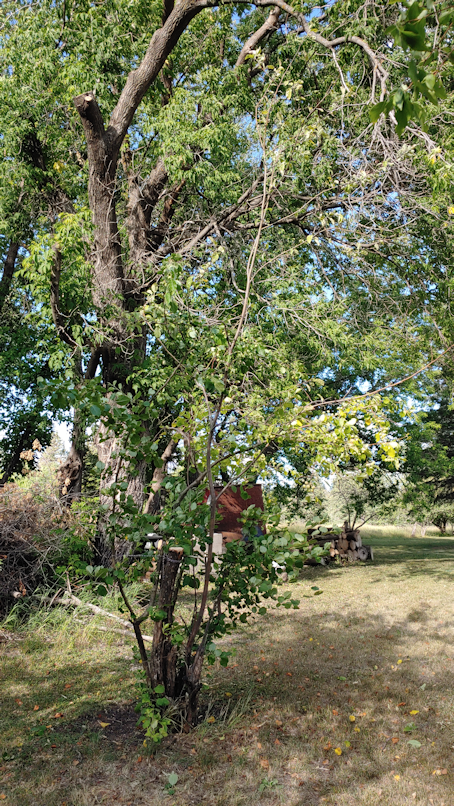
This is how it looks now.
It’s hard to tell, with the maple grove in the background, and with the dead wood gone, there’s surprisingly little left. Basically, they’re just suckers that have survived while the rest of the tree has slowly died.
After finishing with this one, I turned to another apple tree next to it.
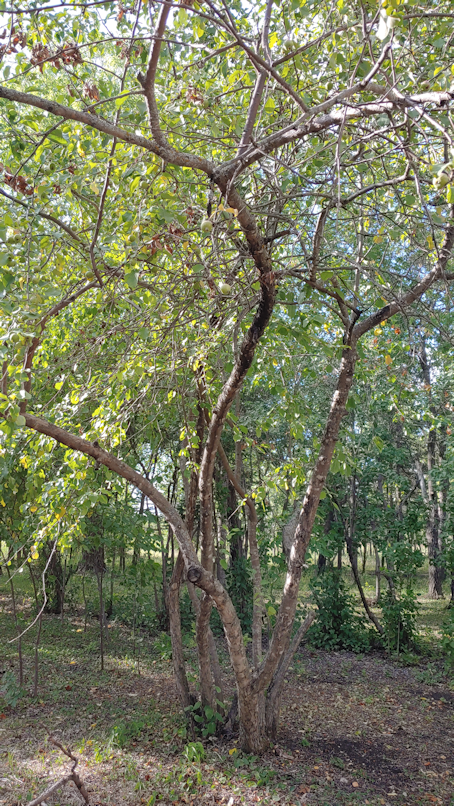
This tree had quite a bit pruned away, but also had signs of a fungal disease.
The branches that had the most signs of disease seem to have died.
Once again, with how twisted the branches were around each other, it was hard to see how much of any particular main branch was dead.
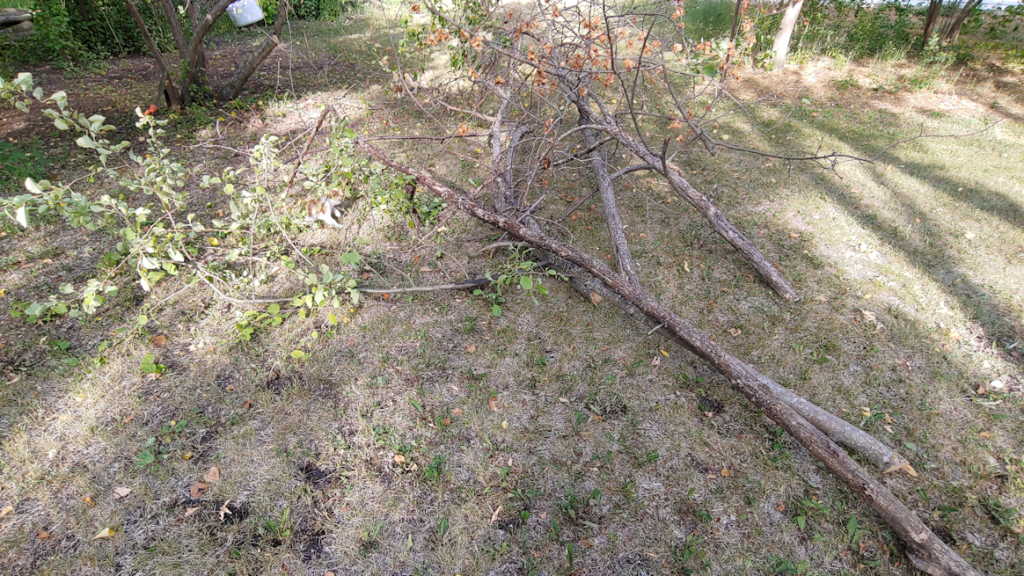
I ended up taking out three major branches.
One of them did have a still-living off shoot, but…
The part of it closest to the main branch is blackened. It almost looked burned.
One of the dead branches I cut out was so intertwined with others, it was really hard to pull out of the tree, with several dead branches breaking off and staying stuck among the living.
After cleaning it out, one of the living branches ended up hanging down almost to the ground. It turns out to have been supported by one of the dead sections. I could have mucked about to give it support, but in the end decided it would be better for the tree to take that weight off completely.
There was a third apple tree, growing between the plums, with a dead piece I cut off as well, though I neglected to take photos of that one.
I haven’t done much beyond maintaining what I did in this area last year, trying to focus on the East yard and the spruce grove, instead. Even so, I can see how the trees that seemed the weakest last year are either struggling even more this year, or have died outright. The row of apple trees to the north of the spruce grove is no exception. I don’t think we’ll be getting many apples this year. Not just in quantity, but they bloomed so late, it’s unlikely they’ll have time to ripen before the cold sets in. One that had been pruned back the summer before we arrived had started to recover fairly well, but not enough to survive this past winter. Others in that row have lost quite a few branches. Those, I think I’ll leave pruning back until next spring or so.
Something we will have to keep in mind as we plant more food trees: either they will be varieties hardy enough for our bitter winters, or we will have to ensure they get extra protection wrapped around them in the fall.
Before we moved out here, a tree in the spruce grove had fallen onto the fence. I have no idea when it happened, but it had to have been very recent. My older brother, spotting it, grabbed a bucksaw and cut the tree at the fence, then propped the fence wire up with a stick, then neatly tucked the top of the tree, now on the outside, against the fence.
When I was cleaning along that fence line last year, I moved the tree top away from the fence line to give me space. I just dragged it over into the space between fence and ditch and left it there until I could get back to it.
That section of tree has been sitting there ever since.
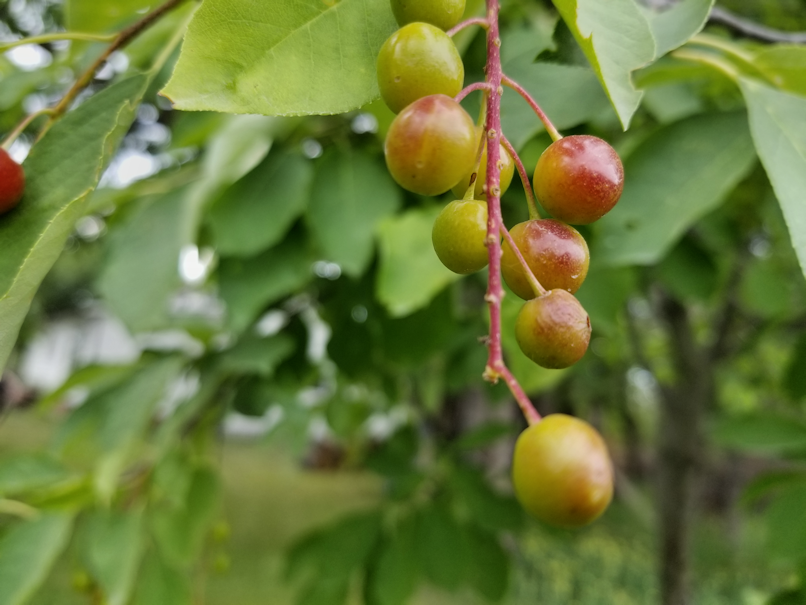
While picking a few more raspberries, I noticed some significant differences in the nearby chokecherry tree, compared to last year. Specifically, the ripening berries are already larger than the fully ripe berries I’d picked from this tree last year.
This location is closer to the house, where it gets shaded for much of the day by nearby spruce trees and the maple grove. Last year, I pruned this tree back and, thanks to my watering the transplanted raspberries, it got watered along with them.
I decided to check out the other two chokecherry trees among the lilacs that run along the north fence, where they (the lilacs) do a bang-up job keeping out the dust from cars passing by on the gravel road.
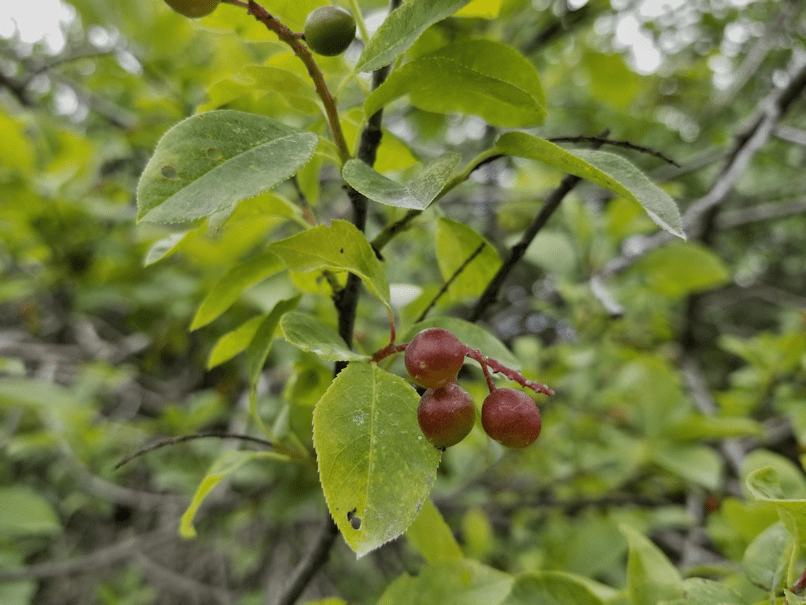
There are not a lot of berries on this one that I could see, and they are mostly very green; I made a point of getting a picture of the reddest ones I could find. These berries are quite a bit smaller than the tree closer to the house, though I’d say they are the same size as last year.
This tree is mostly hidden by lilac bushes, with a few branches leaning over where I mow. No watering happens this far from the house, other than what nature provides, and there has been no clean up or pruning of any kind. This tree is also in the section bordered to the south by a row of trees that was self-sown when my mother had raspberry bushes there. She transplanted the raspberries, but left the trees, splitting up a section of the old garden. The last time it was plowed, there was some attempt to plow along the north side of the trees, too, but with the trees there, that area is unusable for gardening.
She is not understanding why I see them and their location as a problem.
While this tree does get a lot of sun, that row of self-sown trees is large enough that, at certain times of day, they do shade it a bit. This is also near the end of the row of lilacs. After that, there are mature elms along the fence line that shade the area in the evening.
There is another chokecherry tree among the lilacs, and when I got to it, I found quite a surprise.
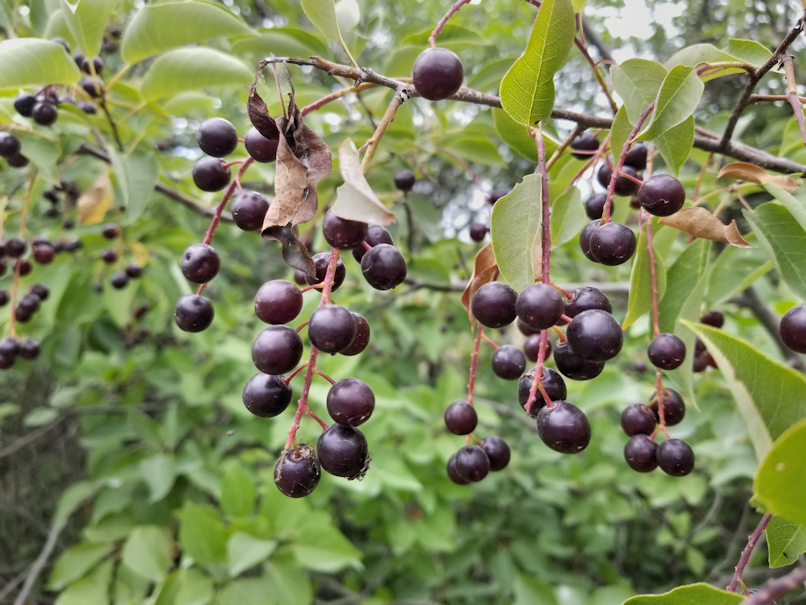
This tree has massive amounts of almost ripe berries!
Like the other tree among the lilacs, the only watering it’s been getting has been whatever rain we’ve had, and there has been zero pruning or clean up. The main difference is that there are no tall trees to shade it; just the lilacs it is growing with. Which means it gets full sun almost from sunrise to sunset. This time of year, I’d say about 9 or 10 hours of full sun a day, plus maybe 1 1/2 – 2 hours of non-direct light.
I would say the berries are about the same size as last year, though they are slightly bigger than the other one among the lilacs.
Earlier today, I was able to acquire a starter kit of equipment to start brewing mead. In looking up recipes, I’m excited to try some combinations. We’re already going to be using honey locally produced by my cousin. Some of the recipes include fruit and berries. I look forward to trying it out using our own sour cherries and chokecherries. Over time, we could also try it with raspberries (we won’t have enough this year) or Saskatoon berries (I think we’ll have to start over with new trees, though), haskap and other types of fruits and berries we will be growing as time goes by.
I think our first batch will be plain honey mead, as we learn the ropes, but I will be freezing cherries and chokecherries as we gather them (freezing helps with the release of natural sugars) to use in later batches.
I’m pretty excited about trying this out!!
Meanwhile…
Seeing how the same type of tree is doing in three different locations is giving me good information for when we are ready to plant other types of fruit, berry and nut trees around the property.