Today, we started up a batch of mead, using the wine kit we recently acquired.

Here are the contents of the kit, plus a 5 kilo bucket of my cousin’s liquid gold!
Looking up how to make mead had us all over the place. At its simplest, you can mix honey, water and yeast into a sanitized glass jug. Stick a balloon over the opening to allow the gasses to expand, tuck it in a cool dark place and forget about it for a few weeks.
Other sources had elaborate recipes with multiple steps and finicky measurements every step of the way.
We’re going to be doing something in between.
Since we have the wine making kit, we are going to do a two step fermentation, and today we started the first step.
After sanitizing the bucket and stirring spoon, we started the must by adding some hot water to the bottom of the bucket first, then pouring in the honey.
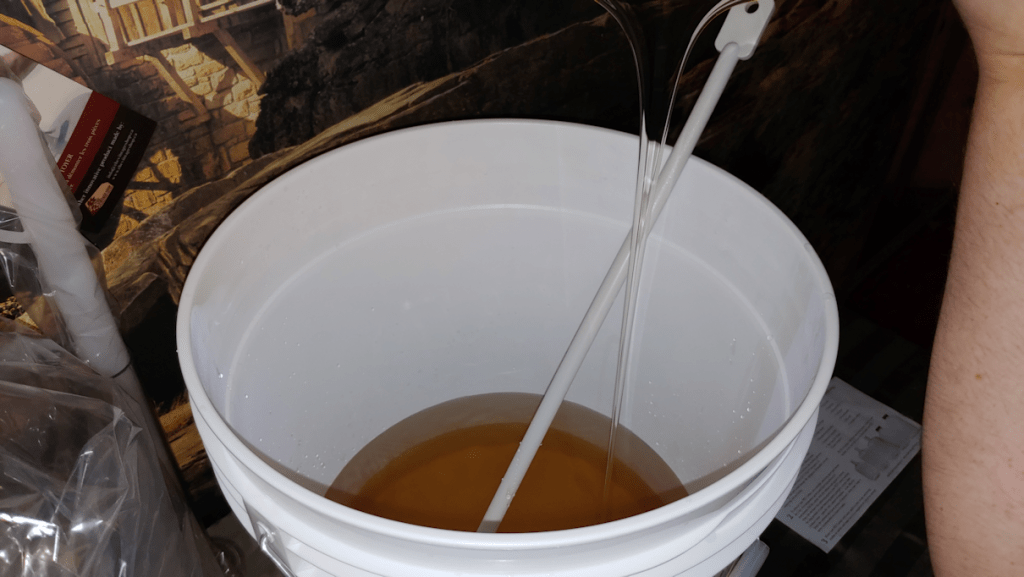
It isn’t actually necessary to do hot water, but it was one of those “suggested hints” I found that seemed like a good idea. By adding water into the bucket first, the honey doesn’t stick to the bottom, so it’s easier to stir. Hot water in the beginning instead of cold also makes it easier to stir.
The honey was not at all crystallized, but if it had been, we could set it in a sink of hot water for a while, first.
Once the honey was added to the bucket, we added more water (just our cold well water) until it was just below the line that you can see inside the bucket. So, about 5 gallons of water to about 11 pounds of honey.
Give or take.
If we were on treated town water, we would have bought water for this.
One set of instructions I had printed out insisted in using the hydrometer to estimate what the Alcohol By Volume will be, before adding the yeast.
We don’t really care that much. We just added a tablespoon of ordinary active dry bread yeast. Not the quick rising or bread machine yeast, though I suppose those would work, too. You can tell the difference by the size of the granules. The quicker the rise, the smaller the granules.
Then we popped the lid onto the bucket without sealing it. This will allow the gasses to escape while keeping floaties, like dust and cat hair, out.
We had to resist the temptation to add flavourings, like cinnamon or other spices. For our first batch, it’ll be plain honey mead.
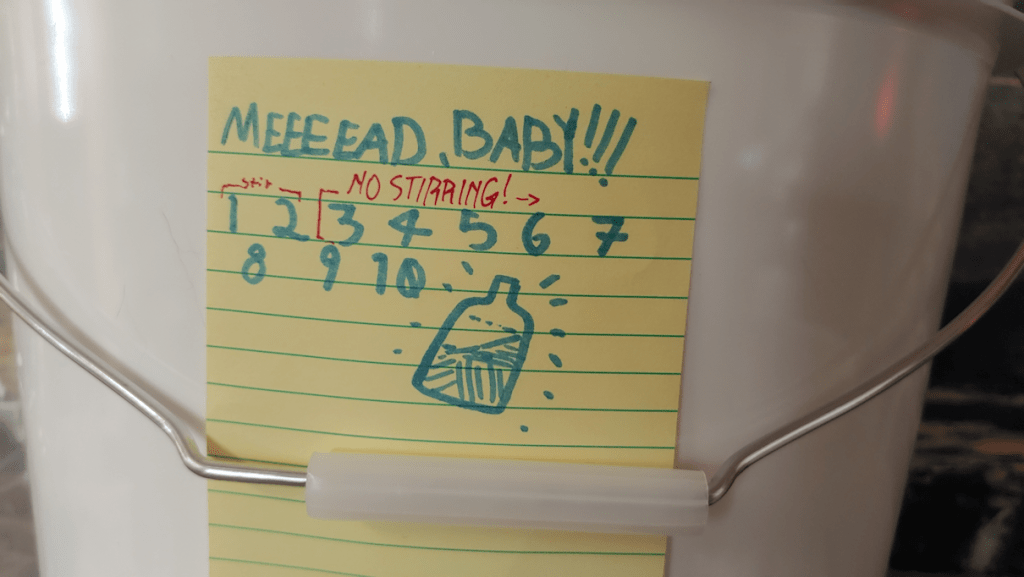
For this first fermentation, it will be stirred twice a day for the first 48 hours, then left to sit. At 10 days, it will be siphoned into the sanitized carboy, leaving behind any sediment that settled to the bottom of the bucket. It will then be sealed with an airlock and left in the basement for at least 4 weeks.
I bought a whole bunch of sticky note pads to use to mark things like dates and ingredients on each batch.
After 4 weeks, it should be ready to bottle and set aside. We should be able to drink it right away, but the longer it sits, the better the flavour is supposed to be.
By then, we should have what we need to start another batch. I’ve already got sour cherries from our trees in the freezer to try. I’ll be picking chokecherries soon and plan to freeze those, too. We can also think about what spices we want to try. We might even pick up an extra carboy kit or two, so we can have different types fermenting at the same time.
Or, one of these days, we can just stick some water, honey and yeast into a gallon jug with a balloon, tuck it in a corner somewhere, and let it ferment.
I think we’ll be buying lots of honey from my cousin over the next while. :-D
The Re-Farmer


Honest to goodness mead huh? :)
I can vaguely recall a half dozen or so times where Thor made snide remarks about beer being thin and weak vs mead (in comic books and once in a guest spot in the old Lou Ferigno Hulk TV show). :D
LikeLiked by 1 person
Too funny!
When I was a kid, my family was able to convince the local liquor store to carry a Polish “honey whiskey” that we all quite liked (I was even allowed to have a bit in my tea. :-) ). Today, now that meads have become more popular, that’s the section I can find it, and it’s labelled as a “Polish mead.” I had never made the connection between that drink and the mead I read about in stories!
LikeLiked by 1 person
Pingback: Making mead, part 3 – one last stir | The Re-Farmer
Pingback: Making mead, part 4: transferring for second fermentation | The Re-Farmer
Pingback: Making mead, part 5: bottling and results | The Re-Farmer
Pingback: Mead Baby, redux | The Re-Farmer