I had cleaned up the dead spruce tree I’d cut down, a few days go, but only now got to continue working in the area.
Because of how the tree had landed, I used the baby chainsaw to clear away all the non-weight bearing branches first, and was left with this giant insectoid shape! :-D After clearing away the last of the branches, I was going to break the trunk down further with the electric chain saw, but when that turned out to not be working properly, I just left the trunk to the side. We’ll have to take care of it later.
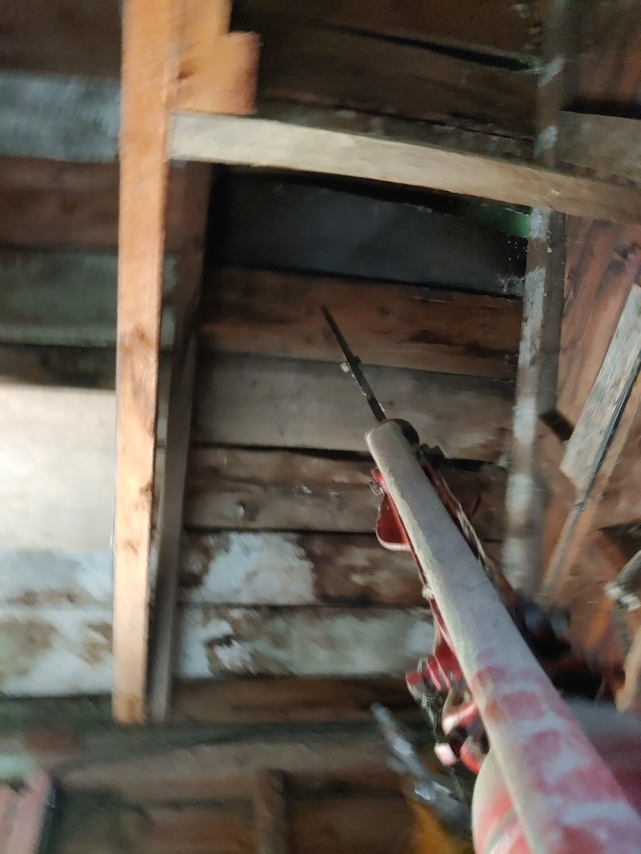
Today, I broke out the reciprocating saw and used it to finish trimming the top of the stump.
Happily, the wood in this stump is nice and solid.
The other trunk, from the tree we took down 3 summers ago? Not only did it have ant damage, but as I was trimming it with the reciprocating saw, it was vibrating at root level!
Well. That changed my plans.
At first, I figured I would just make a seat instead of a bench, but I really wanted a bench.
I used one of the boards that would be a horizontal support to mark off and cut the stump, using the reciprocating saw. At this point, I was still thinking of making a seat, but figured this stump was solid enough to support a bench. I cut the support pieces to a couple of inches shorter than the board that would be the seat, found the middles, then drilled pilot holes.
Despite using a level when positioning the support pieces, they still ended up uneven!
Though at least part of that is because one of the boards was warped.
Ah, well. I wasn’t going to start over! The only thing I did have to do was trim the top of the stump with a hand saw a bit, to make it even with the support pieces.
Then it was time to screw on the board for the seat.
You can see on the far right, that there was a substantial gap! I ended up making a wedge from a scrap piece of wood and jamming it in, then screwing the board in place, though the wedge and into the horizontal support.
As I was doing that, I could feel the bench wobbling a bit and decided the ends needed extra support. I didn’t want to put too much stress on the screws holding it to the stump, even though there are quite a few of them, and they are longer than needed. I had the pieces of wood I’d cut off the horizontal supports, so I trimmed those to size and added them at the ends to make legs. The main support is still the stump. The legs are just enough to give a little extra support, if there is too much weight at an end. The ground under them is soft, so if they were to be weight bearing, I would have wanted to add something solid under them, like a brick or some flat rocks
And there we have it! Our very first tree stump bench. :-D And I must say, it felt SO good to have someplace to sit down when I was done! It was the perfect height for me and my messed up knees, too. In fact, I used my knees to judge what height to trim the stump down to, and with the height added by the thickness of the seat board, it worked out just right.
Now it just needs a good scrubbing and a paint job to protect it from the elements. The board I found for the seat still has some paint on it, so it’s not too urgent.
I am quite pleased with how this turned out. We have so many dead trees in the spruce grove that need to be cut down, with some of them fairly close to each other. My thought was to cut them to leave stumps that could be used to make seats and tables, making sure that some of the seats are a bit higher, for my husband to be able to use comfortably. This bench is the first experiment to see if the idea is viable, and I’m happy to say that it is. Most of the greenery you can see behind the bench are a flower patch that we uncovered when cleaning up in this area, and have been leaving alone, as we mow or trim around it. Which means that, over time, we’ll be able to sit here in the shade, surrounded by lovely yellow flowers. :-)
Over time, we will have many seats like this, scattered all around the the inner yard, as we continue to clean up among the trees, and turn the inner yard into a lovely haven.
The winds died down today, which means that the smoke is back. Today is one of the worst days I’ve seen yet. Usually, we don’t get visible smoke in the yard until the end of the day, but that’s how we started, today!
In going to pick up the meat pack we ordered, I drove to a town north of us. The fires are all well to the north of us. By the time I got to the exit for the town, I could barely see past a hundred yards or so!
The parking lot we met at was near a bridge. The river, thankfully, is not as low as I thought it might be, with our drought, but it is still much lower than usual. The smoke is actually thicker than it looks in the photo. By the time we finished chatting and said our goodbyes, my throat was completely raw from the smoke.
Once I was back on the highway, I just had to pull over to get another photo. Again, the camera on my phone automatically cleans up the haze, and it was much denser in real life.
On the plus side, we got our meat order, and we’re quite happy. The individual packages were smaller than we would see in a grocery store, but we also got a larger variety of cuts. They change up the package, depending on the time of year. For the summer, they try to include things for the BBQ (though they do have a separate BBQ package, too), while in the winter, they try to include more things like stewing beef. It’s all frozen solid, so for now, we’re just thawing out the sausages and peppettes to try, first.
Around November, when they do their butchering, they’ll have half or quarter beef available. They have to figure out new pricing for this year, due to the increased costs of having to buy feed for their cattle this year, but I am hoping we’ll be able to get a quarter beef for the winter.
The first chance I got, I headed outside to take care of the bird feeders, starting with fixing the base of the big feeder.
I was able to find some longer wood screws that weren’t so long, they’d go through the wood I added to the base. Hopefully, the 6 screws will now be enough to hold! Then I got the loppers out and pruned the Korean Lilac. The raccoons have been using it to get to the feeder, and they’d already broken a couple of branches. Though they look close, the ones in the background are well away from the feeder. I also pruned some low hanging branches from the Chinese Elm in front of the kitchen window, as much as I could. Once I’d removed the weight of the first branches, the main branch lifted out of reach! Hopefully, the raccoons won’t try to use them, because their weight would bow the branches down to the feeder. I don’t think they actually used the elm at all, but I wanted to at least take away the option!
It wasn’t until I unloaded the van that I noticed the new hanging feeder didn’t have a cable to hang it from! The instructions didn’t even show one, though there were holes in the top for it. I ended up using the one from the broken feeder, so that worked out.
This feeder hold a bit less than the old one, but I think it will be easier to refill. Instead of trying to pour the seeds into a small hole at the top, the container comes out and can be used to scoop the seed. It even has a convenient handle. We shall see if it really is helpful. Unfortunately, so much seed has been lost to the breaking of feeders, we’re running out of seed, and the amount in the bin was too shallow to scoop the new feeder full.
As you can see, the birds were quick to use the new feeder!
I had the soaker hose going in the garden while I did this, and spent the rest of the evening moving the sprinkler around every half hour or so, for the evening watering. While checking on the sunflowers and sweet corn, I found proof of what nibbled on the sunflowers!
This hoof print was in the row of corn nearest the nibbled on sunflowers.
The deer managed to step right on a new pea sprout!!
I could see several other hoof prints through that corn bed, which really made me wonder how the garden cam’s motion sensor missed it! Well, if we get any other visitors in there tonight, I hope the new location will be better to catch the critters!
There are very few, so far, but it was nice to see some bigger green beans have developed.
I also checked on the sad purple peas. They aren’t as small or as chewed on as the green peas, but they certainly aren’t doing well. The plants aren’t being eaten, but the few pods are! Amazingly, we are still seeing pea flowers. With so little growth, the peas aren’t climbing their trellises as they normally would, but some of the purple peas are long enough that I would wrap them around the vertical twine. Much to my surprise, I found a couple of pods.
Dried pops.
The first one I found had three peas in the pod, and then I found one with a single pea in it.
These can actually be saved to plant next year!
I still have the envelope the King Tut peas came in, so that’s where they are now, and the envelope has been added to the packets of leftover seeds for next year.
We have officially saved our very first seeds for our own garden! :-D
In between moving the sprinkler until it was back to watering manually, the evening was so lovely and cool, I hang around outside.
With kittens.
I’ve got a camp chair set up near the steps, and was able to play with the babies a bit. They still won’t come up to me, but I can at least wiggle a stick on the ground and get them close!
From left to right is Chadicus, Bradicus, Caramel, and Broccoli, next to her mother.
While watering the south garden beds, I got to see Nosencrantz and Toesencrantz. They are much shier than Butterscotch’s babies. Not as shy as Junk Pile’s babies, though! They are coming to the kibble house for food, but if we step outside, they immediately run off in a panic, even as their mother stays in the kibble house and watches us. I don’t have much hope for socializing that particular litter!
Tomorrow I’ll be doing the morning rounds quickly again, though I’ll have a chance to make up for it before it gets too hot. I’m going to be heading out to a town north of us to do a pick up. We found a fairly local beef farm that does direct sales, and I’ll be meeting them to pick up our package tomorrow. Which is handy, since it meant we didn’t have to pick up much meat during our city shop. I got the invoice and an itemized list of what will be in the mixed pack we ordered – the contents of the pack depends on what’s available at the time – and I’m really looking forward to it. There are cuts of meat in there that we could never afford to buy before! I honestly can’t remember the last time I had a steak, never mind a high quality cut. The price per pound, compared even to city prices, is so much better! I don’t begrudge retail stores their prices; there’s a lot those prices have to pay for. Things that don’t have to be included when buying direct from the farmer. I’m so happy I found this place! I’d found another company that is further away, but does regular deliveries to meet-up locations in the city. If we’d placed an order with them now, we wouldn’t have been able to get it until November, at the earliest.
I’m really looking forward to bringing home the beef! :-D
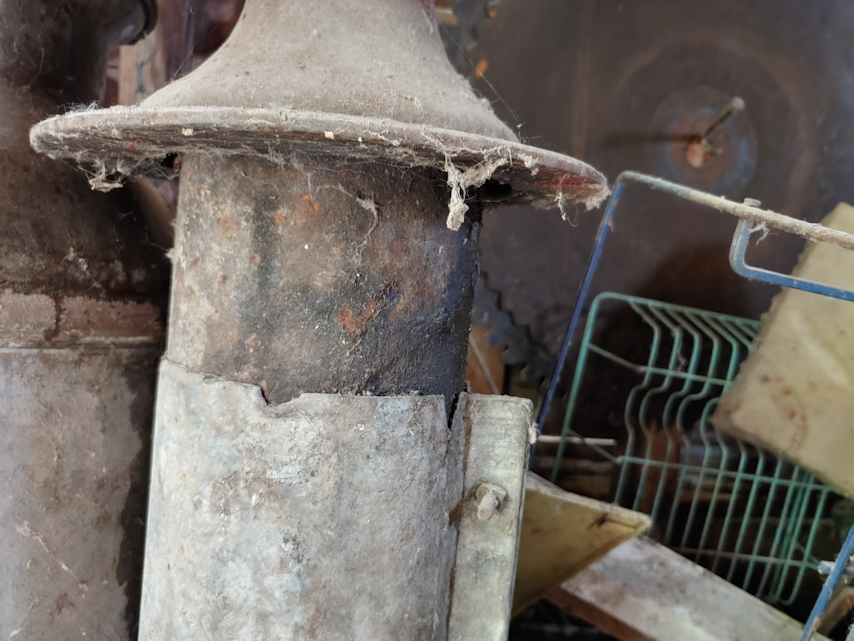
Today, I finally had a chance to move my dad’s old welder aside, so I could access and test the well in the old pump shack.
Do I want to know why there is apart of a toilet seat there?
No. No, I do not.
I moved a few more things around, then set the old cream can under the pump’s spout, just in case I actually got water flowing.
I took an accidental picture while pumping the handle. I thought it looked very dramatic, so I kept it! :-D
We got water!!!
Sort of.
This well was here before my parents bought the property, and it is a design that does not need to be primed. After much pumping, I was able to get water flowing, but if I so much as slowed down, the water would stop and I would have to start pumping hard, all over again. Which meant I wasn’t able to get a photo of actual water flowing from the spout. :-D
On the one hand, this is very encouraging. If something ever happened to our well, we will still have access to water. We should get the water flowing more to clear it out a bit, and then just get it going regularly. There is a problem, though, and you can see part of it in the above photo.
The pump is not fixed. It’s just sitting on top of the pipe. It actually rotated while I was pumping!!
When I was a kid, we had a different pump completely. It had a sort of frame around it, supporting the mechanical pump mechanism, which was run with electricity. If the power went out, we could attach a handle and pump it manually.
I don’t know when or why the old pump was removed, and I am flabbergasted that this manual pump was hooked up, without some sort of base to attach it to, so it won’t move.
My brother tells me there are repairs to the well pipe needed. I suspect that getting that done would result in it becoming much easier to pump water.
It would be worth getting that done. I would also like to set up the electric/manual system we had before, too. We still have the attachment for the spout of the pump that we used to divert water out a hole in the wall, to a water trough for the cattle outside.
Being able to use electricity to pump the water would make life easier in general, but if I had to choose only one, I would go with a manual pump over electric, as this would be a back up source of water should we ever lose power.
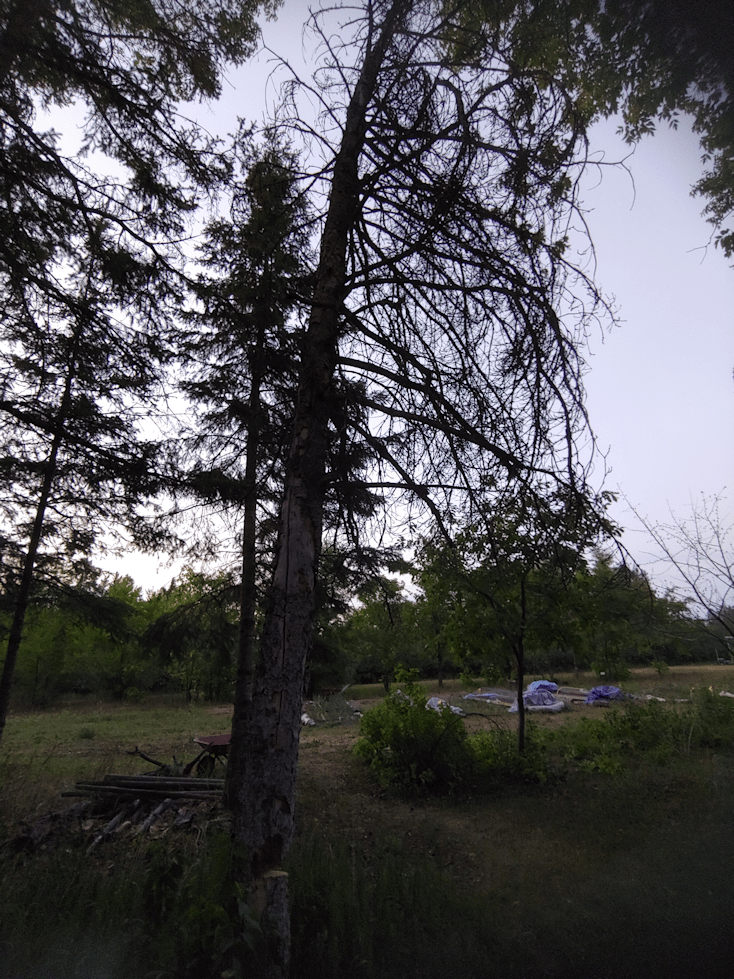
It was too dark to take progress photos last night, so this is how the dead spruce tree I took down looked when I was done for the day.
When I get back to it later today, I’ll be using the mini chainsaw (cordless pruner) to finish de-branching it. Depending on how things go today, I might even be able to break the trunk down more with the electric chainsaw. I’ll have to watch myself, though. My body is already warning me not to overdo it. Power tools will help with that, at least, but it was quite painful getting up this morning. :-(
This is the larger of the vine pieces that were still wrapped around the trunk.
After fighting off the Virginia Creeper since we moved out here, it actually stuns me when I go into garden centres and see it for sale. People actually pay money for this invasive plant! I get that they’re pretty, but my goodness, do they ever kill off anything they wrap themselves around! I’m still pulling it from areas I cleared two summers ago. Any little root left in the soil will keep trying to sprout.
Speaking of invasive, you can see in the background of the above photo, how the chokecherry tree is trying to spread! Gotta get that under control, too!
One of the frustrating things about the heat we’ve been having is that it’s preventing us from doing a lot of outside work. The sort of work that involves a level of manual labour that becomes dangerous to do, simply because of the heat.
The work still needs to be done, however.
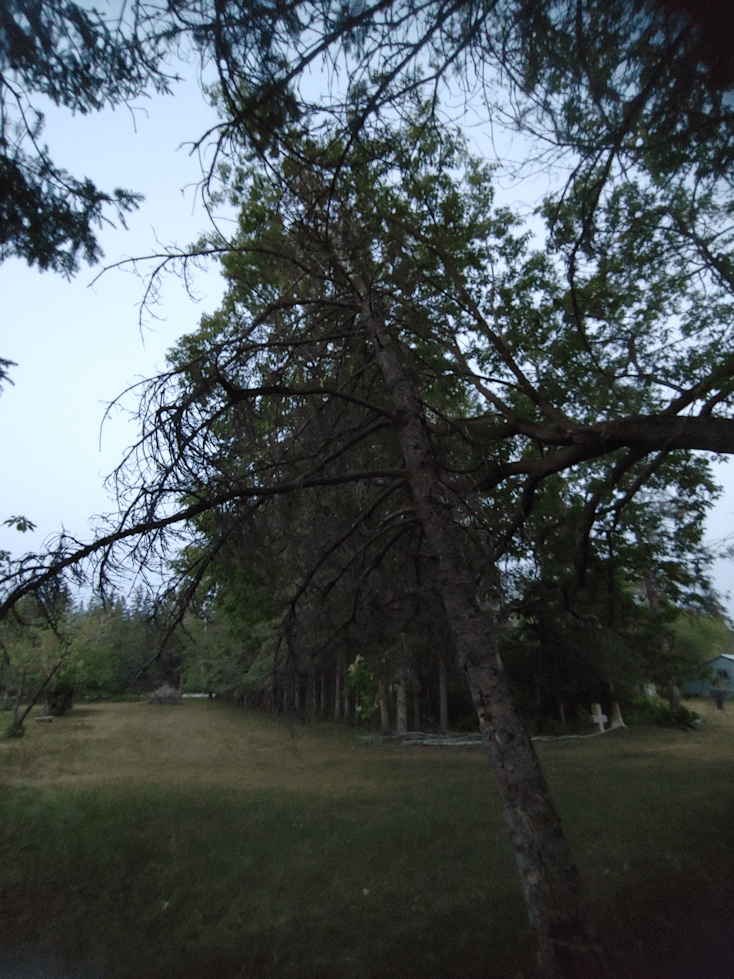
So tonight, when it was a bit cooler and there was still some light out, I decided it was time to take down one of the dead spruce trees.
No, not one of the big ones in the spruce grove. This little one.
Because it was nearing 10pm, I didn’t want to use the electric chain saw. It’s just big enough to do a tree of this size. Instead, I used a buck saw. In this photo, you can see I’d already cut out a wedge on one side.
Once it started to fall, it got hung up on some maple branches! In the end, I had to use a narrow fence pole from the pile you can see in the first picture, to push the dead tree free of the branches.
It was remarkable, how much brighter this spot become, once the tree was down!
After felling the tree, I used a hand saw to cut off branches until it became to dark to continue.
There had been a second dead tree near this one. Our first summer here, as I was cleaning up in the area, I pulled off a giant triffid of a vine from the two of them (you can read about and see photos, here). There were still pieces of it in this tree! It is likely the vine that killed both trees.
I was just about to head in for the supper the girls were making when I saw the motion sensor light on the squash tunnel get triggered. I headed over with my phone as a flashlight, but never found what triggered it.
Anyhow.
I will continue breaking down this tree tomorrow morning, before things heat up again. Unless, miracle of miracles, we get the showers that are being predicted. The trunk has a crack in it, but otherwise, it’s solid. No sign of rot. Which means we can use the wood. If we can take down more of the dead trees and they are solid like this, they will be used to make our permanent raised beds.
While I was working on the tree, it had supposedly cooled down to 17C/63F. Which would have been a gorgeous temperature to do this kind of work in, but I suspect the actual temperature here was quite a few degrees warmer! We’re supposed to be at 30C/86F, or close to it, over the next few days. For the next week, the humidex is supposed to be about 33C/81F. Which means we’ll only have small windows of time in the morning and evening when we can work on this sort of thing. But it has to be done. It’s already been delayed for far too long!
Now that this dead tree is down, I have two tall stumps that are relatively near each other. Once things are cleared away, I’ll be cutting them to matching heights, and they will become the supports for a much needed bench. :-)
Today is supposed to be the hottest day of our current heat wave.
Of course, forecasts remain all over the place.
We’re going to hit 34C/93F but it will feel like 40C/104F
No, we’re going to hit 37C/99F and it will feel like 37C/99F.
We’re going to get thunderstorms today.
No, tomorrow.
No, the evening of the day after and into the following morning.
No, we’re going to get thunderstorms today – but only a 60% chance, with less about 5mm of rain.
We’ll see what actually happens! As I write this, we are at 30C/86F, and there’s enough wind to make it rather pleasant in the shade. While I was doing my rounds this morning, it was a very comfortable 17C/63F.
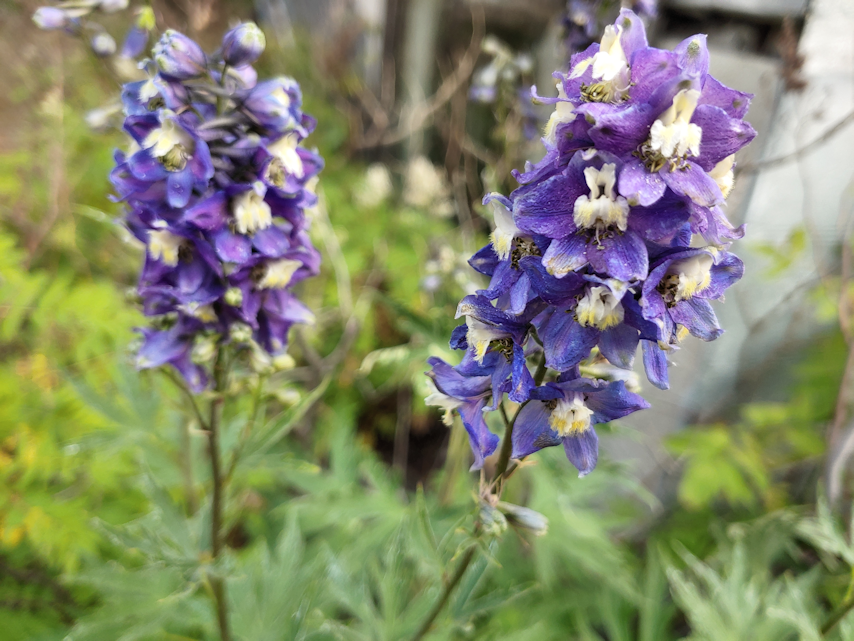
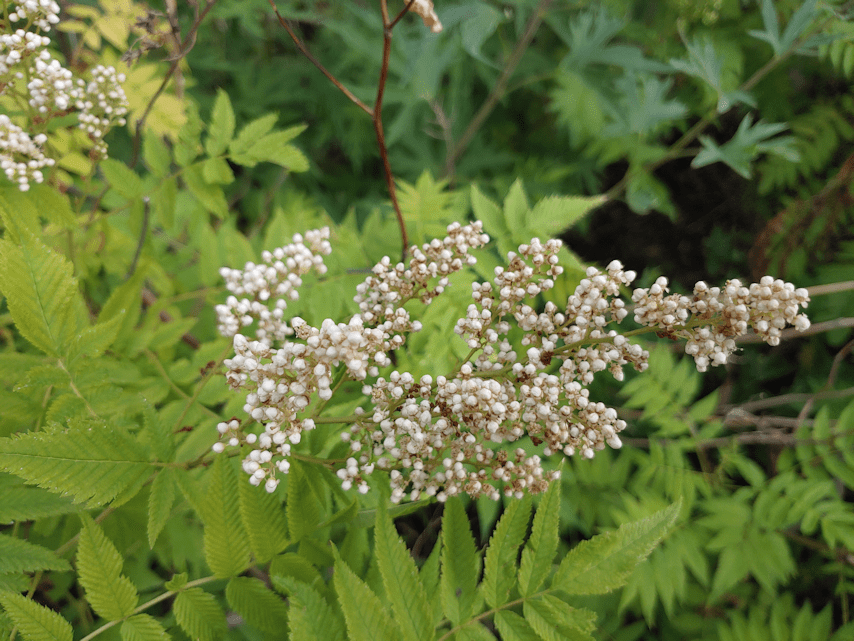
One of the few non-garden areas we’ve been giving at least some watering has been the spirea next to the storage house – the one area we are allowing the spirea to grow – and the grape vines (there are only a couple of clusters on the vine this year). More specifically, right at the corner of the house, where these flowers are growing.
When we first saw these flowers, it was a real surprise, because the plants were completely buried by the spirea. Since then, we’ve been cleaning up the spirea, taking out the dead bits and keeping it under control, but it still hid the plant and we wouldn’t see anything of it until the flower spikes shot up.
This spring, with the warm May we had, the spirea had been leafing out and starting to show flower spikes. Then that -8C/18F night hit and killed off the flower buds and damaged the youngest leaves. So the spirea is a lot thinner this year, even with our watering. Which means, for the first time, we could actually see the plant this flower is from, and it has grown much larger. You can tell by the flowers, though, that even with watering, the heat is getting to it. The flowers are smaller and shriveled looking compared to how it usually blooms, even when buried by spirea.
The spirea, meanwhile, has recovered to the point that it is starting to bud again. This will make the pollinators quite happy!
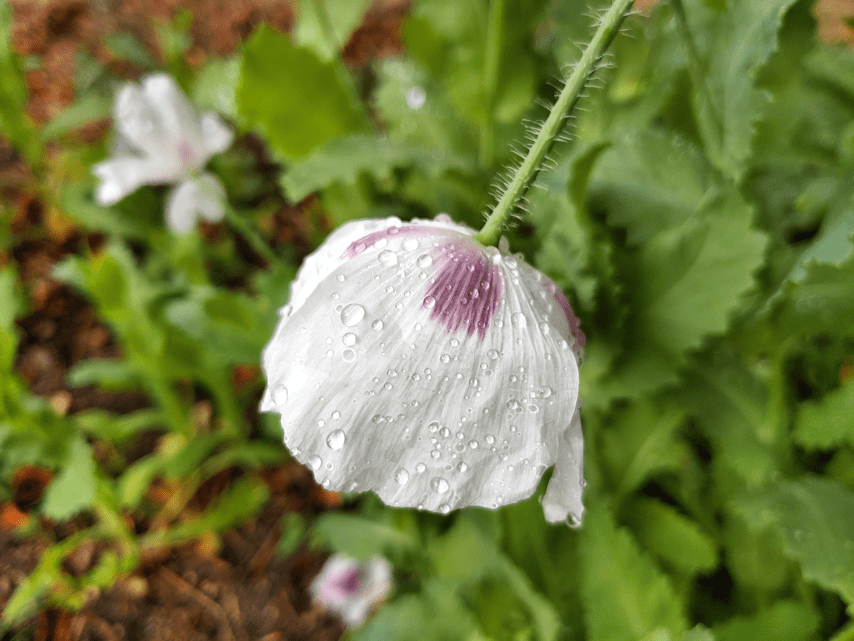
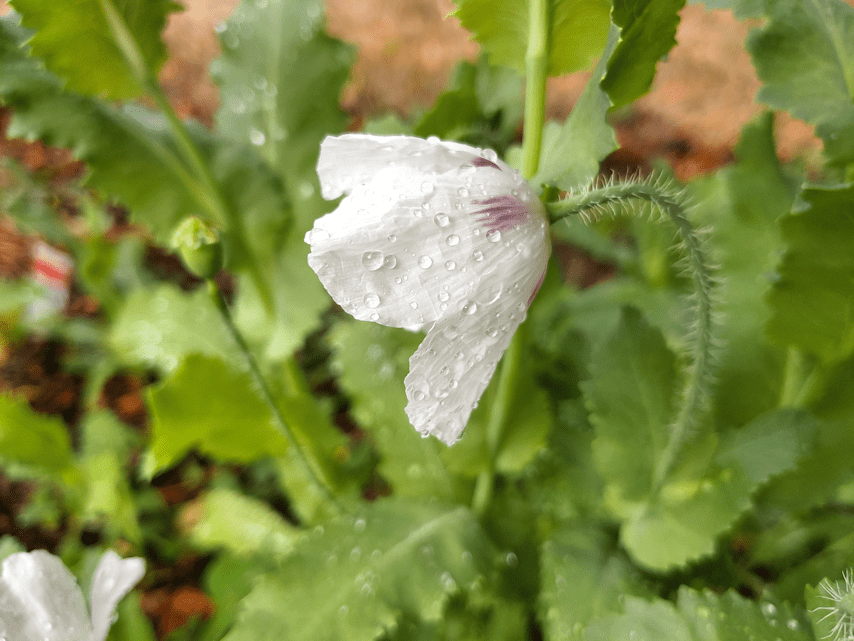
We have more poppies blooming this morning, too. About 4 of them were open, or partly open. I gave the old kitchen garden a bit of a watering this morning, too, making for some very photogenic flowers. :-)
Yesterday evening, after the girls were done watering the garden beds, I filled the rain barrel at the house, so that we would can water the old kitchen garden with a watering can, while the hose is running. I don’t expect to get any rain to actually fill the barrel. :-/
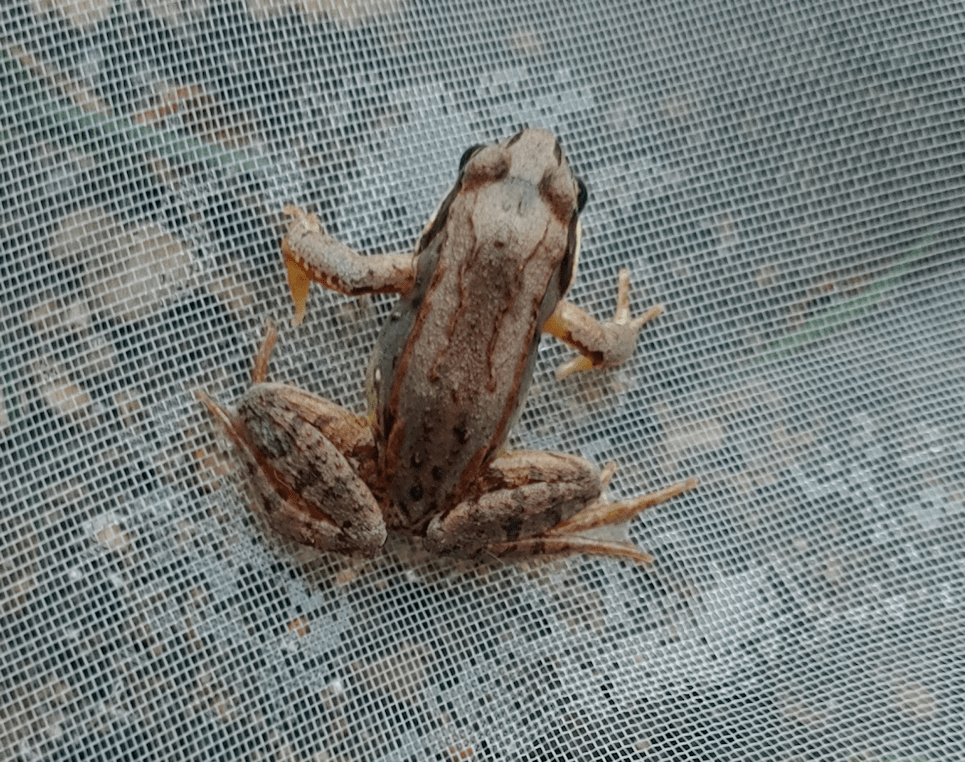
While at the barrel, I saw something scuttle across the two kohlrabi plants in the carrot bed that are covered with netting. It turned out to be this little friend.
That’s the downside of using floating row covers to protect our plants. The frogs have a harder time getting under the cool leaves. The netting isn’t stopping the flying insects from getting under them; they just cant’ figure out how to get out again. Which should be a big foggy buffet, if the could just find the edges that they can crawl under! :-D
This afternoon, I got to visit my sister and her husband on their farm.
We may be in the boonies, but they are even more in the boonies than we are! :-D
Before I left their place, we did a tour of their yard and garden, and I really appreciated being able to see how theirs is doing, in this heat.
Her row of rhubarb was a study in extremes. In the middle, she had these MASSIVE leaves and stalks – which is normal for her rhubarb – but in other areas, they were smaller and wimpy, like ours, and at one end of the row, they were basically dead. So strange!
Where I’m standing to take this photo used to be part of their garden, but they reduced its size. That area is now full of self-seeded dill. This end of the garden is where they have their annuals, with some rows already cleared and tilled. At the far end are their perennials, including onions (different from the ones they have in the rows visible at the annual end), horseradish, asparagus, sorrel, mint, and a few other things. They’ve got determinate tomatoes, and I could see some very large ones developing. No peas or corn, but they do have beans, beats and potatoes, among other things.
They usually water their garden from the nearby creek. In this photo, you can see a platform on the shore, and the end of the hose is between the two sticks in the water, with a float. This is where they pump the water from.
The creek is about 3 feet lower than usual this year, and it’s got to the point that they are watering using their well water. They only water every couple of days, though, unlike the nightly watering we are having to do. It has actually been lower than this, in the past.
After all those years… LOL
When my brother in law retired from farming (like where we are, most of the land is rented out), he took over much of the gardening. The first time a deer got into their garden, he put up the fence.
Deer are not the only issue they have. They also have to deal with black bears, raccoons and…
Yup. They have woodchucks, too. This den is under the deck of a now-empty house they share a yard with. There are dens in other areas, too. Apparently, their woodchucks have plenty of other food to eat besides their garden, because their deer fence is just touching the ground at the bottom, not buried, and they’re not trying to get it.
Which is as good a segue as any as to why I visited them today. My brother in law finally had time to help sight the scope on my crossbow.
Now, this is something we could have done ourselves, except we don’t have anything to accurately measure longer distances. My BIL is an avid hunter and has a range finder, so we figured we’d go to him and get it done right.
He never even used it. He just paced off the distance, just as he would have in sighting the scopes on his rifles! :-D
Now, he had plenty of experience with rifle scopes, but he’d never worked with a crossbow before, so the first thing he did was spend time reading the instruction manual (I brought everything! LOL). We had only finger tightened the scope, so after he checked it a few times and confirmed that it was the right distance for me, he tightened that down, and then we went to his target bale.
The instructions said to start at 10 yards, which is about where the corner of that fence is, then moving to 20 yards to fine tune the scope. He is sitting at 20 yards in the photo, which is what we need the scope to be sighted to.
Also, do you see that white blob on the creek in the background?
That is a flock of pelicans. :-D
He was expecting it to take only about half an hour to sight the scope, but we ended up out there, in the heat, for probably more than an hour before we stopped.
He did the final shots at about 30 yards, before we called it for the day.
The bolt here is the first shot done at 30 years. He was aiming for the target on the left.
If you look at the top right, there is a single hole. That was the first shot at 10 years, before he started adjusting the scope.
Above and to the right of the centre target are a series of holes. He hit the exact same spot a couple of times. The instruction manual described how many clicks equaled 1 inch at 20 yards and, according to that, with the number of adjustments he made, it should have been hitting to the left of the centre target! After hitting the same spot a couple of times, the bolt ended up so far into the target, the fletchings were squeezed into the hole, too. One of them ended up coming loose. It just needs a bit of fletching glue to fix and it’ll be fine, but that’s when he started to aim at the other target.
By the time he was done, he could get a good grouping at 30 yards, but it was still hitting to the right of the target. He’d adjusted it so far, he wasn’t sure it could go any further. The scope we have is different from any of his. In fact, it had a whole extra knob to adjust, but not even the scope’s instruction sheet (which was for rifles, not crossbows) had it labelled on their diagram.
So the crossbow is not sighted, but it is closer, and we are in a position that we can figure the rest out ourselves. Of course my husband, with his military background and marksman qualifications, knows how to do it. The main issue was measuring distance. Which my BIL just paced off, anyhow.
I think we can manage more accuracy than that, with what we have! :-D
Adjusting the scope was not the only thing that was a problem. The other was cocking it in the first place. The kit came with a rope cocker. There is a rock cocking groove at the end of the stock, just before it can be adjusted to size. The middle of the rope goes in the groove, two hooks with pulleys hook onto the string, from under the stock, and there are a pair of handles to pull on. At just shy of 6′ tall, he actually had trouble cocking it, once he straightened up past a certain point. He already had doubts that I could cock a bow with 220lb draw weight, but in the end, I’m basically too short. If he, at about 8 inches taller than me, was having a hard time, it’s pretty much assured that I don’t have the height and arm length to be able to raise the string high enough to latch in place!
He recommended we pick up a crank cocker.
Since we were never able to complete sighting the scope, I never fired the crossbow myself. That will just have to wait a bit longer.
In shooting the crossbow, he had a couple of issues with it. Obviously, the scope itself was one. I know that a lot of people who buy kits will replace the kit scope with a higher quality one right away. This wasn’t a matter of quality of materials, but adjustment. He also didn’t like the trigger, which was something else I saw some reviewers complaining about. It does, however, shoot well and shoot true. Once the scope is properly sighted, we should have no issues with it. I’ve seen reviewers complain about the adjustable stock, but he had no issues with that.
He also really didn’t like the rope cocker. He had mentioned to me that he had a friend who bought a crossbow and, the first time he tried to cock it, it slipped and he almost groined himself severely. He then immediately got rid of it. As my BIL was repeatedly cocking the bow, he said he could see just how easily that could happen. Eventually, I learned that when this person had tried to cock his bow, the stirrup slipped off his foot.
…
The instructions are EXTREMELY clear about how important foot placement in the cocking stirrup is. Which rather makes me wonder just how closely instructions were being followed. Mind you, this happened quite some time ago. The instructions may well include that now because people were hurting themselves by having just their toes in the stirrup, instead of having it under the middle of their foot.
There’s a reason the instruction manual has more safety warnings than pretty much anything else! This is not a toy.
So now we need to figure out where to set up a target practice area, mark out distances, and figure the rest out ourselves.
I did have some unexpected disappointments about the whole thing. While they are not being mean or malicious about it, it’s clear neither my BIL nor my sister are confident in me. Not just in being able to use and shoot the bow (yes, I have the physical strength pull 220lbs draw weight with the rope cocker), but they seemed to assume that this was some sort of spur of the moment thing I decided to do, without any sort of research or analysis, first. Like I was thinking of it as… well… some kinds of toy. The fact that I hope to actually use it to hunt is another area they clearly didn’t have confidence in me about, with both or them, at one point or another, making sure to mention that a deer will run off after being shot, and then it needs to be tracked. I knew that, of course. It happens even when hunting with a rifle. Why did they assume I would not know that? There were a few other… assumptions… made that had me wondering. I think part of it, for my BIL, was simply because he assumed that since he was having such a hard time with some things, I would have an even harder time, and not things where my height would make a difference. Was it because I am female, and they assume I’m weak? Or because I’m fat? Or because I’m the baby sister? I don’t know. It was off putting, even though I could tell they did not have any ill will behind their comments. More like their filter was off. :-D
Well, we shall see how things work out over time. First things first. We need to get that scope sighted properly, and then I have to practice. My husband will be able to cock the bow, no problem, and honestly, I think I might still be able to as well. Even if I can, we will be getting a silent crank. The rope cocker, it turns out, squeaks! :-D
My daughters, meanwhile, are pining for a compound bow.
While doing my morning rounds, I checked the hole by the concrete stairs under the dining room door, and was happy to see the pieces of wood we used to block it looked undisturbed.
When I was done my rounds, I started working on getting that filled in, which meant I needed rocks. Since we got almost no rain at all yesterday, the garden needed watering, so I set up the sprinkler, then grabbed a wheelbarrow to start picking rocks.
Since the big woodchuck had conveniently dug up a lot of rocks for us, I started there. Last night, my daughters saw the woodchuck leaving the den, so they flooded it, then shoved some pruned branches into the opening before moving some of the soil over it.
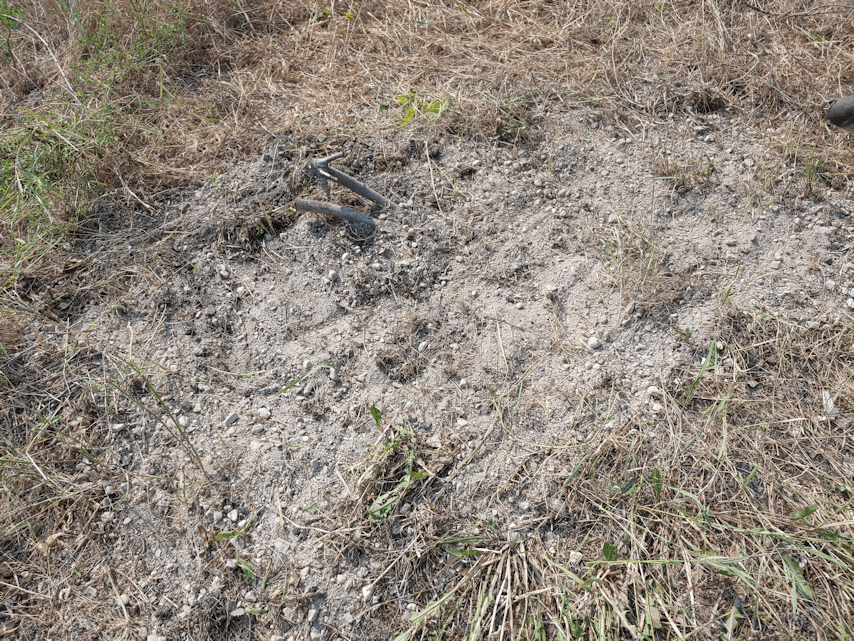
This morning, while using a long handled garden claw to help pick rocks, I finished filling in the hold and spreading the sand and gravel out more evenly. We’ll have to come back to get rid of the sticks.
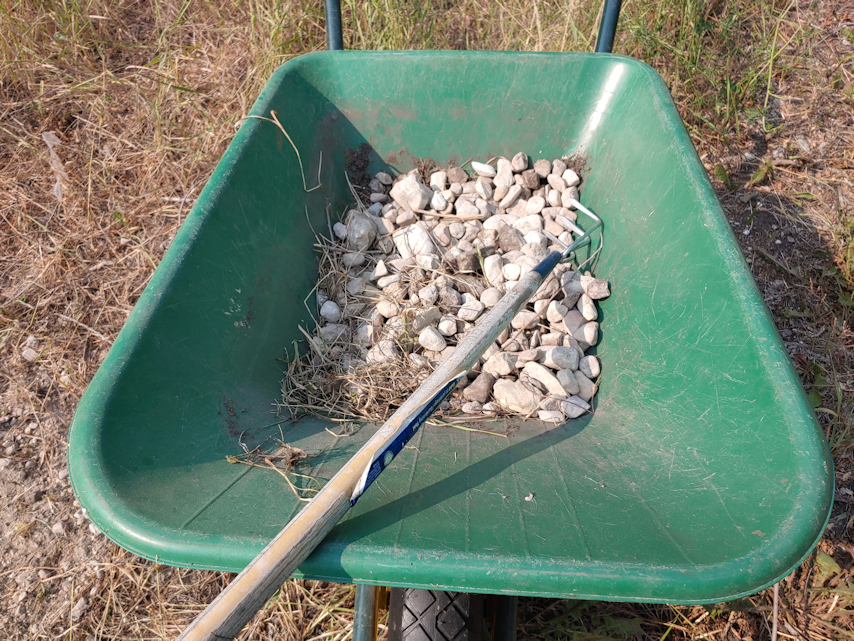
Most of these rocks were gathered from what the woodchuck dug up!
Then I just wandered along with the wheelbarrow, picking rocks as I went. Since was was using the garden claw to help moving them, I was also able to break up some of the old plow furrows as well. I picked only the larger rocks, up to a point. The biggest ones were set aside to be available for things like weighing down row covers or whatever.
By the time I got this many, the heat was getting a bit much, so I just hoped they would be enough and moved on. I could easily have filled the wheelbarrow entirely, if I stayed out longer.
Once at the stairs, the first thing I needed to figure out was what to do with the mock orange. I didn’t want to dig it up, even though we plan to transplant it. We still need to decide where to put it. So I took a piece of plastic that had been used as a row cover and wrapped it around the back of the mock orange, then used twine to tie it up. This turned out to be enough to be able to access the hole.
While I was working on the mock orange and moving the wood to access the opening, to my amazement, I heard something scrambling out the other side of the stairs and run off. I could not beleve it! The woodchuck had somehow squeezed through the other side of the stairs!
Then came the assessment phase.
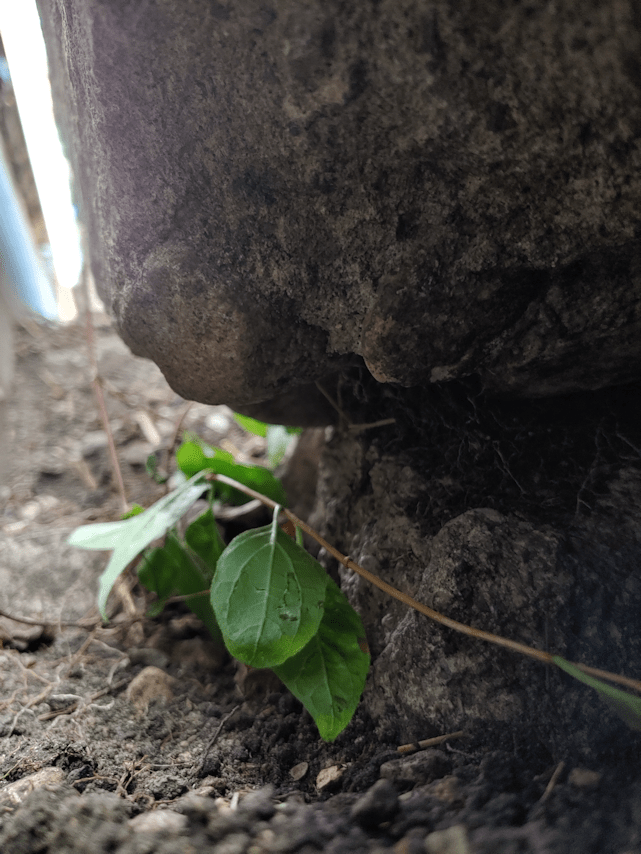
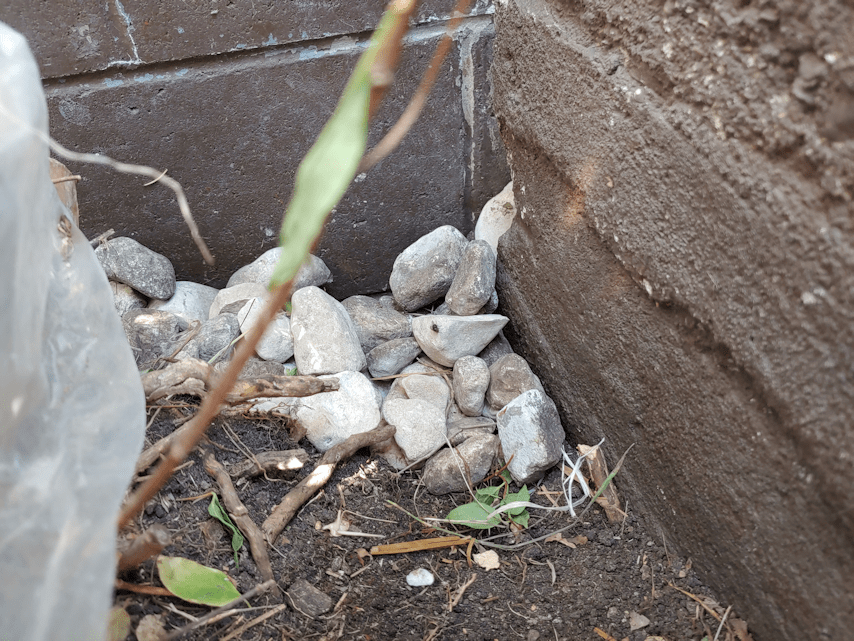
The curious thing about this hole is the lack of dug up soil piled around. So I played the contortionist as best I could, to get pictures through the opening.
This is where I found my good news. The hole didn’t go any deeper! The opening was dug just enough for the woodchuck to access under the stairs. That explains the lack of dug up soil.
What a relief!
Time to start filling with rocks!
In the one picture, I could finally see the opening to under the stairs. I can certainly understand why critters have been going under there! What a great, safe hideaway.
Which is great if we’re talking kittens. Not so great when we’re talking woodchucks!
Okay, so the hole is filled with rocks, but there is still the space between the stairs and the wall. As long as it was there, things would still try to get under there.
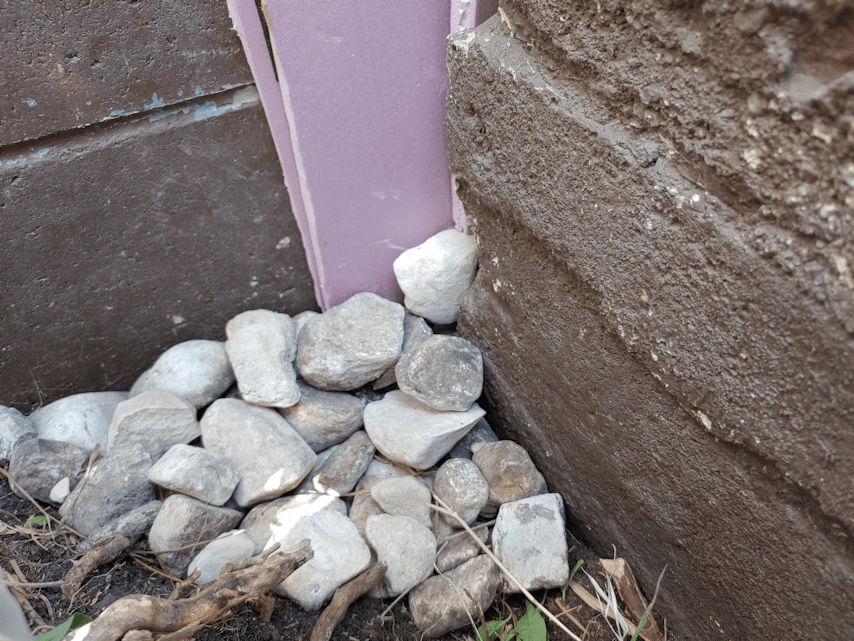
Time to raid our pieces of rigid insulation!
A couple of larger pieces were used to cover the back of the stairs, which would cover the opening under them completely. Another, shorter sheet was jammed between those pieces and the brick wall.
More smaller pieces were used to fill in the gap at the end, and rocks were piled up to secure them even more.
What looks like a gap at this end is blocked by a lumpy area of concrete.
Done!
Before I headed inside, I went to move the sprikler, startling the woodchuck that was watching from under the spirea near the stone cross!
When I headed out a while ago to move the sprinkler again, I could see that something had tried to get under again. I had to replace a small piece of insulation and push the rocks back. On the other side, something had tried to burrow in the gap that isn’t a gap, but only enough to displace some of the small rocks.
It seems to be working!
After replacing the rocks, I used those little pieces of plastic garden fencing to block it off even more.
I am much relieved that the damage was so very minor. I do wish I hadn’t had to block off the back of those stairs entirely, though. It was a really good, safe place for mamas to have their kittens.
Ah, well. Better that than having a woodchuck living under there!
Once again, the real world made liars out of the forecasters. 😄
We were not supposed to break 30C today.
I’ve been watching the weather radar as rain supposedly passed right over us. Out my window, it was bright and sunny.
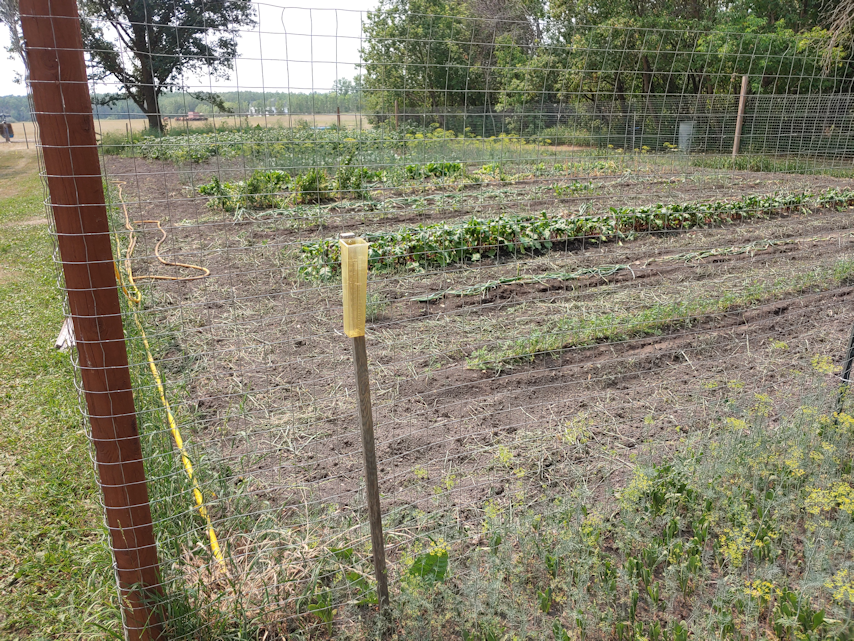
I headed out earlier with the animal repellent spray and used it around the garden beds. Hopefully, that will mean no more critter damage. We shall see!