Clean up: more progress

Today, I had a chance to work on cleaning up one of the areas around where we are planning to build a cordwood outhouse.

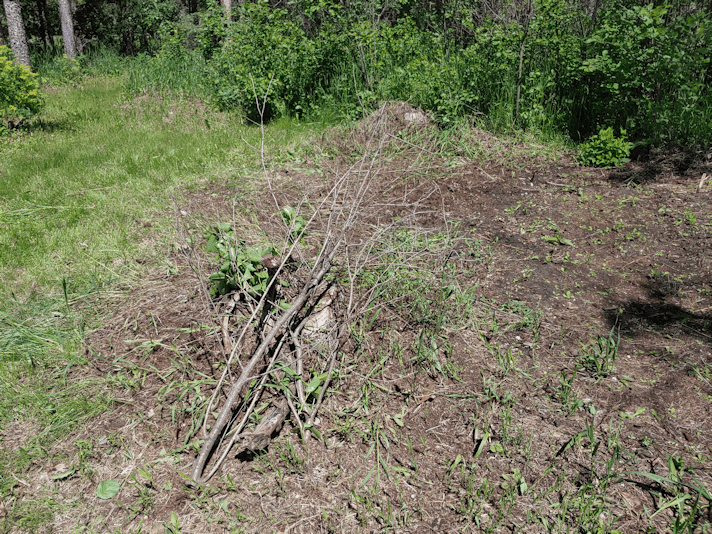
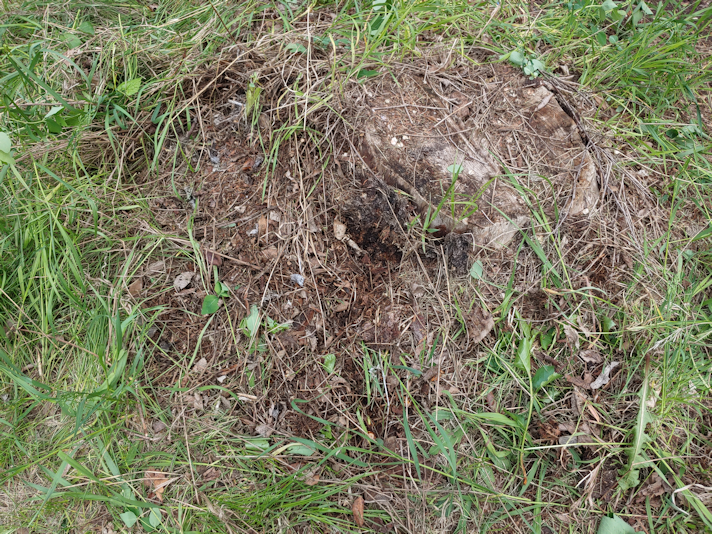
Here is how it looked, when we left off last.

Basically, I’d managed to clear around an old tree stump, and not much else, before being driven indoors by the heat.

This time, I brought out the reciprocating saw to take down some of the larger things, including cutting the stumps of what I’d cleared before, to ground level.

One of the issues we have with using the outside plug is, even the weight of the cord itself tends to pulled it out enough to kill the power.

Today, I tried a solution that worked out just fine.

This pole used to have a bird feeder on it. I took the feeder off to repair it, but with the lilac growing over it, I don’t see use putting it back in this location again. At some point, we’ll pull it out, but for now, it’s coming in handy! :-D

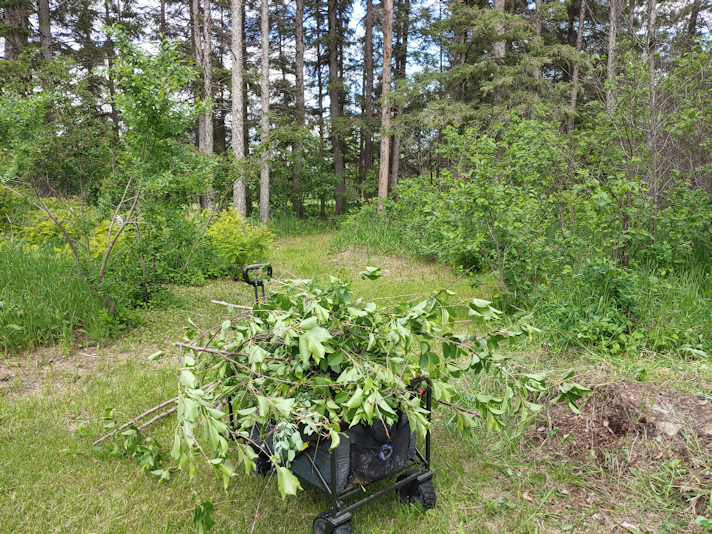
Here is how the area I worked on looks now.

The branches in front, on top of a stump, are for the chipping/burn pile. I cleared as far back as the next stump.

This turned out to be a very finicky job. I kept having to pull things out by hand, like crab grass and small saplings growing out the roots of things I’d cut away last year, then raking out debris, just to get at the larger things I needed to cut down.

I cleared only a little bit, towards a stump we uncovered while clearing this area last year.

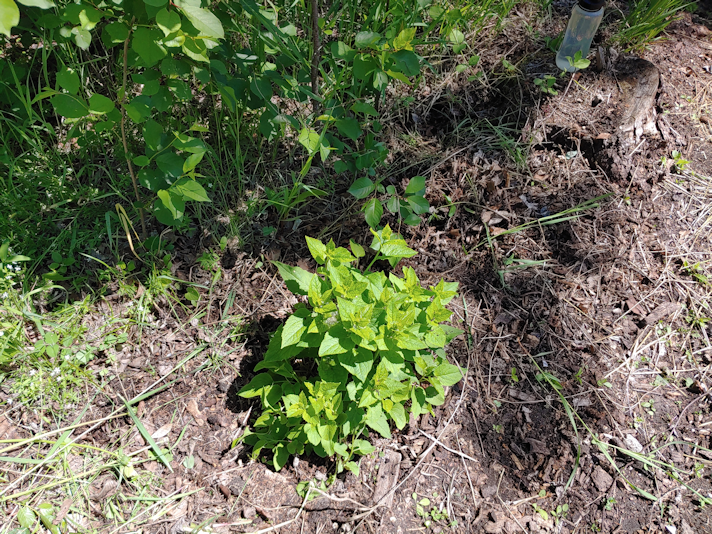
In the process, I uncovered a bunch of flowers. I don’t know what they’re called, but I’m finding them kind of all over the place.

I also uncovered these.

There are quite a lot of these very delicate little wildflowers! I tried not to pull any up as I cleared debris from around them.

Further in is where more cherry trees are. None of which have bloomed, that I ever saw. You can see on the right of this photo, the cherry trees that were killed off last spring, when we had a sudden drop in temperatures after they started blooming. They got fresh growth from their bases. I think I have identified one or two in this area that look like they are strong and healthy enough to keep. The rest will be taken out.

Meanwhile, covering the left half of the photo, berries are starting to form on what I believe are chokecherries!

These are pieces of cherry wood that I will be keeping for future projects.

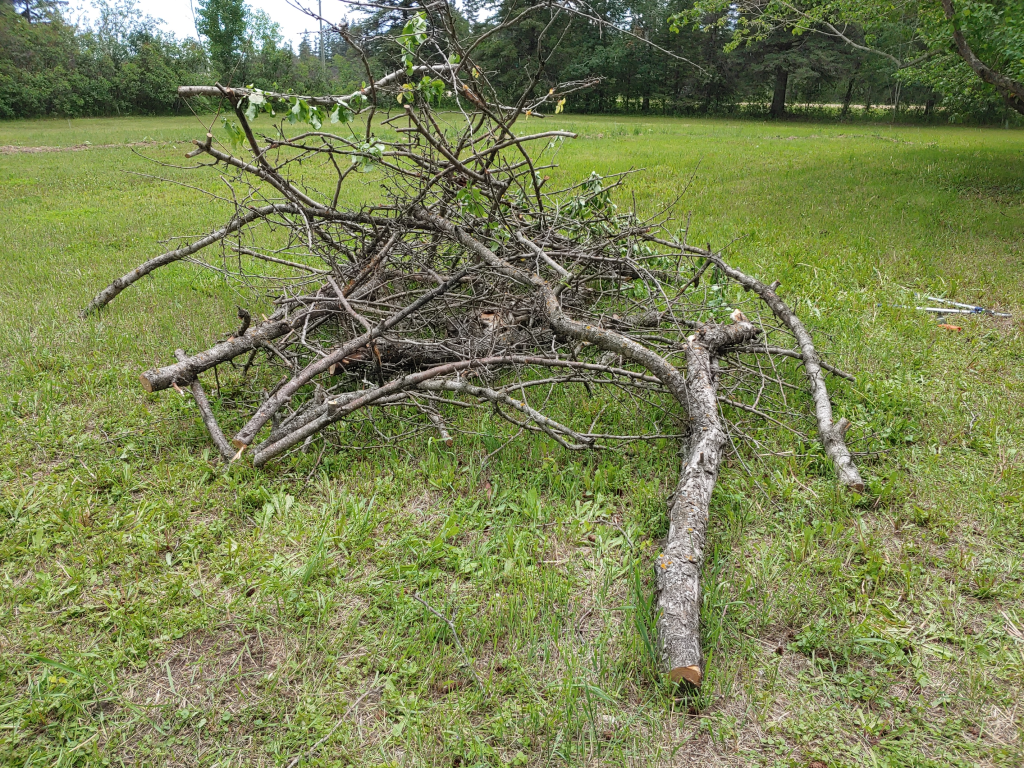
This is the pile of debris I cleared away from that small area!

We’ve started a pile behind the old outhouse, of what is turning out to be a tree debris compost pile. Stuff that we don’t want to add to the chipping/burning piles, but that don’t belong in the compost pile, either.

When we get to the point where we will be building accessible raised bed gardens, debris like this will be used on the bottoms of the beds to help fill them.

It’s remarkable how much stuff came out of such a small area!

When next I work on this area, I want to start on the other side of where we want to put the cordwood outhouse, clearing more towards the junk/wood pile. There’s at least one old tree stump in there, plus fallen trees that need to be cleared out.

Those might end up being part of the walls of the outhouse! :-)

I’d like to be able to access the junk pile better, so we can go through it and see what wood in there can be salvaged, what needs to be added to the debris pile, and what needs to go into the junk pile that will be hauled to the dump.

There are two Saskatoons and an elm growing on that side. We’ll have to decide which, if any or all, of these will be kept.

There’s also a mound of… soil? beside it. I’d like to get rid of it, but it’s got a layer of grasses growing on it right now, so I can’t tell what it’s actually made up of. The other mystery pile out by the barn turned out to be a pile of insulation. I’m kind hoping this one is something like gravel, or even just dirt.

The goal at this point, though, it just to clear access to the junk pile, then get back to clearing the space the outhouse will be built on, and start clearing out the sod.

I’m happy to have gotten at least a little bit or progress in there today!

The Re-Farmer

Clean up: very little progress, but gosh, that’s cute!

I headed out to see how much I could do for clean up, before the weather drove me indoors.

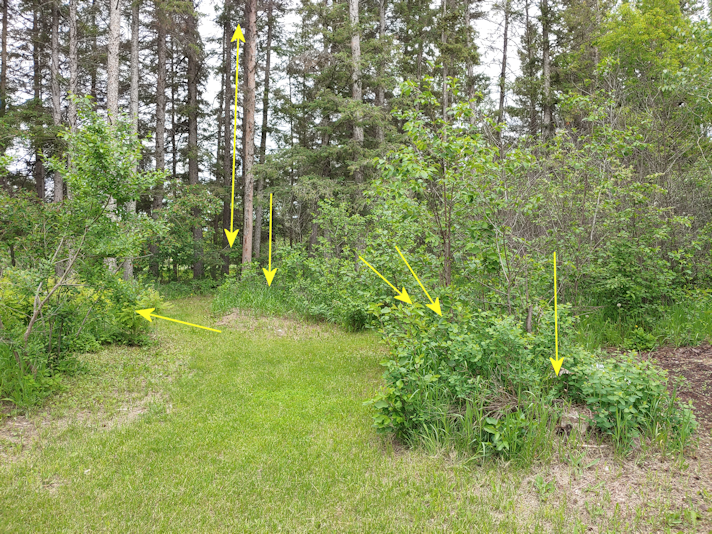
This is the area we decided we will put the outhouse we are planning to make as a cordwood practice building.

The double ended arrow is a dead spruce that will need to come down, before it falls down. There is another spruce we’ve identified as a risk, near it. It’s still alive, but already starting to fall, with roots on one side torn loose from the ground. Likely from high winds. Getting rid of those before we build is on the to-do list. The last thing we need is to build what is intended to be basically an emergency outdoor bathroom (because we discovered a need for this!), only to have a tree fall on it.

The other arrows point to tree stumps hidden among the underbrush. The ones I’ve spotted so far, at least. I’m sure that, as we clear things away, we will find more. Hopefully, the roots of these trees will not be an issue when we start clearing away sod to a depth of 6 – 8 inches.

This is all the progress I managed to do.

Basically, I cleared a bit of an old tree stump. Some of the stuff I cleared last year was starting to grow back, so that had to be gotten rid of. Then there were some cherry trees that are spreading. The cherry trees in this area have still not started to bloom yet, unlike the one near the house, which has already completed it’s flowering stage. I did keep some larger pieces of cherry.

I checked the weather about an hour after coming inside, and it was 26C/79F, with a “real feel” of 32C/90F, and a humidity of 62% – and it would have started to cool down by the time I checked!

They’re predicting thunderstorms again. Go figure.

While trying to clear around the old stump, some grasses pulled away much easier than I expected.

It turns out that there is an ants nest in it. We have two common types of ants here (though I don’t know what their proper names are). Black ants, which build their nests in the dirt and in open areas, like lawns, and red ants, which like to build their nests of spruce needles and in trees. These ones are NOT carpenter ants. That much, I do know. But they will take advantage of a dead tree stump, if it’s rotting enough.

The other thing I was able to do was clear away the piles of old boards we’d used to mark out the garden beds and hold down the protective plastic. I didn’t want to just stack them on the ground, where they will just rot, but where to put them that will keep them off the ground?

Well… there are these two old dog houses by the old outhouses, that we will cover in the fall again, so little critters can use them for shelter.

May as well use those!

We are going to need to clean up the rest of the wood in the junk pile, so I figure we can add more of the better boards onto here, to create a sort of roof. Who knows if they’ll stay here, but it’s one way to keep them off the ground, and that’s all I’m really after, right now.

Once I got inside with my chunks of cherry wood, I went into the cool of the basement to debark them, and keep the babies company.

I misjudged my ability to work with them around.

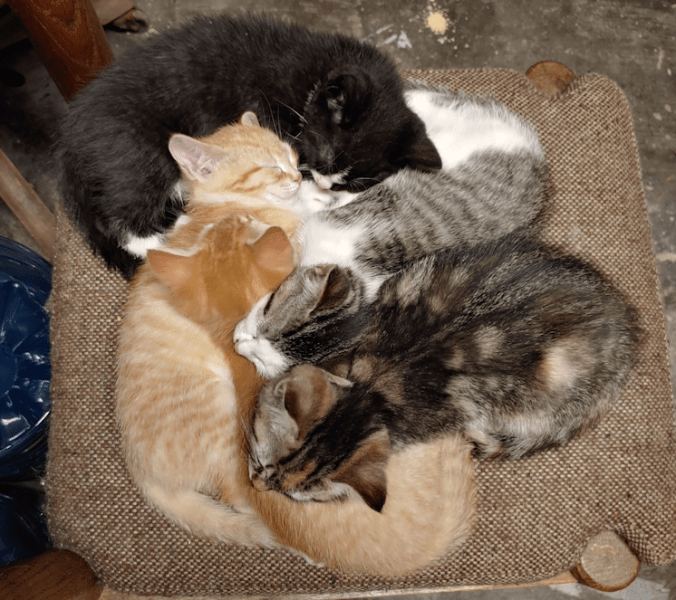
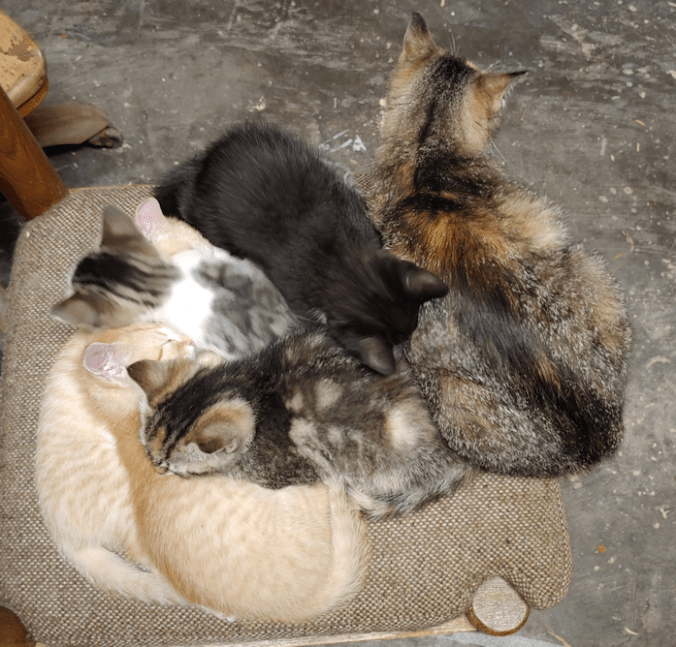
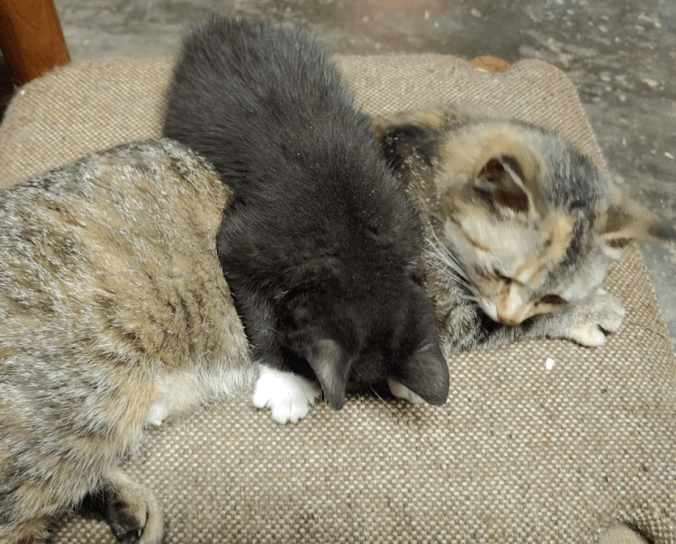
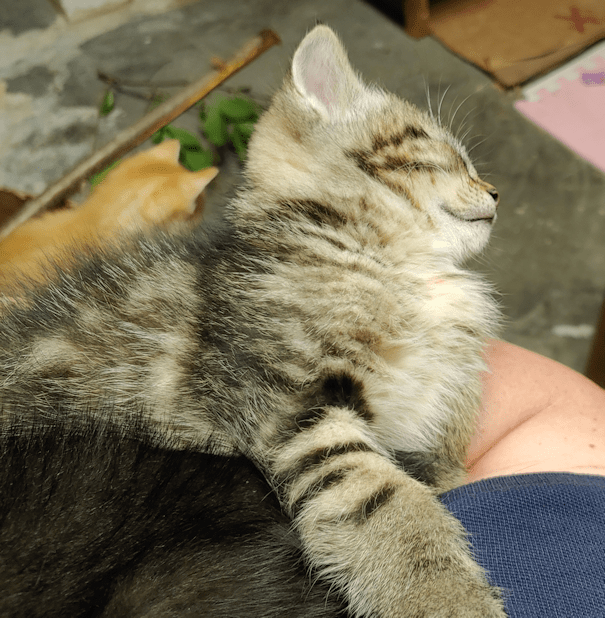
This would be Big Rig, under Leyendecker, both of whom got all sleepy on me. As I was trying to maneuver my phone to take this picture, Big Rig’s head just flopped over like this as she feel asleep!

Then Beep Beep climbed up, waking them both up, so she could curl up on my chest and demand attention. !!

For I while, I had Saffron perched on my shoulder, just watching the world go by, Big Rig, Leyendecker and Beep Beep, curled up on my arm and chest, snuggling and falling asleep, while Turmeric climbed my leg and tackled the tip of Big Rig’s tale. Only Nicco left me alone, preferring to explore the table behind me, then curl up for a nap on the platform bed frame they like to sleep under.

Thankfully, since I was able to reach my phone, I was able to let the girls know about my predicament, and they came down to assist me after they finished making supper. I did manage to detach most of the cats off of me – temporarily. Saffron was just sitting on my shoulder, so I left her be, but even as I worked on a piece of cherry with a large knife, I soon had kittens back on my lap to watch!

Thanks to the girls distracting the kittens, I did manage to debark two pieces completely – and even get the bark off in one piece!

The thicker, shorter section was only partly done; more than half of it seems to have been in the process of dying or something. You even see where the colour changes in the photo, from fresh to dry wood. The bark just would not come off, and with my wrist still giving me grief, using the knife to take off the bark was not a good thing!

My daughter looked it up, and it turns out cherry is poisonous to cats (except the pulp of ripe berries), so all the little bits and pieces went into my sawdust bin, which has a seal-able lid. The pieces of wood are now drying in the rafters, and the bark I was able to remove all in one piece are now laid out on a shelf in the sun room, drying next to my seed trays (where a single squash of some sort has germinated!).

I do hope it we finally get a solid rainfall, instead of having the systems swoop right past us again! It’s not like we’re dry right now, but it would be wonderful for that humidity to finally be reduced! I would love to be able to work outside for longer! There is just too much to get done out there.

The Re-Farmer

Dismantling the failed goat catcher

Another thing on the to-do list accomplished!

The pen we threw together to try and catch the visiting goat was finally dismantled. Which never did work. :-D

The “door” end was already trying to make its escape. :-D

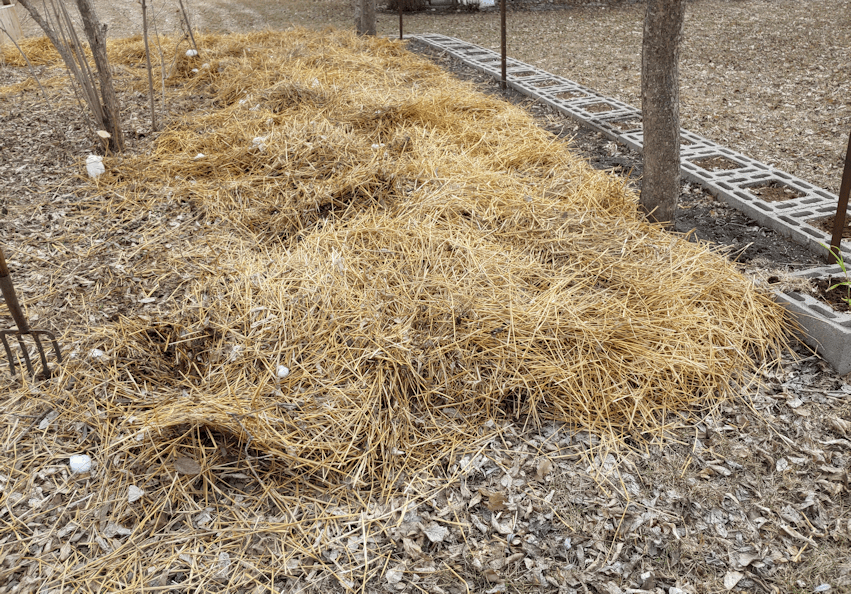
The straw I hoped the goat would use for bedding went onto the little garden near the old kitchen; another area we’re trying to build up the soil with layers of organic matter.

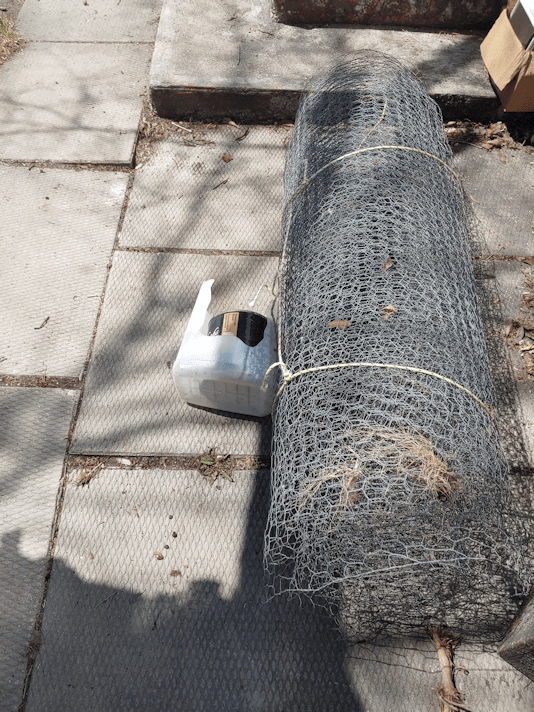
The chicken wire belongs to the goat’s owner, so that’s all rolled up and, along with the containers he brought to try and lure the goat with food, it is set aside and ready to be returned.

After what happened when I walked the goat over to his place, I don’t particularly want to see him, or even go to his place, so I might just drop them off at the end of his driveway when we have the chance. :-/

The frames are just set aside for now. I plan to take them apart and will likely use them to make trellises for the squash. Before I do, I will have to snag one of the girls to help me get that table saw out of the shed so we can test it out. If it works, I’ll be able to cut straight ends to the pieces, and even *gasp* have matching lengths to work with. :-D

If it doesn’t work, I’ll see what I can manage with the circular saw.

For now, though, it’s done. We no longer have a pen in the middle of our south yard! :-D

Another thing checked off the to-do list!

The Re-Farmer
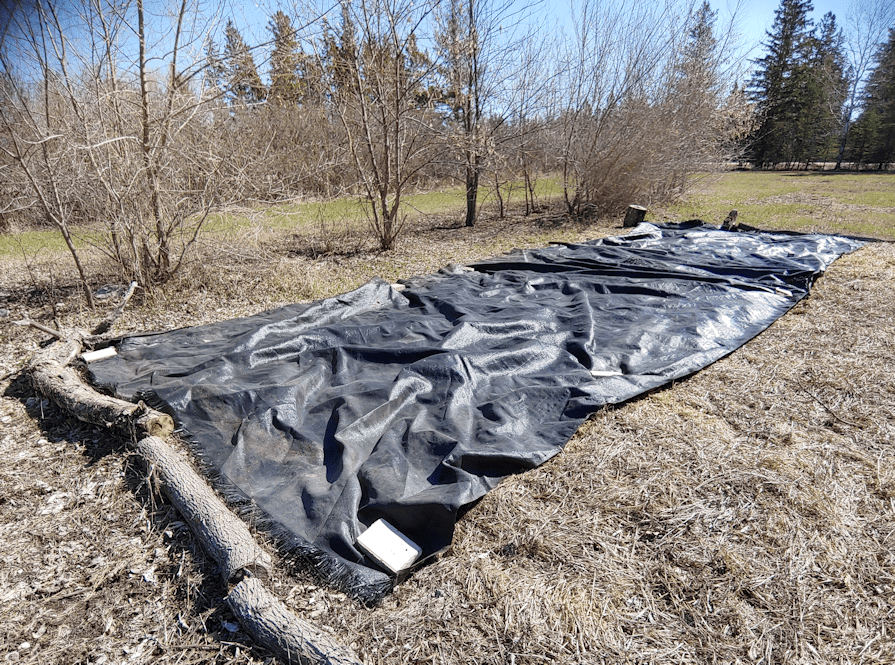
A bit of prep and clean up

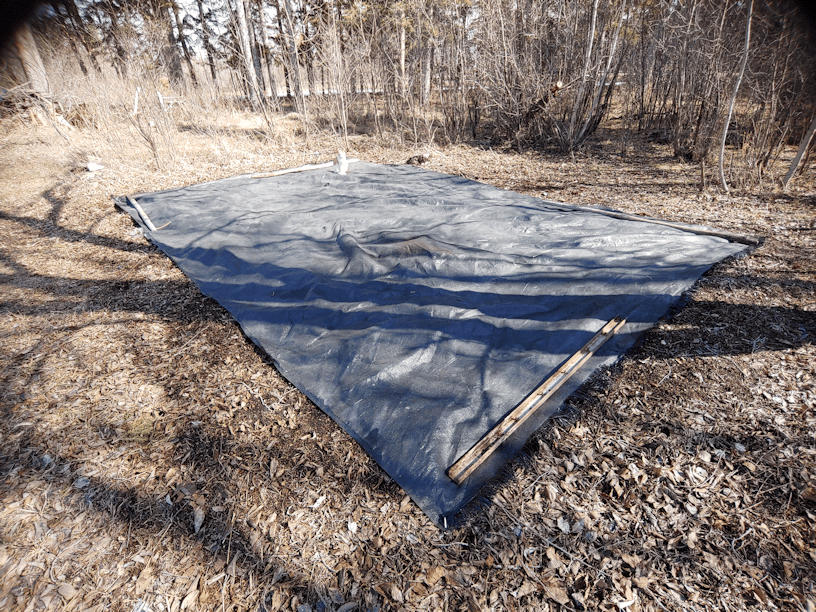
Yesterday, the girls were able to take our two black tarps and set them up on a future garden bed area.

We mulched this area with straw last year, as a start to try and amend the soil and add organic matter to it. The old garden area had been plowed probably the fall before we moved in. I don’t actually know. It left the entire area very rough, but the ground itself is incredibly hard and full of rocks. I remember as a child, we were constantly picking rocks out of here, though one section (now full of trees) was so bad, my parents stopped trying to plant anything in it.

We want to amend the soil by adding organic matter to it, but we have also not decided where we will be permanently adding garden beds. For much of this area, we are already planning of eventually putting fruit and nut trees, though for this year, outside of the section in the photo, we will be planting giant sunflowers.

The black tarps are there just to warm the soil faster. Along the North side, I plan to plant birdhouse gourds in a row running East to West. In front of it, we will plant pattypan squash and the zucchini mix, in rows running North to South, all with trellises.

That may change, if none of the birdhouse gourd seeds sprout! Still no sign of them right now.

After this year, I hope we will have cleaned things up and worked things out enough to decide where we want to plant raised bed gardens. And by “raised bed”, I don’t mean the ones I’ve seen videos of, where people just border an area with rocks or a layer of bricks that get referred to as raised beds. I am thinking of beds that may be as high as 3 or 4 feet. Accessibility is what I have in mind for these, as my body ages and I know my mobility in my hips and knees will continue to decrease. This means finding permanent locations, and from what I’m seeing, this may end up being on the South side of the house, rather than the North.

We shall see.

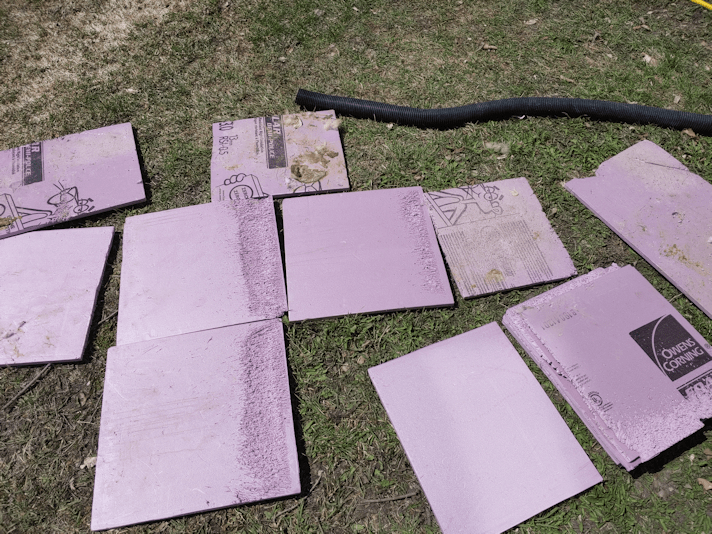
Among the other things I finally got to today was dismantling the cat condo I put together out of cardboard boxes and rigid insulation. The remains of the boxes went to the burn barrel area, but I wanted to keep the insulation for potential future uses.

I am amused by the very defined areas that cats used it for scratching! These pieces were all in the backs of each “condo”, and the scratches near the “ceiling”.

No wonder other pieces were falling inside. I cut them in sizes that would support each other. That doesn’t work if they get moved around by enthusiastic scratching! :-D

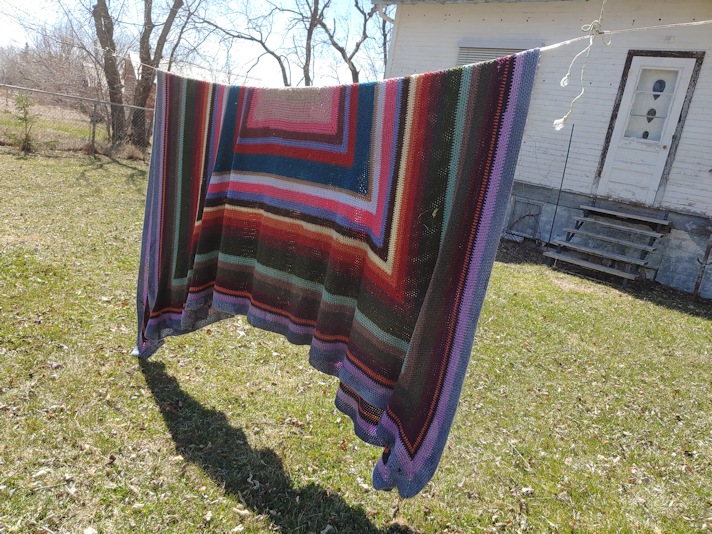
Another thing I finally set up for a bit of cleaning was the large crocheted blanket that was set up on my dad’s old swing bench, to help the cats keep warm.

The peed and crapped all over it. :-(

I’d already draped it over the sawhorses and gave one side a thorough soaking and de-pooping with the hose. Today, I did the other side on the clothes line.

The blanket, on its own, is already pretty heavy. Full of water, it probably weighs more than 20 pounds. It stretched the clothes line until the bottom was piled on the ground. The clothes line is on a pulley system, so clothes can be hung from the platform at one end, and the line moved as needed. (When I was a kid, there were three lines set up, but there’s just the one, now.) So I used some rope to tie the top and bottom parts of the line closer together, then slid that over to lift the blanket off the ground a bit.

I had actually tightened the line before putting the blanket on it, too!

We have another, smaller blanket we use for the cats. It was covering a shelf, so it didn’t get filthy like this one did. It, too, got a soak from the hose to try and clean it. Both are way to heavy to ever put into a normal washing machine, so a hose is the best we can do, right now!

I am hoping that, sometime next week, we’ll finally be able to empty the sun room to give the floor a thorough cleaning. We should be able to continue cleaning out the old kitchen, too, so we can turn it into a pantry.

Little by little, it’ll get done!

The Re-Farmer
Spring clean up started

I finally got to get outside and start doing some dedicated clean up around the house.

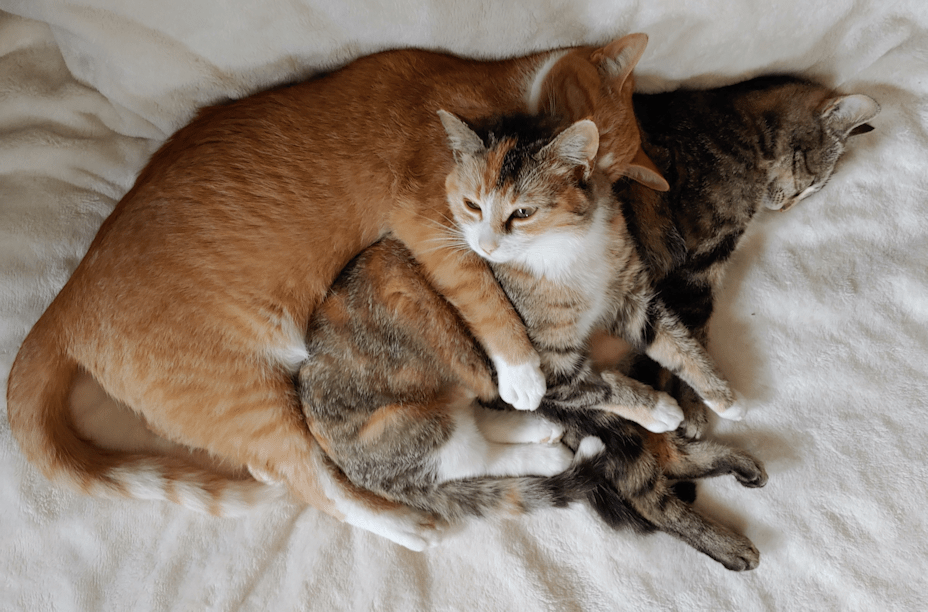
But first, I must share this adorableness.

Two Face is getting all of the love from her siblings as she recovers from her visit to the vet.

Speaking of visits to the vet, we discovered our inside mama cat has been throwing up, so we are stopping the pain killers the vet gave us to try with her.

Dang.

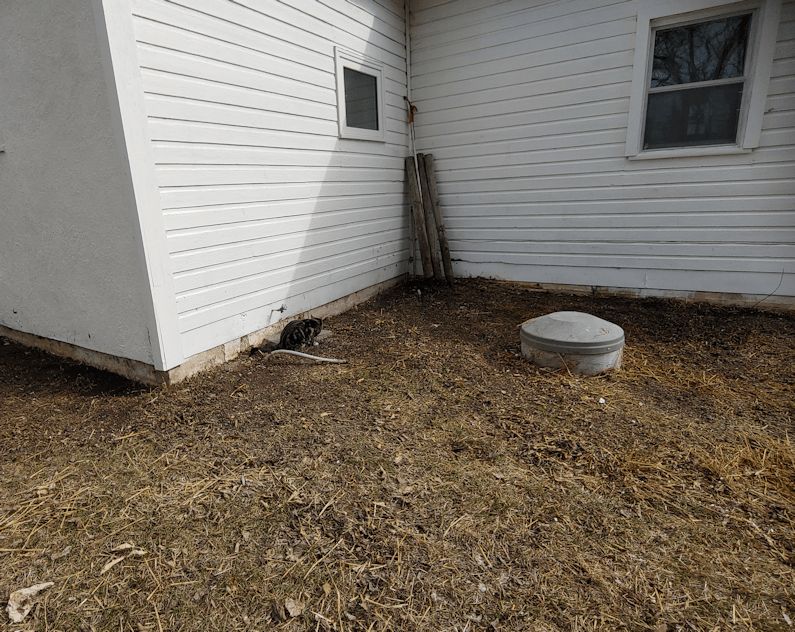
My goal for outside had originally been to go around with a wheelbarrow and pick up all the little branches scattered all over the yard over the winter. Once out there, however, I changed tack completely. Instead, I removed all of the rigid insulation we put around the bottom of the house for the winter, removed the straw from over the septic tank area, and cleaned things up around the house.

When our septic failed earlier in the year, and we had to get the tank emptied, I had moved the straw covering the lid over to the side, on top of snow and other straw. As I cleaned away the straw, I uncovered a snow drift! :-D

That’s okay. The straw got moved over to the old kitchen garden, and the straw that was stuck in clumps of snow and ice will just add moisture to the garden. Plus, some of it was already starting to decompose quite nicely. Bonus! :-)

This is all just the straw that was covering the septic tank area. Later, I plan to cover the rest of this little garden with more straw from the bale we still have in the old big garden area.

The sheets of insulation around this side of the house were held in place with whatever was handy. Bricks, chimney inserts that will never be used (now that is an electric furnace) and little benches we found while cleaning up in the maple grove. They all fit quite nicely together to make a little seating area. :-)

In the future, we plan to make a path along the house, and a small garden of shade tolerant plants in this area.

On the topic of planting things, I was able to cover a future planting area with black tarp this morning.

The ground here is soft enough that I could actually use tent pegs to secure the corners. Unlike pretty much everywhere else, which is still frozen hard.

One of the things I want to do in this area as soon as the ground is thawed enough, is dig through it a bit more to make sure I’ve cleared out as many roots as I can. There were so many cherry roots running through there, it’s very likely we’ll end up with some trying to grow through our plantings, if I’ve missed any! Of course, we’ll have to be on the look out for any rusted nails and whatever else may have been missed when we cleaned this area out.

Also, the Potato Beetle decided to be part of my “found object” display. :-D

Him and his filthy, filthy nose! :-D

My other goal of the day was to start some seeds, but that will have to wait until tomorrow. It’s time for me to pain killer up again and take it easy, so that I’m not too wiped out to continue tomorrow.

Ah, the things you need to think about when you’re broken. :-D

The Re-Farmer
Clean up: basement – Done!!!

Woohoo!!!

It’s done!

The girls and I made a push to finish tonight and, as I write this, we now have two very pregnant cats in the new “maternity ward”.

Before we hauled out all the stuff waiting by the stairs, my daughters and I went rifling through a shed and the barn to see what we could find to use as doors.

First, we went into the shed, where I knew there were some doors that might work. We decided against them, but found some decent wood in a corner. We found a couple more pieces in the barn.

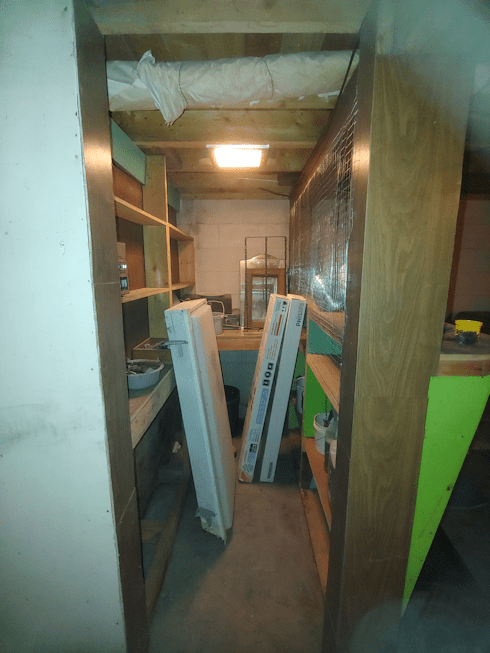
With the trellis wire left over from covering the counter opening to the unfinished bar, we figured we could build a mesh door to size.

I also started to bring some of my tools down. I’m so excited to be able to do that!!!

While in the barn, we found these.

They are actually plastic windows. They were wide enough to fit over the opening into the unfinished bar – there’s space at the top, but the cats won’t be able to get up there.

They almost fit over the opening to the old basement, but that wider part on the bottom couldn’t be covered.

My thought had been to build the wire mesh door for the bar opening, which would have allowed us to make a hinged door (except we didn’t have any hinges handy). With using one of these windows instead, hinges couldn’t be attached, anyhow.

So I found some cup holder hooks and Bungee cords. The idea was to have a pair of Bungee cords holding the window pane in place. That didn’t work out exactly as planned, as we only had one Bungee cord that was the right size.

We made do. You’ll see how in the next photo. :-D

After bringing the stuff to make doors down, the girls and I hauled out what needed to be gotten rid of. We now have an awful mess outside our main door, but cleaning that up will have to wait until the weather improves. Plus, finished the basement was the priority.

The girls started working on building the frame for the wall opening while I started cleaned the window panes, then started cleaning up the area by the stairs.

When it was time to screw the frame together, the girls couldn’t find any usable screws in any of the buckets and miscellaneous containers we kept. There were just nails.

So we ended up using the deck screws I’d taken out from the barn doors, after our vandal had boarded them up.

I’m still giggling about the irony of that.

Once the frame was screwed together, the mesh was stapled into place in two overlapping pieces. There was a possibility of a cat getting through at the overlap, though. My daughter managed to find a couple of shorter screws and we put a cross piece on the mesh side of the frame at the overlap. The overlapping parts of the mesh were then stapled to the cross piece. This closed the potential gap, strengthened the frame, and it can even serve as a “handle” on one side.

Here is how they look now.

The frame ended up working better in the old basement side of the wall. It’s braced on one side by a table, and a Bungee cord attached to one of the cup hooks is keeping the other side in place. To get through, we can unhook the cord, then slide the door to one side.

As for the window-door, until I can find another cord the same length as the red one, we’ve got a longer one diagonally, just to keep the window pane from potentially flipping over. The extra window pane is now stored in the old bar. Who knows. It might come in handy for something else.

The fun part is, we’re already using the basement as a workshop!

I’m so excited! :-D

One of my daughters took over cleaning while I found and brought more tools down, then helped finish the frame. She even mopped the rest of the floor.

I can’t even think of when this floor was ever mopped, other than parts of it at times like when my brother found the water damage shortly before we moved in and had to scrub away mold and bleach the floor and walls in the corner.

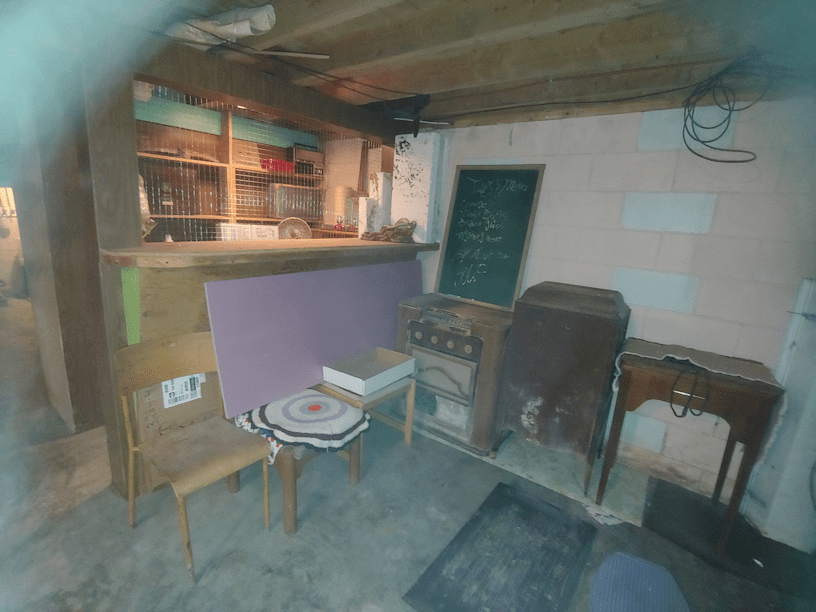
Here is how it looks now at that end.

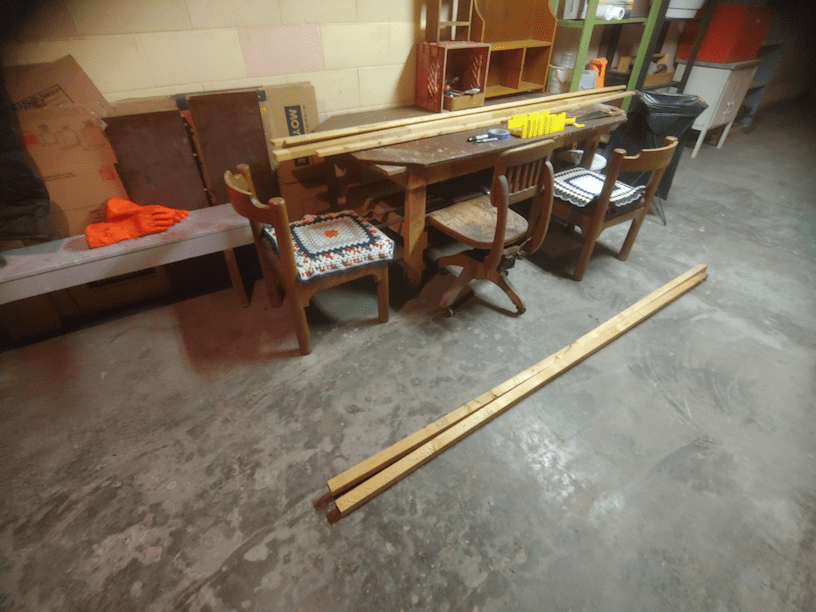
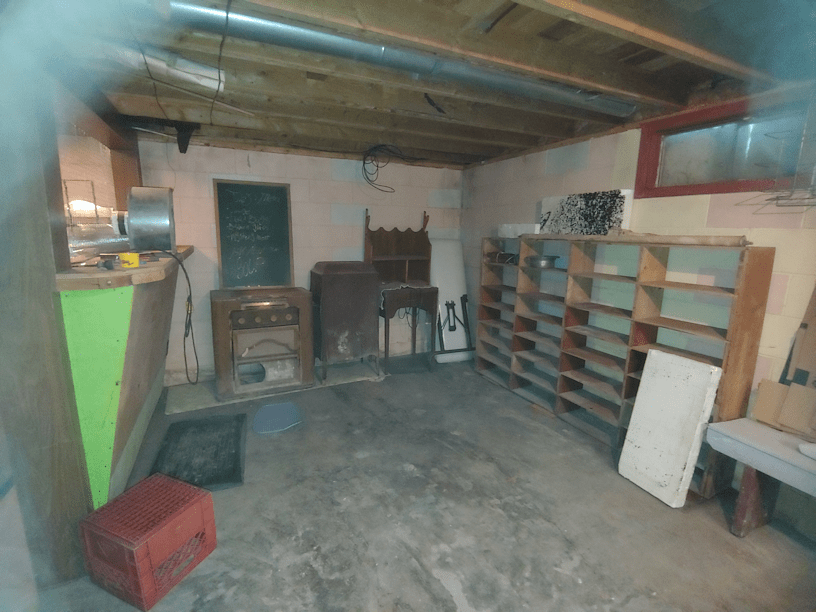
We have set up cat beds under chairs and the old phonograph. A flattened box is there to act as a rug, and we brought in the litter box that was in the sun room, since the outside cats don’t need to use it anymore.

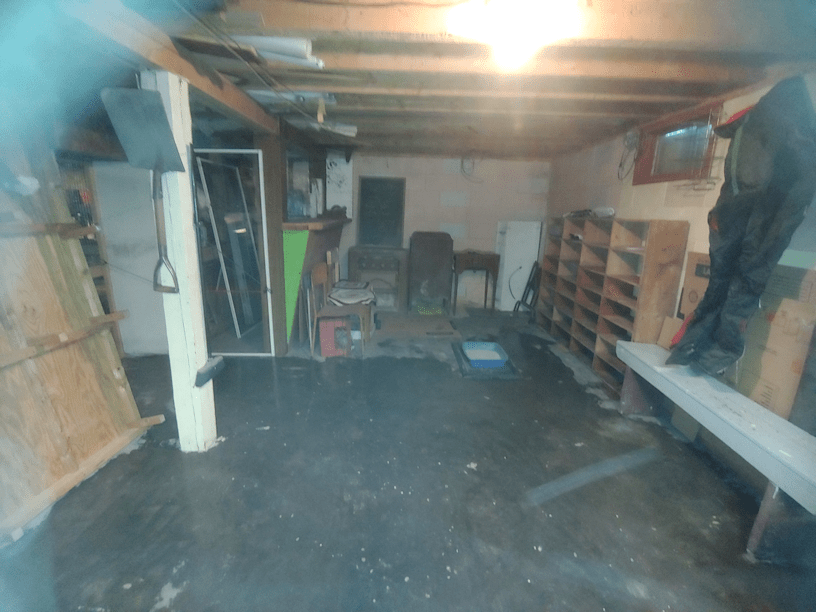
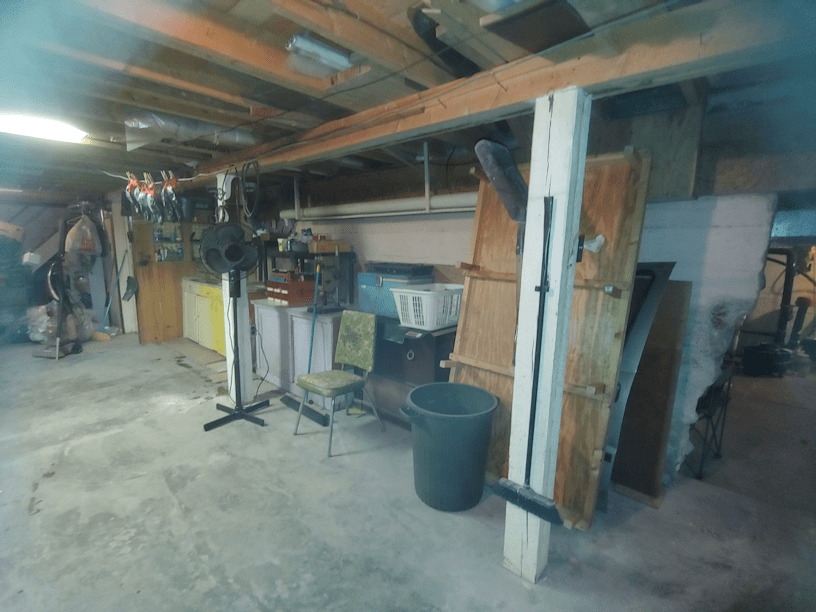
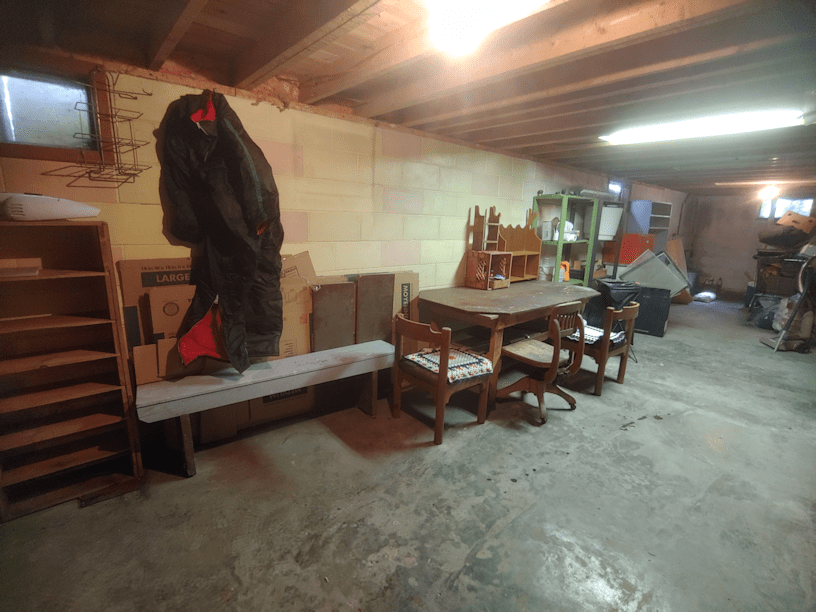
And here’s the rest of it!

We set up food and water bowls at the far end, nearer the stairs.

When I went into the sun room to get the litter box, Beep Beep was in there, curled up on the swing bench. That was encouraging, since we would be getting her soon. Then Big Jim came out.

He had blood all over one side of his head!

It looked like it was coming from an ear, an injury that was most definitely not there this morning. The poor thing! The blood was dry, so whatever happened, it was no longer bleeding, at least, and it didn’t seem to be bothering him. He sure wanted pets, though!

After setting up the litter pan, food and water, one of my daughters and I went outside with some cat treats. I scattered some both inside the sun room, where Beep Beep and Big Jim still were, and in the outside food bowls.

Creamsicle and Potato Beetle were quick to come for treats, and I was very pleased to see Butterscotch waddling her way over, too. We let them eat for a bit, then tried to get the mamas in.

Beep Beep was more cooperative. She jumped out of my arms as soon as I got inside, but I’d managed to open the door to the basement, first, and that’s where she made her escape to – exactly where I wanted her to be.

Butterscotch was much less cooperative.

My daughter was eventually able to pick her up, and I was manning the doors so she could get Butterscotch inside, and into the basement, at almost the same time.

Butterscotch did NOT want to go down the stairs!

It took some persuading and gentle wrangling by my daughter to get her down enough stairs that I could close the door. Then she went back to the top step, essentially trapping my daughter in the basement.

Beep Beep, meanwhile, had already settled herself in front of the chalk board at the other end of the basement.

My daughter spend the next while trying to coax Butterscotch down the stairs. When she did get to the bottom, she immediately hid in a shelf under the stairs. My daughter brought one of the cat beds, placed inside a crate to make a “nest”, and put it beside where Butterscotch was hiding. This way, we hope she’ll find the nice, soft bed and a more enclosed area she will feel safer in.

And hopefully have her kittens in.

We will now have to add going downstairs to our cat care routine. It should be interesting to see how much of a challenge it will be to keep the mamas downstairs, and the other cats upstairs. Eventually, I want to have the litter boxes for all the cats downstairs, which will mean having the door to the new part basement open all the time. That’s not going to happen while the mamas are down there, for a while.

I hope they feel comfortable and safe down there, soon!

The Re-Farmer

Clean up: basement progress – the final stretch!

Soooo close to getting the basement done!

Okay, not completely done, because there are still weird things all over the place, but that can be taken care of slowly over time, even after we’ve set up for cats. So, done enough!

I decided to make use of the remaining shelves of the plastic shelving units I got for the old part basement, with its too low ceiling.

For where I wanted to put them, I had to make an even bigger mess.

It kinda looks like the room exploded. :-/ But, it had to be done!

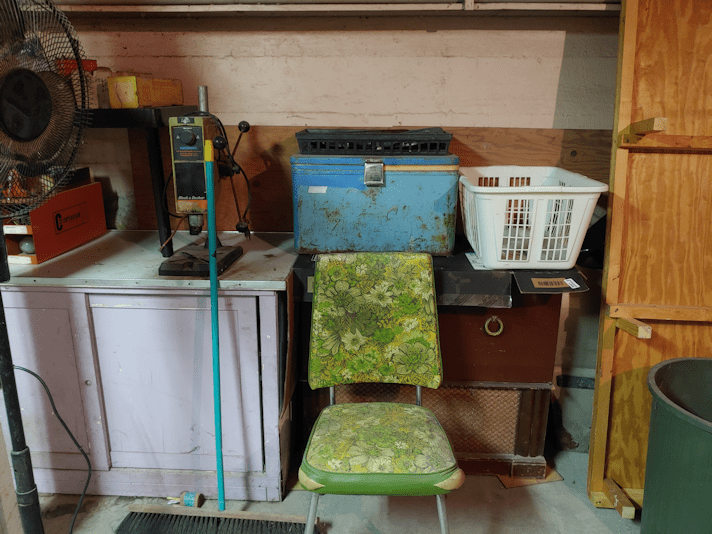
Here is the final result for the shelves and counters against the old basement wall.

The plastic shelf on the yellow counter will help brace the rigid insulation that’s blocking the old window. There is a heat duct on the other side. It doesn’t even reach into the window, but just has an opening facing it, but there’s enough air pressure to push against the sheet of insulation. I’ve pokes holes in it to let more air through, but having the shelf against it will ensure it can’t be pushed off.

The counter top of the yellow shelf is sagging, and I needed to get the back legs of the plastic shelf as far back as I could, so I ended up laying some boards I salvaged from around the basement, leveled with pieces of floor tiles (those old floor tiles are coming in incredibly handy!)

In the process of working in this area, I checked out the cupboard under the other shelf. I’d only looked at the other half while working here before, and wanted to see if there were more things we needed to haul out.

I found three more motors.

Why are there so many motors??? Counting the ones already moved to the barn, we’ve found more than a dozen motors, scattered about!

At this point, I think we’re just going to leave them in the basement for now, instead of hauling them up the stairs and to the barn. It’s not like the cats can really do anything to them, and they can be hauled out later in the year.

That was just one area that I didn’t expect to have to go so far into. I also cleared out the area were we’d put the van’s original door. There was a whole bunch of stuff behind the old radio, and a sheet of plywood leaning against the old basement wall with more stuff behind it, that was definitely not cat friendly.

Here you can see the part of the old basement wall that had been underground when the concrete was poured. Unfortunately, it makes for a very uneven wall, which in turn makes for gaps we’re going to have to find some way to fill.

After moving out the stuff behind the plywood, I shoved the plywood back, pushing it further behind the lilac shelf, to block off the gap behind it. There is still a gap at the top we’ll have to figure out how to cover. The old radio, meanwhile, is now right up against the plywood, I put some cardboard on it to protect the top, and tiles under the base. The car door is back, and I’ve shoved the twin sized bed frame I’d been using for some time after my husband had to start using a hospital bed.

In the process of doing all this, I found stuff, of course.

Yes!!!! I found some plumb line!

It’s not the one I remember helping my dad use, but I’m happy to have found any at all. It will be quite useful in the future, I’m sure. I made sure to tuck it into a spot that was in the open, so I can find it easily in the future.

This next find was a surprise.

I haven’t seen this since I was … probably a pre-teen! I forget which of my brother’s made it. I think it was a school project. It’s modeled on a plaster cast version still sitting in the old kitchen.

It’s a keeper!

I also moved stuff into the unfinished bar area.

It’s got a bunch of fragile things that need to be protected from the cats, substances in various bottles, jugs and cans that the cats need to be protected from, and some of the stuff we found that we want to restore at some point. All we have to do now is rig up a door to keep the cats out.

Not a lot changed in this corner; I cleaned that shelf, but don’t really have anything to put in it, now that we’ve cleared the junk out. The chairs had been stored against the wall closer to the stairs, and I moved them here to open up the space there, and so they can be used. Some things, like the remaining piece of rigid insulation, will be moved out of there, as we do the last few things before letting the cats in.

More chairs were moved around that table, and the remaining shelf from the old basement got moved in to where I’d found another sheet of plywood. There are still gaps, because of the uneven wall, that need to be filled by the opening between the basements. We now need to also rig up a door of some kind between the old and new basements.

With the very odd shape of the opening, this is not going to be easy.

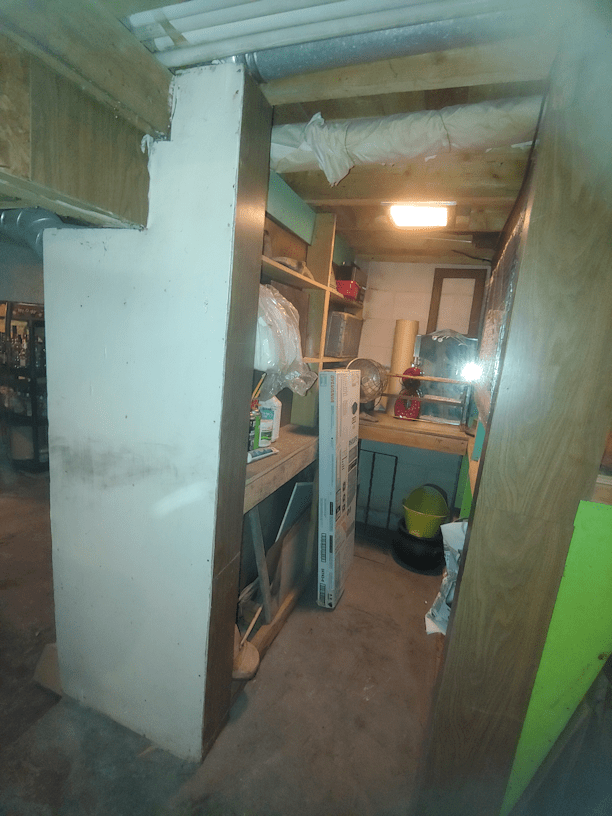
After this, we have to start hauling stuff out for either barn or junk piles. Once that’s out, the area just needs a quick clean up, and a filling of old mouse holes in the shelves under the stairs, and the root cellar. Then I can take our Christmas decorations out of the root cellar and move them back into this area.

We are so close to being done! But I am so dreading hauling the stuff out. Some of it is very heavy, and others just difficult and potentially dangerous to carry up the stairs. The girls and I will have to assembly line it.

But not quite yet. They’ve been working hard cleaning on the main floor, and we all need a break right now!

It’s pain killer and hydration time! :-)

The Re-Farmer
Clean up: more basement progress

The girls did a wonderful job in the basement, while I was baking bread! They got the big stuff moved back to the now-bleached and dry corner, the wire mesh over the counter to the unfinished bar, and a lot more cleaning, sweeping, scrubbing and vacuuming of cobwebs. :-D

Here are the before and after shots.

The wire mesh is up, and the more fragile items, and things potentially harmful to cats, are starting to be put into here. Eventually, a door of some sort will be rigged up, so the cat’s won’t be able to get in.

The pieces of Styrofoam at that long shelf were taken out of the windows. They were put in for the winter, before we moved here. They are cut to fit so snugly – and so much stuff was in the way – that we hadn’t been able to get them out before. Now, when the insulation around the outside of the house it moved away until next winter, there will be natural light in the basement.

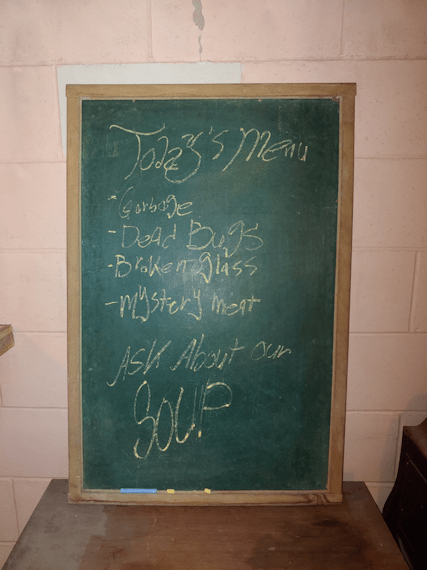
Also, my daughters are hilarious.

Too funny!

Also, I guess I don’t have to ask what they found while cleaning.

I don’t want to know what the “mystery meat” or “soup” was. :-D

The table, shelves and cabinet are now all cleaned up and usable again.

They also started to haul stuff outside, including all the garbage bags.

A trip to the dump soon is definitely in order!!

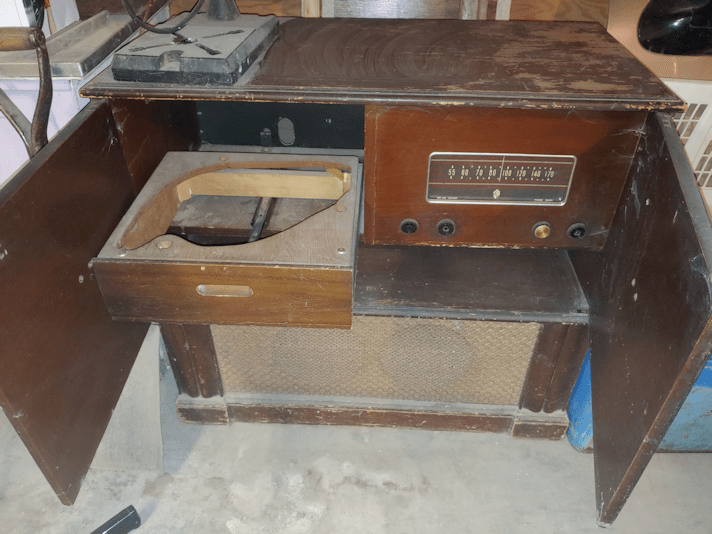
Since I was down there anyhow, I checked out an old radio/record player that’s against another wall.

Except the record player part is gutted.

What about the radio? I was curious, so I stuck my phone around the back and took a blind shot.

Huh. Amazing. It hasn’t been completely gutted!

I have no idea what this is supposed to look like, but I’m sure there are parts and pieces missing.

For now, we have no plans to move this thing anywhere. I admit, for me, it’s more because I don’t want to deal with all the stuff shoved behind it.

Bit by bit, it’s getting done!

The Re-Farmer
Clean up: basement progress. Honest!

My daughter and I got a whole bunch of progress done in the basement. Unfortunately, we’re at that stage were, in order to work on new areas, we have to shove things into areas we’d already done a lot of clearing. Which means that, other than the area we worked on, the rest of the basement now looks like something exploded! :-D

The unfinished bar area is now dry, but we sprayed areas with an anti-mold agent, just to be on the safe side. So nothing has been put into there yet. I was also able to stop at the hardware store after dropping my other daughter off at work, and was able to get a roll of 1/4 inch wire mesh that we will use to block off the counter opening of the bar area. That will be put in before we do anything else in there.

Meanwhile, we emptied the back wall and opposite corner.

This is what it looked like, not long ago.

Right now, the entire middle area is almost completely blocked off with stuff we’ve set aside, including the long shelf against the wall.

We also moved the old, gutted phonograph and ancient radio, which are quite water damaged.

They are in such terrible shape!

The phonograph cabinet is at least still fairly solid, We might be able to just remove the veneer that’s peeling off and be able to restore it. The old radio… I have no idea. I’m pretty sure it’s gutted, too.

This damage would have happened shortly before we moved here, when my older brother discovered flooding in the basement from a rain barrel at the corner that was left to overflow for months of rain. The corner had even started to mold, and he’d had to move things away from the walls so he could scrub and bleach the area.

While emptying that shelf against the wall, tucked away in a corner at the very bottom, I found this.

I had hoped this was the missing filter my brother had installed the last time there were problems with the septic system. It hadn’t worked, so he took it off and set it aside, but it disappeared. It turns out to not be the one my brother had bought, but very similar. So… we’re still missing a filter that likely grew legs and walked away, along with so many other things over the years. :-(

Another thing we found was a “hidden in plain sight” sort of thing. These were sitting on top of the old phonograph.

Nothing special about these – until we flipped them over.

I’m guessing my sister drew these plans. I think she still freelances plans and blueprints for people, but these days, she uses a computer. :-D I think these might be the original plans for the shelves that now divide the living and dining rooms! The end result wasn’t quite so fancy (I love the addition of a little rotary dial telephone), but I can see how what we have now could have developed from these plans.

Once the corner was emptied, swept and cobwebs vacuumed away, my daughter worked on scrubbing and bleaching, while I worked on emptying a pair of shelves in the middle of the basement. Our boxes and bins of Christmas decorations have been temporarily moved to the root cellar, just to make space. The pile of stuff that needs to be hauled out, either to the barn, junk pile or dump, has grown quite a lot.

Once I emptied the shelves (including taking out 2 cases of paint cans that have never been opened, but are so old, the boxes are disintegrating), I worked on a tool chest that’s basically just a big box with a front panel that swings down, clearing off the stuff accumulated at the top. I’m not going to try and go through it’s contents, but I did check out the cabinet it was resting on.

Where I found it full of various liquids, gels, greases and… mystery liquid. I’ve been putting all the small containers in a small bin I found, only to find it was nowhere near large enough.

Some of these have been barely used. I would guess they were things my late brother had made use of, which would mean they have been sitting in that cabinet for 10 years for, at the very least, 10 years.

It’s a shame to have to throw out the braided rug that’s visible in the back. I remember helping my mother make rugs like this, using strips of cloth made from old clothes and other fabric items that were to worn out for their intended use. Unfortunately, the two braided rugs I have now found in the basements had been down there so long, they got moist, and look like they started to mold.

Here is what the basement corner looks like now, before and after washing.

It’s really kind of hard to see the difference between washed and unwashed walls, but it’s there! You can still see where the mold my brother scrubbed away has stained the corner. :-(

While cleaning up, we found another outlet, on the outside of the bar counter. An outlet that we could plug in the big blower fan! So that is now set up facing the corner to help dry it.

I have to remind myself that the rest of the basement looks far worse than it really is! Once these areas are dry and we can start moving things back into their more permanent places, it will get cleaned up and organized rather quickly. The hard part is going to be hauling out all the stuff that needs to be gotten ride of, one way or another.

The Re-Farmer
Clean up progress, and that’s kinda horrifying

The girls and I were able to get quite a lot of progress in the new part basement yesterday, and I was able to get into a particular area of concern today.

Here is our progress from yesterday.

The biggest progress isn’t even visible. We were able to get all the cans of paint and other… stuff… out from some cupboards. Some of them were leaking. I got another 2 wheelbarrow loads of cans of paint, stains, and mystery tines to the barn.

We found another 6 motors of varying sizes and condition to move to the barn. There’s an unopened back of grout compound that will need to be thrown away. Moisture got to it, and it’s a brick now. We found a snowmobile suit shoved into a garbage can. Now that I think about it, judging from the size, it may have belonged to my late brother. If it did, it may have been there for more than 10 years! These things are rather expensive, and it seems a shame to throw it away, but I just don’t see how it could be safe to use after being in the basement for even just a couple of years. Dust, mold mildew… still, we just hung it up on the wall for now.

Stuff that’s going to the barn are being set by the stairs for now, as well as a growing collection of garbage bags, with stuff for the junk pile or burn barrel in the shopping cart, and broken/damaged glass in a box, so we can haul it all out at once. That is always a challenge, since we need one person to lug stuff up the stairs, one person at the doors to grab stuff and stick it outside, and one person with a spray bottle on cat duty! LOL I look forward to not having to worry about keeping the cats out of this basement anymore!

Of course, we found all sorts of things in the process of cleaning, including…

…a collection of hammers, among other tools. I also moved the hand saw collection to the other basement, to join the ax collection. :-D

Today, I focused on the “bar” my late brother had started to build when he was still in his teens, but never finished. It had been mostly cleared out yesterday, but there were still a few things to take out so I could clean the area.

Some cow bells. Because, of course. Another shoe form.

A very old racking cane and siphon hose. We’d earlier found a box with wine making chemicals and supplies, all of which had to be thrown out.

I have no idea why there are so many wine making supplies around here. My parents didn’t use them, and the only members of my family that make their own wine, do it in their own homes.

An old, beat up suitcase full of light fixtures and electrical bits and pieces. Because where else would you put what is likely broken, unusable bits and pieces?

This next case makes me quite sad.

What the labels don’t tell you is that this is a portable screen printing kit.

On the right is where ink would be spread. The roller would be loaded with in there, then rolled over the screen on the other side, which would have the design on it.

Under the screen is the surface that would hold the paper being printed.

You can see how torn the screen it – and the tape that was put around it.

This thing was in pristine condition when we acquired it. It was one of many things that were left behind in the old house my parents got – I believe for the cost of moving it – and moved into the yard, where it is now being used for storage. I made the mistake of taking this case, and a box full of wrapped up printing blocks, to the Industrial Arts teacher in high school. He is the one that put the tape around the screen, and “cleaned” it with whatever solvents they had in the class (there was an old style block printer that we used to make “business cards” as a class assignment). As for the printing blocks, they were covered in grease that he cleaned up, then wrapped them in paper. Well, it turned out that grease was protecting the surface of those blocks, and they have since degraded horribly. I doubt they can be restored. I doubt this screen print kit can be restored fully, either. :-(

Another item I had to clear out turned out to be a surprise. I knew it was there, but…

… what I didn’t expect that 1) it hadn’t been cleaned since it was last used and 2) that it would still be full.

That’s right. When I tried to move it, I found it unexpectedly heavy. Then it started to slosh.

*shudder*

I don’t know how many years this has been sitting here.

I’m really hoping the liquid is just water or something, to serve as weight to keep is steady, because that’s just a hole on the bottom. It doesn’t lead to a basin or reservoir.

At least it is still sealed shut. There’s no smell or leakage.

We’ve found some pretty icky stuff since we moved in and started cleaning up. The worst so far had been old cat poop in a corner of what was my mother’s bedroom, and cat litter on the floor under a dresser. My dad hadn’t had a cat indoors for years before he went into the nursing home. The girls had also found a mouse skeleton behind a shelf upstairs. I think a used, dirty portable toilet filled with liquid now joins the list of most horrifying things we’ve found in the house since moving in.

*shudder*

There were many other things found as well, including glass lamp shades – one still in the box it was bought in – more paint cans and various other odd bits and pieces.

This is what the bar looked like, after I emptied it.

Yes, I was wearing a mask and gloves!

This was the main area of concern.

There is water damage. The wall the plywood is covering is the wall to the old part basement, so this would be from when it had flooded in the past, soaking through to this side. This is also one of the few areas where we found mouse feces.

Which meant extra care needed to be taken to clean up this area. Brushing and sweeping, vacuuming and finally a cleaning with bleach.

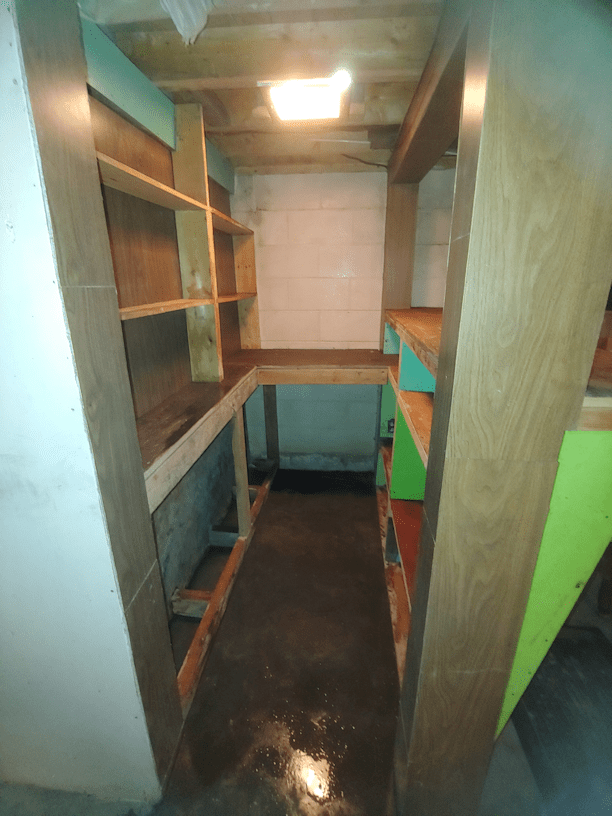
Here is how it looked when I stopped.

I now have a fan set up to dry it.

We have a moldicide spray that we’ll use on that plywood wall, too.

Once it’s all dry, we’ll use this to store things we want to protect from the cats, but don’t want to store in the old part basement. We’ll be making a “door” across the front, and I hope to pick up some wire mesh tomorrow, that we can use to cover the counter area to keep the cats out.

If all goes well, we will finish this tomorrow, set up some “nesting boxes” and a litter box, then bring in Butterscotch and Beep Beep.

I saw Butterscotch while I was doing my rounds this morning. She even allowed me to pick her up and carry her over the muddy areas. She is still pregnant, so we might be able to get this done in time, after all!

Just a little bit closer to being done!

The Re-Farmer

addendum: The girls and I talked about the portable toilet, and the two things behind the lid; one of which is an opening, the other looks like it can be squeezed down on. We thought it might actually be a flusher, so I went down to check the status of the floor, and stopped to read the label on that portable toilet. Sure enough, this is a flushing toilet top. It’s missing a part; there is supposed to be a chamber under it.

Which would actually have come in handy when our septic backed up. More comfortable than a honey pot!

If only it had been cleaned and emptied after its last use…

*shudder*