Today turned out to be a very pleasant day, weather wise, so I used it to do a job that I’ve been avoiding for a long time.
I started cleaning up our “second bathroom.”
Yup.
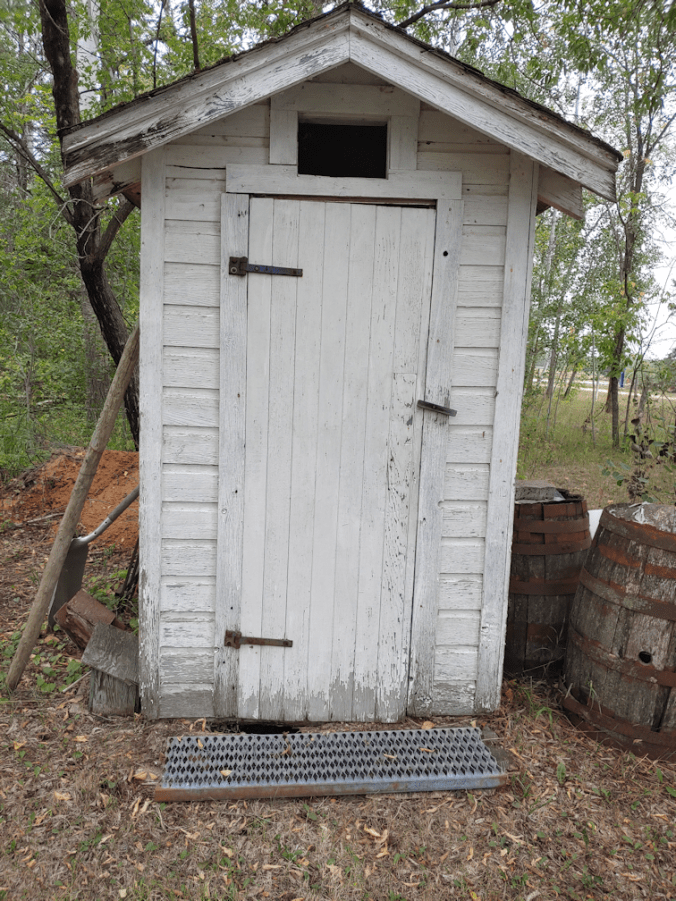
The outhouse.
Now, we do have plans to build an outdoor bathroom that can be used should we ever lose power or water. We are wanting to build a cordwood practice building, with the intention that it will have a composting toilet in it, and no pit under it. That way, in the future, it could be converted to something else without too much difficulty. We were supposed to at least start preparing the base last year, but that didn’t work out, and now I’m glad it didn’t. We have a whole lot of dead trees to cut down not far from the location we chose for it. A location that is the most open space that we would want to fell the trees towards.
Meanwhile, we have this old thing.
This post will be about working on the outside. Part two will be about working on the inside.

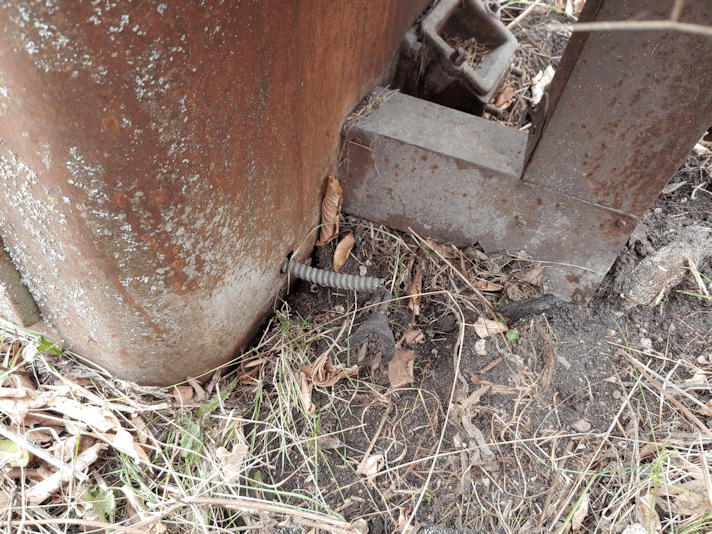
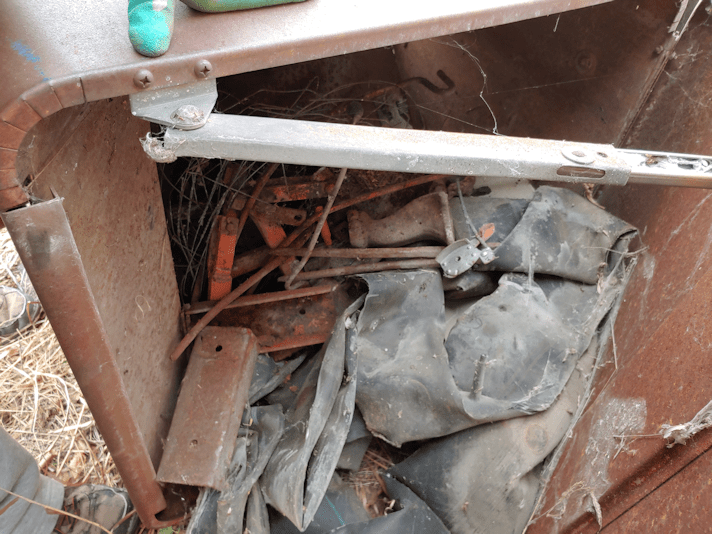
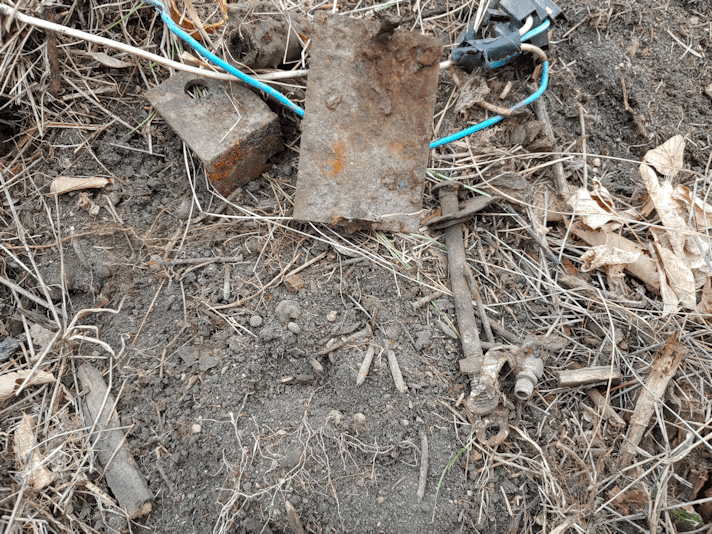
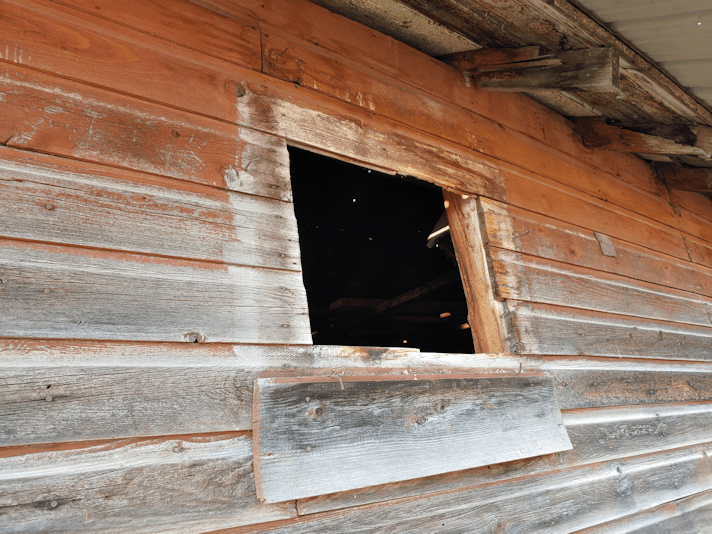
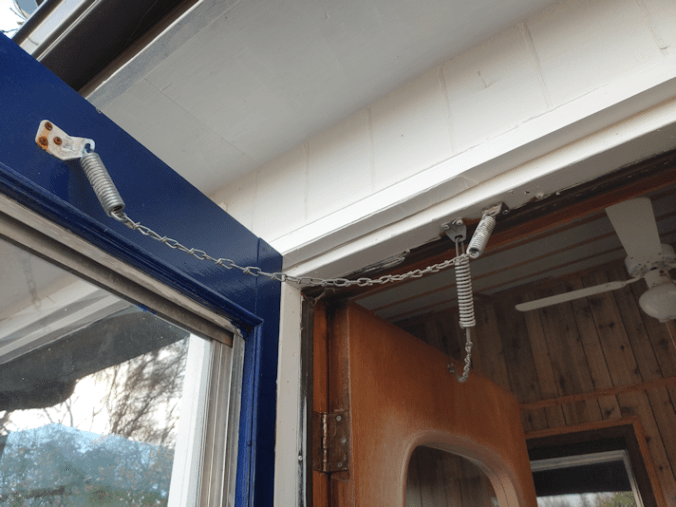
This right here is the main issue with the outhouse. I placed the metal (I can never remember what those area called!) in front of the door because it would sometimes open in severe winds, but also because of that hole.
Our first two springs after we moved here, we discovered that when the snow melted, it would pool in front of the outhouse. I was able to see through that hole that the pit would fill with water. Another reason why we want to have an outdoor bathroom elsewhere, and no pit!

One of the delays in getting this done was trying to figure out what to replace this with! I didn’t want it to be an issue again in the future, so not wood, for starters. But what could I use that would be big enough to cover the front, solid enough to walk on, yet thin enough not to block the door from opening?
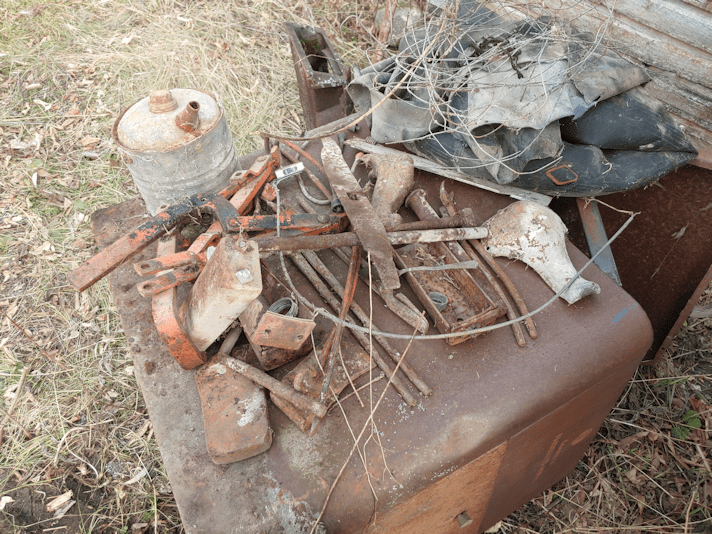
Barn salvage to the rescue.
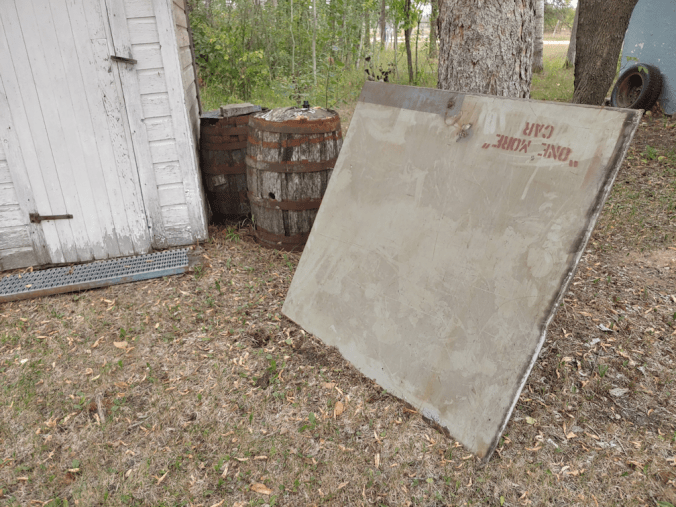
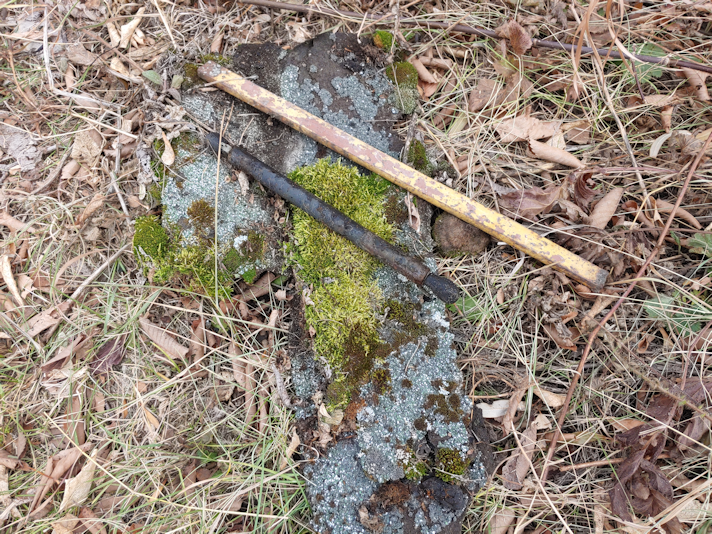
There were several large sheets of steel in the barn and, tucked in between, was this smaller piece.
Yeah. That’s the smaller piece.
Now, when I was looking at the sheets, all I saw was rust. They’re heavy, so I hadn’t moved them enough to see their other sides. It wasn’t until I was bringing this over, turning it end over end, that I realized the other side had no rust on it.
Also, it had writing on it.
What a curious thing!
Once the steel sheet was brought over, I removed the top piece that was in front of the door.
So… that’s disgusting. !!!

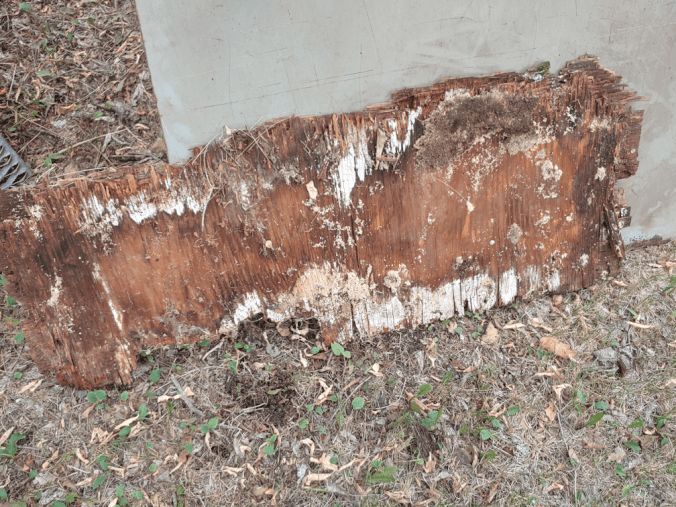
The outhouse is sitting on top of two large beams, which extend in front. The piece I’d removed was nailed to those beams, but everything was so rotted, there was nothing holding anything anymore.
Also, that sawdust is from ants.
Time to clean up and assess what’s underneath.
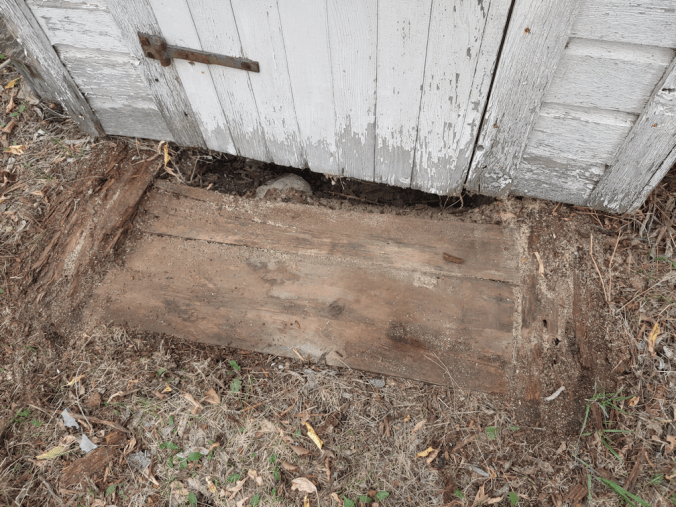
The boards I uncovered felt surprisingly solid. They were also quite thick.

And very rotten. They only felt solid because they were supported by the soil beneath.
Also, that’s a very large opening under the door! It seems the edge of the pit had started to collapse. No surprise, since the pit was filling with water in the spring.
The first order of business, then, was to block that opening.
The garage is nearby, and there were some pieces of metal roofing leaning against the side. There was also a strip of what I think was the top cap for the metal roof. I’m not 100% sure, only because I’ve never seen one up close. I just see them at the top of the outbuildings we have with metal roofs.

Thankfully, we have some really heavy duty metal cutting sheers. I used them to cut the piece to fit under the door, between the two beams. The metal was already bent slightly in the middle, which made it easy to bend it to a 90 degree angle. It turned out to be the perfect width, as the top of the metal is flush with the floor of the outhouse. It will not get in the way of the door, nor be a tripping hazard.
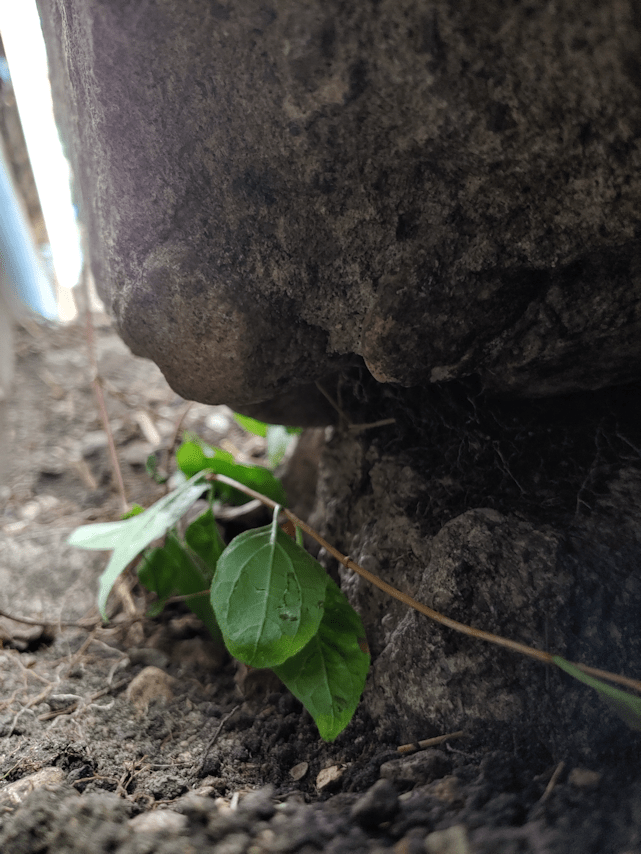
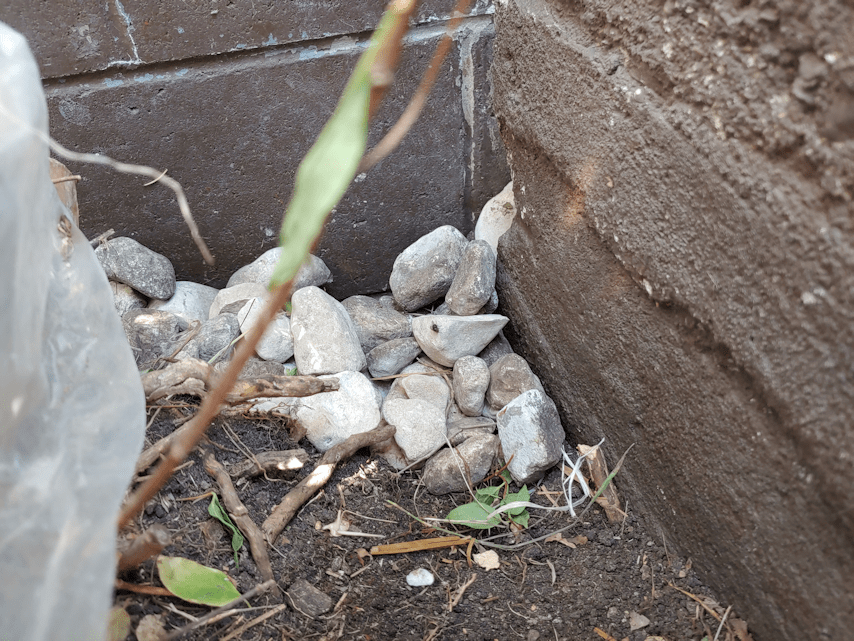
It is also supported by that rock, so it’s not going anywhere.
There is, however, still a gap under it. Which is where the rest of the metal piece got used.

After bending it to a 90 degree angle, it also fit perfectly flush with the floor, and covered the largest part of the gap. The little bit of space under the door hinge is mostly filled with that big rock.
Now it’s time to fill the space.
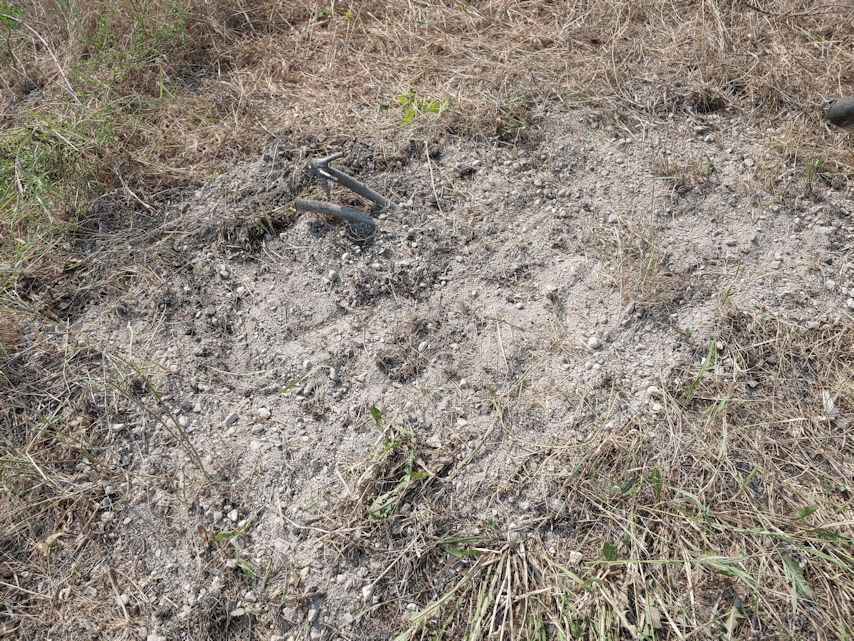
This is where I got to take advantage of the hard work the groundhogs have been doing, building their den under the junk pile, leaving some beautiful rocks and gravel for me to use!

First, I collected the biggest rocks that were visible. I also grabbed one of the flat rocks I’d found under the old half wine barrel planter I’d cleaned up from near the junk pile. That was used to cover the small gap near the big rock under the metal pieces. Then the rocks were added to keep everything in place.

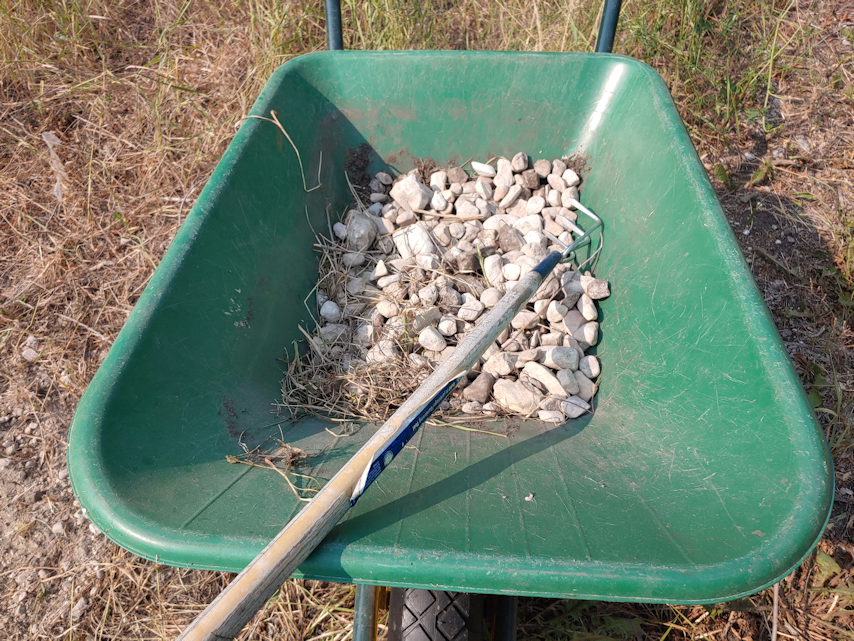
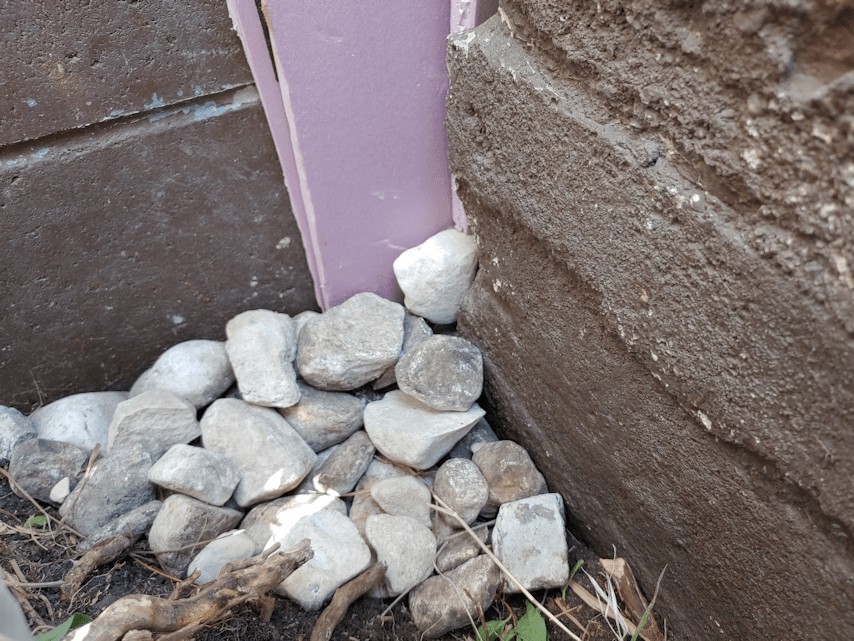
Then I brought over a load of sand and gravel – and a few more larger rocks – from the groundhog den.
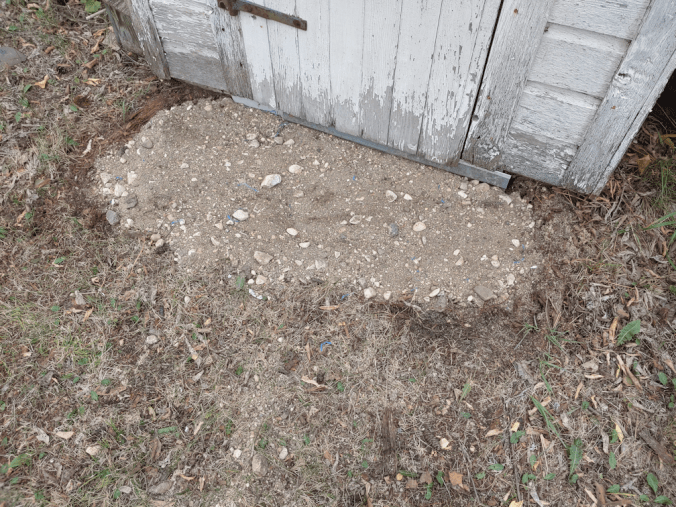
Most of it went to filling in the space left behind from removing the rotted wood and tamping it down.

The rest was spread out to go under the metal sheet. At this point, the sheet was laid down and removed a few times, until I got it fully supported by gravel and rocks, and level. I did end up having to get a bit more sand and gravel before I was done.

And there we have it! We can now to into the outhouse, and not worry about anything collapsing under our feet and getting hurt.
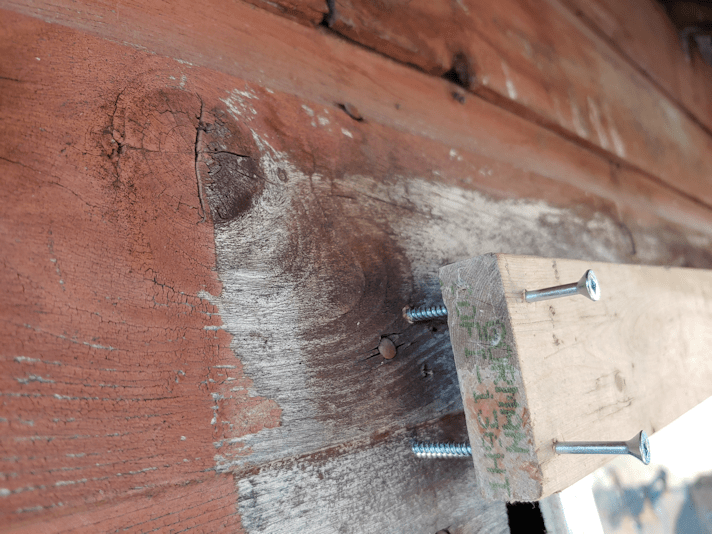
I just had to make sure the text on the metal sheet was facing so that it could be easily seen and read. I am curious as to why it says “one more” car, and why the words “one more” are in quotes, but the word “car” is not. :-D
Now that it’s safe on the outside, time to see if it’s safe on the inside!
Find out, in my next post…
The Re-Farmer