A super easy and quick recipe to share with you today. Warning: these are amazingly addictive! :-D
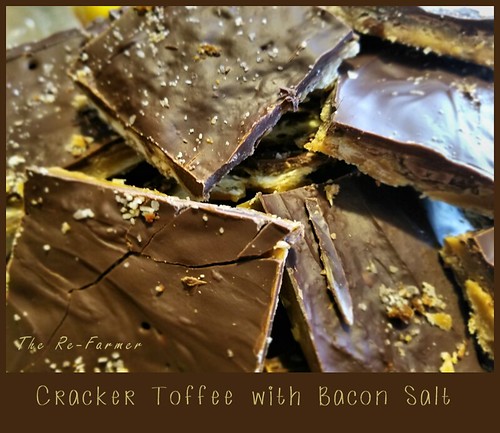
This recipe takes something I don’t normally like – chewy toffee – and turns it into a delectable treat (that doesn’t stick to my teeth!). Using semi-sweet dark chocolate chips and unsalted crackers helps keep the sweet and salty flavours from becoming overwhelming.
Cracker Toffee with Bacon Salt
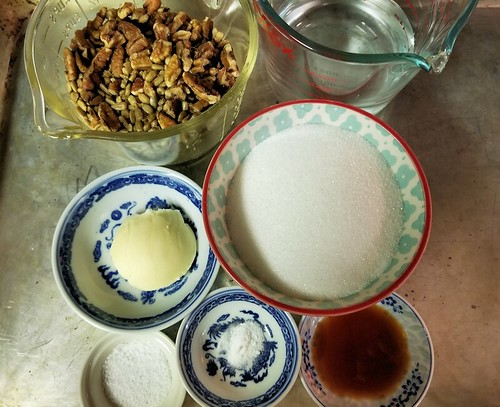
Ingredients:
- 1 cup butter
- 1 cup packed brown sugar
- unsalted saltine crackers (about 35-40)
- 2 cups semi-sweet dark chocolate chips
- Bacon Salt for topping
- Preheat oven to 350F.
- Line a baking tray with aluminum foil. Spread a layer of crackers on the tray. Lift the edges of the aluminum foil around the crackers to keep them snug and in place. Set aside.
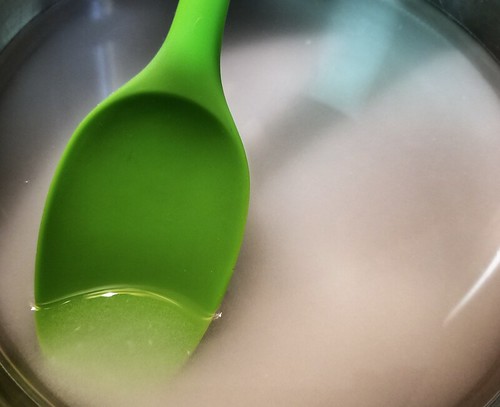
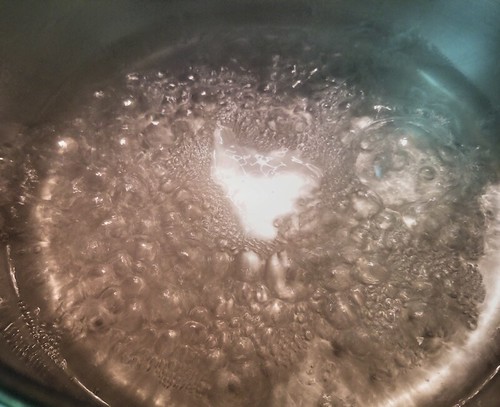
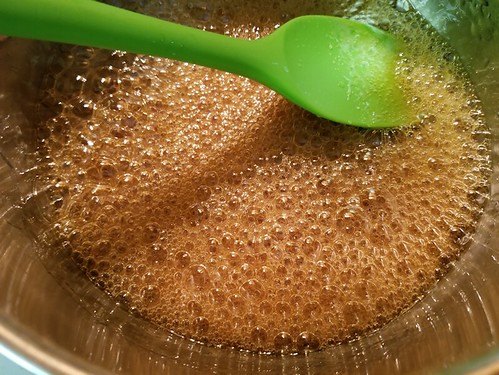
- In a small pot, melt the butter and sugar together. Bring to a boil and let simmer for 5 minutes, stirring constantly. After 5 minutes, pour the toffee over the crackers and spread evenly, making sure all the crackers are completely covered.
- Bake for 5 minutes.
- Remove from oven, then spread the chocolate chips evenly over the crackers and toffee. Let sit for a few minutes to melt the chocolate (if necessary, place the tray back into the still-warm oven to soften the chocolate), then spread the chocolate to cover the entire surface.
- Sprinkle a small amount (a little goes a long way!!) of bacon salt over the top, ensuring that each cracker gets a bit. (Note: you can substitute coarse Himalayan Sea Salt, or any other sea salt, in place of the bacon salt.)
- Let cool completely. Can be refrigerated to harden faster.
- Once completely cold, peel away the foil, then cut or break apart into pieces.
- Can be stored in an air tight container at room temperature for up to 1 week. Not that they will last that long. ;-) Can also be frozen.
- Enjoy!! :-)
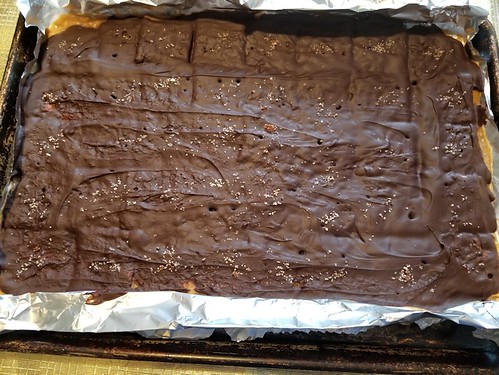
A thought occurred to me as I was resizing the above photo, noting my very grungy looking baking pan. A 9×13 jelly roll pan, I’ve had this for many years. In fact, when I moved off the farm at age 18, it was among the items I took with me, along with cutlery I still use today, and a few other necessities. I have had this pan for 32 years and 18 moves. My mother had this pan for longer than I can remember.
It’s entirely possible that this pan is older than I am!