Though I made five different flavored salts at once, I will be doing a post for each flavor separately.

Dry salts are made with a basic ratio of 1 tsp flavors to 1/4 cup coarse salt. Feel free to adjust to your own personal tastes! For the salt, you can use Kosher salt, pickling salt, sea salt, or any coarse salt you prefer. I used Kosher salt, which is fine enough to not need further grinding, but coarse enough to maintain a nice texture.
Rosemary Lemon Salt
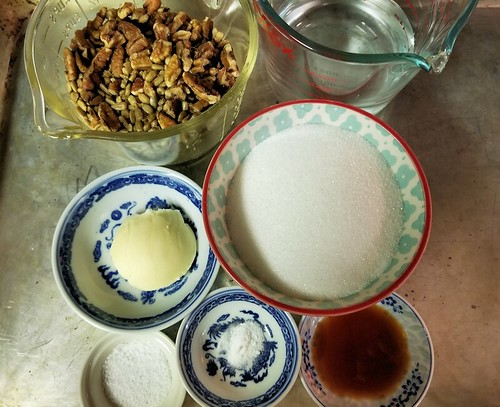
Ingredients:
- lemon zest
- dried rosemary leaves
- Kosher salt
Also needed:
- food processor, coffee/spice grinder or mortar and pestle
- jar with lid, large enough to have room to shake the salt
- a larger funnel or canning funnel would also be handy
Step 1: measure out the lemon zest and rosemary leaves (see note below).

Note: For 1 cup of salt, you will want about 4 tsp ground rosemary/lemon mixture. I made mine using 2 cups of salt, so I used about 3 rounded tablespoons total (1 Tbsp = 3 tsp) of the lemon zest and rosemary leaves, to get approximately 8 tsp after grinding.

Step 2: grind the rosemary leaves and lemon zest together, to a fairly fine powder.

Step 3: measure out your salt into a jar.

Step 4: add ground rosemary and lemon zest to the salt. Close the jar and shake thoroughly.


Step 5: Label your jar and set aside for about a week, out of direct sunlight, to give the flavors time to meld, giving the jar a thorough shake on a regular basis.
If desired, measure out portions of the combined mixture into gifting jars.
Links for all five flavors made:
Rosemary Lemon
Scarborough Fair Garlic
Mushroom
Raspberry Wine
Bacon