In the middle of when our internet went wonky and I couldn’t upload photos, I was able to move on to the next step in making cider vinegar with our crab apples.
You can read the first part here. (link will open in a new tab)
It’s been cold, wet and raining for the past while (with snow, in some areas!!), which meant it was the perfect time to stay indoors and finally make sauerkraut.
While I remember my mother making sauerkraut when I was a child, and I know I helped at least a little, I have never made it myself before. In fact, it was my mother’s sauerkraut that had me believing I didn’t like the stuff at all. She made incredibly strong kraut, and it was many, many years before I tasted any other and found it… okay. LOL Then one evening, while we were hosting a home schooling historical pot luck set in a pioneer theme, one of the families brought a fresh jar of sauerkraut. Fresh as in, just made that day and no fermentation. I was surprised by how good it tasted.
Cabbage, however, was one of those things I just didn’t tend to buy. In fact, it wasn’t until we moved here that we started to pick it up regularly.
I have an old friend from high school that has shared on social media about the sauerkraut she has been making, and with all the food preservation stuff I’ve been getting more and more into, I found myself wanting to try my hand at it. I did some research and found that it is incredibly basic – but it didn’t sound like what she was making. So I messaged her and got her recipe. It’s more like fermented vegetables, with added probiotics, than sauerkraut.
I decided to do both.
This post will be on the basic sauerkraut I made first.
Once we got our crab apple cider vinegar made up and set aside to ferment, it was time to turn to the rest of the crab apples!
The apples had been cleaned and left to soak in cold water with vinegar overnight. The extra time allows for any damage and bruising to the apples to be easier to see.
The next steps were to remove the stems, then cut the apples. These crab apples are small enough that I just cut them in half.
This was the time to cut out any damaged bits – or remove some apples completely.
There were quite a few that looked fine on the outside, only to be bad in the middles. The above photo is what I removed from the apples, including the small batch I used for the apple cider vinegar.
Just a little something for the compost pile. :-)
As I have some of our choke cherries and sour cherries in the freezer, I decided to make several small batches, including spiced jelly. Some of the recipes I saw said to cook and strain the apples first, cook the juices with the other additions, strain them again, then make the jelly.
I had no interest in cooking and straining these twice, and saw no reason to. Instead, I divided the cut up apples into three pots. I had two medium sized pots plus my smaller stock pot, so after I filled the two smaller ones, any left over apples went into the bigger pot. My smaller pots each held about 6 cups of chopped apples, and the bigger pot had about 7 cups of apples.
I then made my additions.
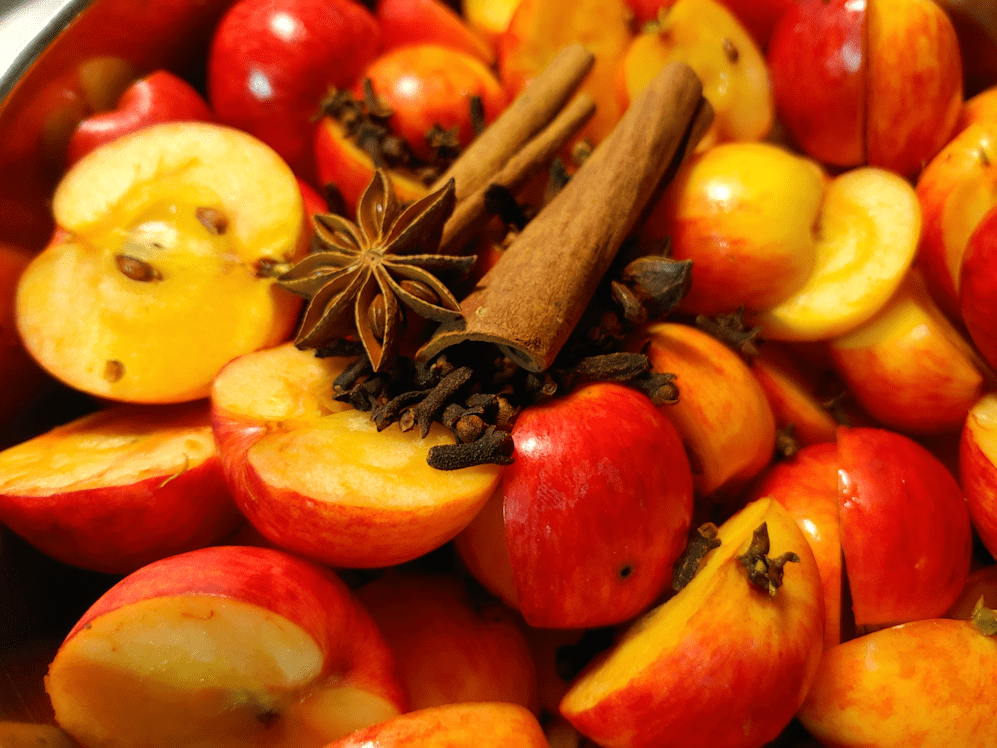
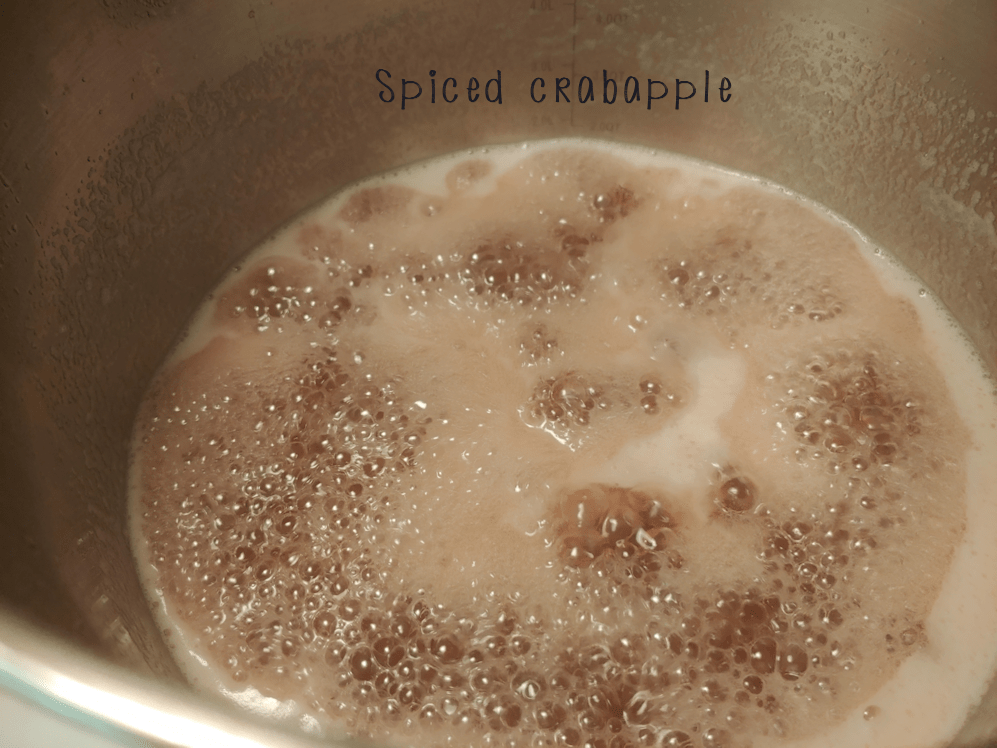
The spiced batch got a couple of cinnamon sticks, 2 pieces of star anise and about a tablespoon of whole cloves. The others got about 1 cup of frozen fruit added.
Next, water was added until the fruit was just covered. They were then brought to a boil, covered and left to simmer until soft.
The pot the choke cherries were in turned out to be just a touch too small, and I had to transfer it to my other stock pot to prevent it from over flowing.
After about 20 minutes or so, I stirred them down to break up the fruit a bit; I had to use a potato masher on the spiced apples, as the pot was too full to stir properly!
I continued to cook them until the fruit was quite soft.
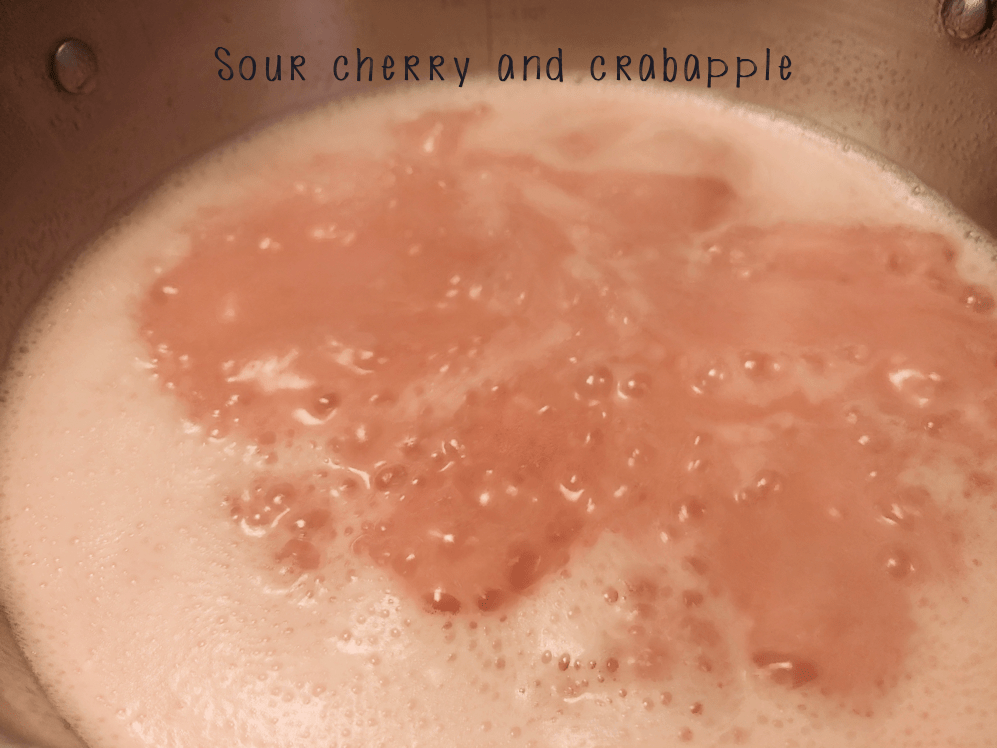
This is the sour cherry batch on the left, choke cherry batch on the right. I forgot to get a picture of the spiced batch before I put it up to strain.
While the apples were cooking, I prepped for straining.
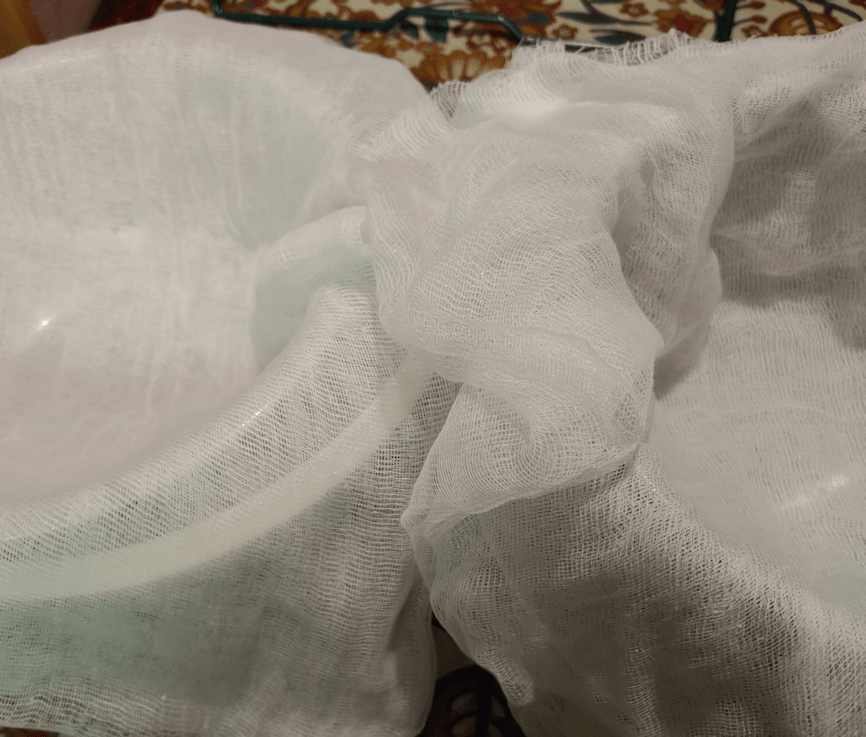
I currently have only one jelly bag, so I lined colanders set over large bowls with cheese cloth.
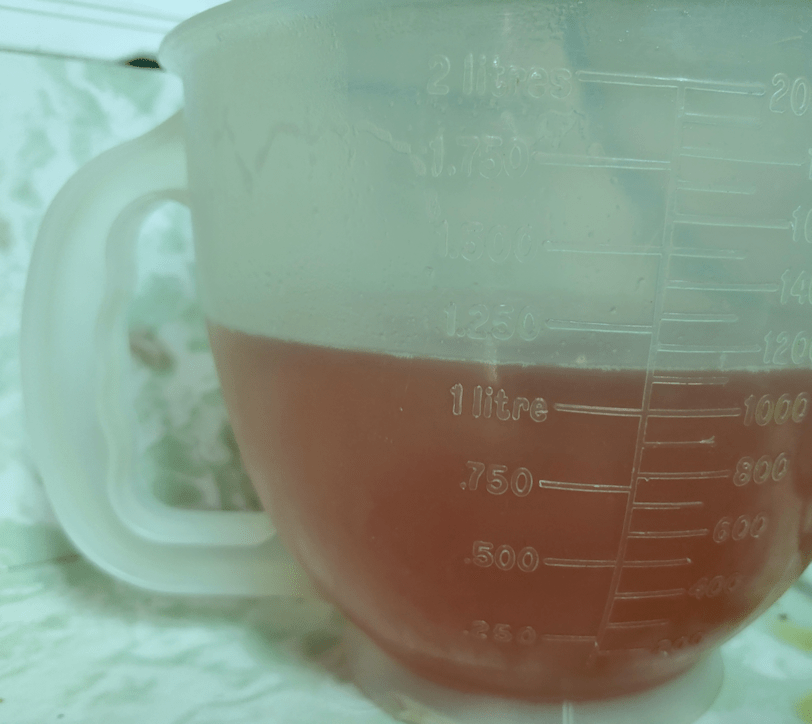
I used the jelly bag for the spiced mixture and hung it up in my usual spot. By then, I already had over a litre of juice strained out!
I had to get creative to hang the other two. I used one of those wire frames made to hold bags open, like for leaf bags. Thoroughly cleaned, of course. I set it up on the dining table and hung the tied off cheese cloth bags of apple pulp on the frame, with their bowls of juice set up under them and the colanders removed. I wasn’t able to get a good photo of the set up, though.
I then left the bags to drain overnight, though we did cover the various bowls with whatever we had on hand. One got a piece of cheese cloth stretched over it, another bowl was the perfect size for our mesh frying pan splash screen, and the big measuring cup got covered by a large mesh sieve. These all allowed the juices to keep dripping in, while keeping out any dust, cat hair, insects or whatever else might be floating about.
Note: they don’t need to be left overnight, but the pulp should be given at least a couple of hours to drain. Some recipes suggest to squeeze the pulp to extract more juice. This will result in a cloudy jelly, so that’s up to you! ;-)
That was all done yesterday. Today, it was time to cook things down!
I did each batch one at a time, rather than all at once, starting with the juice that was already in the measuring cup.
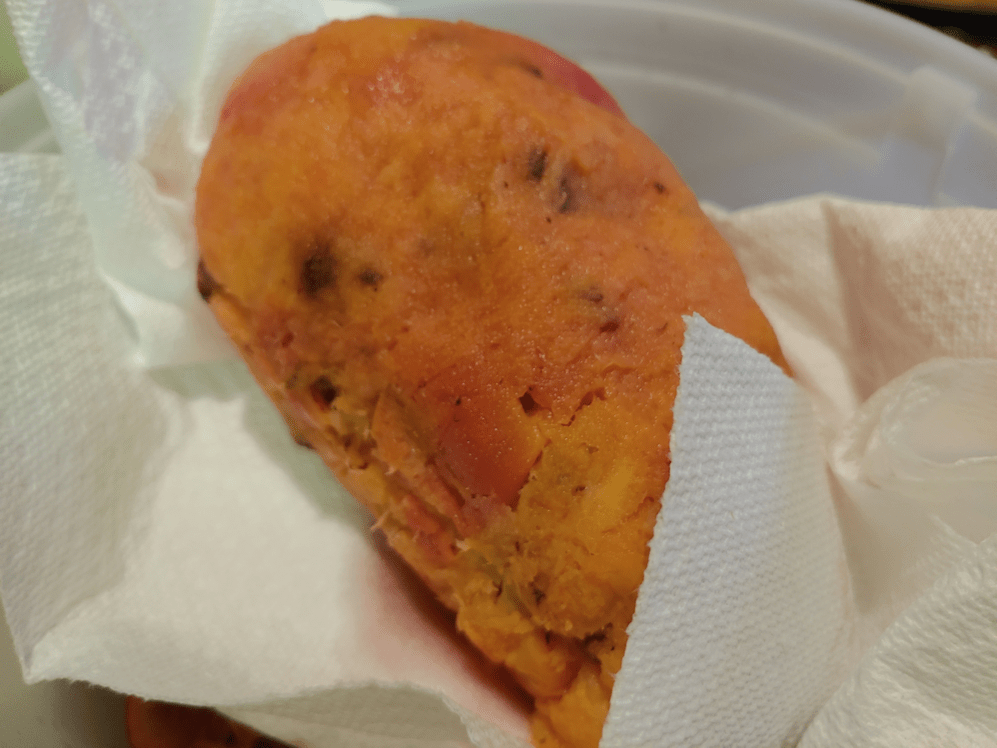
This is the spiced apple pulp from the jelly bag. The pulp all went to the compost pile.
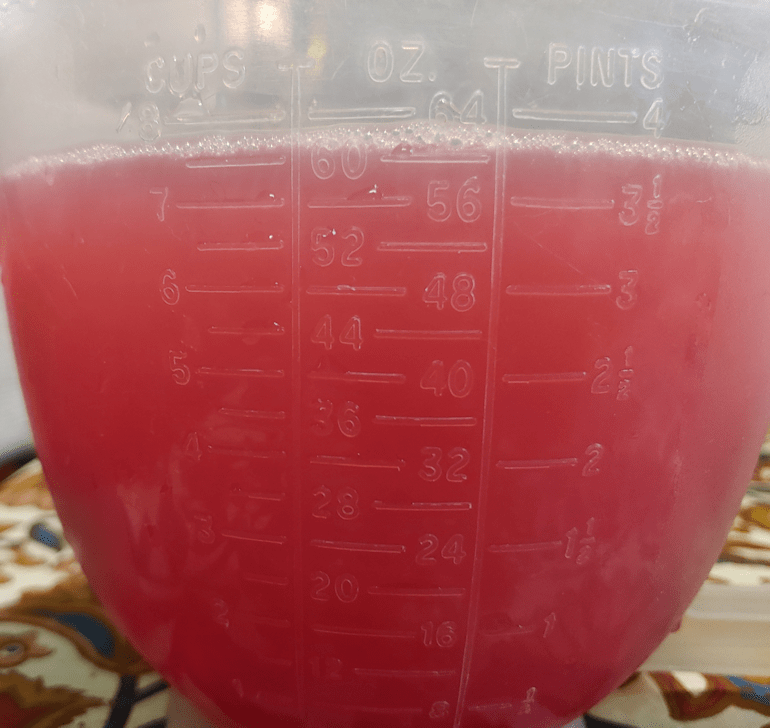
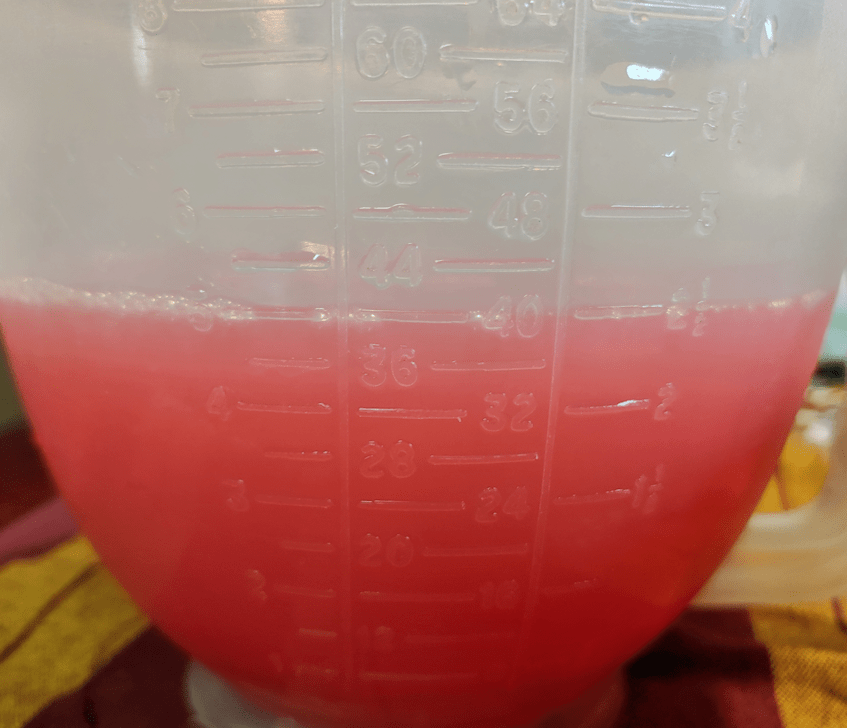
I ended up with almost exactly 5 cups of juice from the spiced apple and the choke cherry batches, and almost exactly 8 cups of the sour cherry batch. For each cup of juice, I added a 3/4 cup of sugar.
Which felt like an insane amount of sugar, but that’s how it works!
Each batch was boiled to the gel stage.
Before I started cooking any of them, though, I started sanitizing my canning jars. With how much juice I ended up with, I knew my dozen 250ml (1 cup) sized jars would not be enough. I decided to use one 500ml (2 cup) for each batch, then use however many of the smaller jars I needed to empty the pot. The larger jars will be for our own use, and the smaller jars can be given out as gifts, if we want.
I also made a discovery.
We have not been able to replace our damaged hot water tank yet, which means it’s still heating the water to extremely high temperatures. I figured I would take advantage of that and use it to sanitize my jars and implements.
I was able to set up all the jars in a large container on the counter near the stove. I was also going to use my candy thermometer, so I dug that out, washed it, then put it into one of the jars to scald. Shortly after, I pulled the candy thermometer out. The whole set up with the water had been sitting for about 5-7 minutes since I added the hot tap water, so I had to do a double take when I saw the thermometer.
It was at almost 100C.
That’s 212F.
The instructions I was following said to cook the juice and sugar mixture to 210F to reach gel state. My tap water was already hotter than that!!
The juices reached beyond 210F very quickly, so there was no way temperature alone was enough to reach gel stage, so I kept boiling it. After the first testing, I went to wash the thermometer and discovered there was water in it.
???
Looking closer, I discovered that the glass covering the bulb of the thermometer was gone! For all I know, this is damage from our move. I very rarely use the candy thermometer.
So I threw that out.
Which meant I was checking for the gel state using the *spoon test.
Each batch took me at least half an hour of boiling before it reached the gel stage.
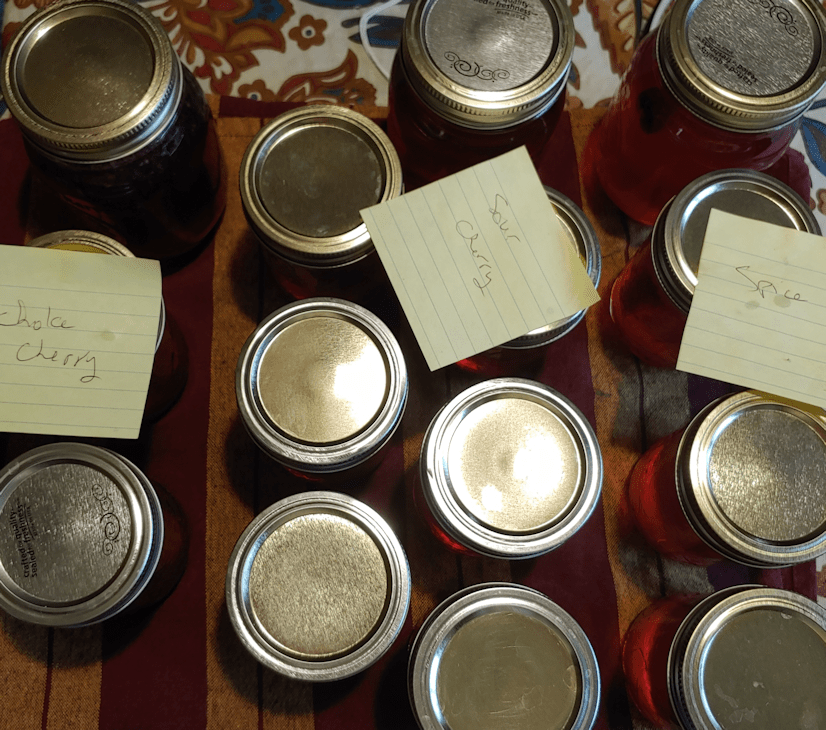
Once each batch was ready, I filled some jars – I added cinnamon sticks to the jars with the spiced jelly – covered them, then set them aside to cool while I washed everything before starting the next batch.
My 8 cups of sour cherry juice mix, and 5 cups of spiced juice mix, each gave me the same number of cups of jelly, but for some reason the 5 cups of chokecherry juice mix resulted in only 4 cups of jelly!
I still don’t have the tools to do a hot water bath, so these are not shelf stable, and will need to be stored in the fridge.
I absolutely love the colours in these!
After they had a chance to cool, my daughters used some when making supper this evening. They made grilled cheese sandwiches with some of the sour cherry jelly spread in with the cheese. It was really good!
The Re-Farmer
Homemade Crab apple jelly, with flavour variations
Items needed:
cheese cloth or jelly bag
bowl to drain juices into
if using cheese cloth, a colander that fits in the bowl
canning jars, jar funnel and lids, sanitized
place to hang pulp bag over the bowl
large saucepan or stock pot with lid
Ingredients:
crab apples, washed, stemmed and chopped. (no need to peel or core)
sugar
Optional flavour additions
about a cup of fruit or berries per 6 cups of chopped crab apples.
any combination of whole, not ground, spices, including cinnamon sticks, whole cloves, allspice, star anise, etc. to taste.
Place cleaned and chopped apple pieces into a large pot.
Add any flavour options desired.
Add enough water to just cover the fruit. Bring to a boil.
Cover and simmer for about 20-25 minutes, or until apples are very soft. Stir the fruit every few minutes.
Mash the mixture with a large spoon or potato masher. Cook for a few more minutes.
While the mixture is cooking, dampen a jelly bag and ready a bowl to catch juices, or line a colander placed in a bowl with cheese cloth (in 4 layers) and prepare a place to hang the pulp over the bowl.
When the fruit is cooked until completely soft, spoon the mixture into the jelly bag over a bowl, or into the prepared cheese cloth. Tie off the bag and hang over the bowl to drain for at least a few hours, or overnight. (After draining, pulp can be composted.)
Prepare canning jars and sterilize implements.
Measure the juice extracted and place into a large saucepan or stock pot. Add 3/4 cup sugar per 1 cup of juice.
Bring to a boil over high heat. Boil, stirring often, until mixture reaches gel stage*. This will take about 20-40 minutes, depending on how much juice there is.
Pour hot jelly into heated canning jars. Skim off foam, seal and set aside to cool.
Process in hot water bath or store in refrigerator.
* Sheet test for gel Dip a cold metal spoon into the boiling soft spread. Lift the spoon and hold it horizontally, edge down, and watch how the mixture drops. When the mixture reaches the gel stage, it will begin to “sheet”, with the jelly breaking off the spoon in a sheet or flake, rather than pouring or dripping.
Things have been a bit crazy lately, weather wise. Some severe storms have blown across our area and, while we have pretty much just caught the edges of them, they still resulted in internet outages and our power flickering in and out.
Perfect weather to stay indoors and to things with our crab apples!
I decided to use the small amount of apples from one tree to make apple cider vinegar.
A recipe I found called for filling a quart jar 3/4’s full, and it seemed I had enough to do that with just these.
I washed all the apples in cold water with a splash of vinegar, leaving them to sit overnight. The recipe I found called for the scraps of apples – skin and cores – adding that if whole apples were used, to chop them coarsely. Since the crab apples are so small to begin with, after removing the stems, I cut them all in quarters. Some also needed to have bruises or damage cut out, and a few turned out to be bad on the inside and could not be used.
In the end, I had just the amount I needed to fill the jar 3/4’s full, perhaps a touch extra.
The next step was to dissolve a couple of tablespoons of sugar into a cup of water and adding that to the jar, then adding enough water to completely cover the apple pieces. Filtered water was suggested. As we have well water, we could have just used that, but our water is very hard and iron rich, so I used bottled water I happened to have.
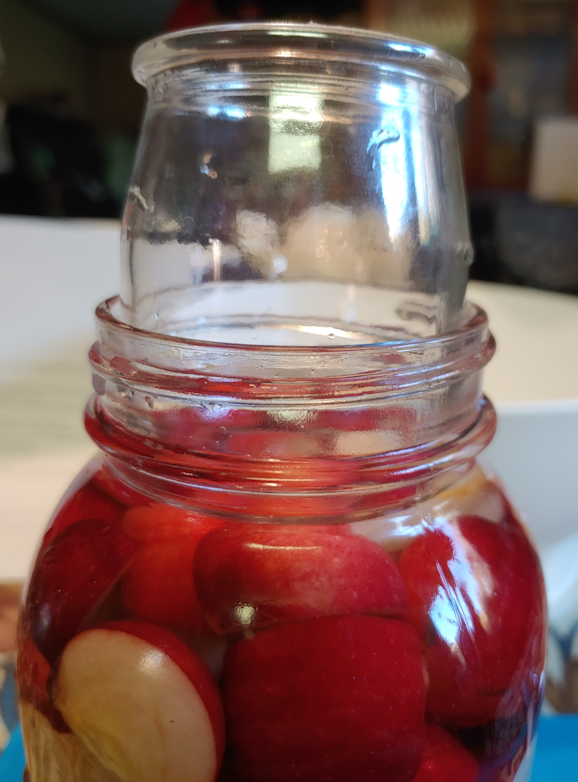
The apples need to be kept submerged, and there are fermentation weights available for this. I have none, and had never seen one before looking it up on the internet. The alternative was to put a small jar in to weigh it down.
I have a collection if tiny jars that I have hung on to, and one of them fit perfectly into the quart jar! This is from a package of yogurt that came in 4 little jars to a package. I admit, I bought it just for the jars because they were so adorable. Handy, too!
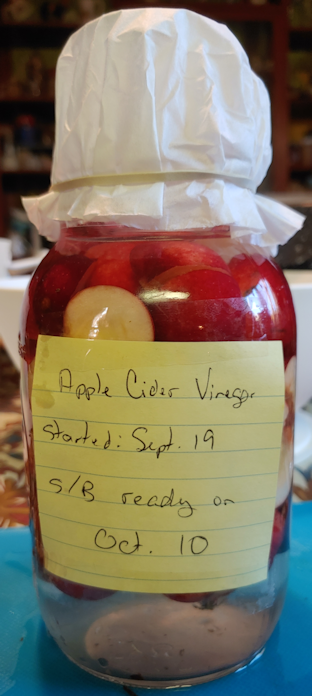
The next step was to cover the jar with something that would keep dust or whatever out, but allow air in. It could be a piece of cheese cloth, some thin cloth or a coffee filter, fastened in place.
I stole one of my daughter’s coffee filters.
Now it needs to just sit in a dark place at room temperature to ferment into vinegar. This should take about 3 weeks. I’ve tucked it into the top of a cupboard we used fairly frequently, so it will be easy to check if there is any mold happening.
After 3 weeks or so, it will be strained, then left at room temperature to continue to ferment for another 3 or 4 weeks.
Once it’s at the desires taste/strength, it just needs to be strained and re-bottled. We’ll see how it turns out!
The Re-Farmer
Apple Cider Vinegar
Items needed:
quart size jar (an air and liquid tight lid will be needed after fermentation is complete)
fermentation weight or another jar small enough to fit into the mouth of the quart jar
cheese cloth, clean cloth or coffee filter to cover the jar
cord or elastic to fasten cover in place
Ingredients:
apple scraps or whole apples, coarsely chopped; enough to fill a quart jar 3/4 full
2 Tbsp sugar
about 2 cups filtered water
Sanitize a quart jar and let air dry.
Fill the jar 3/4 full with apple pieces.
Dissolve sugar in 1 cup water and pour over the apples.
Top up with more water until apples are covered.
Add weight or small jar to keep apples submerged. Exposed apples may start to mold.
Cover the jar with a cheese cloth or coffee filter and use a cord or elastic to hold it in place.
Place in a dark location at room temperature and leave for about 3 weeks. Check regularly to ensure the apples remain submerged and no mold is growing.
After 3 weeks, strain the apple pieces out, return liquid to the jar and cover again with cheese cloth or coffee filter.
Return jar to a dark location at room temperature for another 3 or 4 weeks, stirring every few days.
Taste after 3 weeks to see if it has reached desired tartness. If not, leave to ferment longer until it reaches the desired flavour.
Cover with a lid and use as desired. The vinegar can also be transferred to a different jar or bottle, if preferred.
If you notice a film has formed at the top of your vinegar, congratulations! You have developed a “mother.” It can be used as a starter for future batches of vinegar – or a small amount of a previous batch can be used.
Catching up on stuff that I intended to post about yesterday…
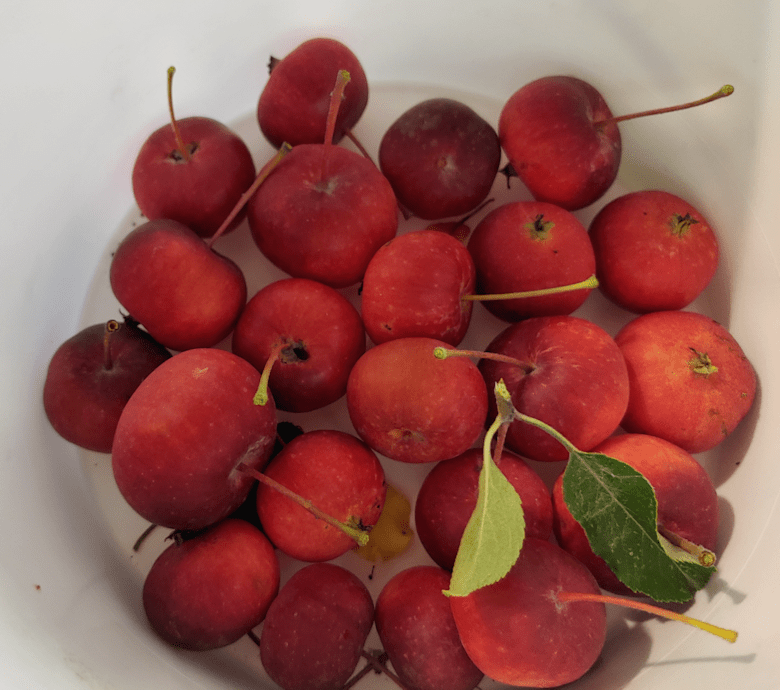
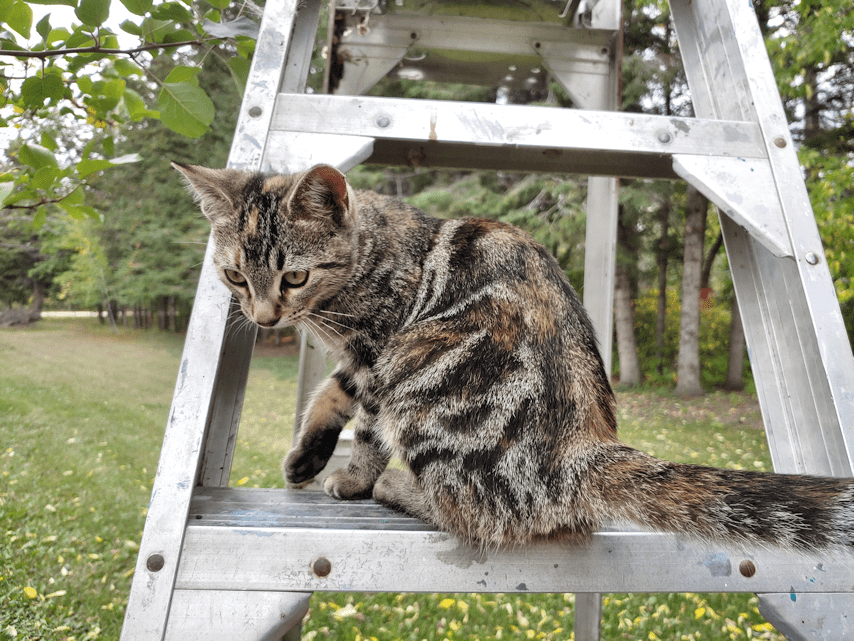
I finally got a chance to pick some crab apples.
I had help.
It was starting to get pretty late in the season to pick these. A lot were already on the ground, other had signs of being eaten by birds. There were some I could not safely reach, even with the ladder, but that’s okay. The birds will enjoy them.
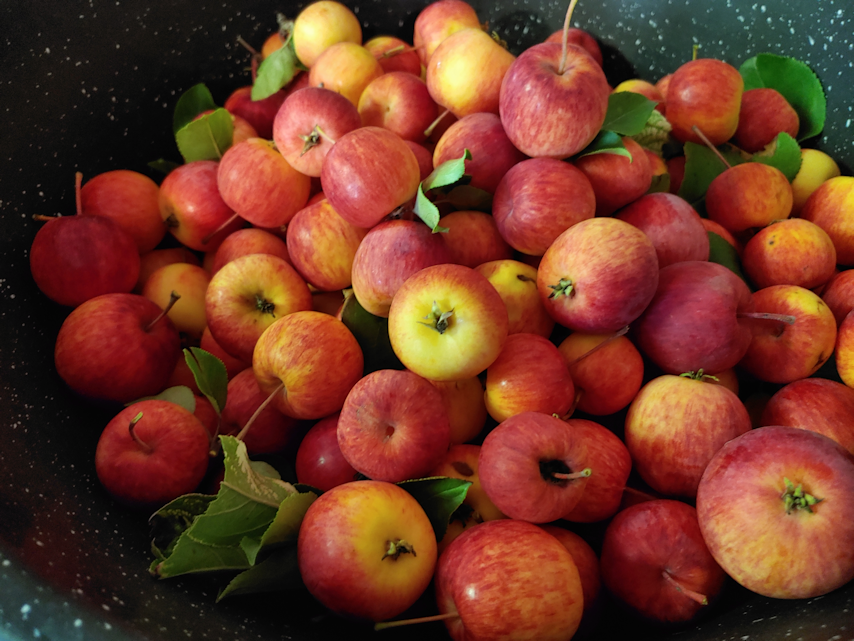
The one tree that was giving larger, sweeter apples this year resulted in about 2 1/2 gallon buckets of apples.
There is one other tree that had larger, sweeter apples last year. Though the apples are much smaller this year, there are lots of them. When I do my rounds, I have been tasting them. As the season progressed, the apples on this tree did start to develop that sweet-tart taste crab apples are known for. There are a couple of other trees with lots of apples on them, but they are pretty… unpleasant.
I decided to pick some from the one tree with good apples. Just a bucket full, I figured. So I dragged the ladder over and went to set it up under the most apple laden branches.
There… weren’t any?
These apples have been getting a very deep red as the season progressed, and there had been lots of them, but suddenly, there were hardly any at all.
Of course, my first thought was to check the ground, to see how many had fallen, but the ground was clear of fallen apples.
I finally went to pick some. Most were already too far gone and starting to rot at the stems. This is all I got.
Barely enough to cover the bottom of the bucket!
You can see one with a hole at the stem that I accidentally picked. Most of the remaining apples I saw had much larger holes like that.
I am guessing that the apples were eaten by something. I’m good with feeding critters. What I found interesting, though, is that it was just this one tree. There are trees on either side of this one that are full of apples, and I can see apples on the ground beneath them.
I guess whatever has been eating the apples from this tree found it tastier than the others, too!
Anyhow.
For the larger amount of apples, I am planning to make jelly. For the smaller amount, I’m going to try making apple cider vinegar.
We are actually a bit late on this. After 10 days in the fermentation bucket, when we should have started sanitizing things and transferring the must to the carboy, we were instead dealing with hot water tank problems.
Today, we started up a batch of mead, using the wine kit we recently acquired.
Here are the contents of the kit, plus a 5 kilo bucket of my cousin’s liquid gold!
Looking up how to make mead had us all over the place. At its simplest, you can mix honey, water and yeast into a sanitized glass jug. Stick a balloon over the opening to allow the gasses to expand, tuck it in a cool dark place and forget about it for a few weeks.
Other sources had elaborate recipes with multiple steps and finicky measurements every step of the way.
While we are ready and waiting for my husband to come home from the hospital, we are also getting ready for Easter.
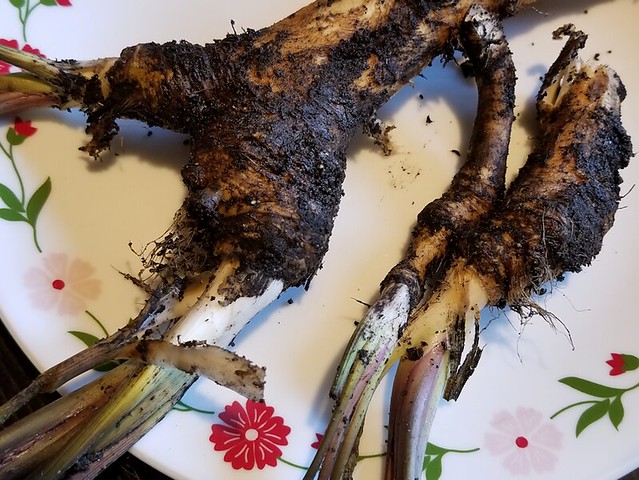
This evening, I went hunting for horseradish.
After scraping away some fallen leaves, I found some new grow peaking through the ground. I used a potato fork (the only fork that didn’t grow legs and walk away over the years) to dig up a few pieces.
This bunch is growing under the power pole in the garden. I knew the area was very rocky, but wow. I had a really hard time getting that fork deep enough to get some roots out. No matter where I moved it, I was hitting rocks, just a couple of inches below the surface.
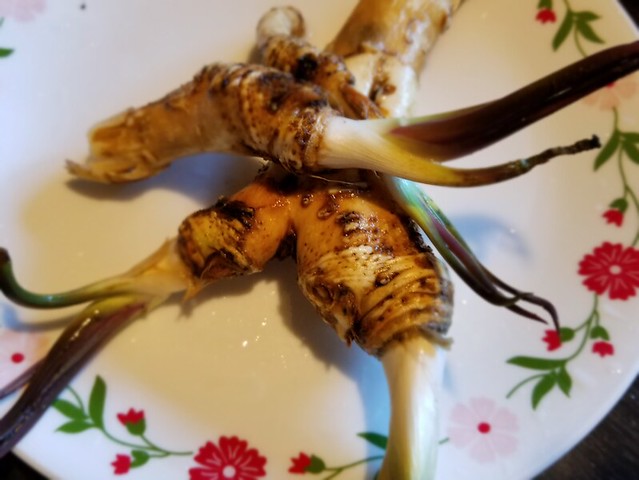
I didn’t take out much. A larger piece for our own basket, and a couple of small pieces for my mother. If she wants, she can use one and plant the other, since she has garden space where she lives.
For now, I’ve scrubbed the dirt off, and they are wrapped in damp paper towels. For our basket, I will peel some of the outer skin off the lower part, and save the top. The tradition is to use horseradish paste, mixed with beetroot, in the basket; the bitter taste of the horseradish symbolizes the pain of crucifixion Christ endured for us, while the sweetness of the beetroot symbolizes the joy of the resurrection. Growing up, though, we always used fresh horseradish root. My mother would sometimes give away pieces with sprouting tops, after the baskets were blessed, to friends to plant if they wanted.
My mother planted the horseradish in strange places. One batch is under a spruce tree, which would be just as difficult to harvest as the ones growing among rocks. I found more growing among some of her flowers outside the living room window, which has better soil conditions, but harvesting it would mean damaging the bulbs of the flowers it’s growing with.
I’m thinking of maybe using some of the raised planters that are still in decent shape, so the horseradish itself will also be contained better, and not spread too much.
Something to figure out over the next few days!
Meanwhile, I will now go and boil some eggs to make pink pickled eggs. :-)