It’s been cold, wet and raining for the past while (with snow, in some areas!!), which meant it was the perfect time to stay indoors and finally make sauerkraut.
While I remember my mother making sauerkraut when I was a child, and I know I helped at least a little, I have never made it myself before. In fact, it was my mother’s sauerkraut that had me believing I didn’t like the stuff at all. She made incredibly strong kraut, and it was many, many years before I tasted any other and found it… okay. LOL Then one evening, while we were hosting a home schooling historical pot luck set in a pioneer theme, one of the families brought a fresh jar of sauerkraut. Fresh as in, just made that day and no fermentation. I was surprised by how good it tasted.
Cabbage, however, was one of those things I just didn’t tend to buy. In fact, it wasn’t until we moved here that we started to pick it up regularly.
I have an old friend from high school that has shared on social media about the sauerkraut she has been making, and with all the food preservation stuff I’ve been getting more and more into, I found myself wanting to try my hand at it. I did some research and found that it is incredibly basic – but it didn’t sound like what she was making. So I messaged her and got her recipe. It’s more like fermented vegetables, with added probiotics, than sauerkraut.
I decided to do both.
This post will be on the basic sauerkraut I made first.
Here are the ingredients.

Yup. That’s it. A cabbage and some salt.
Pickling salt, specifically. It has to be salt with no iodine in it, but beyond that requirement, any coarse salt can be used.
For one small to medium head of cabbage, I’ve got 1 Tbsp of salt.
You could also include some caraway seed, too, if you wish.

The various instructions I found said that a medium head of cabbage would make 2 quarts of sauerkraut. (One quart equals about a litre.)
I decided to use my 500ml jars (pints) and small-batch it.
Since a pint is half a quart, I figured I’d need at least 4 jars, so I sanitized 5, just in case I needed more.

Most of the instructions I found said to top the packed jars with a cabbage leaf, so when I started to core it, I made sure to keep several of the outer leaves for that. None of the instructions said how to pack them or what to do with them, but I figured blanching them would make them more pliable, and easier to work with. I covered them with scalding water and set them aside while I was working.

I then quartered the cabbage and cut out the core. Most of the instructions said to cut the cabbage into 6 pieces, but I find it easier to quarter it first, then cut the wedges in half after the core is cut out. Next, I sliced the wedges and put the cabbage into a bowl. The other thing I saw was the recommendation to use a non-reactive bowl, so no metal. Plastic, glass or ceramic. I just happen to have a nice new plastic bowl my daughter bought for me. :-)

Next up, add the salt and work it into the cabbage.
Really work it.
The cabbage needs to start releasing its own liquid, so the more it’s mashed and thrashed, the better.

This is what it looked like after about 10 minutes of letting out any frustrations I had on the cabbage.
I didn’t actually have any frustrations, so I just pretended. :-D
Time to start putting it into the jars!

I started by putting roughly equal amounts into each jar, then tamping it down with the pestle.
I should have done it one at a time.
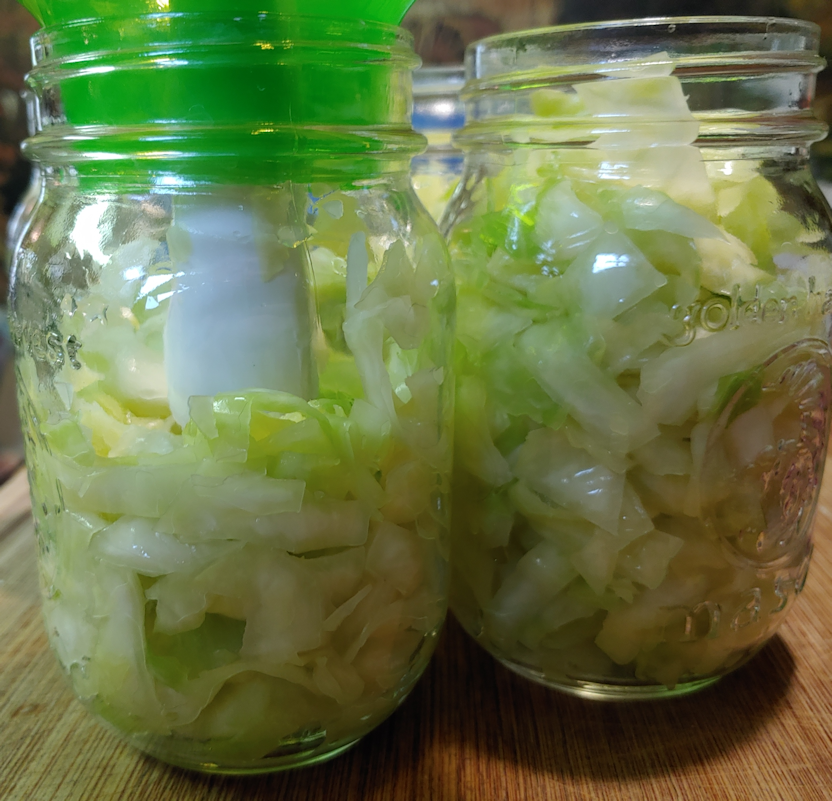
Here you can see the difference between one that has been only slightly stamped, and one that has not been tamped at all, yet.
I continued to add the salted cabbage to the jars evenly until the bowl was empty, then tamped them all down solidly.
In the end, I found there was barely half a jar of cabbage, each.
So much for two quarts! If I’d used quart jars, I would have filled only about 1 1/4 of them.
I ended up taking one of the jars and dividing its contents between the other three jars. Even then, after tamping them down, they were not as full as I normally would have gone. Which, I think, is okay. I’ve read that as the cabbage ferments, it can bubble up a fair bit, so the extra space should mean that, if it does, it won’t spill over.
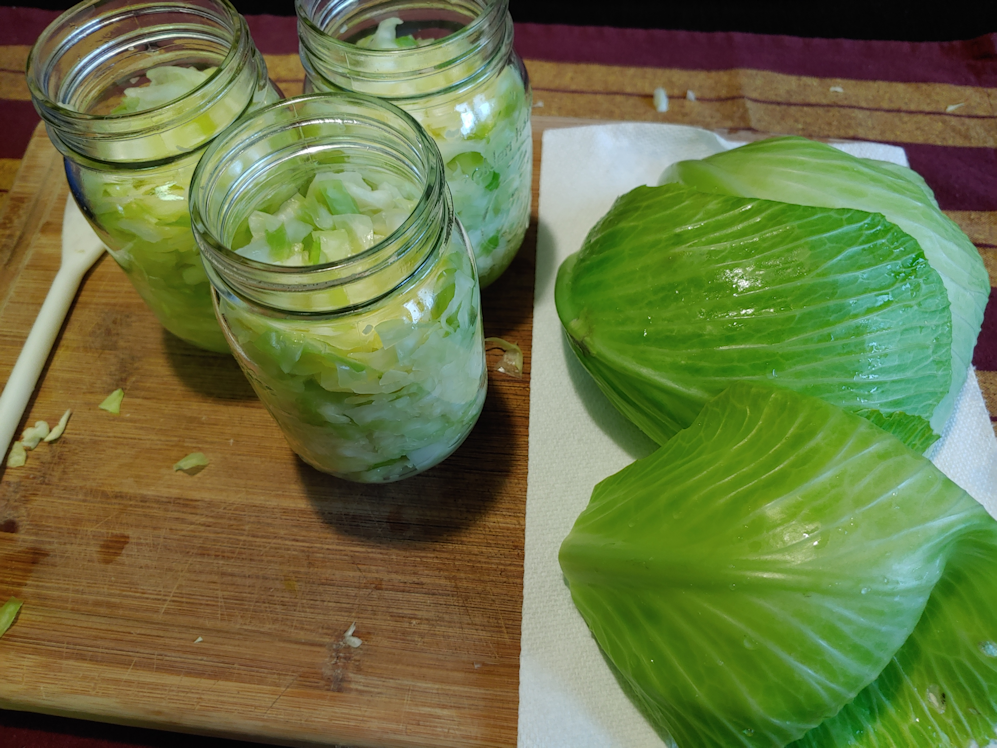
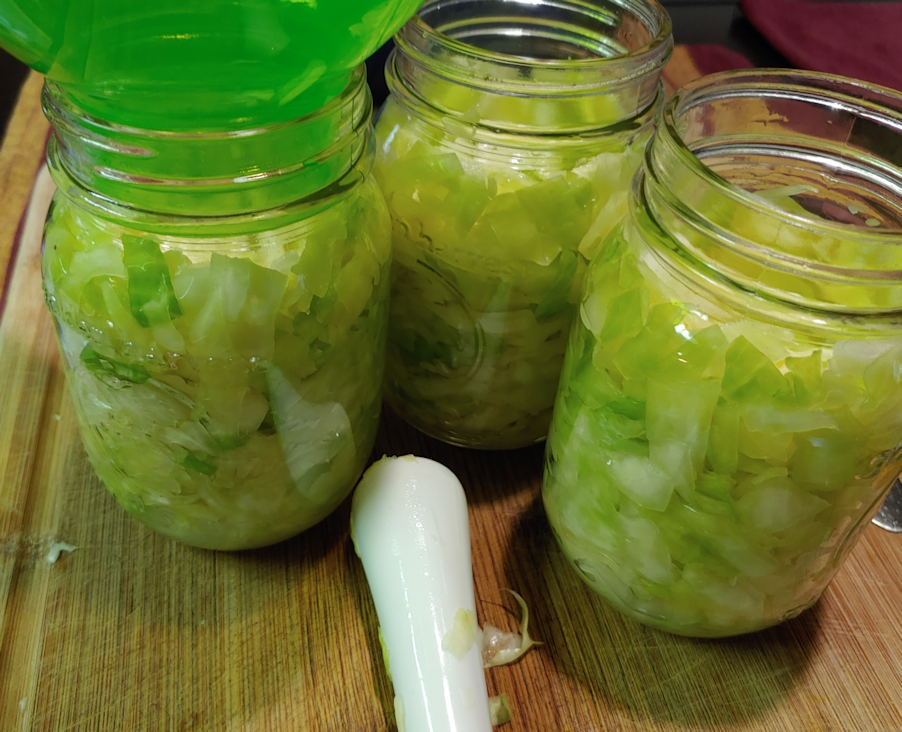
Next, I got out the blanched outer leaves I’d set aside.
As I mentioned previously, none of the instructions I found that said to put a cabbage leaf at the top said anything about how. At most, I read that the leaf should be “tucked in”.
So I winged it.

Using some kitchen shears and the mouth of a jar as a guide, I cut leaves into circles slightly larger than the jar openings.

Then I shoved them in and covered the cabbage, pushing it all down even further. I used a plastic mixing spoon to push the leaf edges down the sides a bit, too.
At this point in the instructions I read, they all said the cabbage would be covered with its own liquid, and to make sure the leaves topping it were also wet.
As you can see in the photo, only one of the jars has any significant amount of liquid in it.

I know the cabbage will continue to release liquid, but it also needs to be covered from the start, so I dissolved a small amount of pickling salt in some water and added enough brine to just cover the cabbage leaves.

Then I covered the jars with coffee filters and tied them off with cotton cord. I would have used elastics, but my bag of elastics seems to have disappeared somewhere. :-D
The jars now need to sit and ferment. Most of the instructions I read said it should ferment for at least 20 days, though one said it can be eaten after only 3 days.
I figure we’ll go with the 20, though we might decide to try one of them earlier, just to see how it’s going. :-D I’ve set them aside, with a dated label on them, in the kitchen.
While working on these and trying to figure out where to store them while they are fermenting, I couldn’t help but laugh at myself. We do actually have a root cellar! The problem is, it’s in the basement, and stairs are not my friends. I wouldn’t want to try going down there while juggling sealed jars, never mind ones that are just covered with filters!
Plus, if they’re in the kitchen, they will be easier to check on, every day.
There we have it! My first attempt at making sauerkraut.
In twenty days, I’ll let you know if it worked! :-D
The Re-Farmer


Pingback: Step-by-step: making fermented vegetables | The Re-Farmer
Pingback: Fail, times three! | The Re-Farmer
Pingback: Making Sauerkraut – the finished product | The Re-Farmer
Pingback: Take two: fermented vegetables | The Re-Farmer