In the middle of when our internet went wonky and I couldn’t upload photos, I was able to move on to the next step in making cider vinegar with our crab apples.
You can read the first part here. (link will open in a new tab)
The mead was left in its second fermentation for longer than 4 weeks, but it seemed to have stopped fermenting much earlier. It’s really hard to see the airlock where we kept it – we basically had to shine a light at it – but there didn’t seem to be any bubbles in the water.
This being our first attempt, we didn’t want to mess with it and just let it be.
Before going in to town to pick up 3 cases of bottles, however, we did take the carboy out to check it.
It’s been cold, wet and raining for the past while (with snow, in some areas!!), which meant it was the perfect time to stay indoors and finally make sauerkraut.
While I remember my mother making sauerkraut when I was a child, and I know I helped at least a little, I have never made it myself before. In fact, it was my mother’s sauerkraut that had me believing I didn’t like the stuff at all. She made incredibly strong kraut, and it was many, many years before I tasted any other and found it… okay. LOL Then one evening, while we were hosting a home schooling historical pot luck set in a pioneer theme, one of the families brought a fresh jar of sauerkraut. Fresh as in, just made that day and no fermentation. I was surprised by how good it tasted.
Cabbage, however, was one of those things I just didn’t tend to buy. In fact, it wasn’t until we moved here that we started to pick it up regularly.
I have an old friend from high school that has shared on social media about the sauerkraut she has been making, and with all the food preservation stuff I’ve been getting more and more into, I found myself wanting to try my hand at it. I did some research and found that it is incredibly basic – but it didn’t sound like what she was making. So I messaged her and got her recipe. It’s more like fermented vegetables, with added probiotics, than sauerkraut.
I decided to do both.
This post will be on the basic sauerkraut I made first.
Things have been a bit crazy lately, weather wise. Some severe storms have blown across our area and, while we have pretty much just caught the edges of them, they still resulted in internet outages and our power flickering in and out.
Perfect weather to stay indoors and to things with our crab apples!
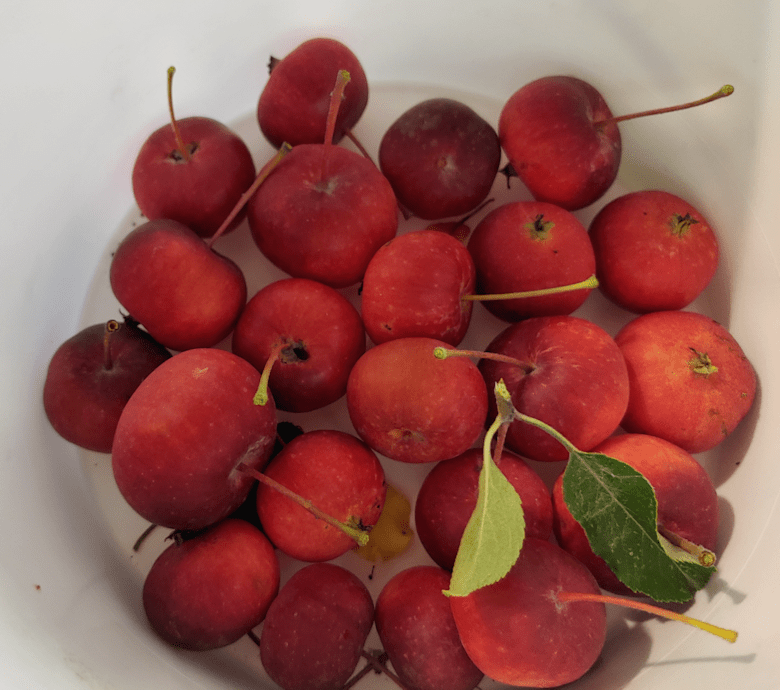
I decided to use the small amount of apples from one tree to make apple cider vinegar.
A recipe I found called for filling a quart jar 3/4’s full, and it seemed I had enough to do that with just these.
I washed all the apples in cold water with a splash of vinegar, leaving them to sit overnight. The recipe I found called for the scraps of apples – skin and cores – adding that if whole apples were used, to chop them coarsely. Since the crab apples are so small to begin with, after removing the stems, I cut them all in quarters. Some also needed to have bruises or damage cut out, and a few turned out to be bad on the inside and could not be used.
In the end, I had just the amount I needed to fill the jar 3/4’s full, perhaps a touch extra.
The next step was to dissolve a couple of tablespoons of sugar into a cup of water and adding that to the jar, then adding enough water to completely cover the apple pieces. Filtered water was suggested. As we have well water, we could have just used that, but our water is very hard and iron rich, so I used bottled water I happened to have.
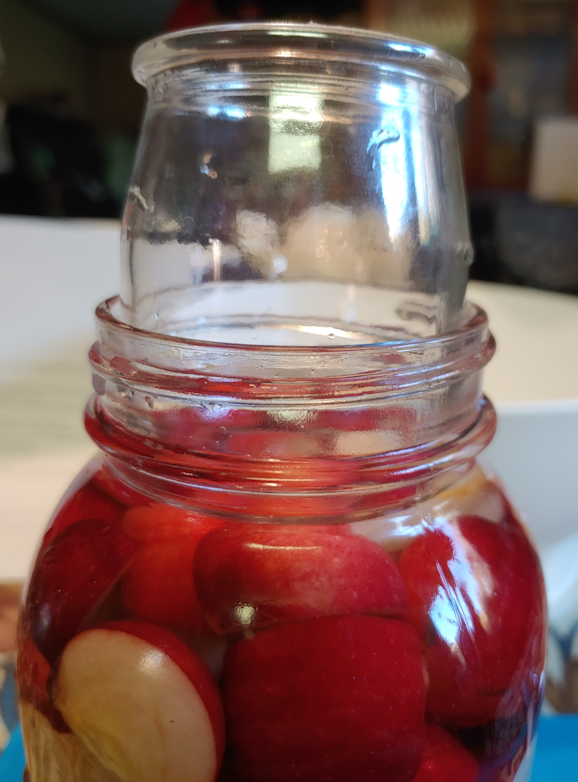
The apples need to be kept submerged, and there are fermentation weights available for this. I have none, and had never seen one before looking it up on the internet. The alternative was to put a small jar in to weigh it down.
I have a collection if tiny jars that I have hung on to, and one of them fit perfectly into the quart jar! This is from a package of yogurt that came in 4 little jars to a package. I admit, I bought it just for the jars because they were so adorable. Handy, too!
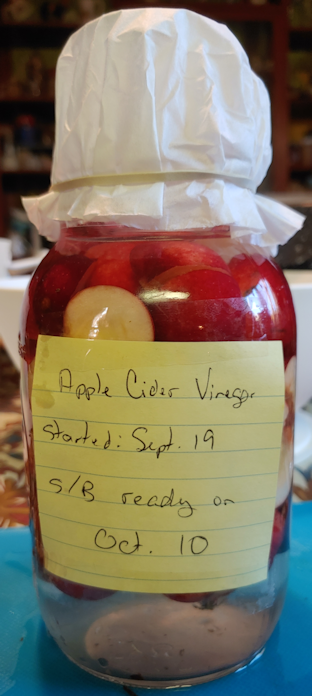
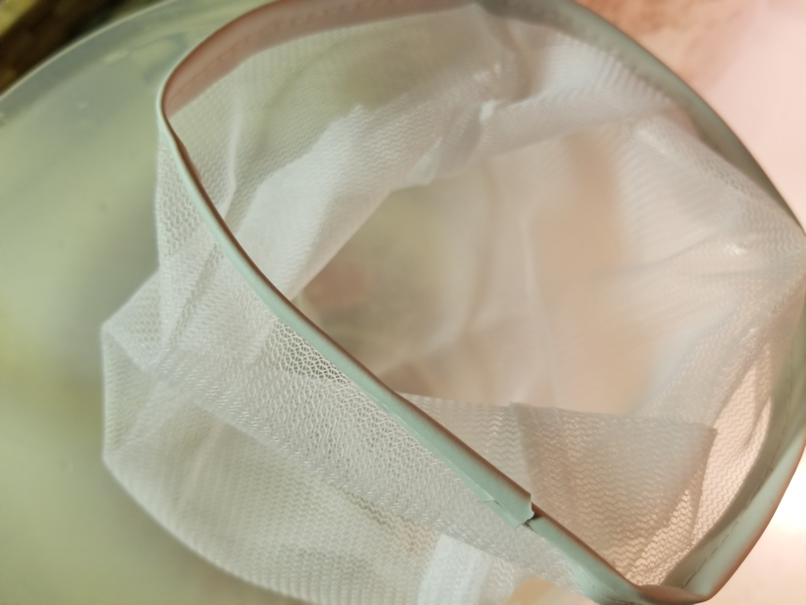
The next step was to cover the jar with something that would keep dust or whatever out, but allow air in. It could be a piece of cheese cloth, some thin cloth or a coffee filter, fastened in place.
I stole one of my daughter’s coffee filters.
Now it needs to just sit in a dark place at room temperature to ferment into vinegar. This should take about 3 weeks. I’ve tucked it into the top of a cupboard we used fairly frequently, so it will be easy to check if there is any mold happening.
After 3 weeks or so, it will be strained, then left at room temperature to continue to ferment for another 3 or 4 weeks.
Once it’s at the desires taste/strength, it just needs to be strained and re-bottled. We’ll see how it turns out!
The Re-Farmer
Apple Cider Vinegar
Items needed:
quart size jar (an air and liquid tight lid will be needed after fermentation is complete)
fermentation weight or another jar small enough to fit into the mouth of the quart jar
cheese cloth, clean cloth or coffee filter to cover the jar
cord or elastic to fasten cover in place
Ingredients:
apple scraps or whole apples, coarsely chopped; enough to fill a quart jar 3/4 full
2 Tbsp sugar
about 2 cups filtered water
Sanitize a quart jar and let air dry.
Fill the jar 3/4 full with apple pieces.
Dissolve sugar in 1 cup water and pour over the apples.
Top up with more water until apples are covered.
Add weight or small jar to keep apples submerged. Exposed apples may start to mold.
Cover the jar with a cheese cloth or coffee filter and use a cord or elastic to hold it in place.
Place in a dark location at room temperature and leave for about 3 weeks. Check regularly to ensure the apples remain submerged and no mold is growing.
After 3 weeks, strain the apple pieces out, return liquid to the jar and cover again with cheese cloth or coffee filter.
Return jar to a dark location at room temperature for another 3 or 4 weeks, stirring every few days.
Taste after 3 weeks to see if it has reached desired tartness. If not, leave to ferment longer until it reaches the desired flavour.
Cover with a lid and use as desired. The vinegar can also be transferred to a different jar or bottle, if preferred.
If you notice a film has formed at the top of your vinegar, congratulations! You have developed a “mother.” It can be used as a starter for future batches of vinegar – or a small amount of a previous batch can be used.
We are actually a bit late on this. After 10 days in the fermentation bucket, when we should have started sanitizing things and transferring the must to the carboy, we were instead dealing with hot water tank problems.
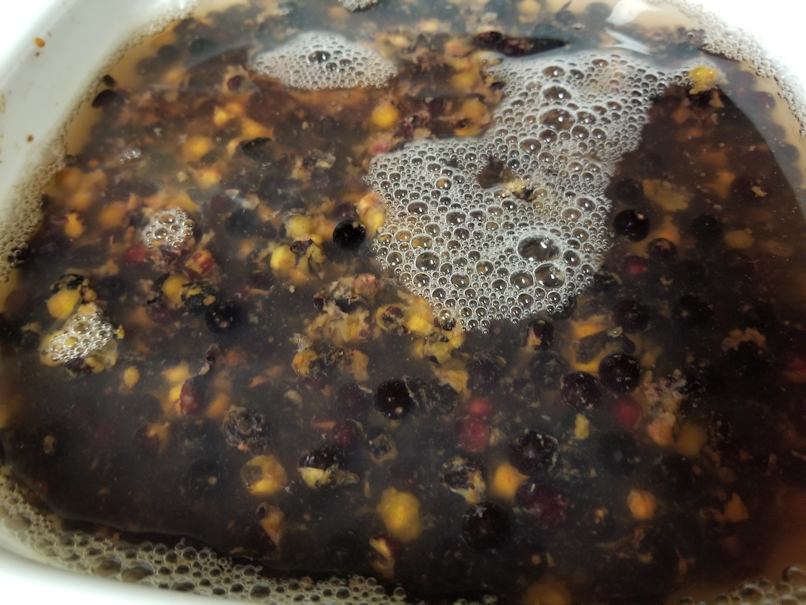
This is what the must looked like this morning, before I did the first stir of the day.
Bubbly bubbly!
I love me some CO2 action!
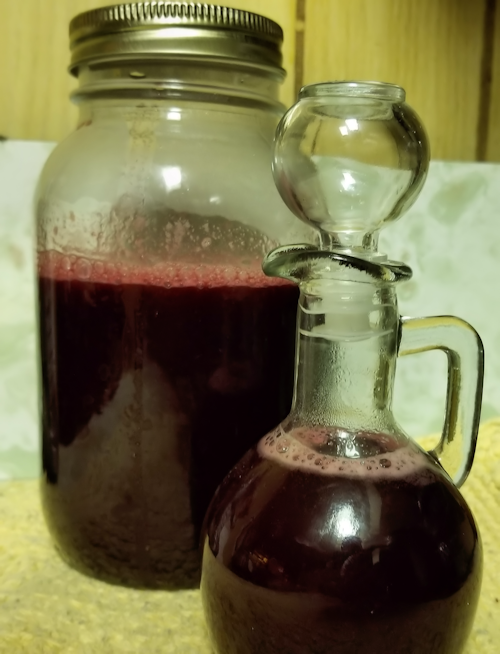
At the time of this writing, we’ve done the second stir of the day. The instructions we are using as a guide said to stir it twice a day in the first 48 hours, so this was the last one. We now leave it, loosely covered and untouched, for the remainder of 10 days. After that, we siphon it off into the carboy, leaving behind any sediment, set up the airlock, then tuck it away into the basement for a minimum of 4 weeks. After this second fermentation, it should be ready to bottle.
We will, of course, have to taste it first, and see if we’ve got mead. :-)
Using a set of instructions we found, the must is to be stirred basically once every 12 hours, for the first 48 hours.
This is what the must looked like after the first 12 or so, and before I started stirring.
I have no idea if this is what it’s supposed to look like at this point. Of the various instructions and recipes I found that included pictures, I never saw one that included pictures at this stage.
I expected more of a yeasty smell, but there is barely any smell at all at this point.
After about a minute of stirring (the instructions said stir for 2 minutes, but I didn’t want to have the bucket open for that long), I popped the lid back on top. Then I made sure to write on a sticky note that the first stir is complete and left that on the lid, so no one else would accidentally pop it open and stir it again.
I’m really looking forward to seeing how this works!
He made the hour + drive out this morning to get the gate up for us, early enough that it was finished well before I drove my daughter to work! He even had enough time to swing by and join my mother for church before heading home.