I have the most awesome brother in the world.
He made the hour + drive out this morning to get the gate up for us, early enough that it was finished well before I drove my daughter to work! He even had enough time to swing by and join my mother for church before heading home.
What a sweetheart!
I got to help. :-)
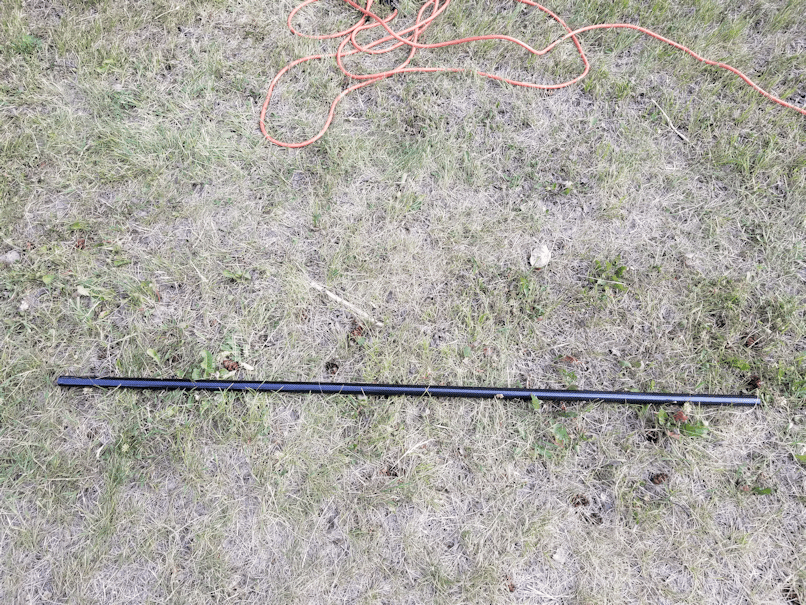
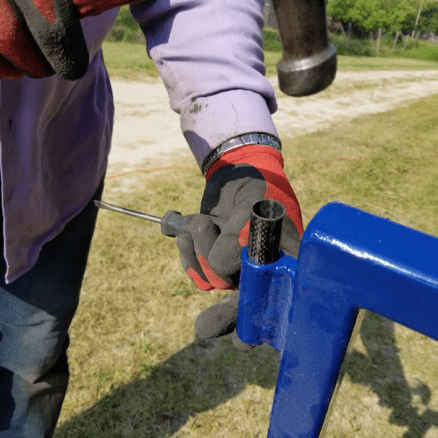
This is a tube of carbon fibre material that he got for bushings for the hinges. He had to order it from Ontario, as it was the only thing he could find with the correct inner and outer measurements.
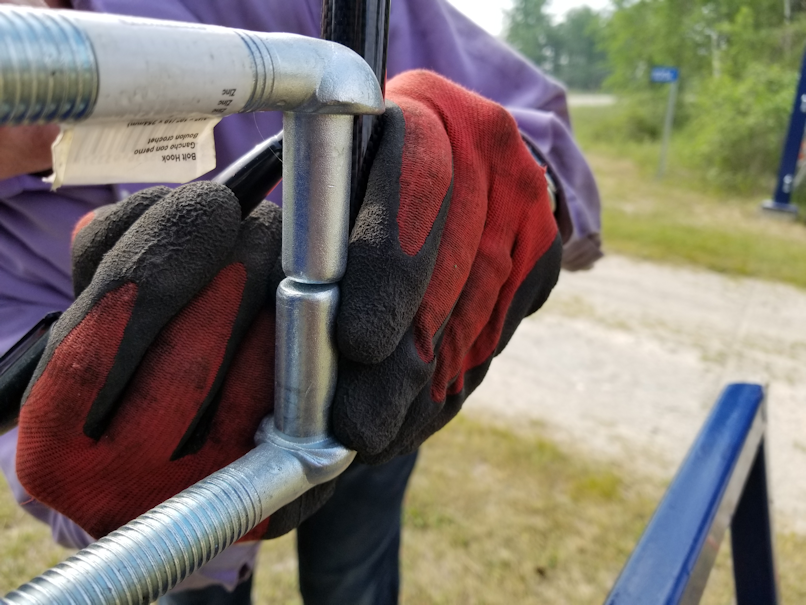
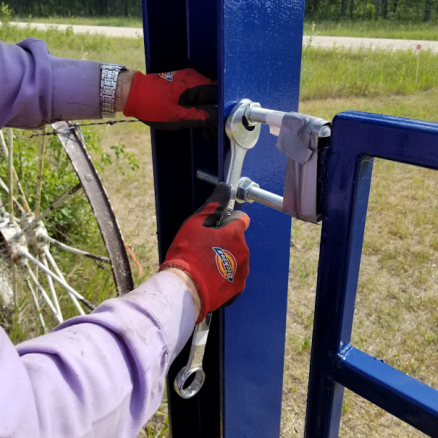
Here, he’s marking where he needs to cut. The tube will fit over both hinge pin ends.
The tube also has to fit into the other side of the hinge. Some paint had dripped into the holes, though, so they were a bit tighter in places.
Also, some of the cardboard I used to prevent the brick risers I used from scratching the gate after painting got stuck. Amazingly, there were still parts of the paint that was still tacky, too! I’ll need to clean areas and even touch up the paint in places, later.
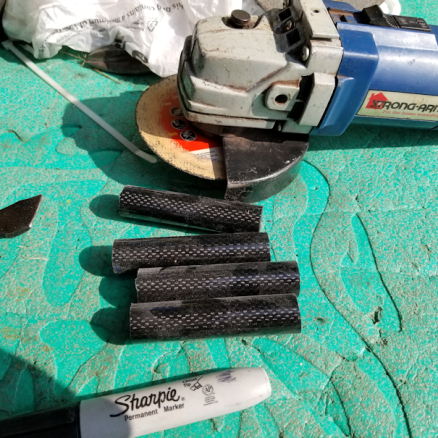
Once the length needed was determined, my brother cut 4 bushings from the tube.
He also cut a longer piece that was used to clear the openings of any paint that got in.
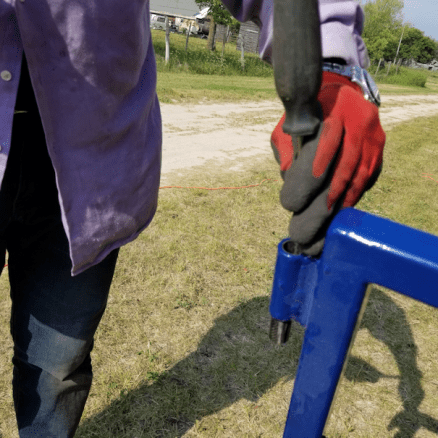
For some of them, the paint made them stick enough that they had to be hammered out, using a screwdriver to push the tube out the other end.
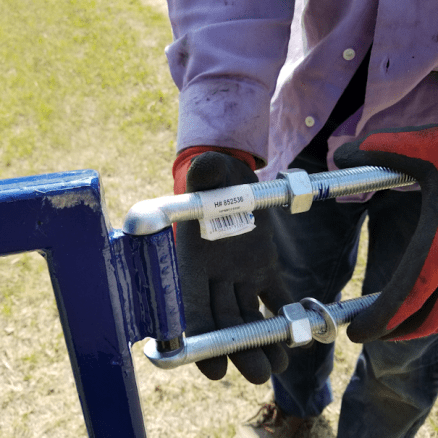
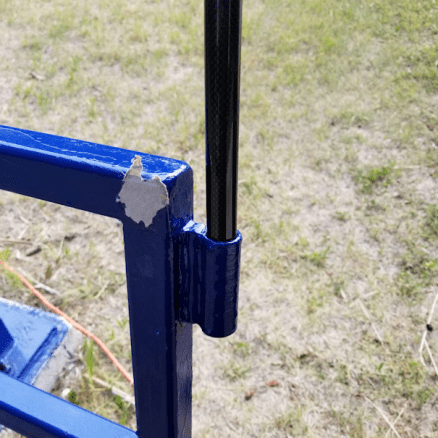
Once that was done, the hinges and bushing were inserted.
My brother had intended to put a washer at the bottom of each hinge, but couldn’t find the washers he’d bought specifically for this. I don’t think it actually needs them, so I’m not concerned at all about that.
You’ll notice that only one hinge pin has a washer by the nut. That’s because the other washer is stuck to the post. We didn’t try to take off the ones that stuck, since they were right where they needed to be, but some did get knocked off as we put the hinge pins through. So the lubricant that I sprayed on them before putting the hinge pins in place did to the job in making sure they didn’t get too stuck to the paint!
Duct tape was wrapped around the hinge pins to keep them from spinning around and moving while we tried to insert them into the posts.
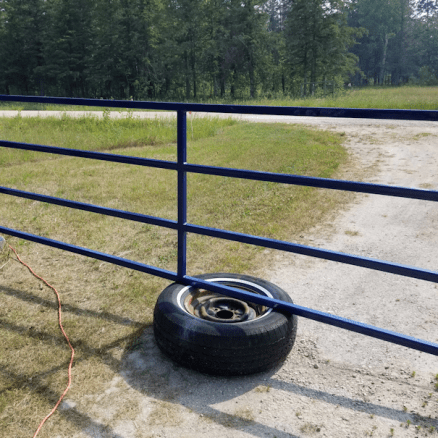
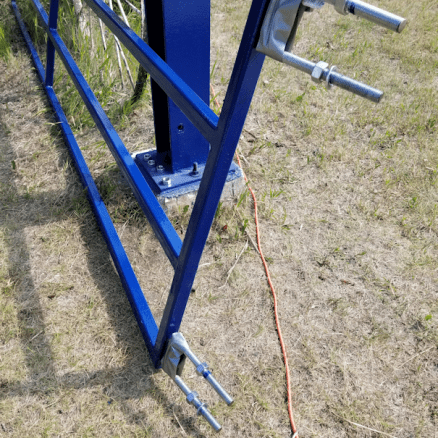
My brother dragged out one of the many tires lying around the place, as something to hold the weight of the gate while we were fussing with it. This not only made it much easier to maneuver something so heavy and ungainly, but also kept it from getting scratched up by the gravel.
After finger tightening the hinge pins, I would lift the gates from the middle while my brother tightened the hinges.
Having pairs of hinge pins has an added bonus, besides ensuring that the gates won’t get vandalized the same way they were before. We can now make micro-adjustments to level the gates. After tightening them, we checked the heights in the middle, the angle of the gates could be corrected just by adjusting the nuts on the inside and outside of the gate post. It was amazing, how much control it gave us!

After that, we just needed to install the sliding bar to one side, which keeps the gate closed.
Of course, we swung the gates back and forth, as far as they can go in either direction. It’s amazing, how smooth and quiet the gate is now! However, we did notice that the gates hit the gate posts on one side, and flex the hinges on the other. So I decided they needed bumpers.
When we headed into town to drop my daughter off at work, my friend and I played tourist a bit, and I made a point of picking up something to try out as bumpers. I’ll include that in my next post. :-)
The Re-Farmer


It looks wonderful!! I was waiting to see it up! Love the color you picked too!
LikeLiked by 1 person
Thanks!
LikeLike
Pingback: The kibble house is working – and creeper is creeping again | The Re-Farmer
Pingback: The status of things | The Re-Farmer