One of the things about living our here is that phone calls are pretty rare things.
We like it that way.
Every now and then, we’ll get a robocall. Sometimes, from political parties, for conference call town hall meetings, or urgent messages telling us that we are about to be arrested by Canada Revenue for some reason or another, if we don’t call them immediately – and give them our personal information, of course. You know. The usual.
I was just preparing to write this post when we got a robocall with a difference. It was for our municipality, but from the RCMP. It was a warning that there was possibly an armed and dangerous suspect in our area! And by “our area”, they meant the two nearest cities, plus our region. Not municipality. Region. Which is huge.
The alert came with a name, but no description of the person. We did get a description and license plate of their truck, as if that means anything.
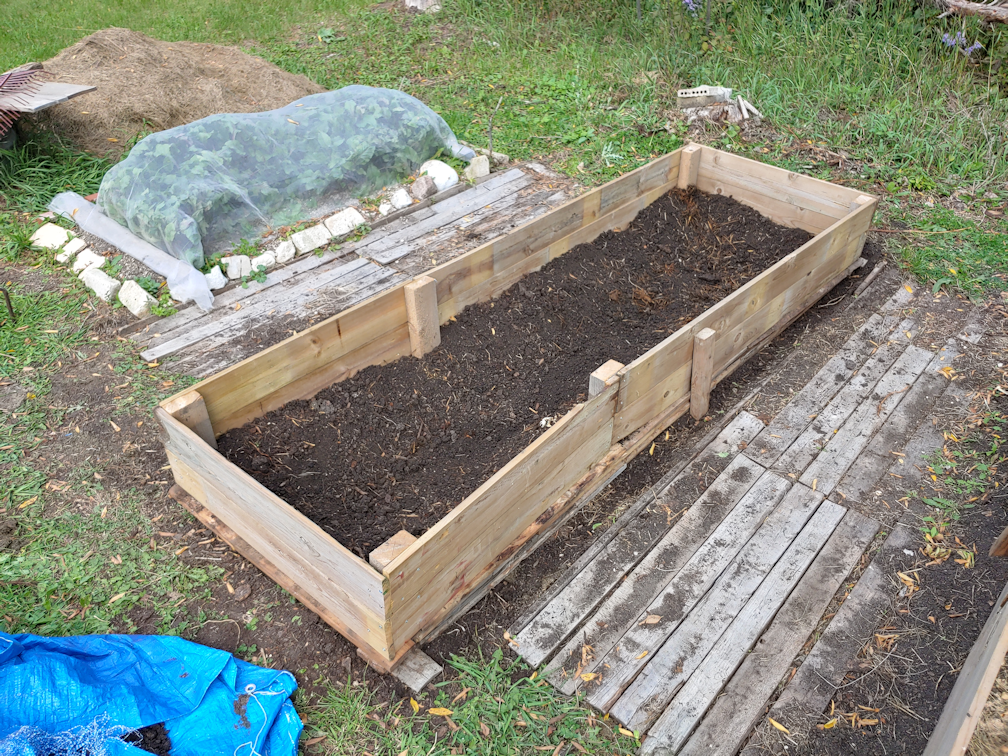
After the call, I settled back at my compute to continue with this post. I am happy to say I finally got some progress on the high raised bed that’s worth blogging about. Of course, I’m keeping a close eye on the weather. One of the handy things is that I have a little icon from The Weather Network in the corner of my task bar with the temperature on it and, when warranted, it flashes red with a white lightning bolt as a weather warning. We used to get those whenever there was a frost warning, but I have not seen that, even after last night’s heavy frost. It was flashing when I sat down, though, so I figured we were finally getting a frost warning.
Nope.
My weather app was giving a public safety alert, and it took me to the exact same message from the RCMP that I got from the robocall!
There is no other information about this guy, but they sure to want us to know he’s dangerous and might be in the area!
Or hours away from us, considering how large of an area they are including!
None of us are particularly concerned, but the warnings are appreciated.
Anyhow. To the topic at hand!
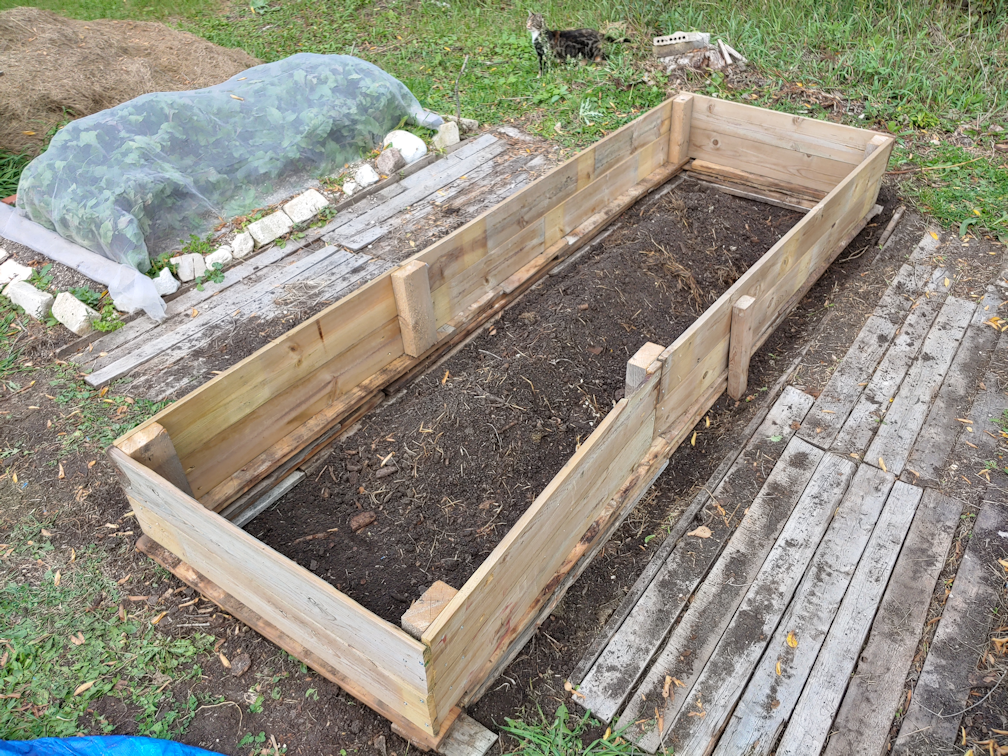
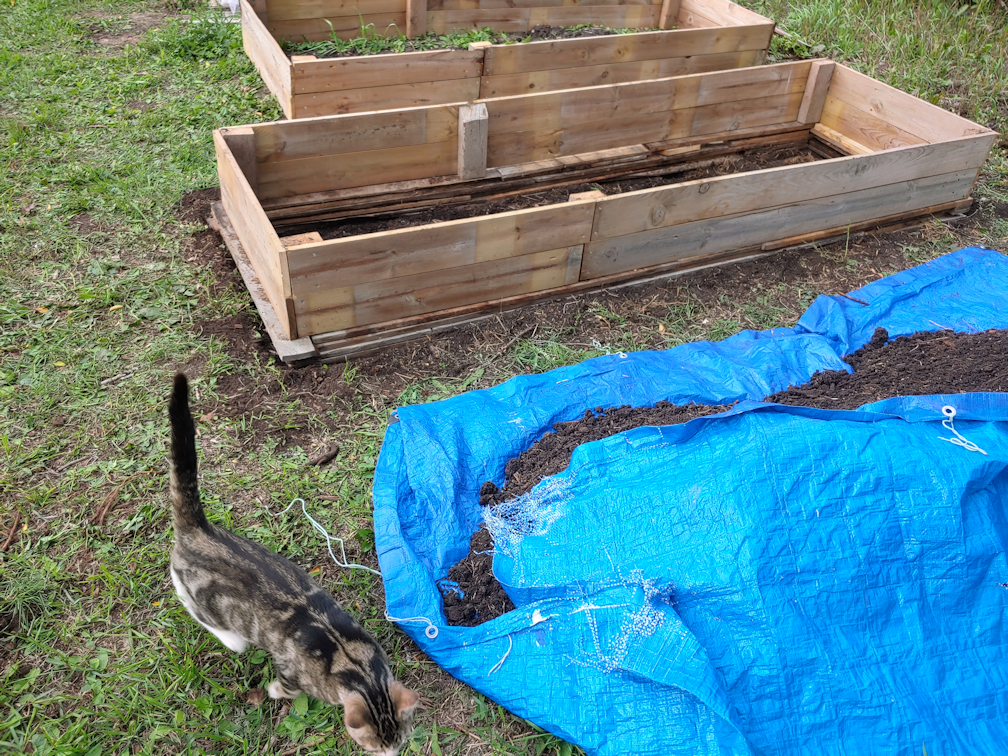
Progress on the high raised bed has been frustratingly slow. My tools are the baby chain saw, a hatchet (our other axes are too big for the job), a hammer and a chisel. Basically, I use the baby chain saw until both batteries are drained, with the other tools used to remove material in stages.
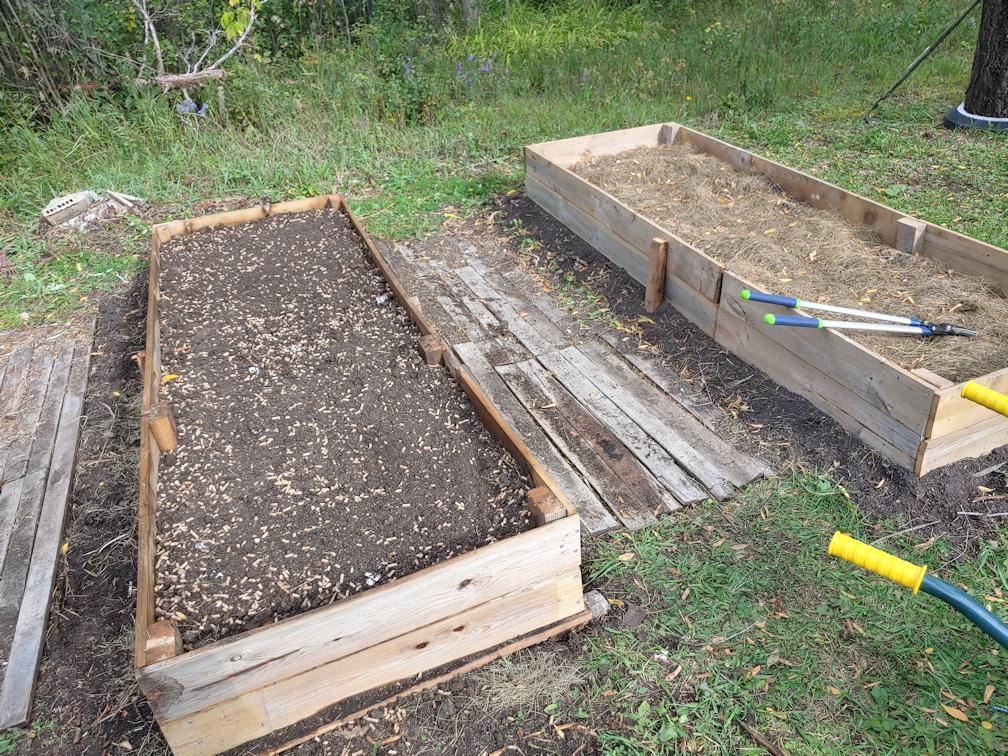
Today, I also worked on the carrot bed next to the high raised bed, which meant the first battery actually had time to charge, giving me a chance to get more done than usual.


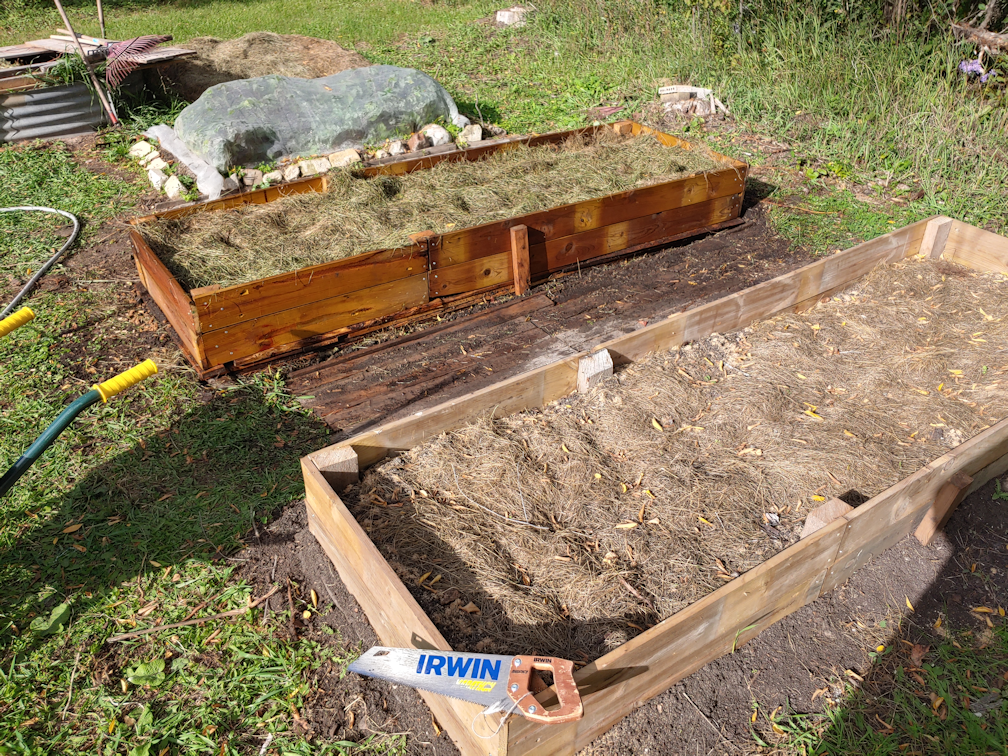
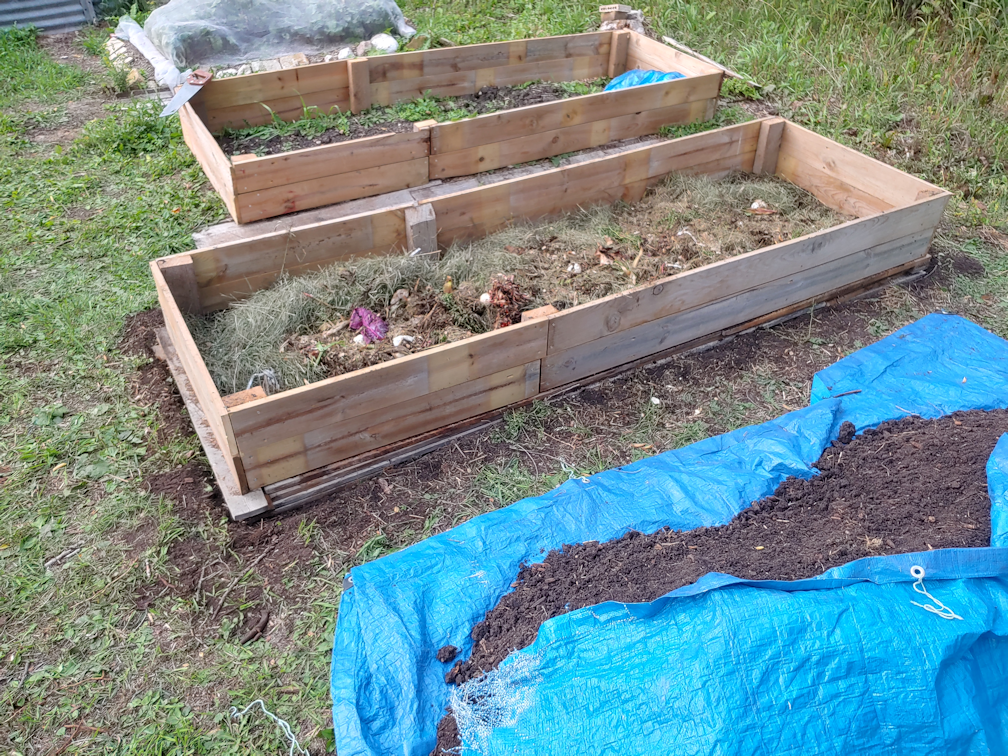
Which means I FINALLY got the second log in place on one side of the bed.
That took ridiculously long to do! But, it’s now in place, and I’ve started on the other side.

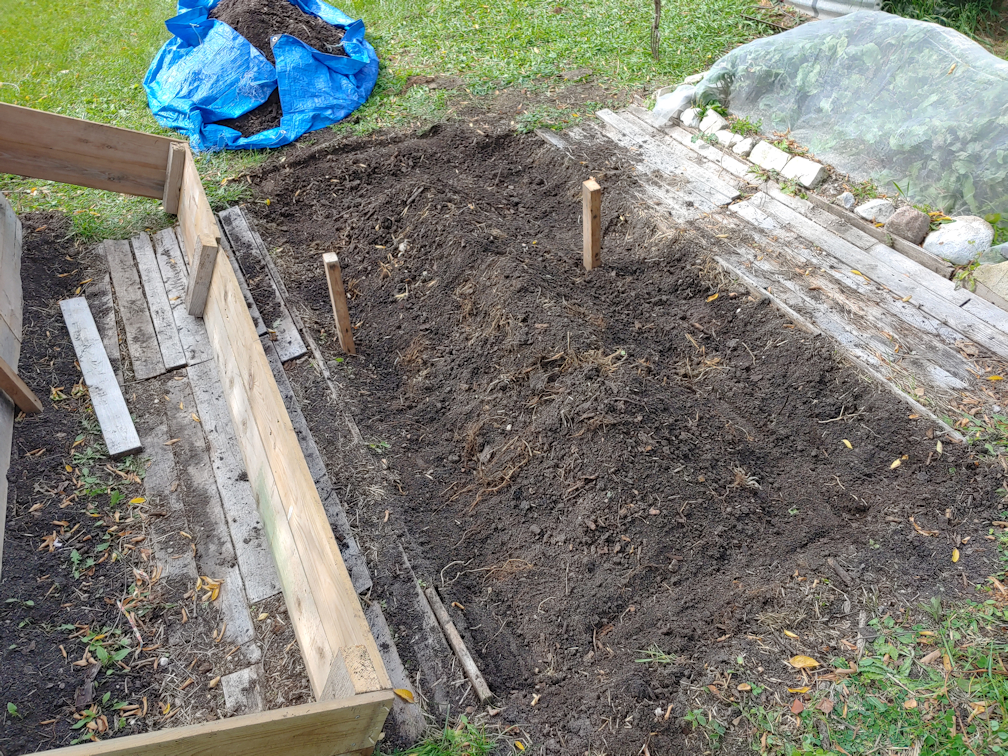
I used the second log to mark where I needed to cut the notches on the side log and end logs. The logs at the end are the thickest, so I started removing material from there, first.
I think part of why I’m so frustrated is, I’ve got three chain saws. The gas powered one broke when I tried to start it, simply because the plastic shell was so old and brittle. The electric one I found was checked out, and they found nothing wrong with it and just sharpened the chain for me, but I discovered it leaked chain oil when I found it in a puddle after the first time I used it, which was for just a single cut before I switched to the baby chainsaw. The next time I used it, I found it would simply stop cutting after just a few seconds. I still have the little, electric, convertible pole chain saw with a 10 inch blade my husband got for me a couple of years ago. It would be enough to do the job, but something went wrong with it the first summer we got it. I checked it out again today, and it basically just screams when I try to make a cut, and the chain stops turning. I’ve got that in the van now, for the next time I go into town and can leave it at the small engine shop to see if they can fix it. I can’t even try using the reciprocating saw. It runs, but no longer shuts off. It needs to be unplugged to turn it off, and it even starts trying to run when it’s plugged back in, making and it quite unsafe to use.
If even one of those chainsaws worked, this thing would be done by now!
*sigh*
Ah, well. It is what it is. Hopefully, I will still be able to complete the high raised bed, and fill it, before the snow flies.
One of the things I found with the baby chainsaw is that, when it first seems to run out of juice, and the red light starts blinking on the battery meter, I can set it aside for a little bit and it will actually “recover” and run again for a while. That usually gives me time to chop or chisel away excess wood. I can usually do this a few times before the battery is finally completely dead. This also gave me time to pull carrots while waiting on the battery life.

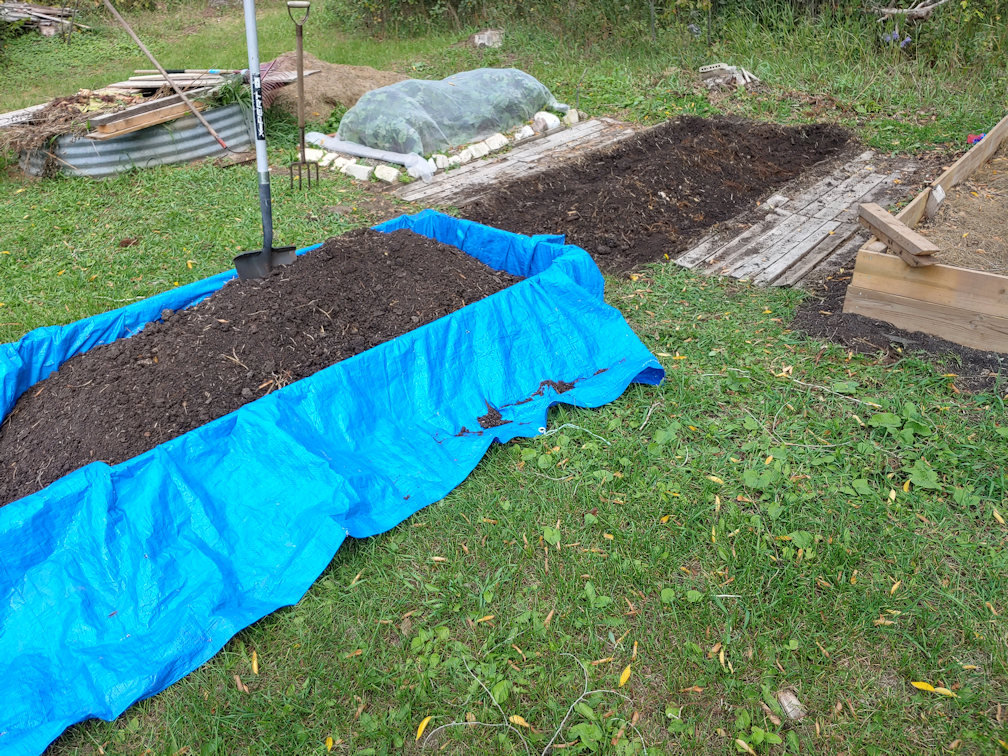
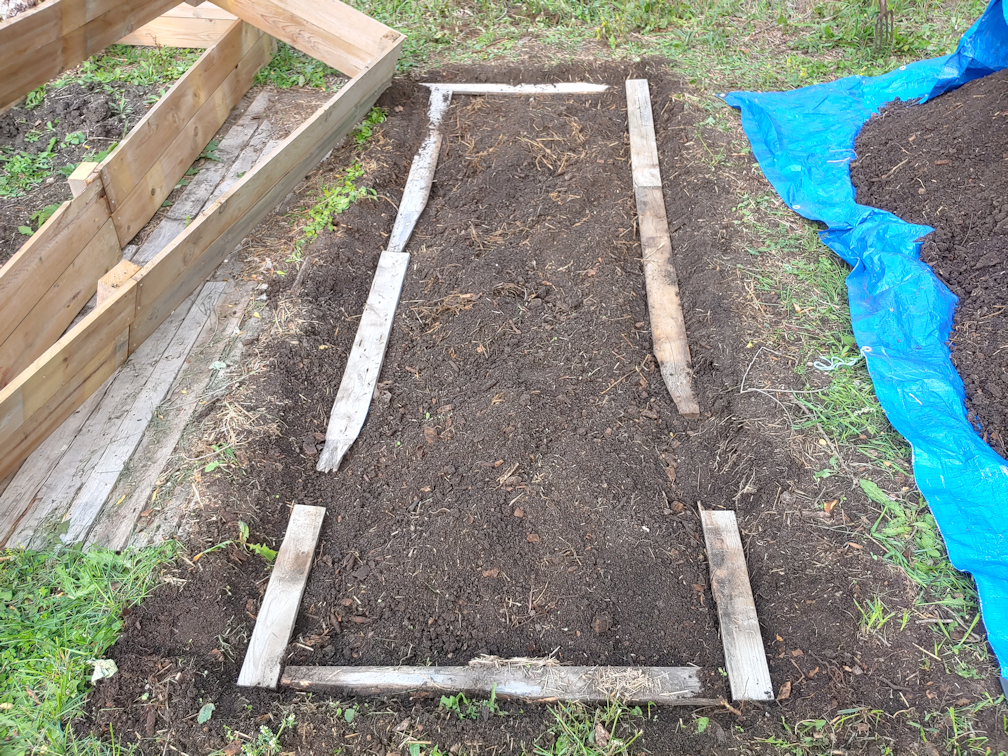
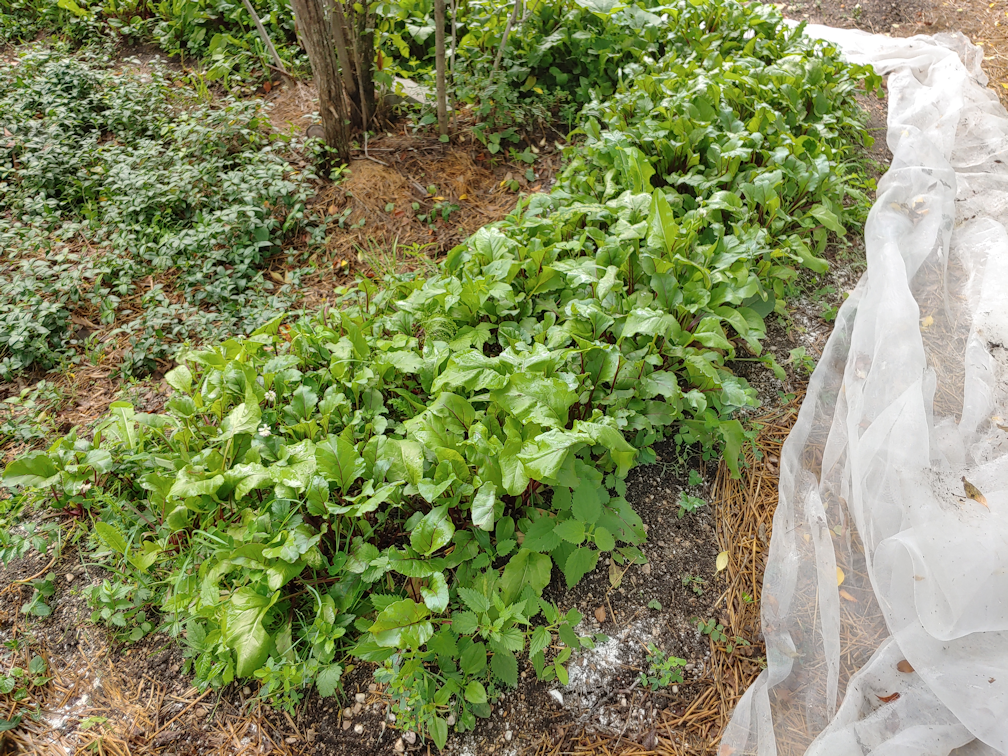
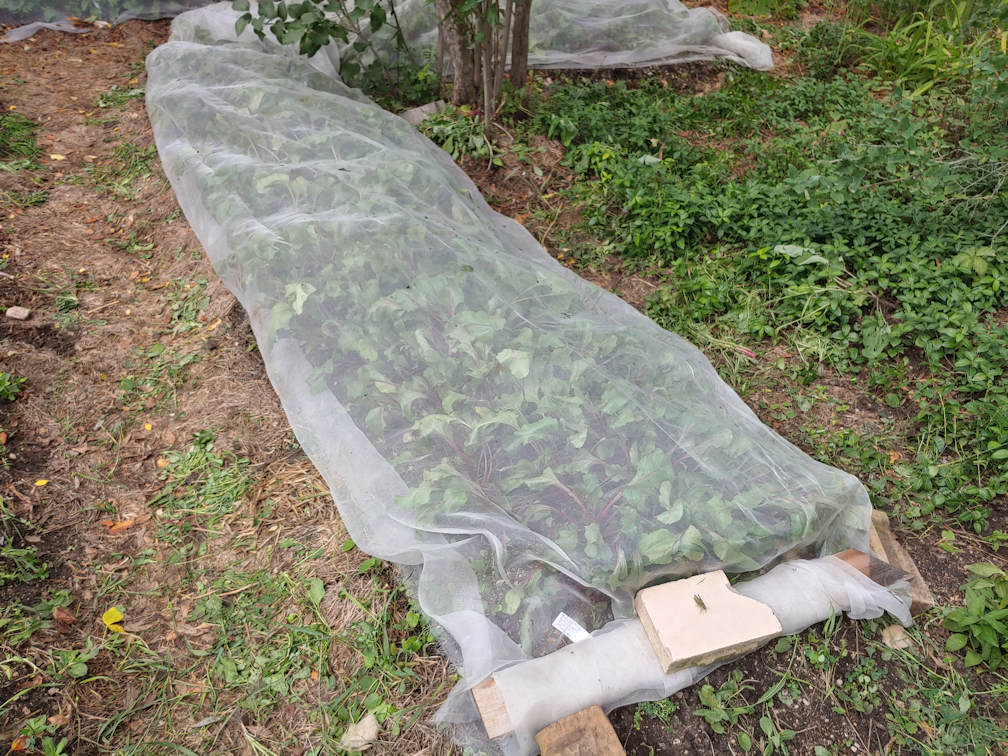
I just dug up the Napoli carrots in half the bed. With the Kyoto Red mostly gone to seed, I figured they could wait.

Pulling them all from in between the weeds was certainly a challenge, even using a garden fork to loosen the soil and weeds!
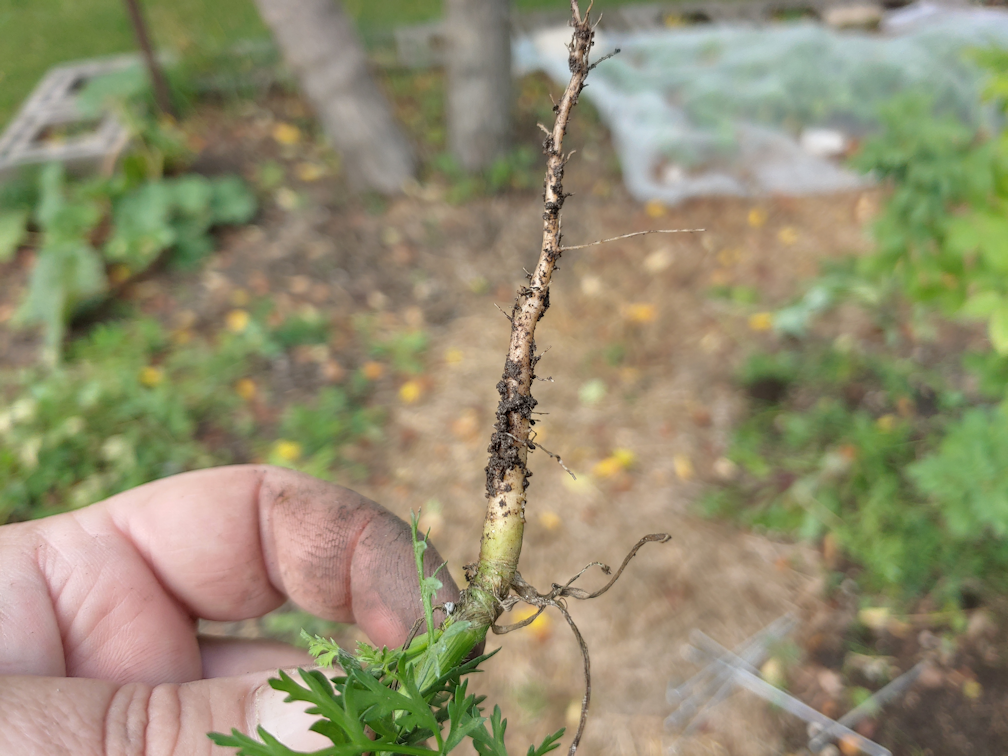
After draining the second battery on the baby chainsaw, I had time to clean up the weeds, pulling out all the roots I could. If some leaves got left behind, I didn’t care, but my goodness, there were some REALLY deep roots I had to dig out!

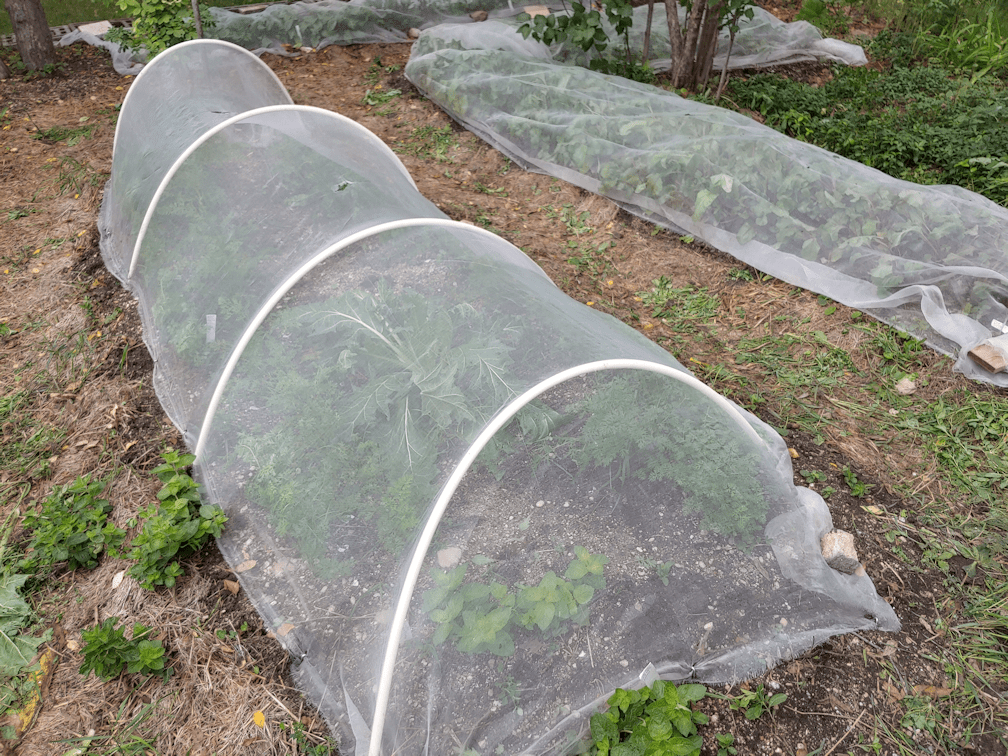
Half the bed, all done! Hopefully, I’ve pulled out enough roots that it won’t get this bad again, next year! The time it took to do this was enough for a battery to charge, and get more done on the right raised bed.
The temperatures are supposed to stay the same as today for a couple more days, then start to warm up again, which should hopefully give more time to work on the high raised bed and, of course, finish cleaning up all the garden beds and ready them for next year, too.
The Re-Farmer