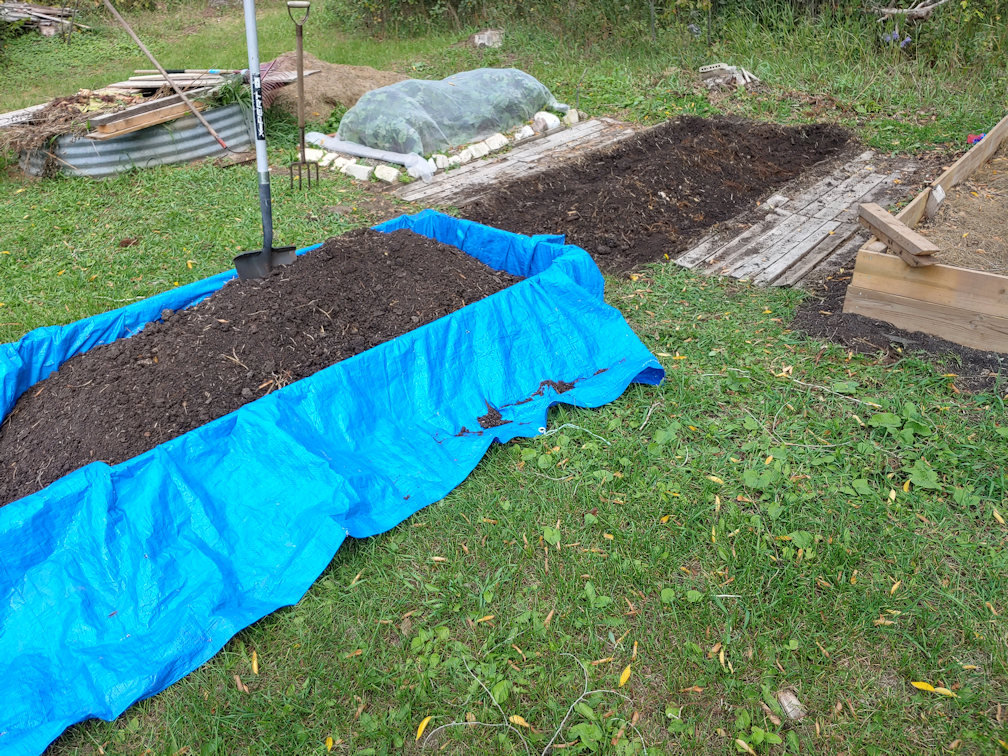
You can read about the first raised bed I did, here and here. Things were done a bit different this time, so here is another step-by-step post with lots of photos! :-) I actually started this bed over a week ago. This is how it looked then.

This bed has been almost completely untouched since the garlic was harvested, letting the weeds get fairly large. This made them easier to pull.

Along with pulling the weeds, with as much of the roots as I could, I lengthened the bed to match the size of the box. Right away, I could tell this one was going to need a “foundation” under the box, too. I was definitely hitting rocks, and a whole lot of roots, while trying to loosen more soil and remove grass and weeds.
Once the weeding and loosening of soil was done, it was left to sit so that any weeds I missed would have a chance to start growing again.
When I started working on it today, the first thing I did was go over the area again, pulling out any new growth by the roots. Then it was time to start shoveling!
Like the previous bed, this one had been originally amended by burying the contents of our compose pile and straw. So I only wanted to remove up to the straw, basically.
In the process, I was finding a LOT more roots! It looks like the cherry trees are encroaching again.
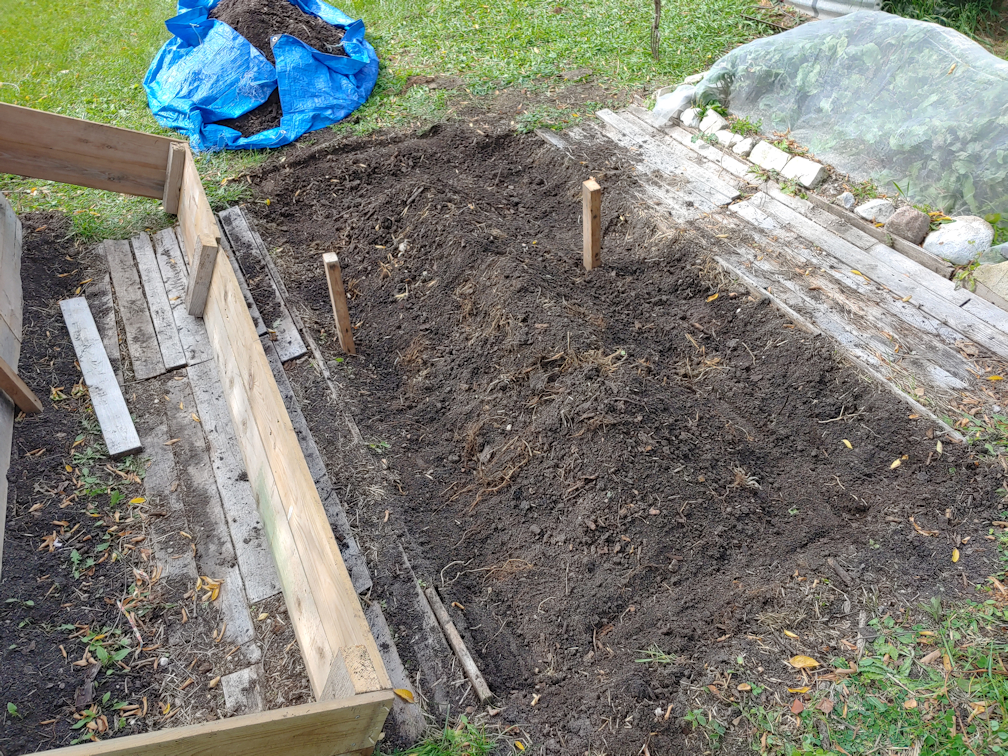
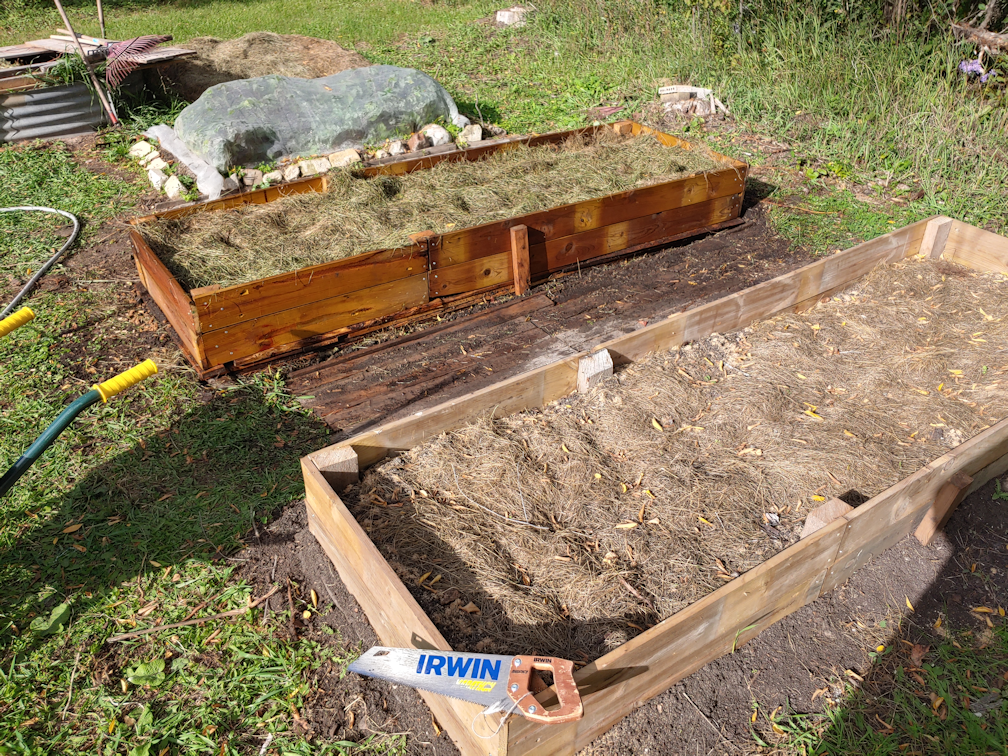
Once I was satisfied with how much of the topsoil I had removed, I raked around the edges to try and level the soil where the box would be resting, as much as possible, while heaping it all in the middle.

Then the box was laid down and, once I had it where I wanted it, I used a sledge hammer to hammer in the supports on either side, at the middle, to prevent the long sides from bowing out when filled with soil. I also hammered down the corners and such, to leave marks in the soil that I could use as guide lines.
The ground wasn’t anywhere near as level as I probably should have made it, but that’s okay. Things will settle and adjust over time, and these boxes can be easily replaced in the future, if need be.

The next step was to raid the pile of old, salvaged boards that the groundhogs have made their den under, and build up a foundation to support the box. Once that was in place, a daughter came out to help me carefully place the box on top of the foundation, and in between the support posts.
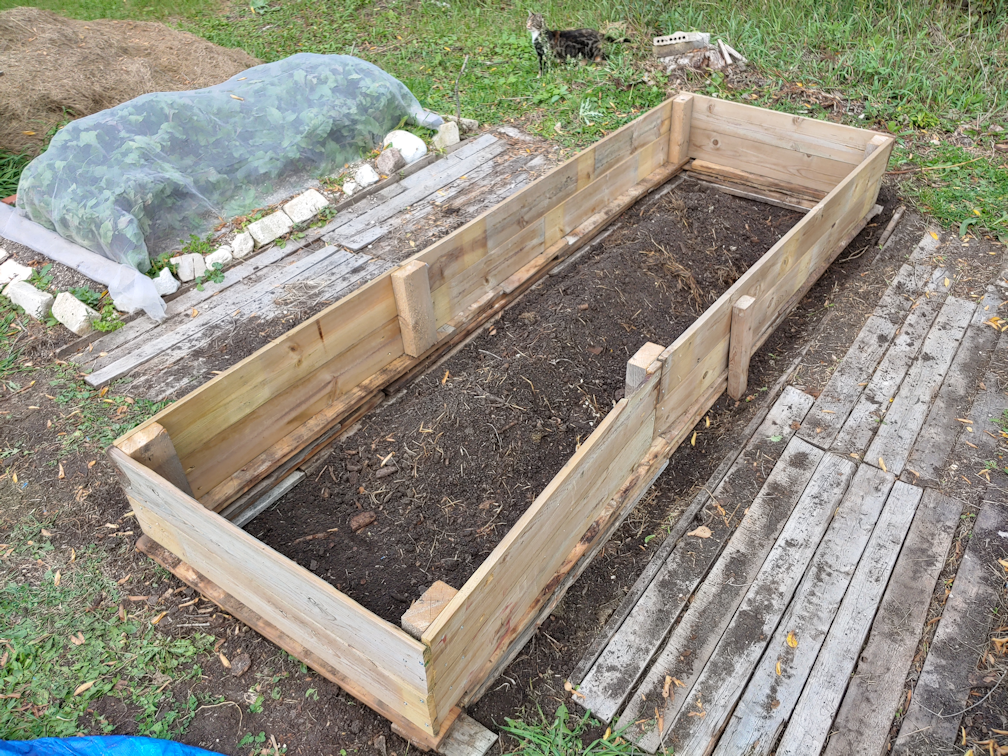
Then it was just a matter of shifting the foundation boards a bit, to make sure the box was fully supported. Again, not quite level, but that’s okay.
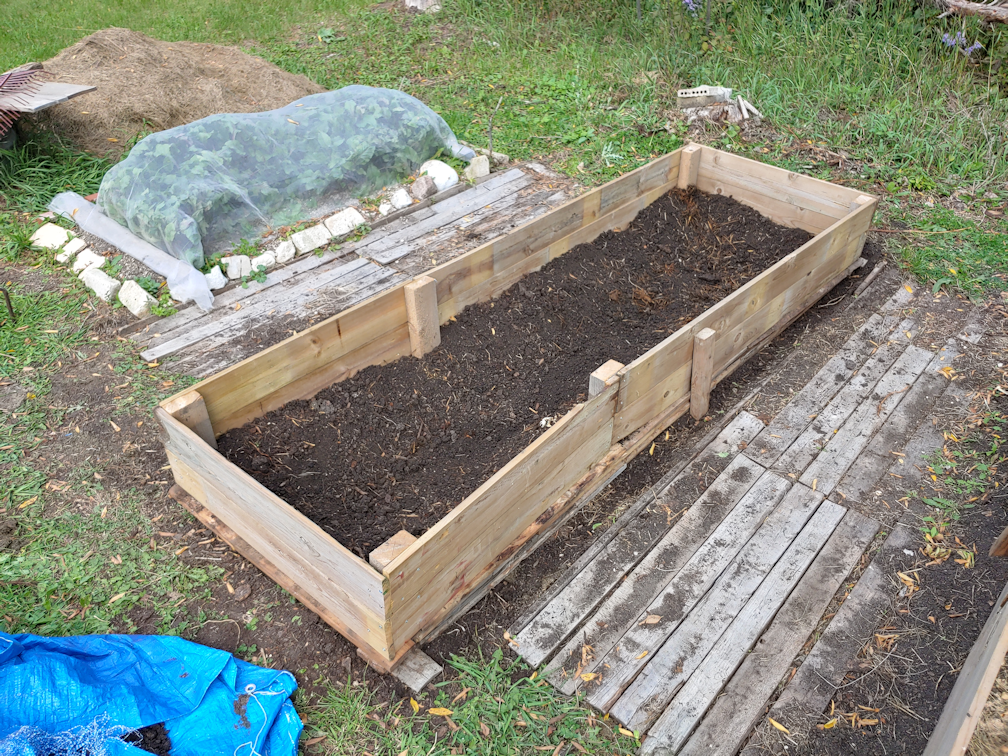
The soil heaped in the middle was then raked out to the sides, covering the foundation boards and creating more of a recess in the centre.

Then it was time to add the first layer of fill, and raid the branch pile. This time, I added more and larger branches than with the first bed I did.
This, unfortunately, left a lot of gaps and air pockets. They will fill in as the wood decomposes and everything settles and sinks, but that will take time. To help fill in spaces and speed up the decomposition process, I started adding back some of the soil. After returning about a quarter of the soil, I hosed it down thoroughly, so wash it further down into the gaps, then added about another quarter of the soil and soaking it down again.

The next layer was contents from the compost heap, most of which was greenery I’d cleared from around the dead spruce trees that were cut down. This got another soak, another scattering of soil, and yet another soak.
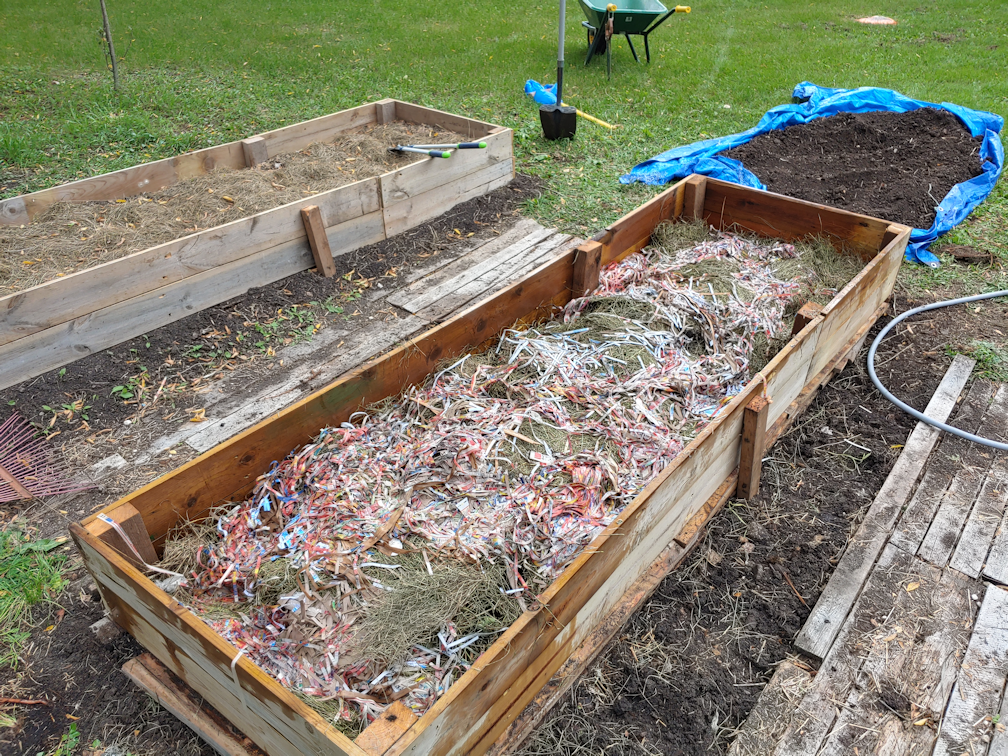
The next layers were grass clippings and shredded paper. This time, after soaking it all down, I walked back and forth over the whole thing, to try and compact and break the buried branches more.
It as at times like this that being a woman of generous proportions comes in handy. ;-)
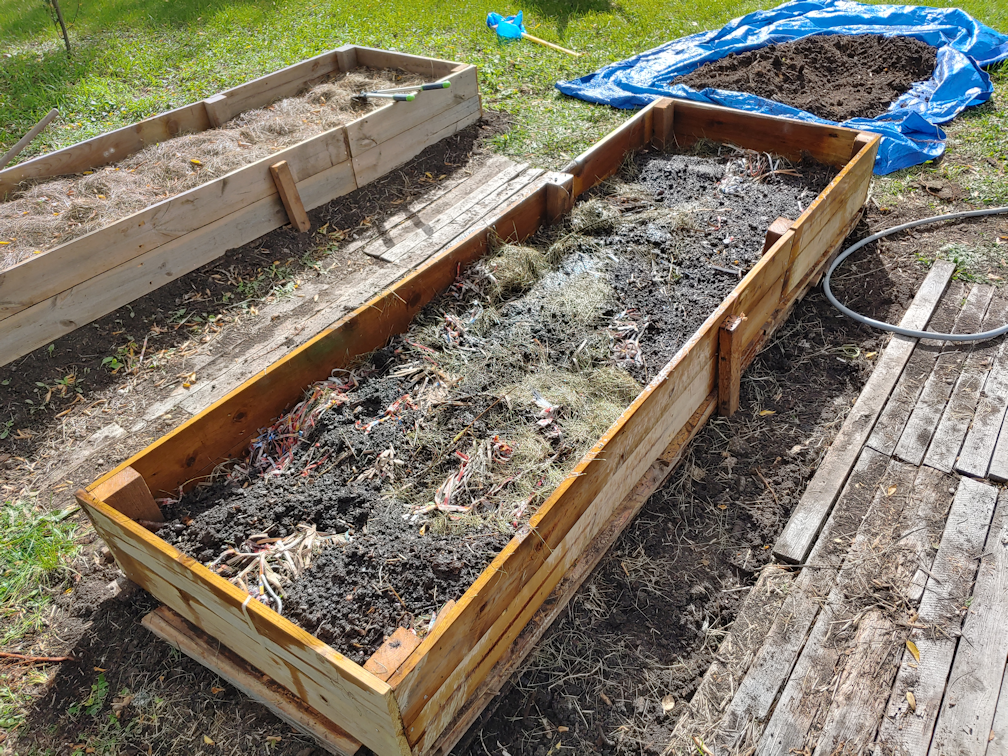
Yet another thin layer of soil was added and soaked down.
Note the gap between the box and the board path. By this point, it had become a bit of a safety hazard! Without the soil to hold them in place, the boards at the edge kept moving and catching on my feet, and I was constantly catching myself to avoid twisting my ankle in the loose and lumpy soil in the gap.

Another thin layer of grass clippings was added and hosed down. At this point, the fill in the new raised bed is about the same level as in the first one. Adding the extra and larger branches made a noticeable difference, even after being tromped down.
Once this was done, it was time to amend the remaining soil on the tarp. I added about half a 40 pound bag of wood pellets, as was done in the first raised bed, and then a couple of wheel barrow loads of new garden soil was brought over; one added to the soil and wood pellets on the tarp, and the other added directly on top of the grass clippings, then raked out as evenly as I could.
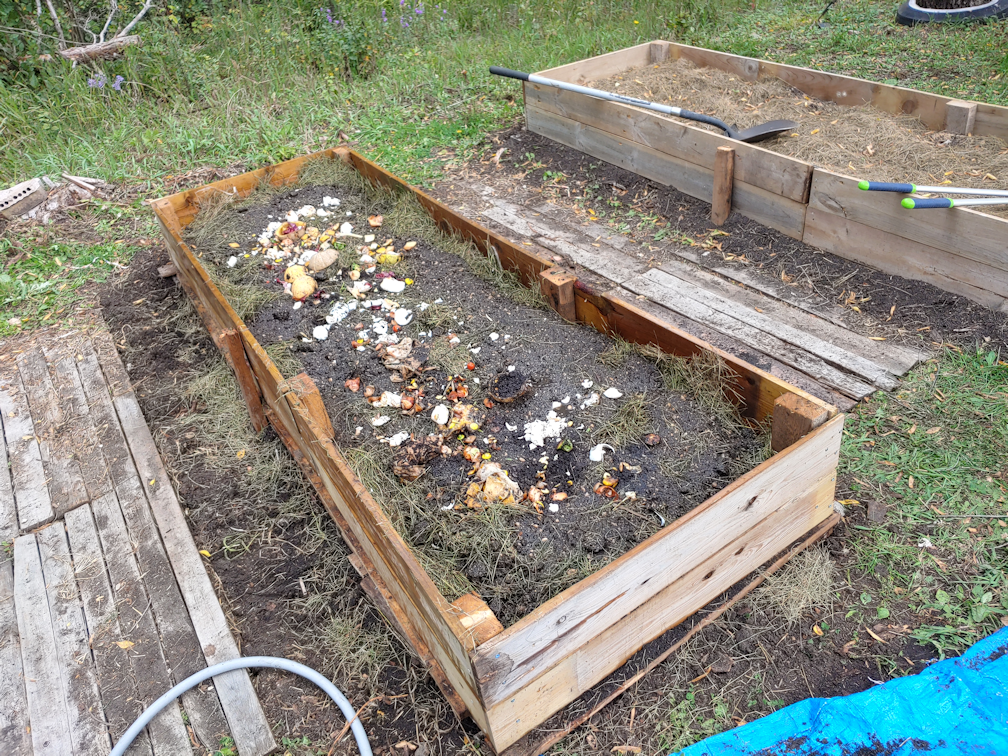
It was about this time that a daughter came out with the kitchen compost buckets, so that got added straight into the raised bed and spread out, then hosed down again.
The next while was spent mixing the soil and wood pellets together, as much as I could, before adding it to the bed.
Once the soil was added, it was raked out evenly. This layer was NOT hosed down, though.
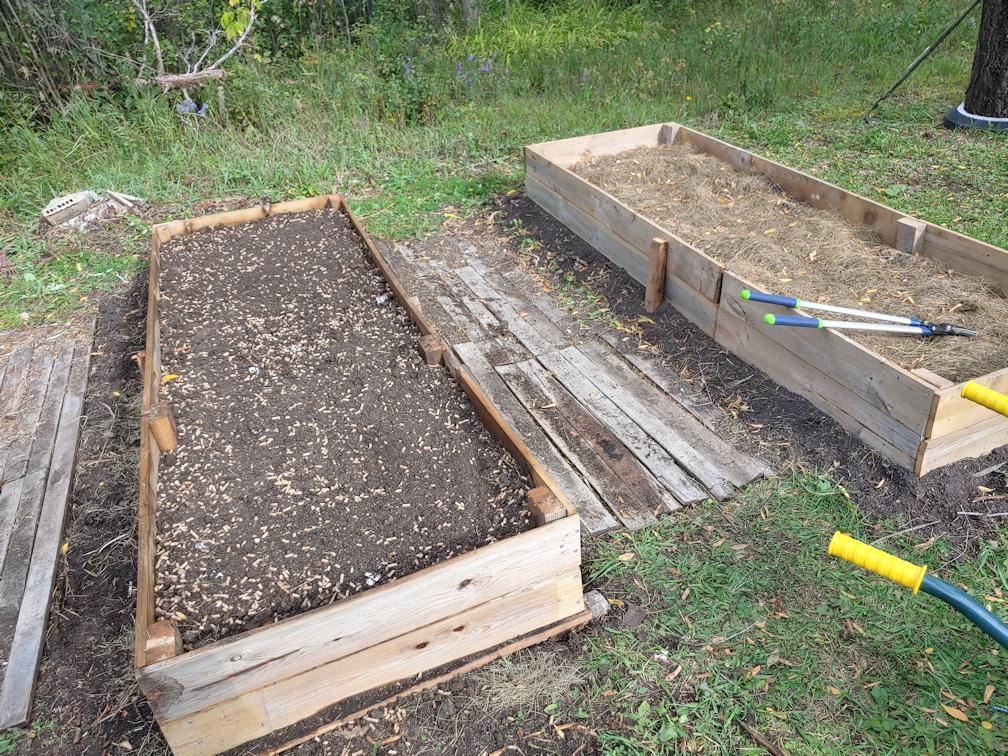
One more layer of grass clippings was added as mulch, then it got one last, very thorough, soak with the hose. This was the time to clean up the sides and edges, too.
This is as much as will be done in the bed, this year. Both beds will get more amendments added to them in the spring, after they’ve had a winter to settle and sink.
Also, remember the gap in the path on the other side of the bed?
I was going to work on filling that to make it safe, but I had reached my limit. A daughter will be working on that for me later. As these beds have been worked on, and rocks were found, I had been tossing them next to a nearby stump; you can see it in the background, with some bricks on it. Those can be gathered to use as fill in the large gap on the far side of the bed, and more boards will be added, and whatever else my daughter can thing of to make it safe to walk on. The eventual plan is to cover the board paths with sand and gravel.
After this, there is still the third bed in this location to be made, but with the beets still growing, there is no hurry. The last bed will be just one board high, as that is all the wood of this type we have left, but these boards are slightly wider, plus we still have plenty of the scrap wood bits to use as a foundation, so it shouldn’t be too much of a difference.
Two raised beds down; seven more to go! :-D
The Re-Farmer


Pingback: Mmm… puffball slurry! | The Re-Farmer