Fall clean up: cucamelon surprise

The frosts we have had didn’t quite kill off the cucamelons, but they are certainly beyond being able to continue producing.

There were still a few left on the vines that were big enough to withstand the frost, though!

They were still tasty, too. :-)

After taking down the yarn net I made for a trellis, I started pulling each of the plants up.

Which is when I found a surprise.

They have tubers!

When I looked up how to grow cucamelons, I found one site that said, if you lives in a colder climate, you could dig up the roots and pot them. Kept in a cool, dark place over the winter, they could be started indoors for better transplants in the spring.

I don’t remember the site mentioning the roots were tubers!

When I kept finding more, I decided I would try it.

These are the biggest ones that I found. After trimming away the vines, I filled a couple of deep buckets with peat (we still have most of a bale) and planted the a bunch. I fit about 9 tubers between the two buckets. That left a few littler ones that I decided not to bother planting.

The buckets are now being repeatedly watered, to get as much of the peat to absorb moisture as possible. Then, they will go into the old basement (where the cats can’t get at it!) for the winter.

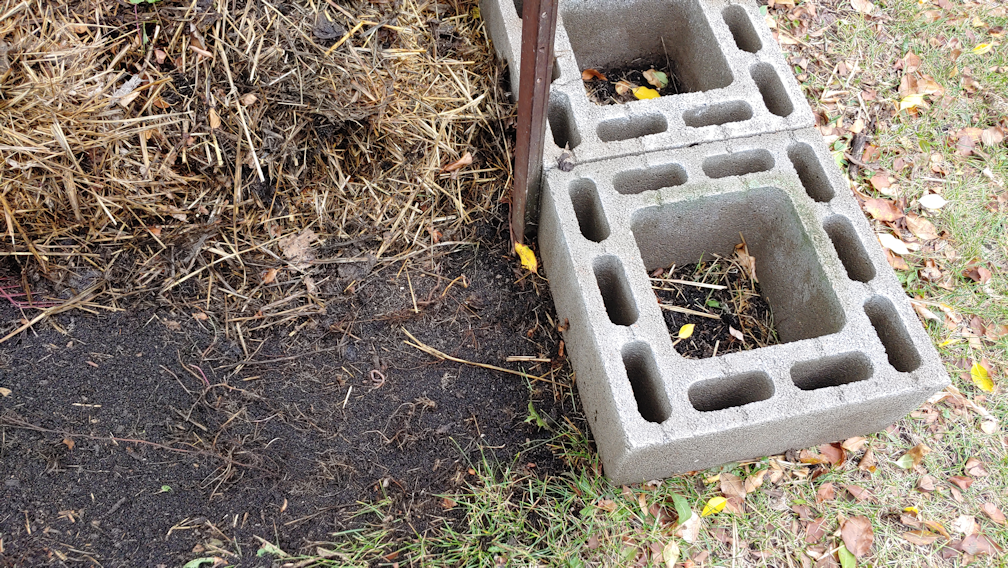
The next thing to do was to prepare the retaining wall blocks. When I placed them last year, which you can read about here and here, I filled the bottoms with mulch, then topped with peat. As expected, everything settled a couple of inches, so they all needed to be topped up.

For that, I wanted to use the soil from the remaining tire planter, so the retaining wall waited for a bit, while I dealt with that.

Which will get it’s own post.

It turned out to be a pretty big job!

Once I had the soil, I loosened and broke up the peat layer, topped off all the blocks with soil, then watered them thoroughly, to help it settle in.

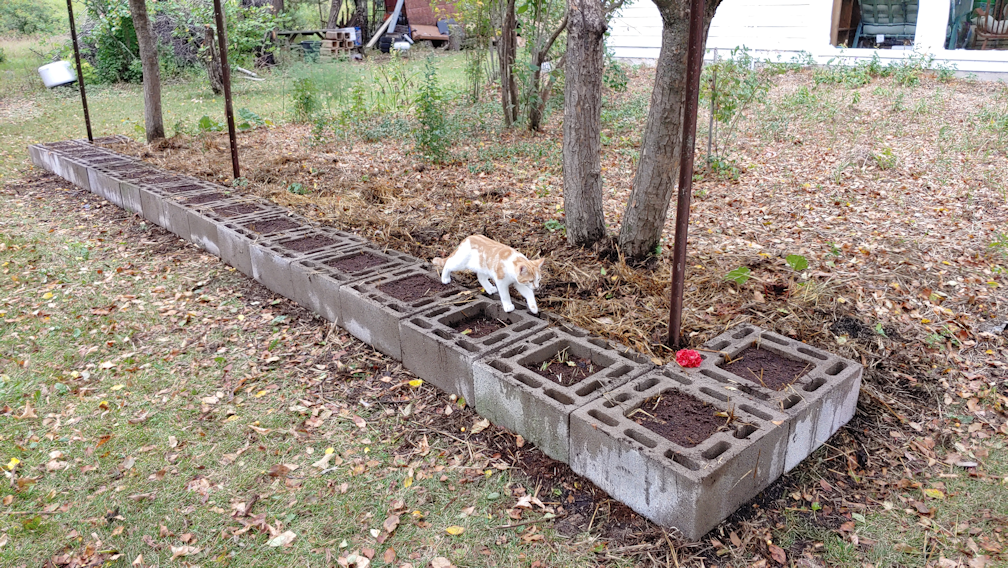
After giving each block a thorough soaking, my daughter and I made a dump run, giving the soil plenty of time to absorb the water and settle. Once back, I topped up the soil again, then gave them another soak.

The cucamelons are now all cleaned up, and the retaining wall is ready for whatever we decided to plant here next.

Oh, I almost forgot!

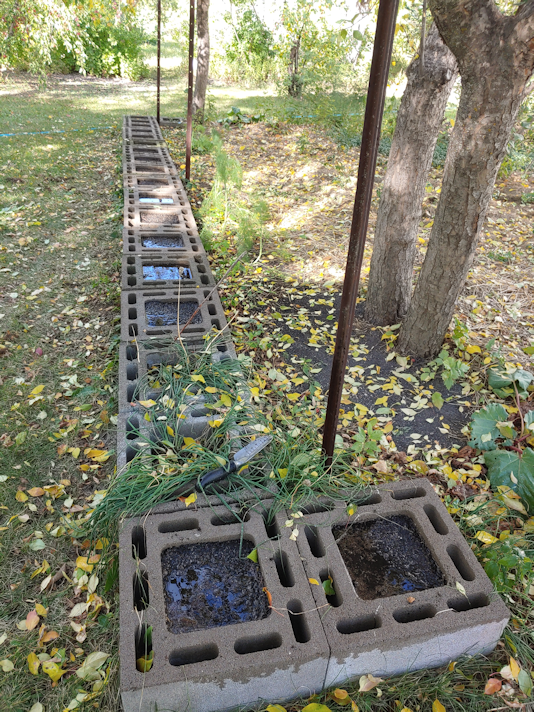
One of the other things we transplanted in the area where the surviving fennel seedlings.

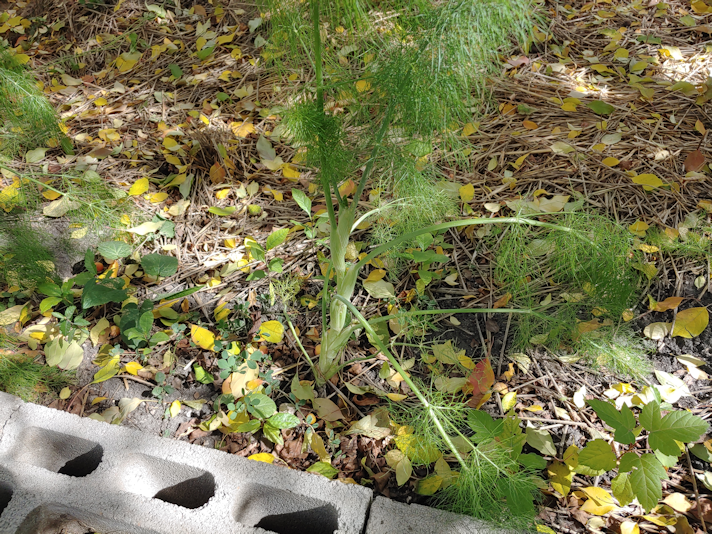
This is the biggest and strongest of the 4 that survived.

I admit, all I did with them over the summer was water them. I suppse they’re still edible. If nothing else, I think the fronds can be used as an herb, and there are plenty of those! :-D

The only thing left in the blocks are the two with chives in them. I will be leaving them for now, but before winter, those will get topped up with soil, too.

Another job off the list! :-)

The Re-Farmer

Old kitchen garden, retaining wall progress

I am so happy I was able to get back to working on this today!

It is now basically finished for this year!

Here is where I started today.

I loosened the soil and leveled off the space where we could fit 1 more of the chimney blocks. In the process, I realized that I could completely miss the bunch of chives. However, I wanted to add a block to form a corner, so I decided to dig some out for transplanting, first.

After discussing what we wanted to put in these in the future, we decided to transplant just some of the chives into two blocks, just inside the corner. The bottoms were stuffed with mulch, then topped with peat, before transplanting. More peat was added, later.

I then went to work on the opposite corner, which had a bit of a problem.

That metal fence post is every so slightly in the way.

The ground here also started to slop upwards towards the house on this side, so I had to level the area by taking soil away from the area. On the other side, I had to level the soil by adding to it!

As for placing the block, I found I could push the metal post aside, just enough for it to line up right.

After everything we jammed in and settled into place, the post ended up being very close to straight, still. So I was happy.

On to the next step!

I raked the mulch I had moved aside, right up against the blocks, then used some of it to jam into the openings until they were filled to about an inch or two from the tops.

Next, I put a layer of peat on top of the mulch.

As I worked my way down the line, I added more mulch to some of them before adding the peat, just to make sure there was a deep, tamped down layer.

I then gave all of them a thorough watering, to give the decomposition process a bit of a head start – and wash off the tops of the blocks a bit.

As it breaks down, I expect the mulch and peat to sink by an inch or two. That will give us the space to add soil as we plant things in them.

As for the small openings, my daughter and I talked about filling them with sand or gravel. I don’t mind the idea of filling them with soil and planting things in them, though they are really too small for that. Even just leaving them empty will serve as a layer of insulation to protect the soil in the middle. However, if we were to put sand in them, it would keep unwelcome things from starting to grow in there, plus give a nice base to add garden stakes, supports, or even solar lights for lighting up pathways.

Since we’re stuck with those metal posts anyhow, I like the idea of using them to string decorative LED lights across, too. :-)

I’m pretty happy with how this area is starting to shape up.

For those new to this blog, here is what the area was like, when I started cleaning it up last year.

Part one
Part two
Part three
Part four

We’ve made a lot of progress here! :-)

The Re-Farmer