Finally! I was able to bring over my tools and equipment, which I just keep in the utility wagon now, over to the garden and get a bit more done on the first trellis bed.
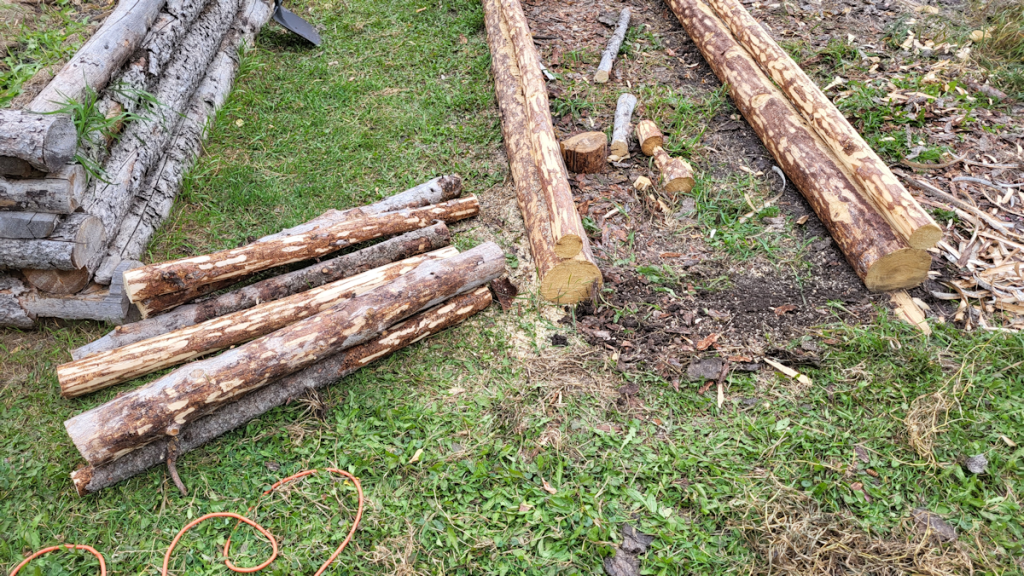
The first step was to cut the two logs set aside into 4′ long pieces. I know for sure I’ll need two per end, but these logs are thinner than the ones in the side walls, so I cut extra just in case.
Before putting one of the end pieces down, I loosened up the soil where it would be lying and tried to level it off a bit, since there was a dip near the middle of the space. Because I want these beds to be 4′ wide on the outside, after laying down the first end piece and matching it to the outer edge on one side, I shifted the other side a bit to line up with the other end.
Steel toes boots are create for kicking logs and not breaking my toes!
I started with the thickest 4′ log for the base log on this end. Using the side wall logs to mark where I needed to cut, I removed wood from the ends to fit over the side wall logs.
What a pain.
For this job, I used the mini-chain saw, a hatchet and hammer to remove the bulk of the excess wood, and even the electric chain saw to remove the excess wood.
A pain, to be sure, but much faster and easier than when I started building the high raised bed and had only hand tools!
Once I was satisfied with how the end piece fit, it was time to secure it. A couple of years ago, I’d bought some plastic coated metal rods to use as supports in the garden. The rods were hollow, and they quickly bent and broke in our rocky soil. I’ve been using the broken pieces to secure things like hoops for garden beds, but I also used some to secure the corners of the tiny raised bed in the old kitchen garden.
I decided to use them to secure the end pieces on the trellis bed, much like I already used rebar to secure the side walls. I drilled matching holes through the end pieces into the side walls, then hammered the metal rods in place.
Then I went through the other 4′ lengths to find one that fit the best on top of the first log and repeated the process. This time, though, I was having to fit them over two very different sizes of log, so that required some extra angled cuts, as well as flattening the length of both logs a bit, so they’d fit against each other better. There’s still quite a gap in between them in one place, but that can be chinked later. Last of all, they were secured with more metal rods, though the top log was thin enough that I could break one of the rods in half and use the shorter pieces.

And here it is! The first finished end cap, viewed from inside the bed.
This all took quite a while to do, so once it was done, I stopped for the day. I’ve got too many other things that need to be worked on.
I’m quite happy with how it’s working out so far.
Since the vertical posts will be added to the outsides of the bed, not down the middle as I’d planned to do originally, I will fill the bed once the other end cap is done. That way the layers of material will have at least a bit more time to break down under the top layer of soil it will get. I may even decide to get more logs to build the next bed, first. We need beds to plant in next year, more than we need the trellis part of it. The trellis posts can even be added after planting, if necessary. The priority is to have more planting space. This year’s garden is so much smaller than I had planned on, simply because I ran out of prepared spaces to plant in. I don’t want to have that situation again, next year!
So, once this bed is built and filled, it’ll be time to cut logs to size from the two downs trees we have ready right now and drag them over. These trunks are so thick, the bottom 10′ will be set aside to be used as supports for the outdoor kitchen we will be building. Using such thick logs in the trellis beds would be a real waste of material.
The first day of fall is tomorrow, and time to get work done before things get too cold is running short!
The Re-Farmer

