Bonus critters, and a kitty gate

We had some new, furry visitors to our feeding station this morning!

This is a first for us to see raccoons! :-)

They are so fuzzy!!! Like round little bears. :-D

This morning, I also figured out a way to let the mama cats out of the sun room, while keeping the babies in.

I noticed a whiteboard I had in storage, and gave it a try. The whiteboard is too slippery for the kittens to climb, and even if they managed to climb up the jugs I shoved against it to keep it from tipping, the marker ledge should keep them from being able to climb over. The remaining question was whether or not the moms would jump over it, and if they would knock it down when jumping back.

As my daughter and I were heading out to go to town, I heard a noise and saw that Beep Beep had jumped it, without knocking it down. When I came back later, however, it seemed the Butterscotch hadn’t figured it out yet. So I just lifted her over. You can actually see her in the photo, at the old dog house, where she promptly went to eat some grass! She has since returned to the sun room, and the kitten gate is still up, so it seems to be working.

The kittens, meanwhile, were content to ignore the set up.

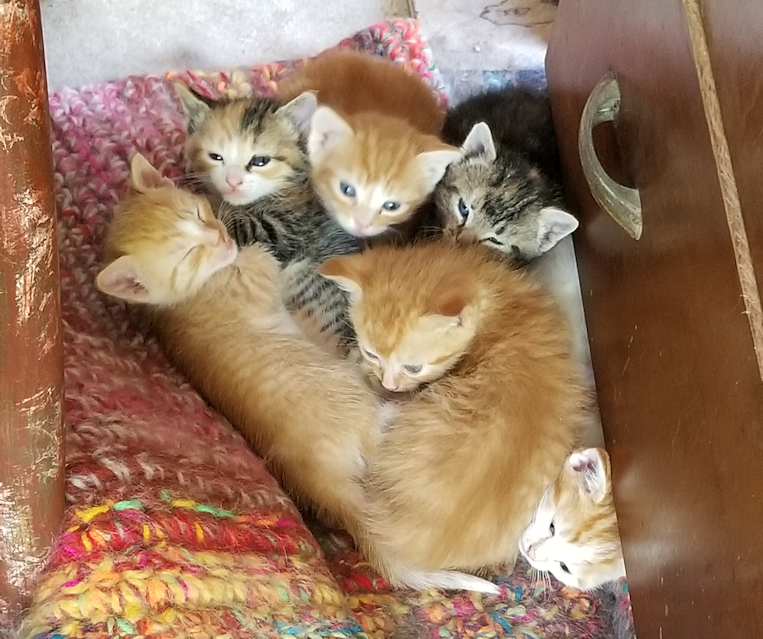
They had all been sprawled on that blanket until they saw me moving around. A few came to check things out, then stayed to play.

This one, however, just luxuriated…

Cutest.

Thing.

Ever!!!!

In other things, we have not been able to work on painting the gate again, yet. We had a good rain during the night, so it was still wet when we went into town. I’m hoping to get some more done this evening, once it starts to cool down a bit. At least the area that’s already painted is no longer tacky to the touch! Tomorrow, I’ll be driving my mother to a medical appointment, so if I get some painting done today, that’ll give it plenty of time to cure tomorrow. No rain is predicted overnight, so that should help, too. We’ll see how it works out.

For now, we’re just staying out of the heat!

The Re-Farmer

Kits and birds

With today’s rain, it’s been a fairly quiet day, but I still have some fun things to share with you.

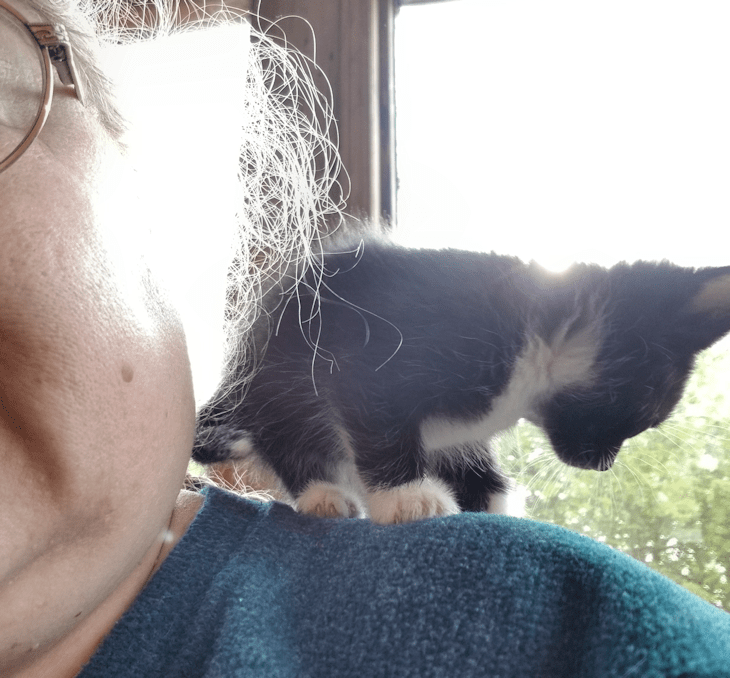
Like this adorable shot I got last night.

This little tuxedo has really taken to being handled – and climbing us like trees!

On the down side, after climbing back and forth on my shoulders, he then jumped down onto the back of the swing bench before jumping/falling down to the concrete floor. :-( That’s a long way for such a tiny kitten!

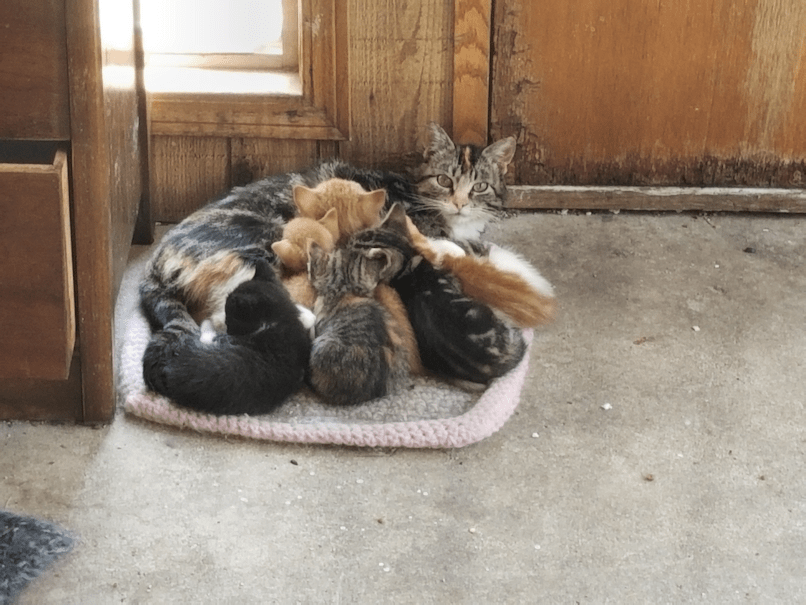
I got this shot, this morning.

Three of those 6 kittens are hers. :-D One of hers and one of Beep Beep’s were off napping on the blanket on the floor by the tool dresser. They’re all like one big litter now! :-)

The kittens have discovered that they can get into the bottom drawer of the tool dresser from underneath. They couldn’t, however, get back out again. We now keep that drawer open a few inches, so they can get out from through the top of the drawer, instead.

I have also found I can no longer open the top dresser drawer. I don’t know why, yet, as there are too many kittens around to safely move things and find out. That drawer has the tools I used most often, so I rather need to open it at some point! :-D Thankfully, the tools I use every time I work to clear the trees are kept in an open shelf above, instead, so I can at least access those.

On my way to pick up my daughter, I found the barn swallows working on their nest. They were flying around so much, I didn’t even try to take a photo, and got a couple of short videos, instead.

When I was a kid, I always saw these birds building their nests under the eaves of the barn, but I’ve never been this physically close to them before.

I’ve always enjoyed watching them. :-)

The Re-Farmer

Being watched… and frozen!

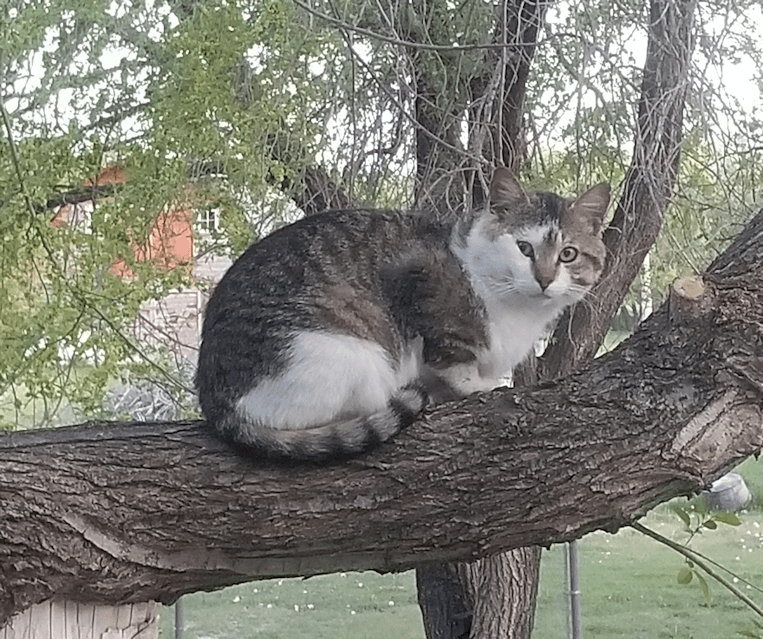
Yesterday evening, we had someone watching us through our kitchen window.

Big ole Nicky the Nose is making himself at home! Just look at that face! Just look at that…

… eye…

I went looking at some better pictures we got of Nicky, just to see if this is normal. :-D Turns out that his right is eye, indeed, slightly smaller than the left, but not normally squished up like that. Not sure what’s going on in this picture! :-D

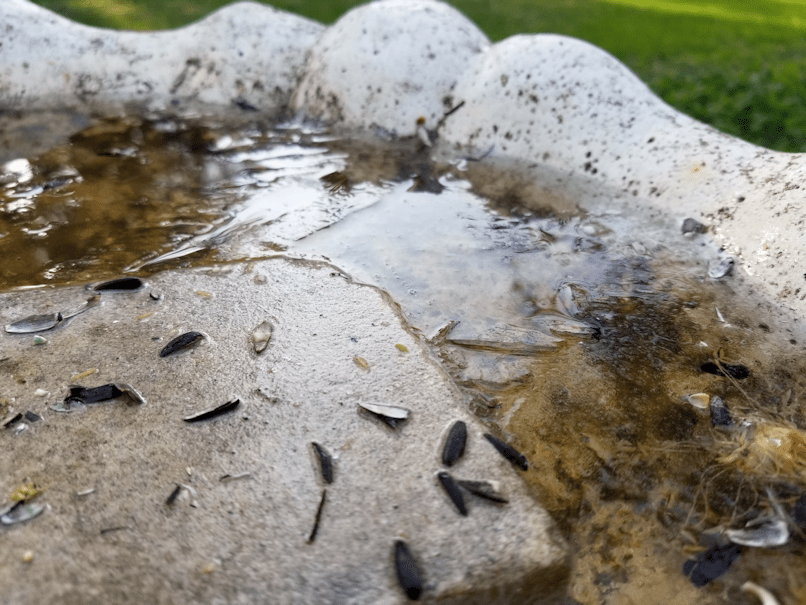
Meanwhile, while doing my rounds this morning, I discovered this, in the bird bath.

Yup. That’s a layer of ice on there. Not a thin one, either!

It’s June 2, and we’re still going below freezing overnight!

This is going to be rough on people’s gardens. :-(

We’re supposed to get a high of 16C (60F) today, then tomorrow, we’re supposed to hit 25C (77F), with possible thunderstorms by evening, and stay high for the next week or so.

So… the weather we typically would have been getting in April.

If we’re going to have thunderstorms on Monday, we’ll have to do something about the gates we’re working on. Not good weather for paint to cure outdoors!

The Re-Farmer

Clean up: spruce grove, south fence continued

Last year, before it finally got too cold to work on cleaning and clearing the trees, I did manage to get some areas on the south side of the spruce grove done. Just a bit by the garage, and more more by the gate.

One of my goals for the day was to finally start working on clearing that middle section. Since we now have a working electric chain saw, which is the perfect size for the job, I figured it would be nice and quick. When cutting some of the larger trees, I’d made a point of leaving fairly tall stumps, so they would be easily visible and no one would trip over them. I intended to cut those flat with the ground, too.

I tested the chain saw out, first, of course.

Then went back to cutting by hand.

Check this out.

Continue reading →

Clean up: front gate prep (updated)

This morning, my older daughter and I moved the gates and got started on prepping them for painting.

Those things are fekking heavy!

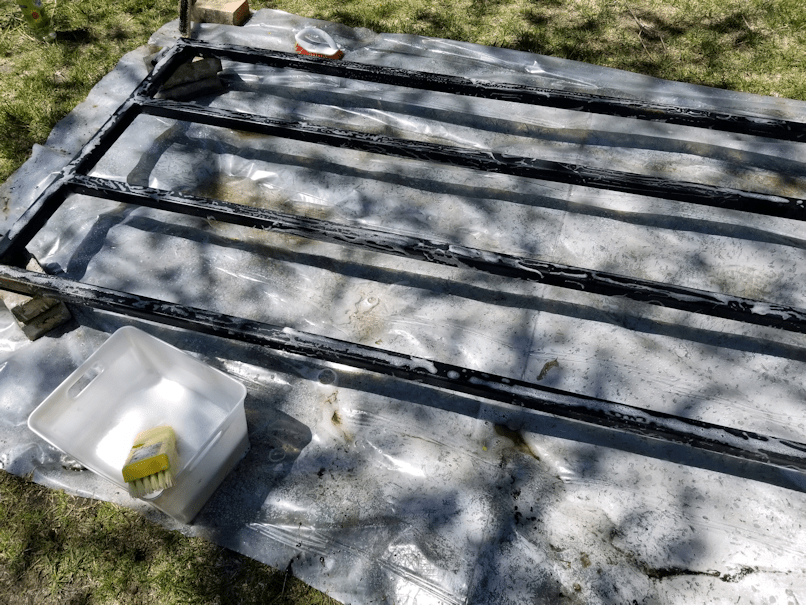
After considering our options, we ended up digging out a roll of plastic I found in the garage to use as a drop cloth and set one half of the gates up on bricks.

It’s hard to see in this picture, but even though I’d already hosed the gates down before we put it over the plastic, after hosing it down second time, the water puddled under it is really dirty!

We went over the gate on one side with a wire brush to scrub any areas that looked like the paint was peeling of, or were particularly rusted. Then we washed it.

We found an eco-friendly detergent for the job.

After doing the one side, we rinsed off the suds, flipped it over, then did it again.

We also took the sliding bar off the other half and that got scrubbed, cleaned and rinsed, too.

As of this writing, it’s still sitting in the sun, drying. We forgot to get paint thinner to clean our brush, so I will get some when I go to pick up my other daughter from work. By then, it should be dry enough to start painting. :-)

Once that one is done, we’ll do the same to the other half of the gate.

We’ll also need to do the gate posts, though for that, we’ll have to get those bottom broken hinges off, before we can clean it. We’ve been applying penetrating lubricant to them, every now and then, in hopes that that will finally get them loose.

While scrubbing and cleaning the gate, I could see that there was red paint under the black – and in some places, a bright blue! The gate construction is not very usual; gates tend to be made wither either a lighter material, or in a triangular shape, so they aren’t so heavy in the middle, which would stress the hinges and cause the posts to lean inwards. I’m thinking my late brother built the whole thing from scratch! As for the gate posts, which he designed so that they could easily be leveled as needed, they are actually starting to lean outward, due to the shifting of the ground. Heavy as the gate is, it’s not enough to overpower the forces of freeze and thaw!

I’m looking forward to how it looks when everything is all painted and fixed up.

I’m also looking forward to having a working gate again.

The Re-Farmer

Update: first coat of paint on the first side of the first gate is done.

That’s a lot of firsts. LOL

I am loving that blue!

The piece by itself on the brick is the slider bar. When the gates are hung back up, the bar will be placed on one side, with two bolts holding it place. One of them also acts as a stopper, when the gate is closed and the bar is slid across to hold the other side in place. At the other end is a hole for a pin to keep the bar from sliding back again. There had also been some electrical wire, used like a twist tie, to further secure the gate. We replaced the wire with a length of chain and a carabiner, before we had to start locking it.

For as long as I can remember, the pin was just a long screw tied to the opposite gate with some bale twine. When the gate was vandalized, the screw was bent into a semi-circle. Our vandal didn’t move the slider bar before he jacked the first side of the gate off its hinges. So we will have to think of what to use as a pin. Hopefully, we’ll find something nicer than a screw and bale twine. Not that that was anything to sneeze at. It worked for many years, after all!

The paint needs to cure for at least 6 hours, so tomorrow we will be able to flip the gate and do the other side. Then we will have to wait for all the paint to cure for 24 hours before we can put on a second coat. If all goes well, we’ll be able to move this one aside to cure while we prep and paint the other one.

I will have to find something soft to put over the bricks so as not to scratch the new paint after we flip it. :-)

Pile it on – and some changes

This is what greeted me when I went into the sun room this morning.

Two kittens came running as soon as I opened the door, but the rest were looking a lot more sluggish and sleepy! :-D

I’m quite amused by the one kitten’s face sticking out from under the tool dresser. :-D

You may notice some changes on the blog over the next while. We were finally able to upgrade our account, and now have the refarmer.ca domain name set up.

Hopefully, in the next day or two, I’ll be able to start up my critter of the day photos, now that I have plenty of storage again! :-)

The Re-Farmer

A long and productive day

Today, the girls and I headed into the city for our monthly shop.

We took advantage of the trip to accomplish a few things, and ended up going to 5 different places covering half the city. It made for a long day, but we accomplished what we needed, and then some.

Continue reading →

All charged up

How weird it’s been lately!

A couple of nights ago, it got cold enough overnight for the furnace to turn on, only to hit highs in the 20’s, half a day later!

Yesterday was supposed to be my day to finally get the mower out – which required taking the snow blowers out first, taking out the riding mower, then moving the snow blowers to the back of the shed until winter. I also made room by taking out the two broken push mowers my brother had tested. I stuck them in another shed at the old hay yard. There used to be a tractor in there, but that is one of the things that disappeared before we moved in.

Once the mower was cleared, I topped up the oil, filled the gas tank, checked it over and…

… it wouldn’t start.

Continue reading →

Recipe: Roasted Chickpeas

Here is a really easy recipe for a healthy snack to satisfy those cravings for something crunchy!

Roasted chickpeas.

Roasted, Seasoned Chickpeas

Ingredients:

  • canned chick peas
  • olive oil
  • seasonings to taste

I have found that a 9×13 baking tray fits 2 cans of chickpeas in a single layer very well.

Instructions:

  1. Turn oven to 400F.
  2. Drain the chickpeas into a colander and rinse well. Spread the wet chickpeas onto a baking tray and let the water dry off for a while.
  3. Put the dried chickpeas into a bowl large enough to toss them. Add olive oil and seasonings. (In our last batch, we used Scarborough Fair Garlic Salt and freshly ground pepper. You can use ordinary course salt and pepper, if you wish. It would be great with Rosemary Lemon Salt as well, or if you want to stay away from salt, use your favourite Mrs. Dash mix. )
  4. Toss the chick peas until well coated with olive oil and seasonings.
  5. Return the chick peas to the baking tray and spread into a single layer. Place on centre rack in pre-heated oven.
  6. Roast for about 20 minutes. Take the pan out and give it a shake to turn the chick peas. Return to oven and continue roasting to desired crunchiness, giving the pan another shake every now and then. (We like them extra crisp. With our oven, that takes more than an hour of roasting time. Our oven also has some cold spots, so when we give the chick peas a shake, we also turn the pan, to ensure even roasting. )
  7. When done, remove the pan and allow the chick peas to cool.
  8. Once cool, store in an air tight container.

These make a really excellent and healthy snack, and are downright addictive!

Enjoy!

The Re-Farmer