Traditionally, bigos – otherwise known as Hunter’s Stew – is made with game meat and a whole lot of ingredients I don’t typically have on hand. I just used what I had! Maybe I should call it Non-Hunter’s Stew? :-D
This is my version of Poland’s national dish!
I made this yesterday evening, for today’s eating, and I must say, it turned out very well!
It was breakfast – and a fine breakfast it made!
Ingredients:
- 1 jar fermented vegetable sauerkraut or purchased sauerkraut
- 1 large yellow onion
- 5-6 whole garlic cloves
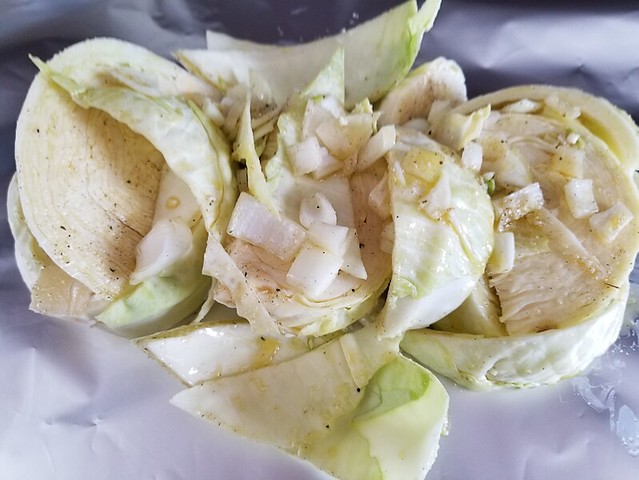
- 1 small to medium sized head of cabbage
- 5 or 6 crimini mushrooms or mushrooms of choice
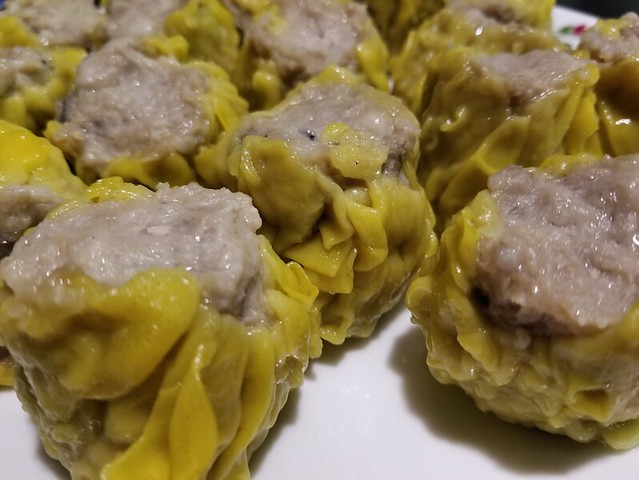
- cooked sausage, cut into 1 inch pieces, to make about 2 – 3 cups
- 2 cups cubed pork or fresh meat of choice
- 1 package bacon
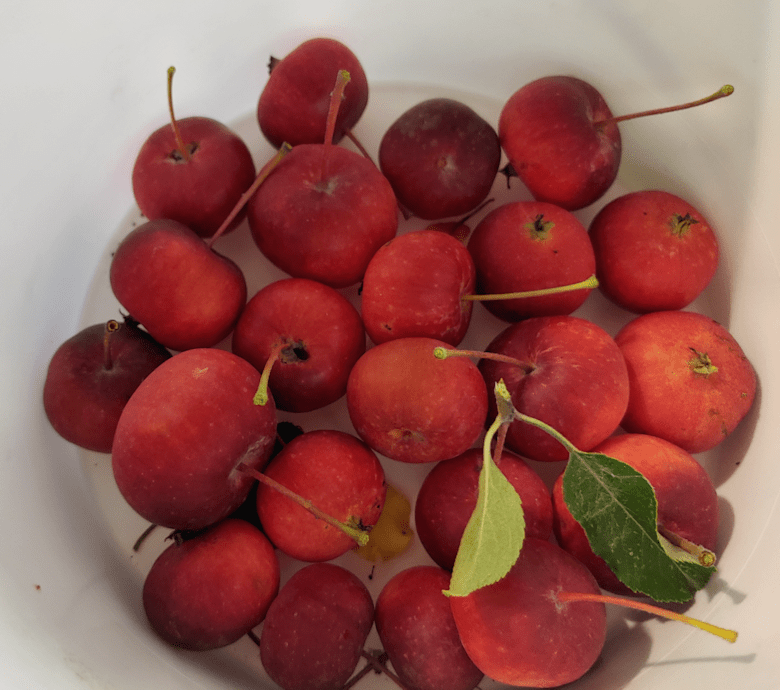
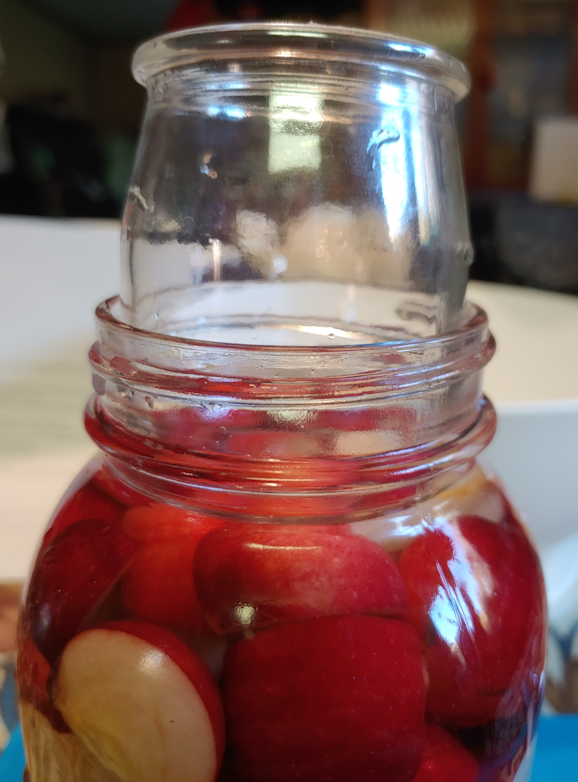
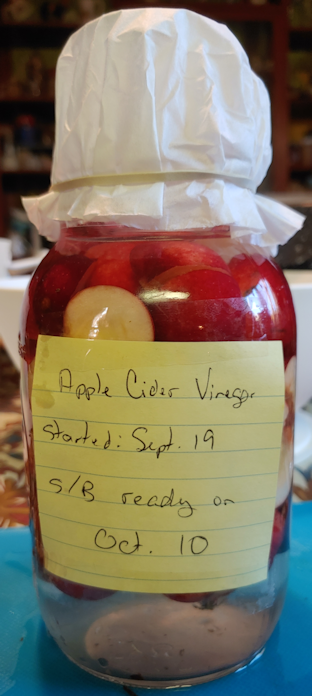
- 1/2 cup crab apple cider vinegar, mixed with 1/2 cup vegetable broth, or 1 cup de-glazing liquid of choice.
- 1 can crushed tomatoes
- 1 can tomato paste
- optional: seasonings to taste

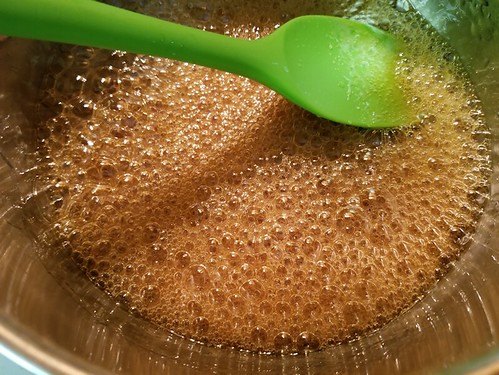
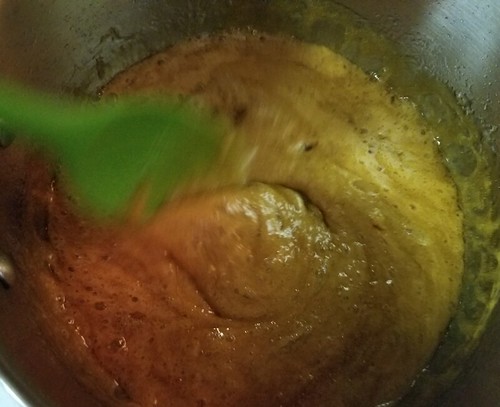
Middle left: frying bacon pieces. Middle right: de-glazing the pan
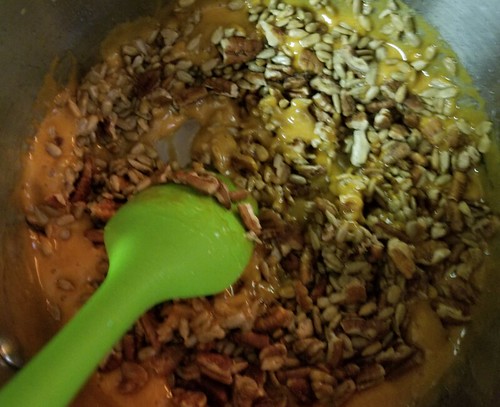
Bottom row, left to right: softening cabbage mixture, all ingredients stirred together, stew after 1 hour in oven, stew after 2 hours in oven.
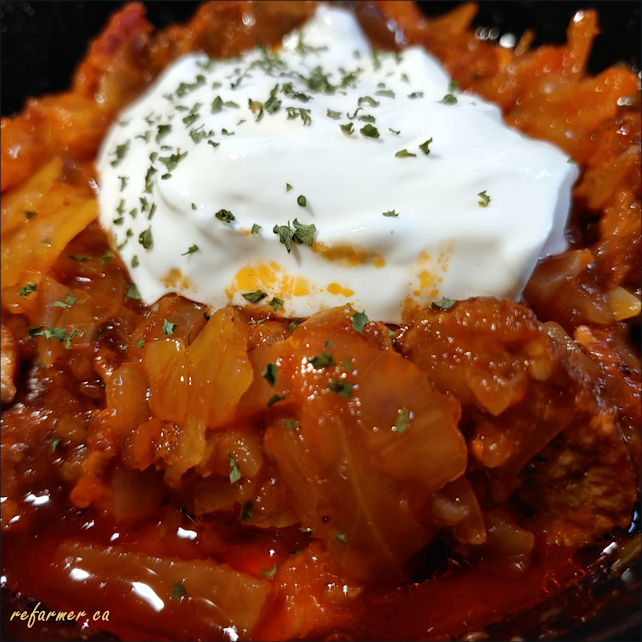
Centre: Bigos, after resting overnight, topped with sour cream and parsley
Instructions:
- Turn oven on to 350F.
- drain sauerkraut, rinsing if desired. Squeeze out excess liquid.
- chop onion and garlic coarsely
- core and finely cut fresh cabbage. Cabbage, onion and garlic can be combined into one bowl for later.
- trim mushroom stems, cut mushrooms in half, then slice. (Alternatively, re-hydrate dried mushrooms in boiling water, then chop coarsely. Reserve liquid to add to the stew.)
- cut bacon into 1/2 inch pieces
- prepare de-glazing liquid (my vegetable stock was hot water and powdered bouillon)
- Place the cooked sausage pieces into a large, oven safe pot with lid.
- In a large frying pan, fry the bacon pieces until just browned. Add bacon to the sausage, reserving rendered fat in pan.
- Brown pork cubes in the bacon fat. These do not have to be cooked through. When browned on all sides, add to the sausage and bacon mixture, reserving fat in pan.
- Add mushroom pieces to the reserved fat and cook until just starting to brown, stirring frequently. (If using reconstituted mushrooms, skip this step and just add the mushrooms to the pot with the meat.)
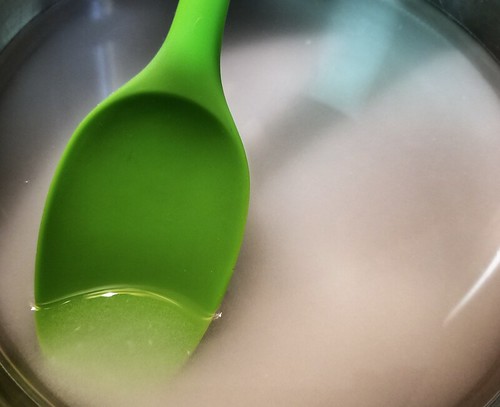
- Add de-glazing liquid to the pan and cook liquid down to about 1/3rd volume.
- Add cabbage, onion and garlic to the pan. Cover with lid to steam for a couple of minutes, and for the cabbage to reduce slightly. Continue to cook, turning the mixture often, until vegetables are softened.
- Add the sauerkraut and softened cabbage mixture to the pot with the meat and mushrooms.
- Add the crushed tomato and tomato paste (plus reserved mushroom stock, if reconstituted mushrooms were used). Mix thoroughly.
- By now, the oven should be preheated. Cover the pot and place in oven.
- Check after about an hour and stir. If the liquid level seems low, add boiling water, as needed to prevent burning.
- Check after 2 hours and stir. Adjust liquid again, if needed.
- Cook for another half hour or so.
- Can be eaten immediately, or left to cool and rest overnight (recommended).
- Serve with rye bread, or a dollop of sour cream. Garnish with parsley if desired.
For this, I used no added seasonings at all. The ingredients themselves add a lot of flavour on their own. However, feel free to add whatever seasonings you like, if you feel the need.
Of course, after this was done cooking last night, I had to have a small bowl to taste it. It was definitely a success! Letting it rest overnight did allow the flavours to mellow and combine very nicely. It was a subtle difference, but enough for me to recommend giving it that extra time.
The more traditional ingredients for this dish includes a greater variety of meats, with game meat being the prime ingredient, and even prunes – though the bigos I’ve tasted in the past did not include prunes. Some versions include things like grated carrot, but my fermented vegetable sauerkraut includes carrots, so there was no need to add more.
The amount of sauerkraut I used is a bit on the low side – a typical jar of commercial sauerkraut is about 900-1000ml (approximately equal to a quart jar) and my jars are 500ml. Even adding the last of my plain sauerkraut gave me just over that amount. However, that is also the equivalent of more than half a head of cabbage. The fresh cabbage I used was more on the large than medium size, so between the two, the total quantities didn’t change much.
This makes quite a large quantity of stew, and it really helps to have a very large, deep frying pan with a lid. Even then, I had to be careful adding the cabbage mixture to the pan! Using the lid to let it braise for a bit made it much easier to stir, as the cabbage released its liquid and reduced in size.
This dish can be made on the stove top instead of the oven, but that would require continuous attention and stirring to make sure it cooks evenly and doesn’t burn on the bottom. Using the oven is just simpler and more efficient.
If you try this recipe, do feel free to let me know how you liked it!
The Re-Farmer